comment 1

Sweet & Spicy Venison Stew with Root Vegetables

Deer populate our Methow Valley year round, with whitetail and mule deer as common as robins. Houdini deer scale our garden fences and shed roofs in summer, then in autumn provide a staple meat for many families, and we’re fortunate to have ample venison from family and friends’ successful hunts.

DSCF4340

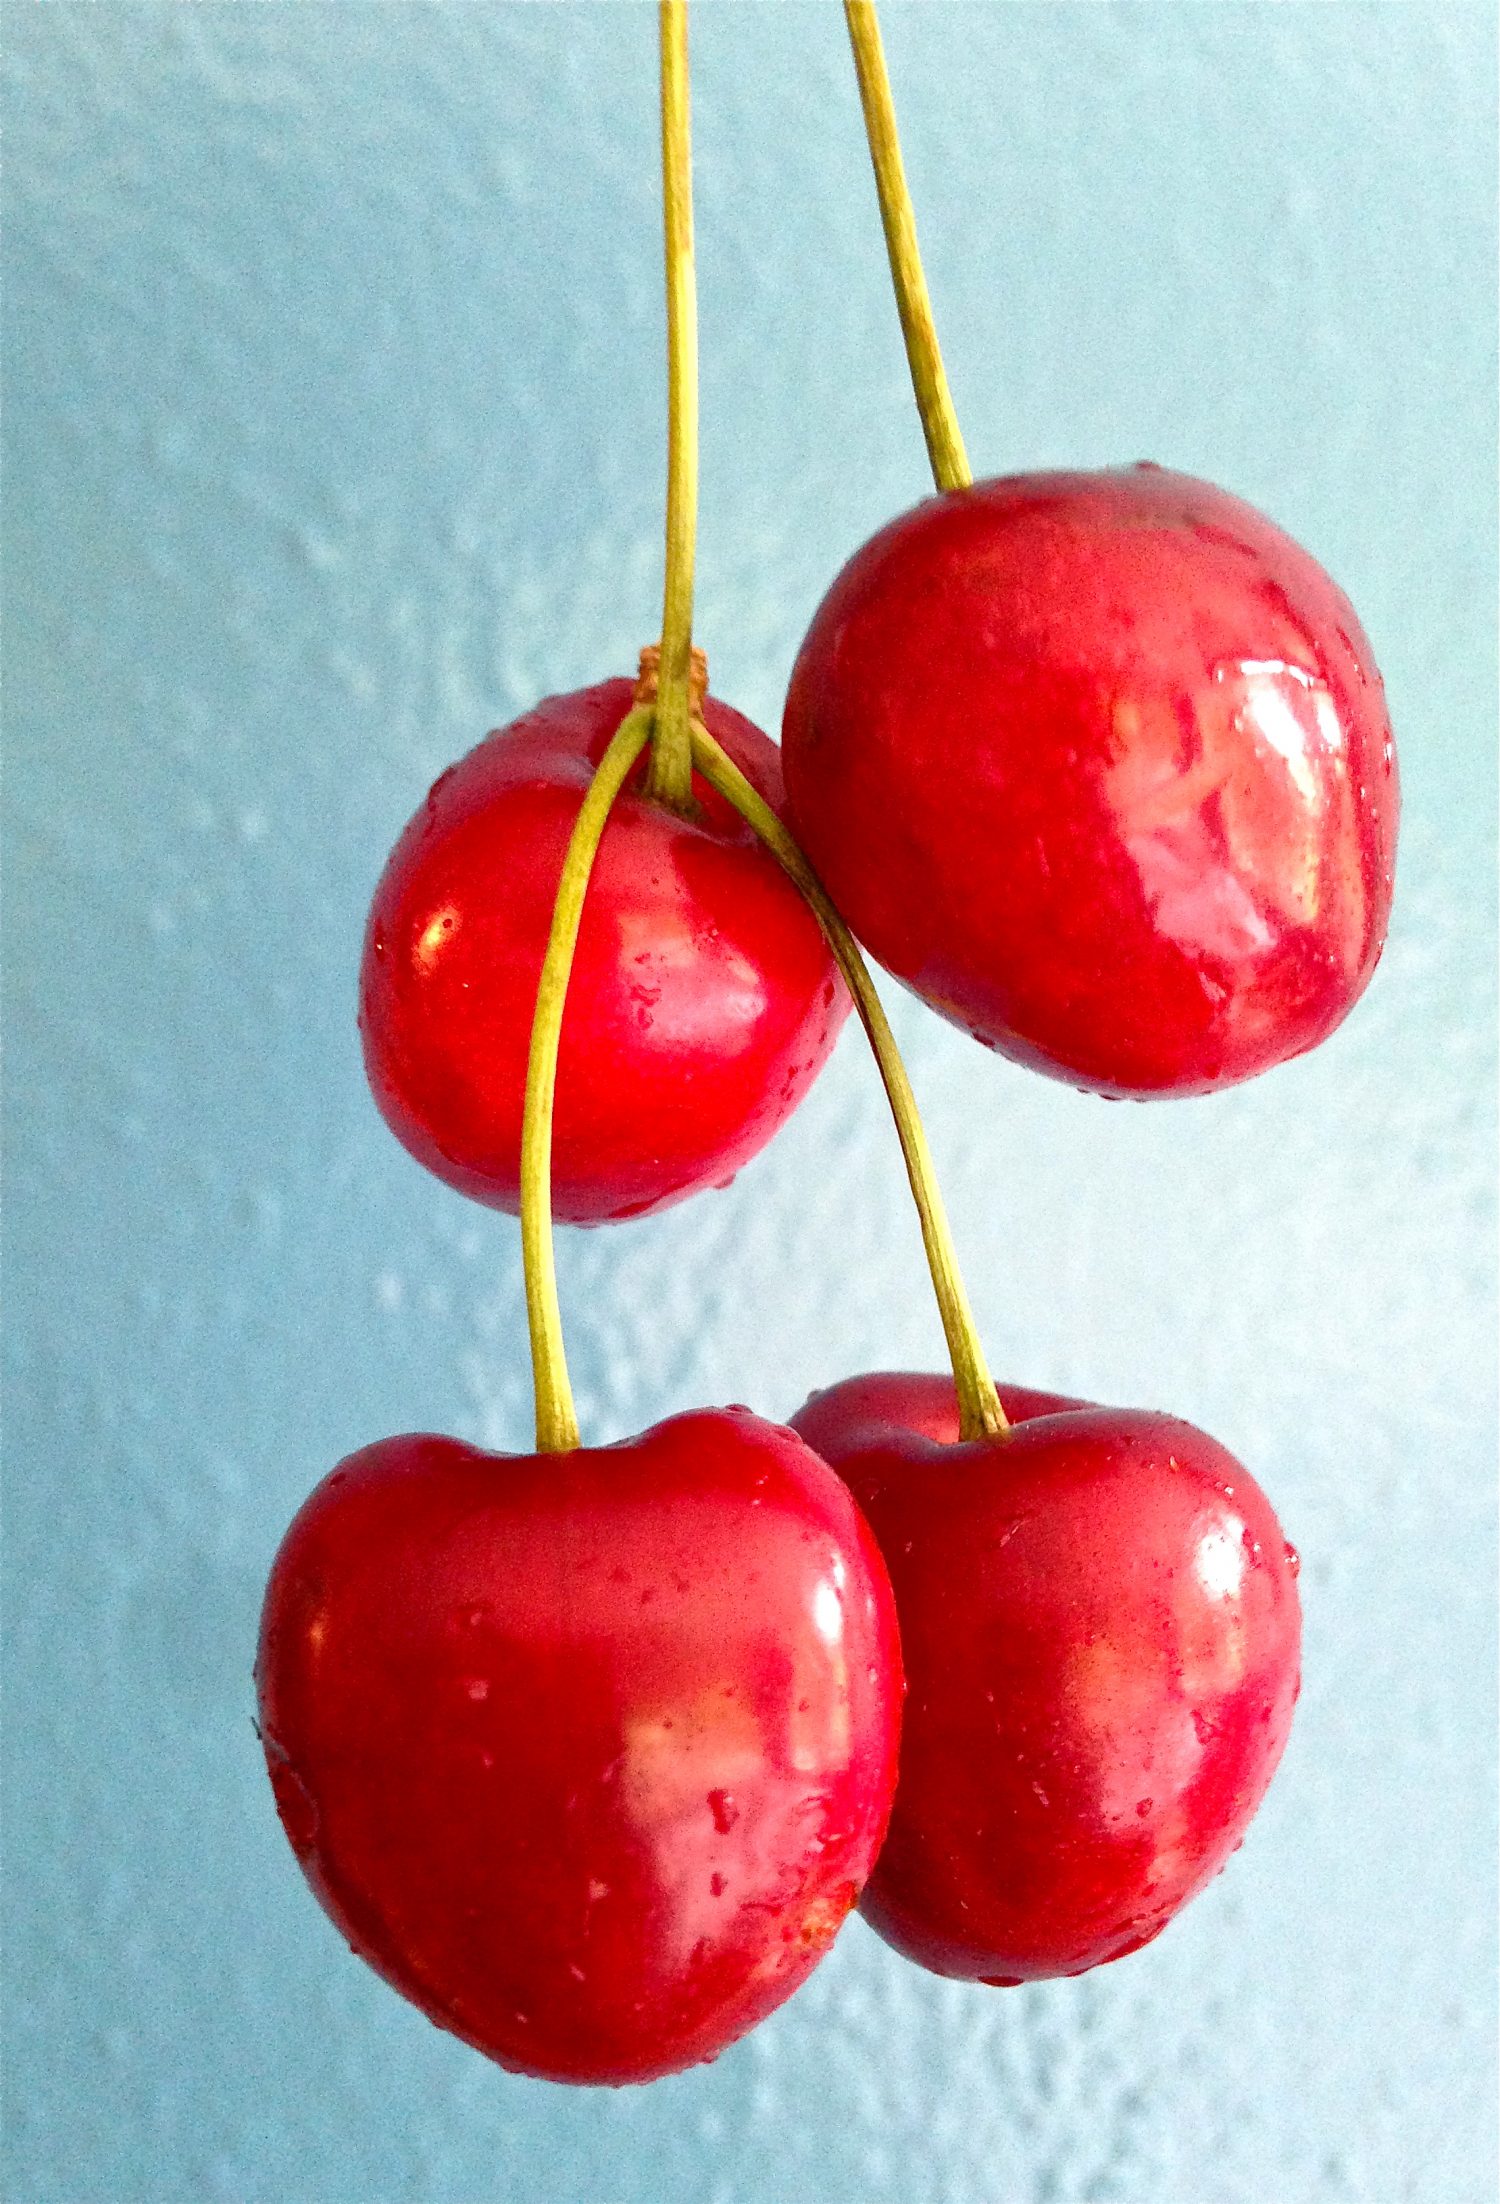
In this recipe, the sweetness in the root veggies, butter and spices used to sear the venison and the zing of fresh chèvre feta  all combine well to warm heart and belly in winter.  Potent, large chunks of onion infuse the entire stew and sweeten nicely while baking.  Topped with feta cheese from our friends at Sunnypine Farms, browning to perfection atop the veggies and meat, this is a delectable one pot winter meal.

DSCF4445

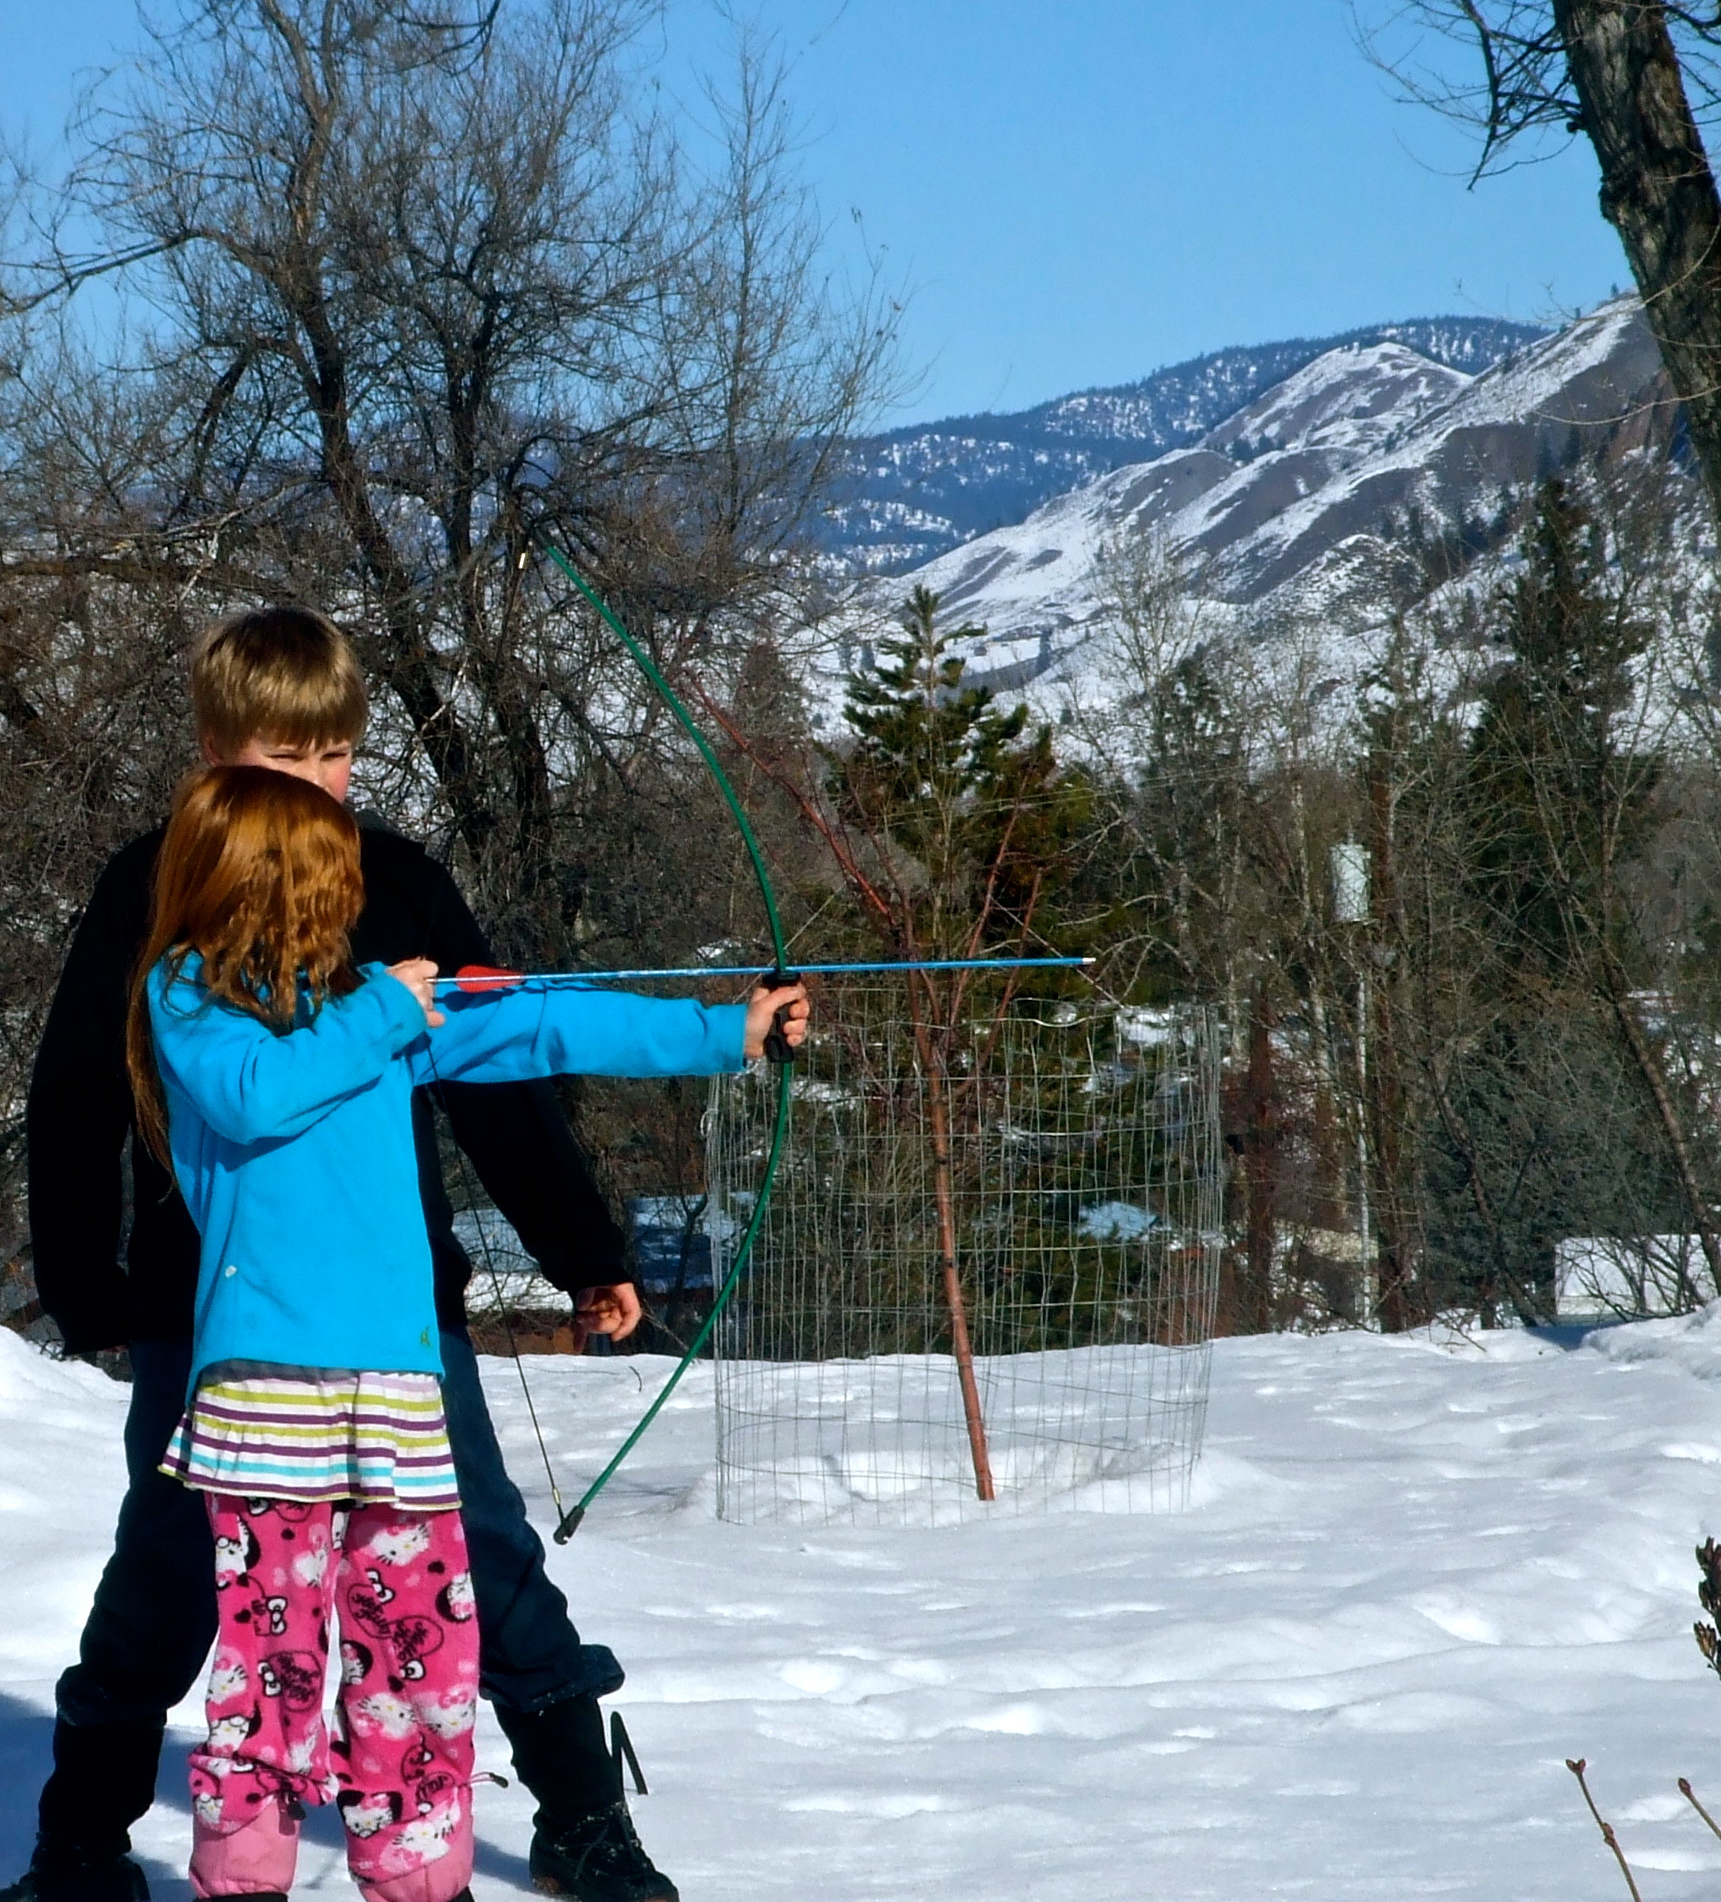
~Deer hunting practice with brother~

From the garden vegetables from the cellar, to the wild game brought to us by baby’s god-father, to the cheese topping made just down the street, this entire recipe is satisfyingly sustainable, local and garden to table.

There is a large portion of butter in this recipe, but it is absolutely needed for richness of flavor, as venison has almost no fat content. When making the meat into burger or sausage for instance, a large amount of pork fat is added. This recipe does not work well with oil substitutes, but not to be concerned, for even with the butter, the total fat content is minimal given the leanness of the meat.

DSCF4200 
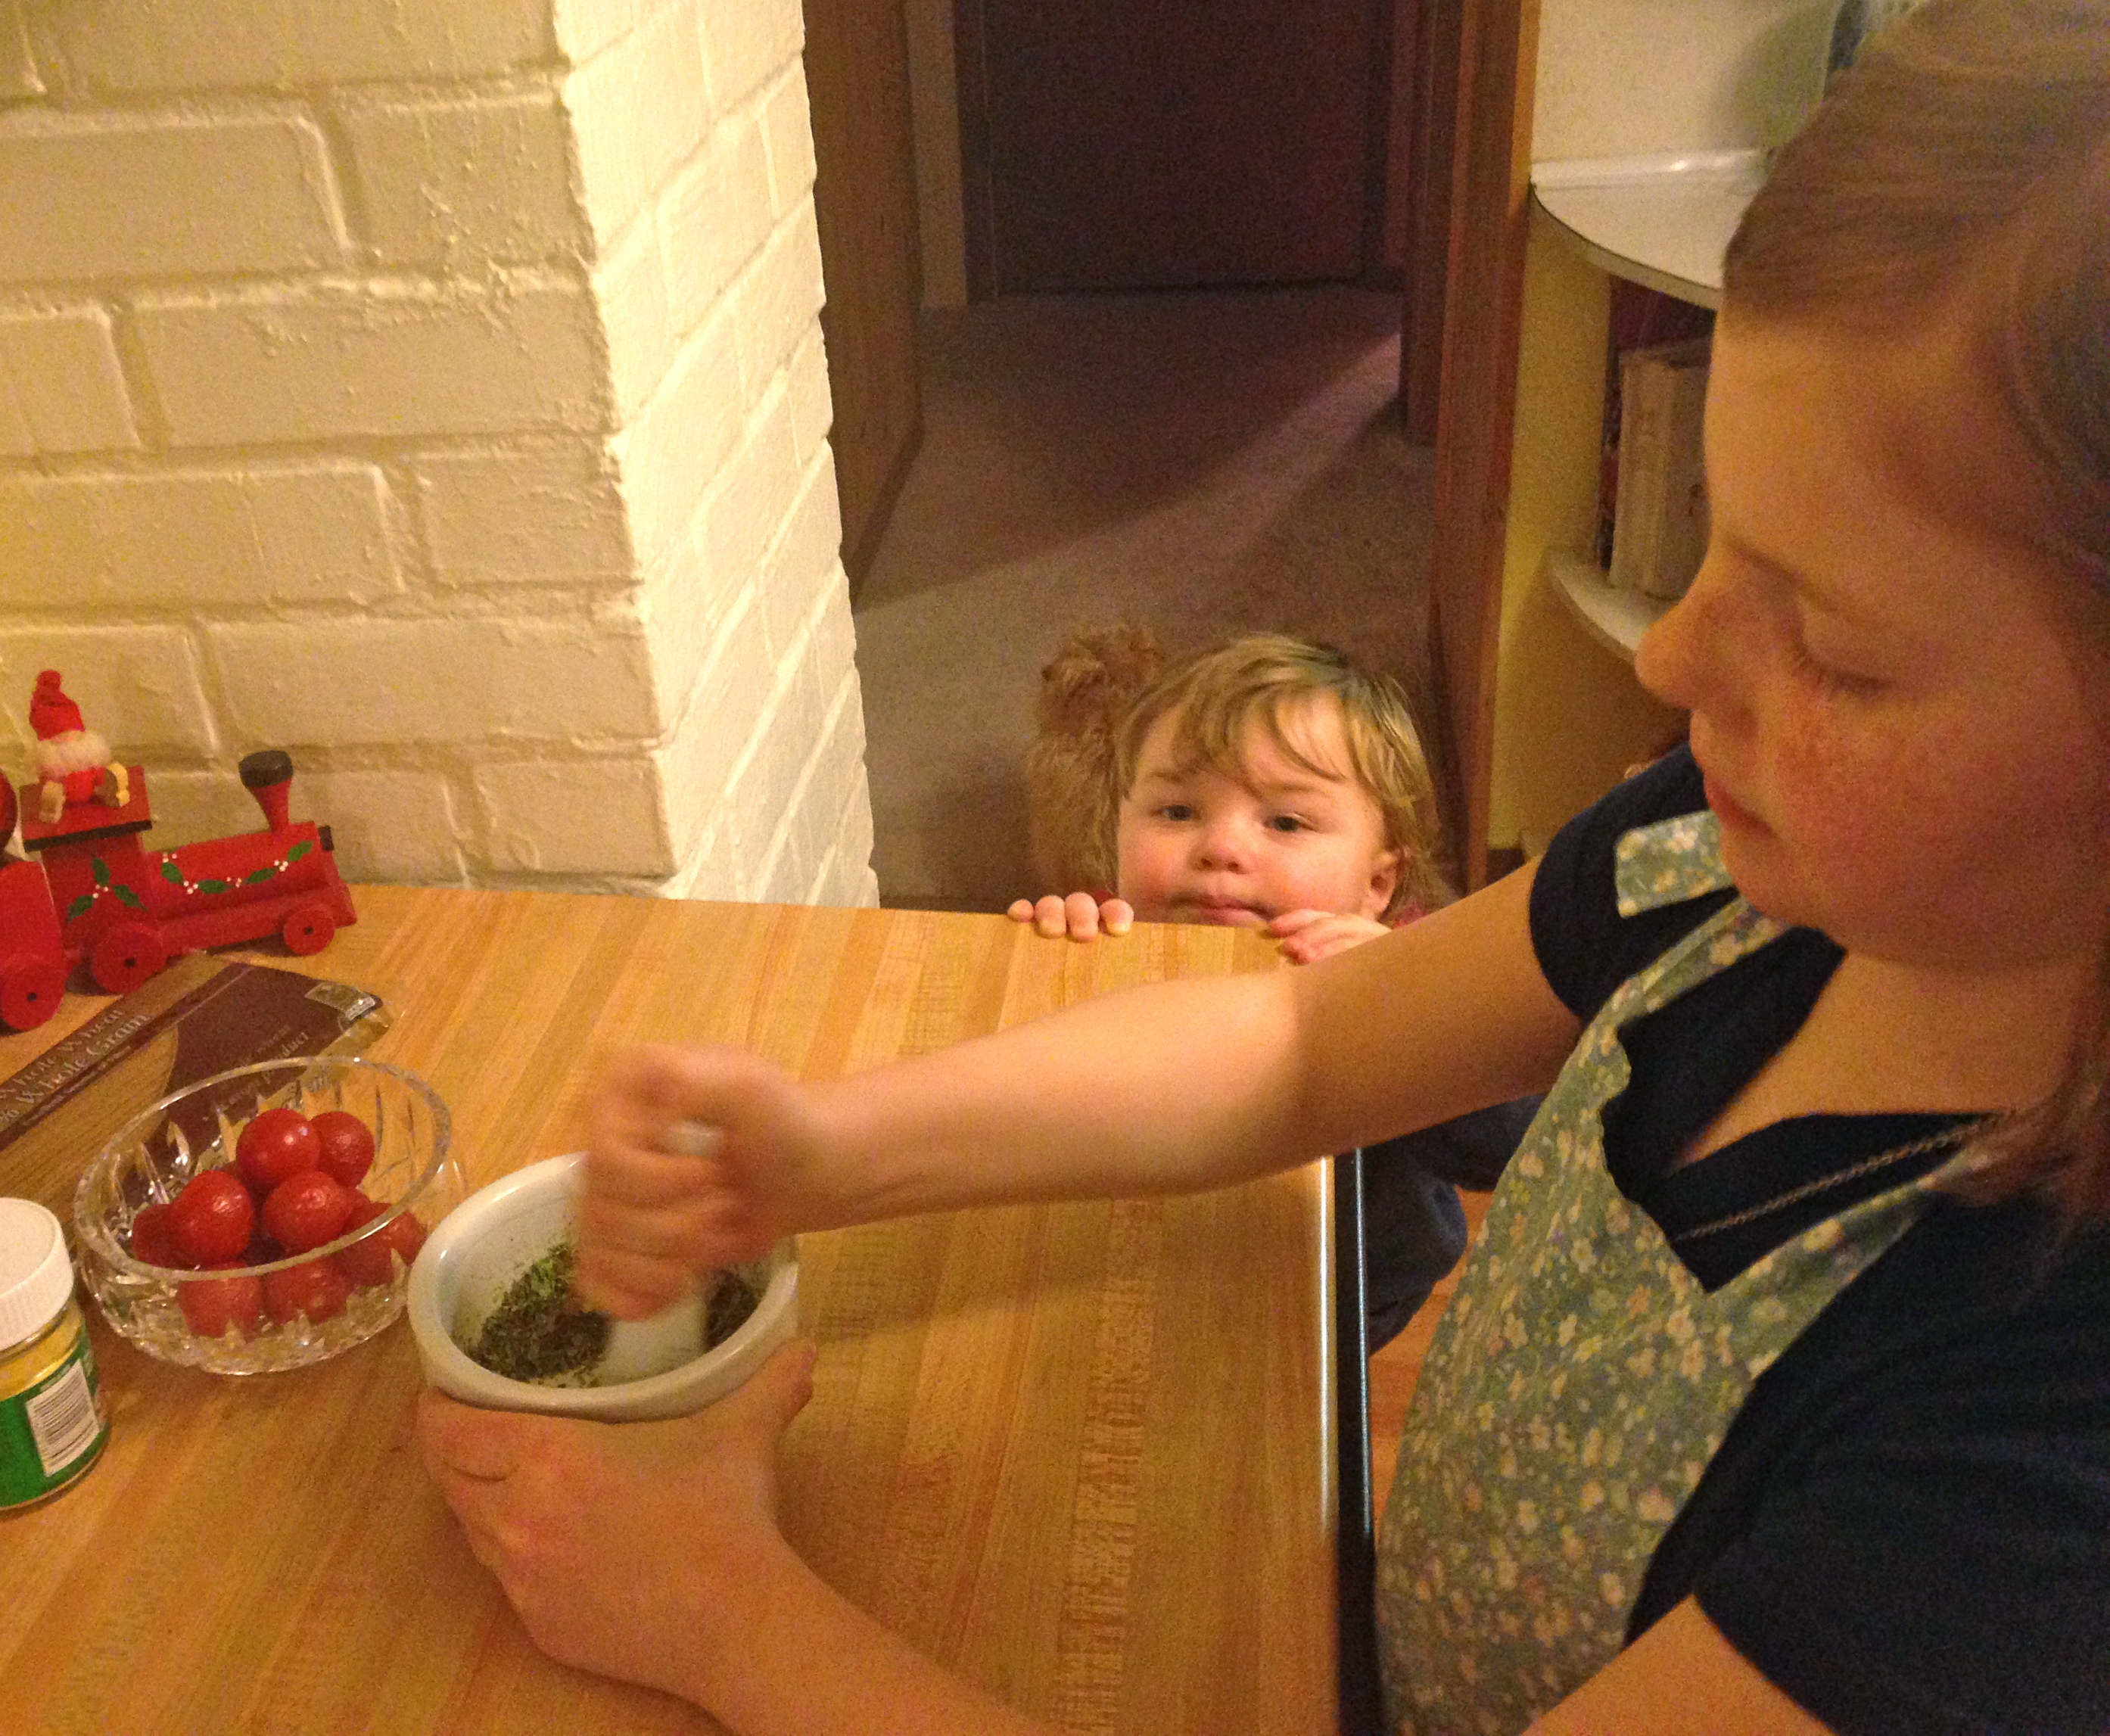
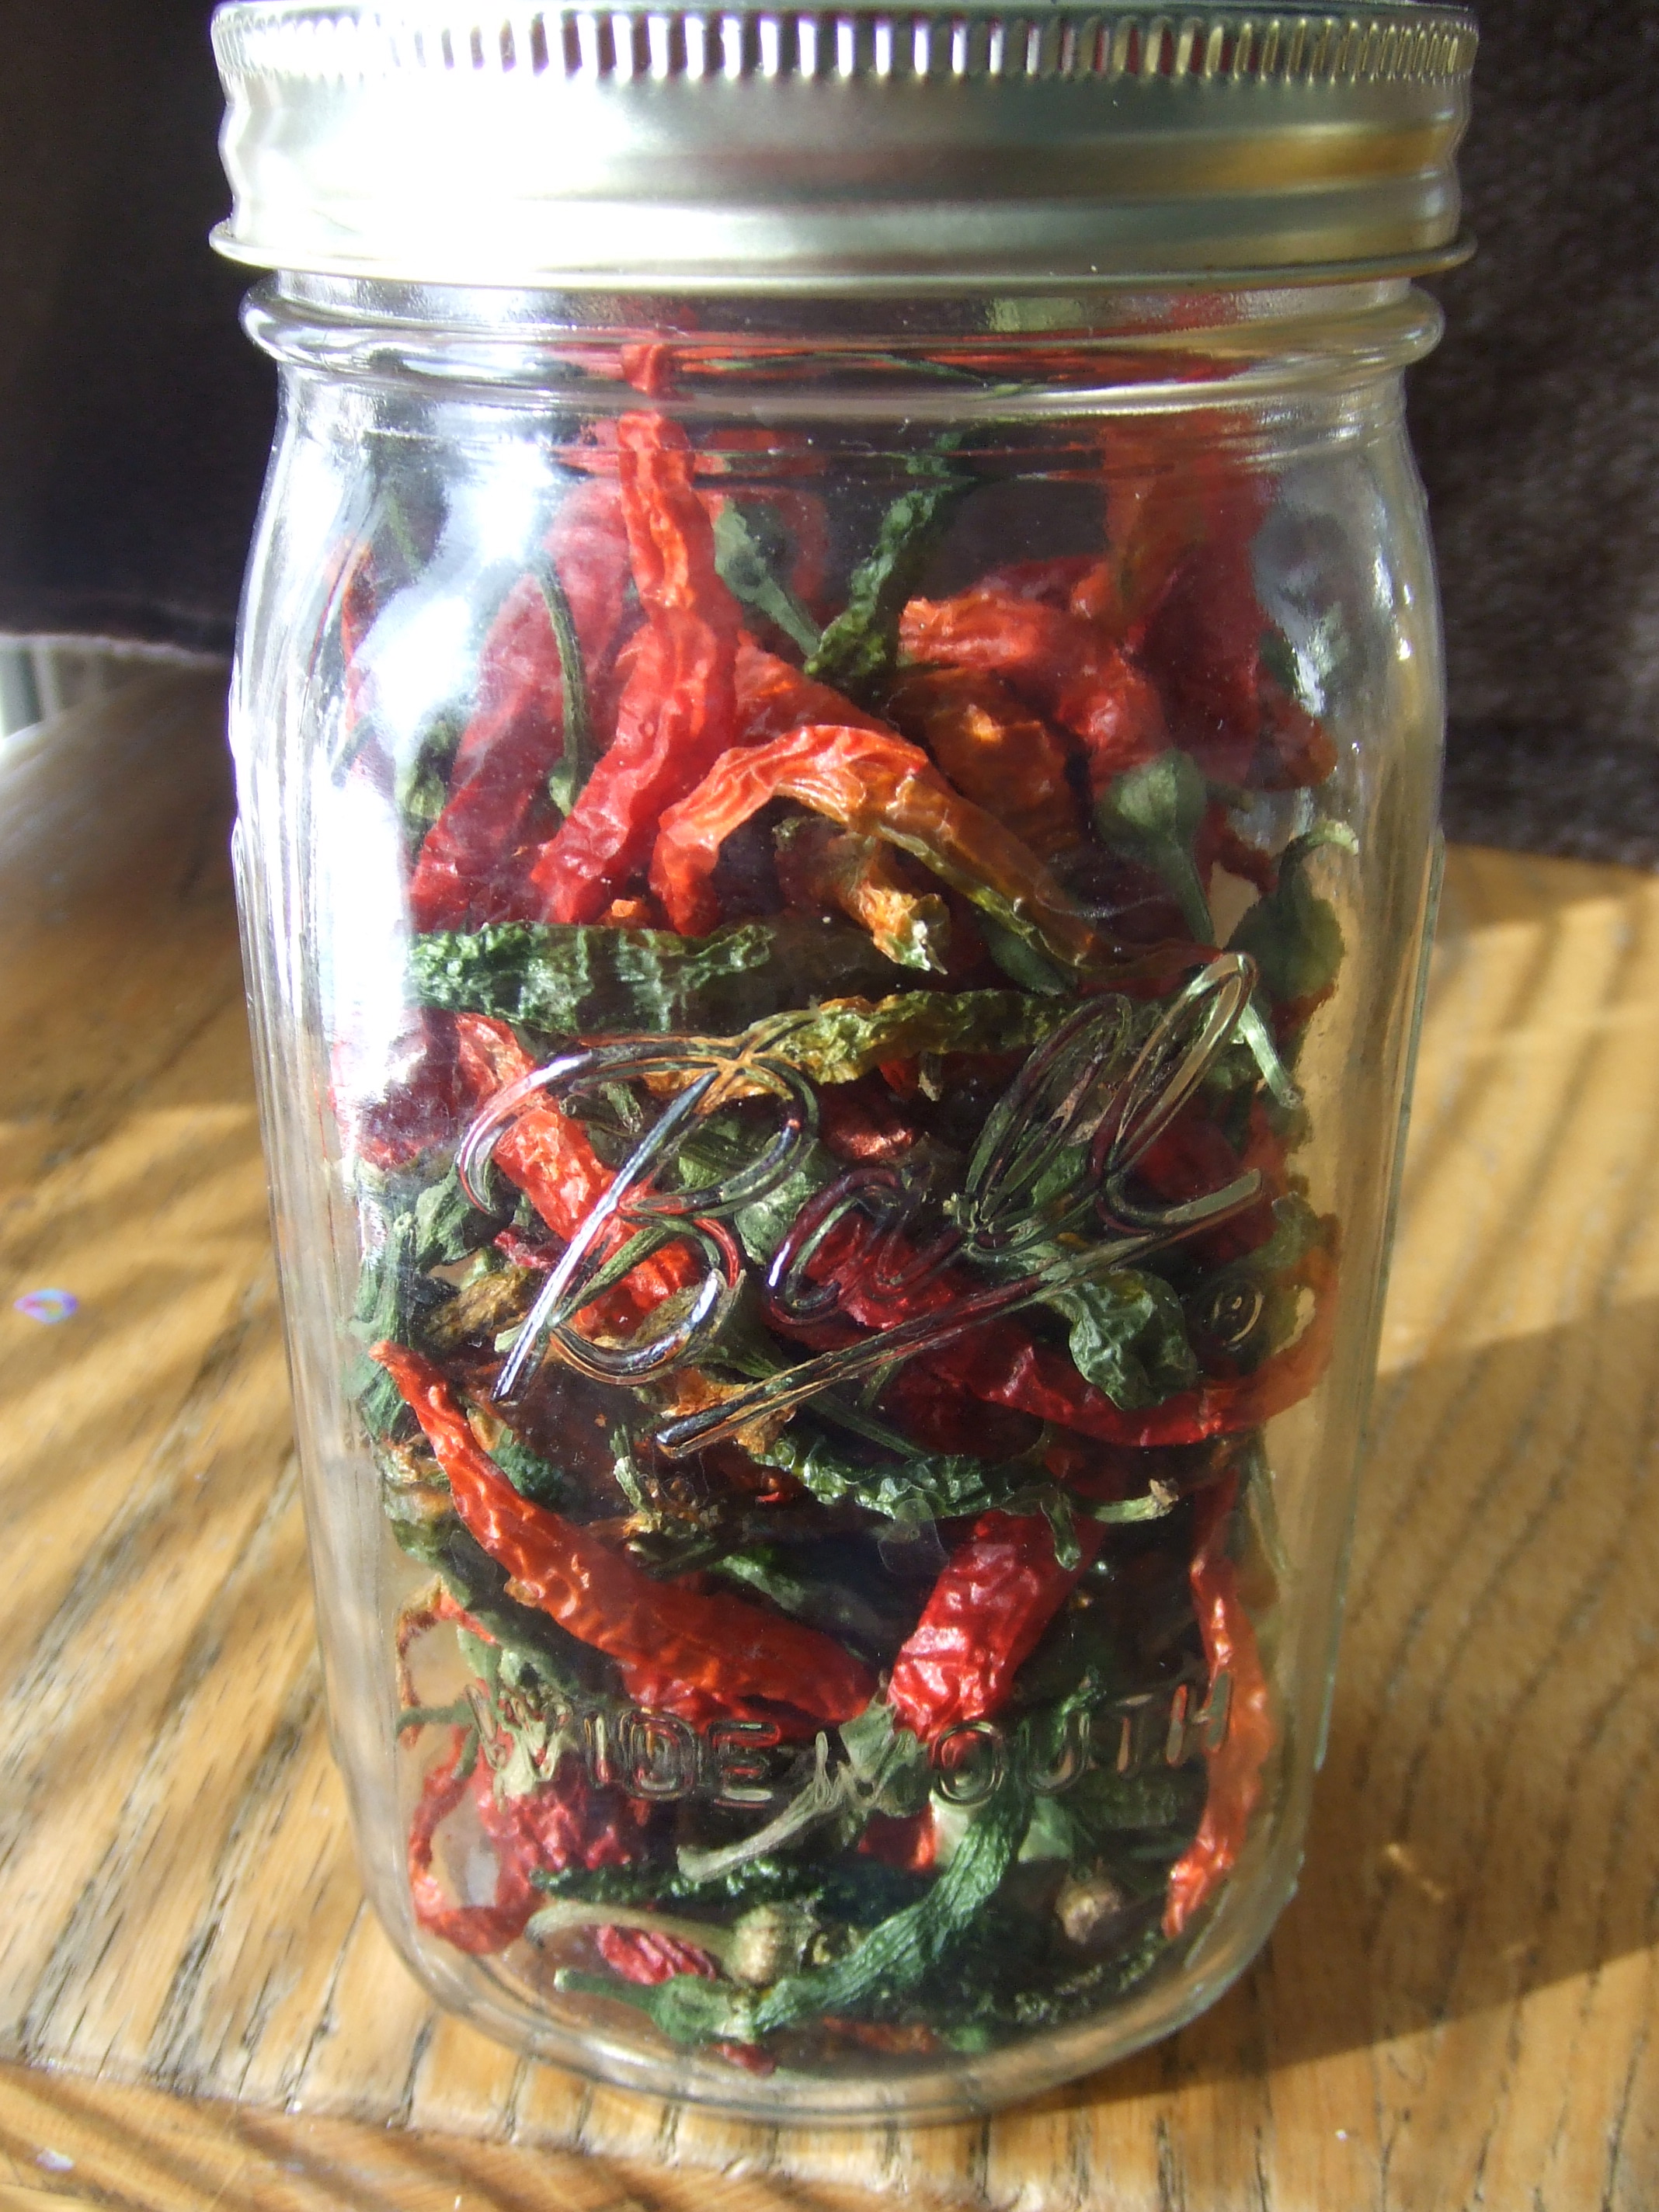
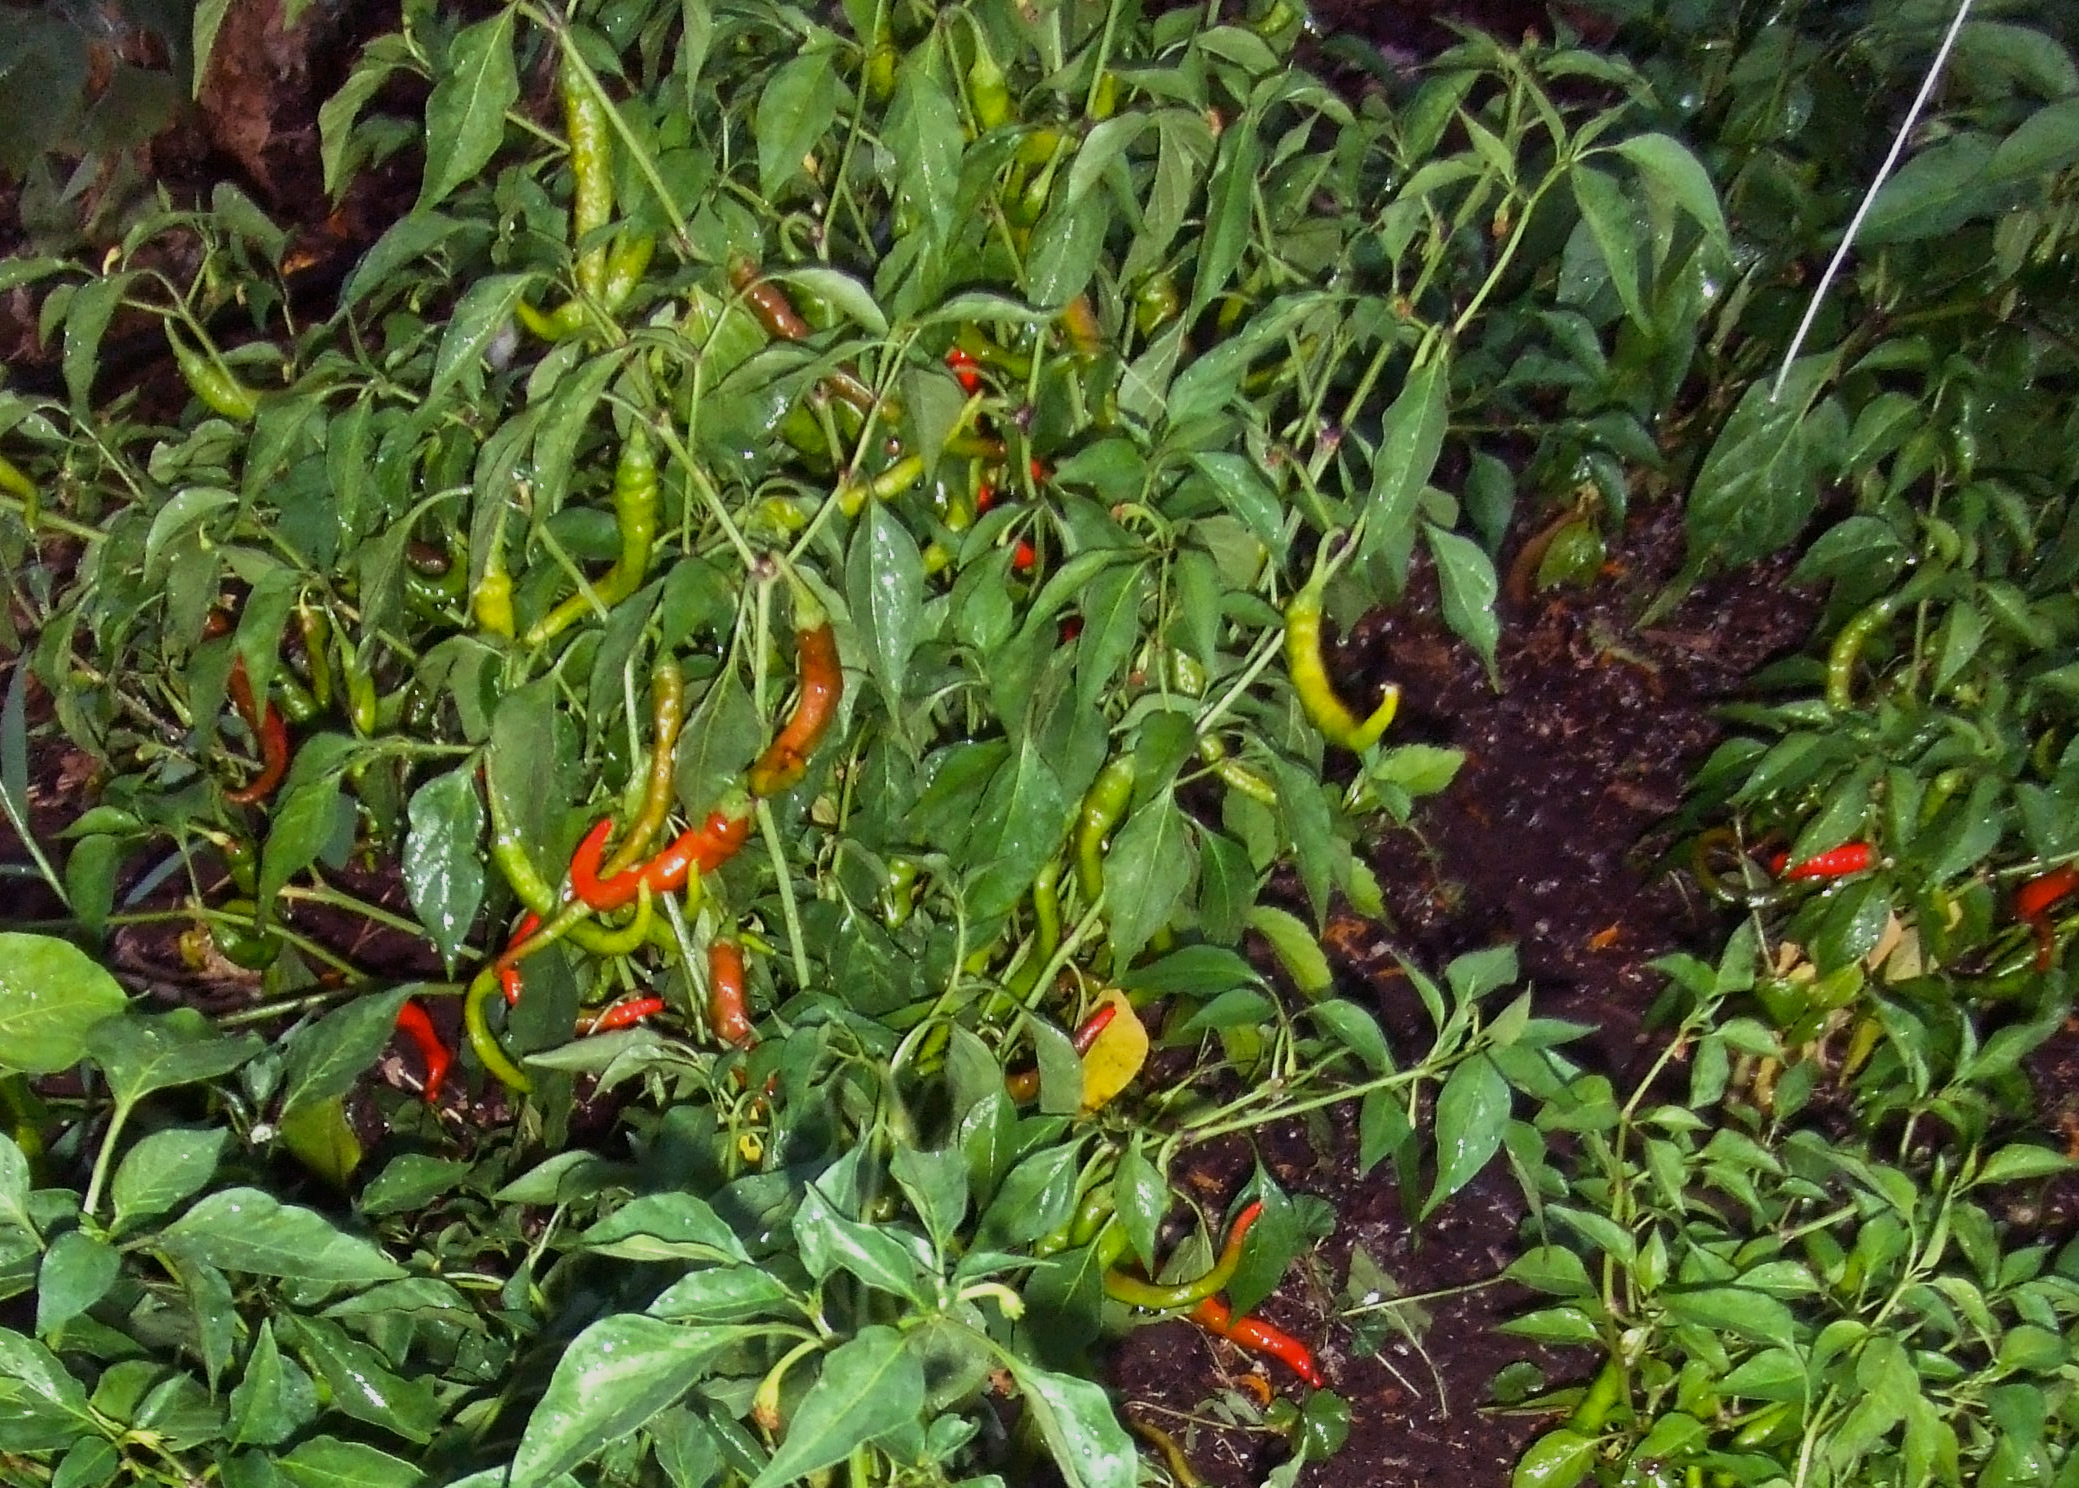
Cayenne peppers redden in the summer sun, then are dried and stored for recipes such as these.

DSCF3476
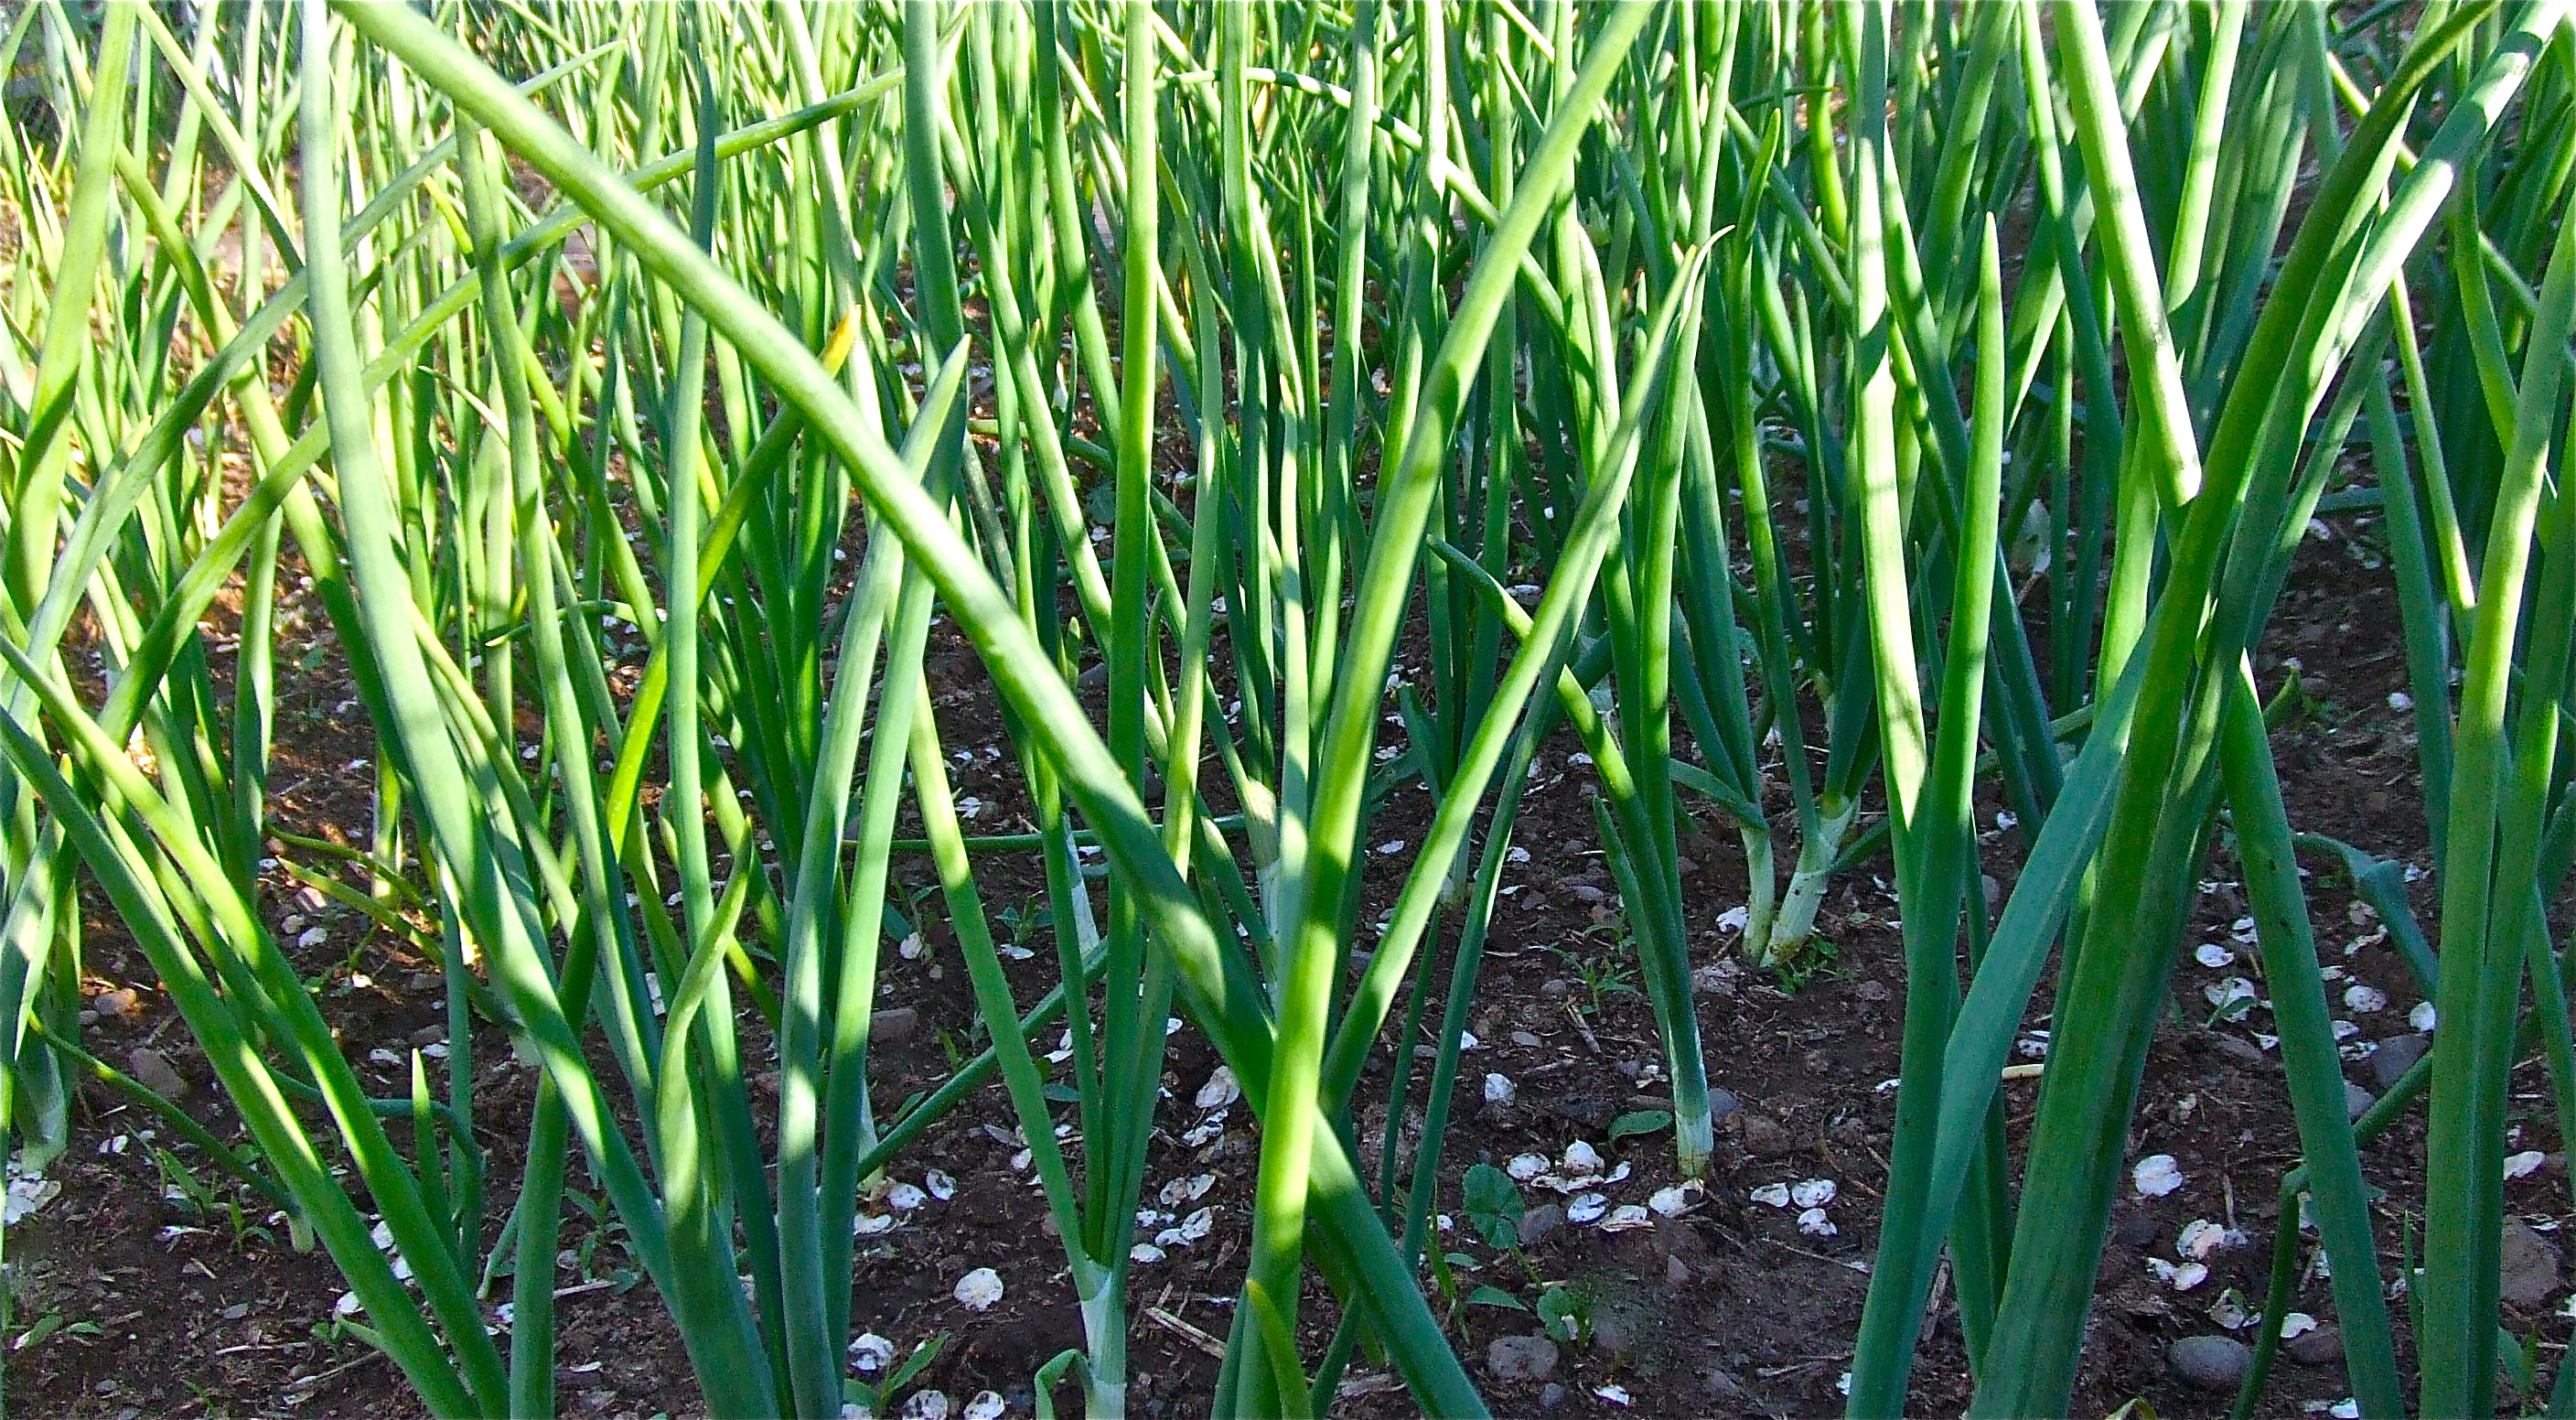
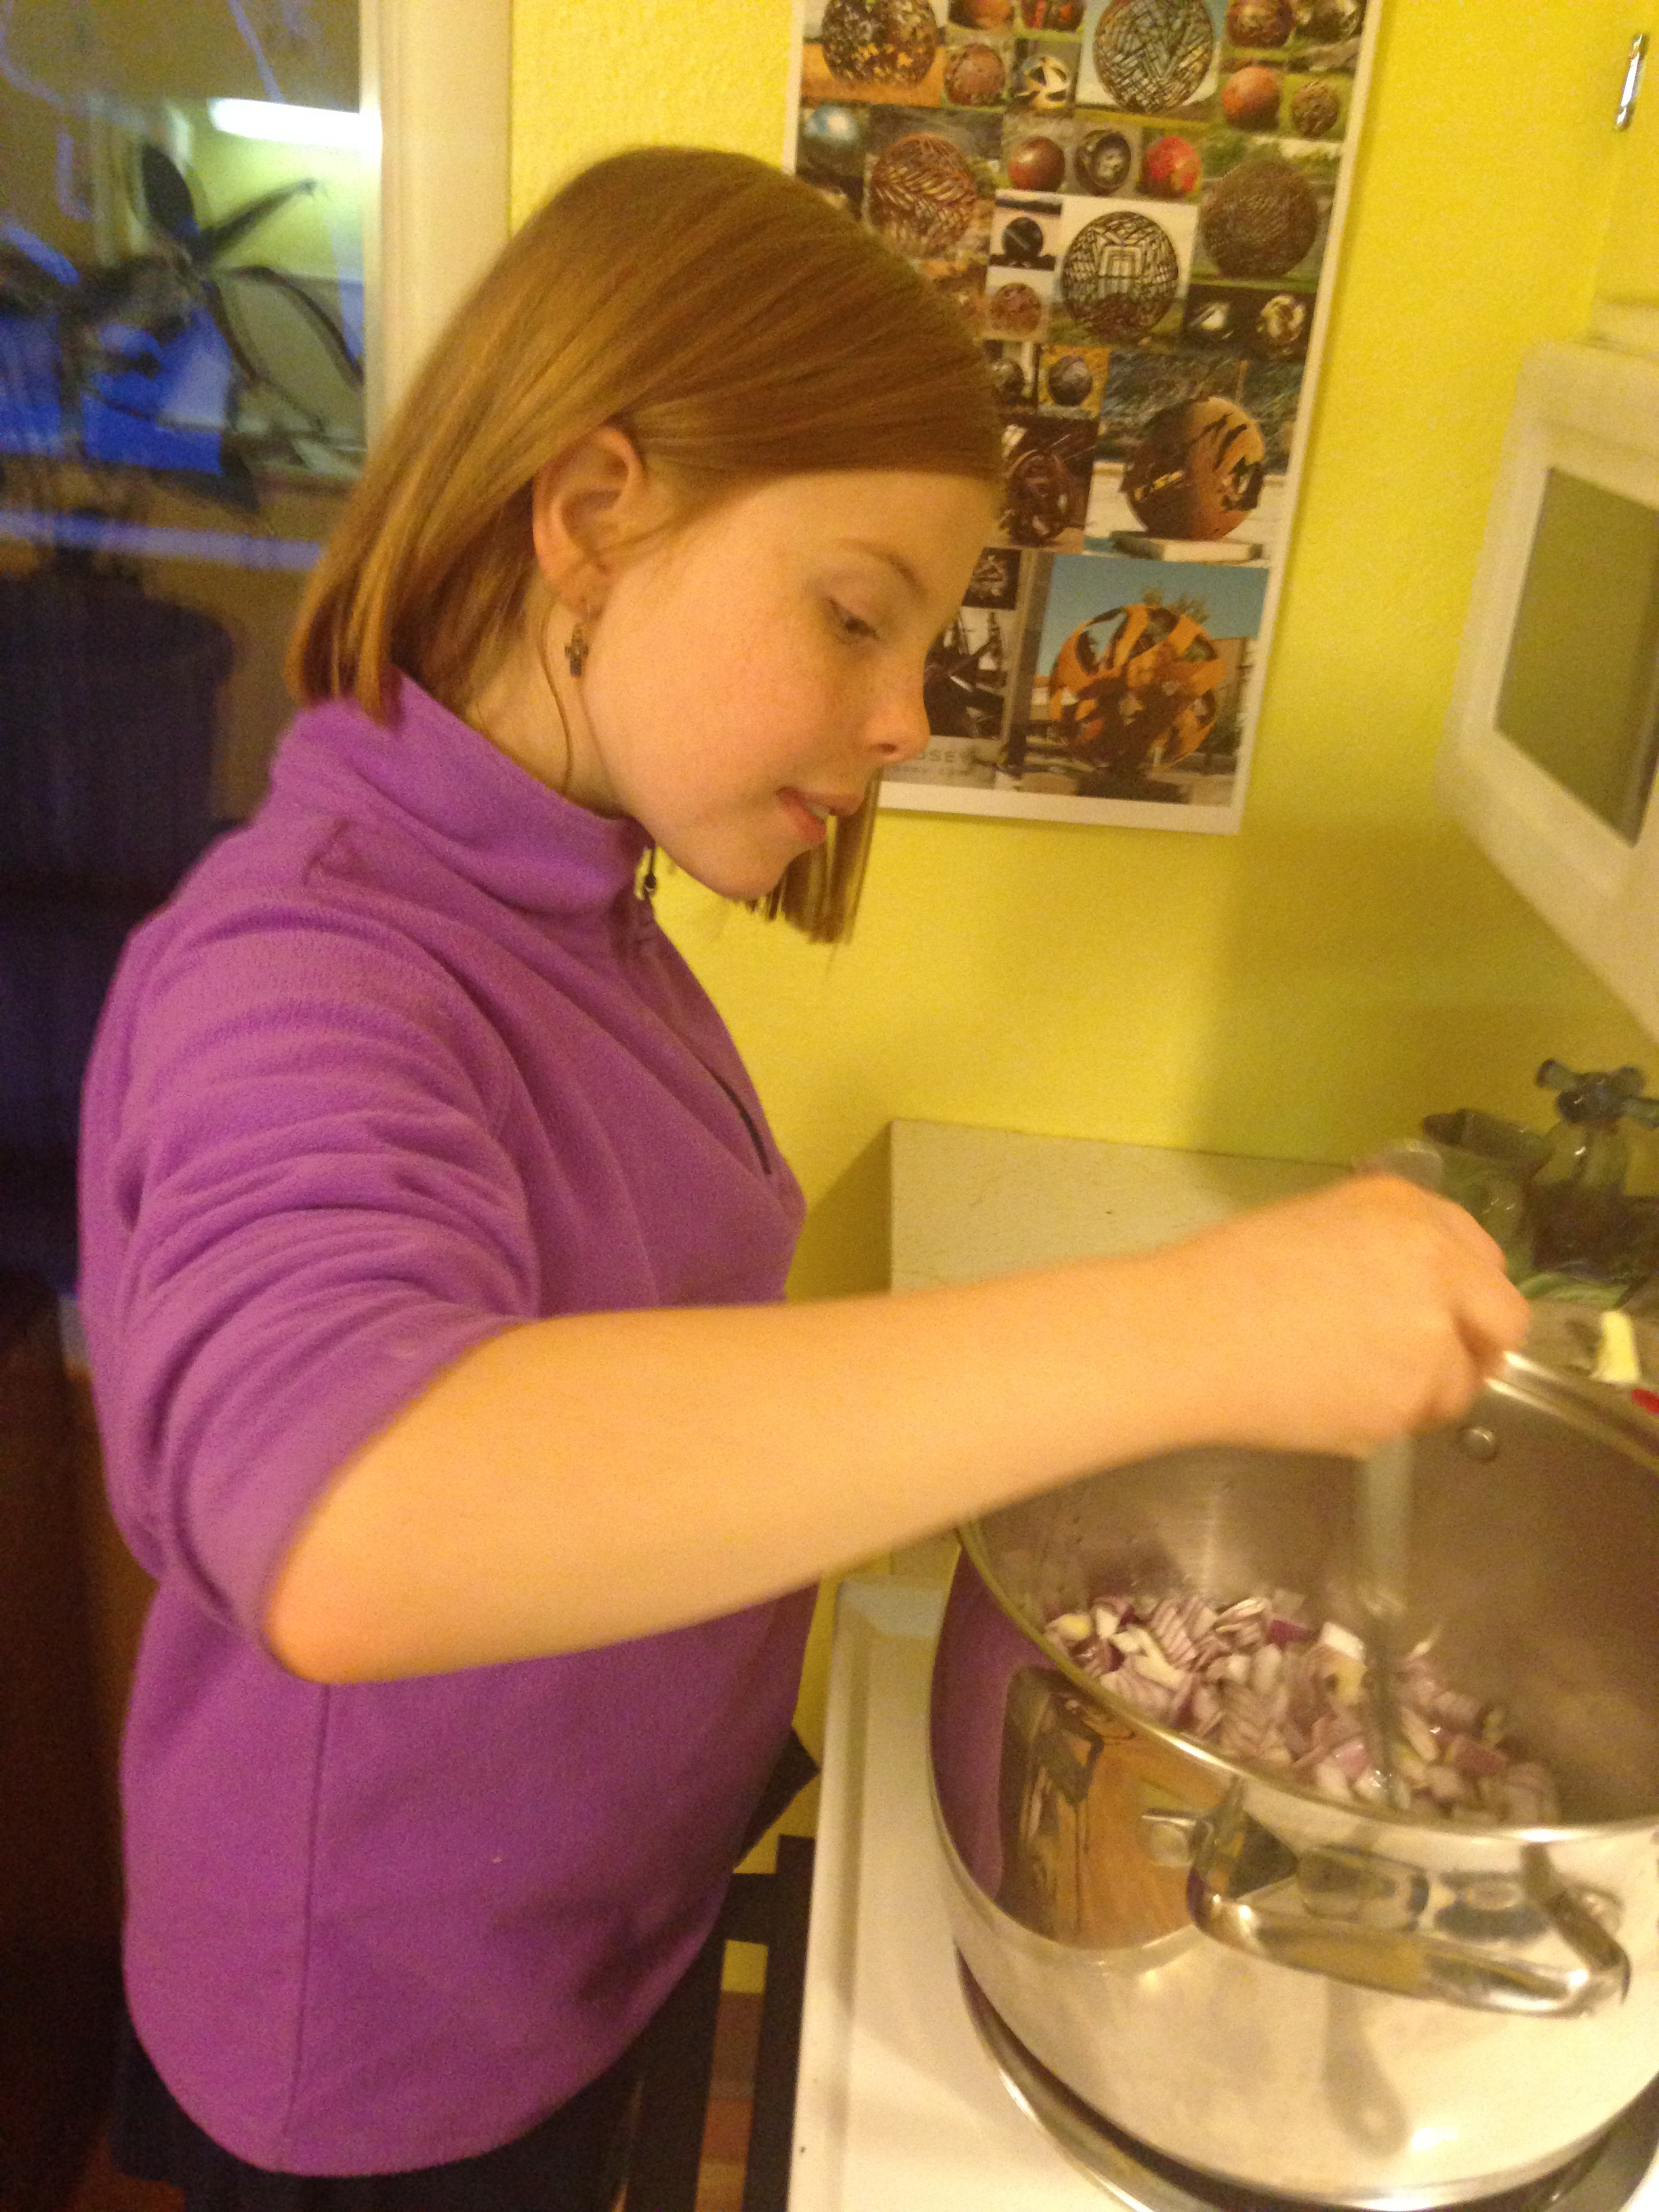
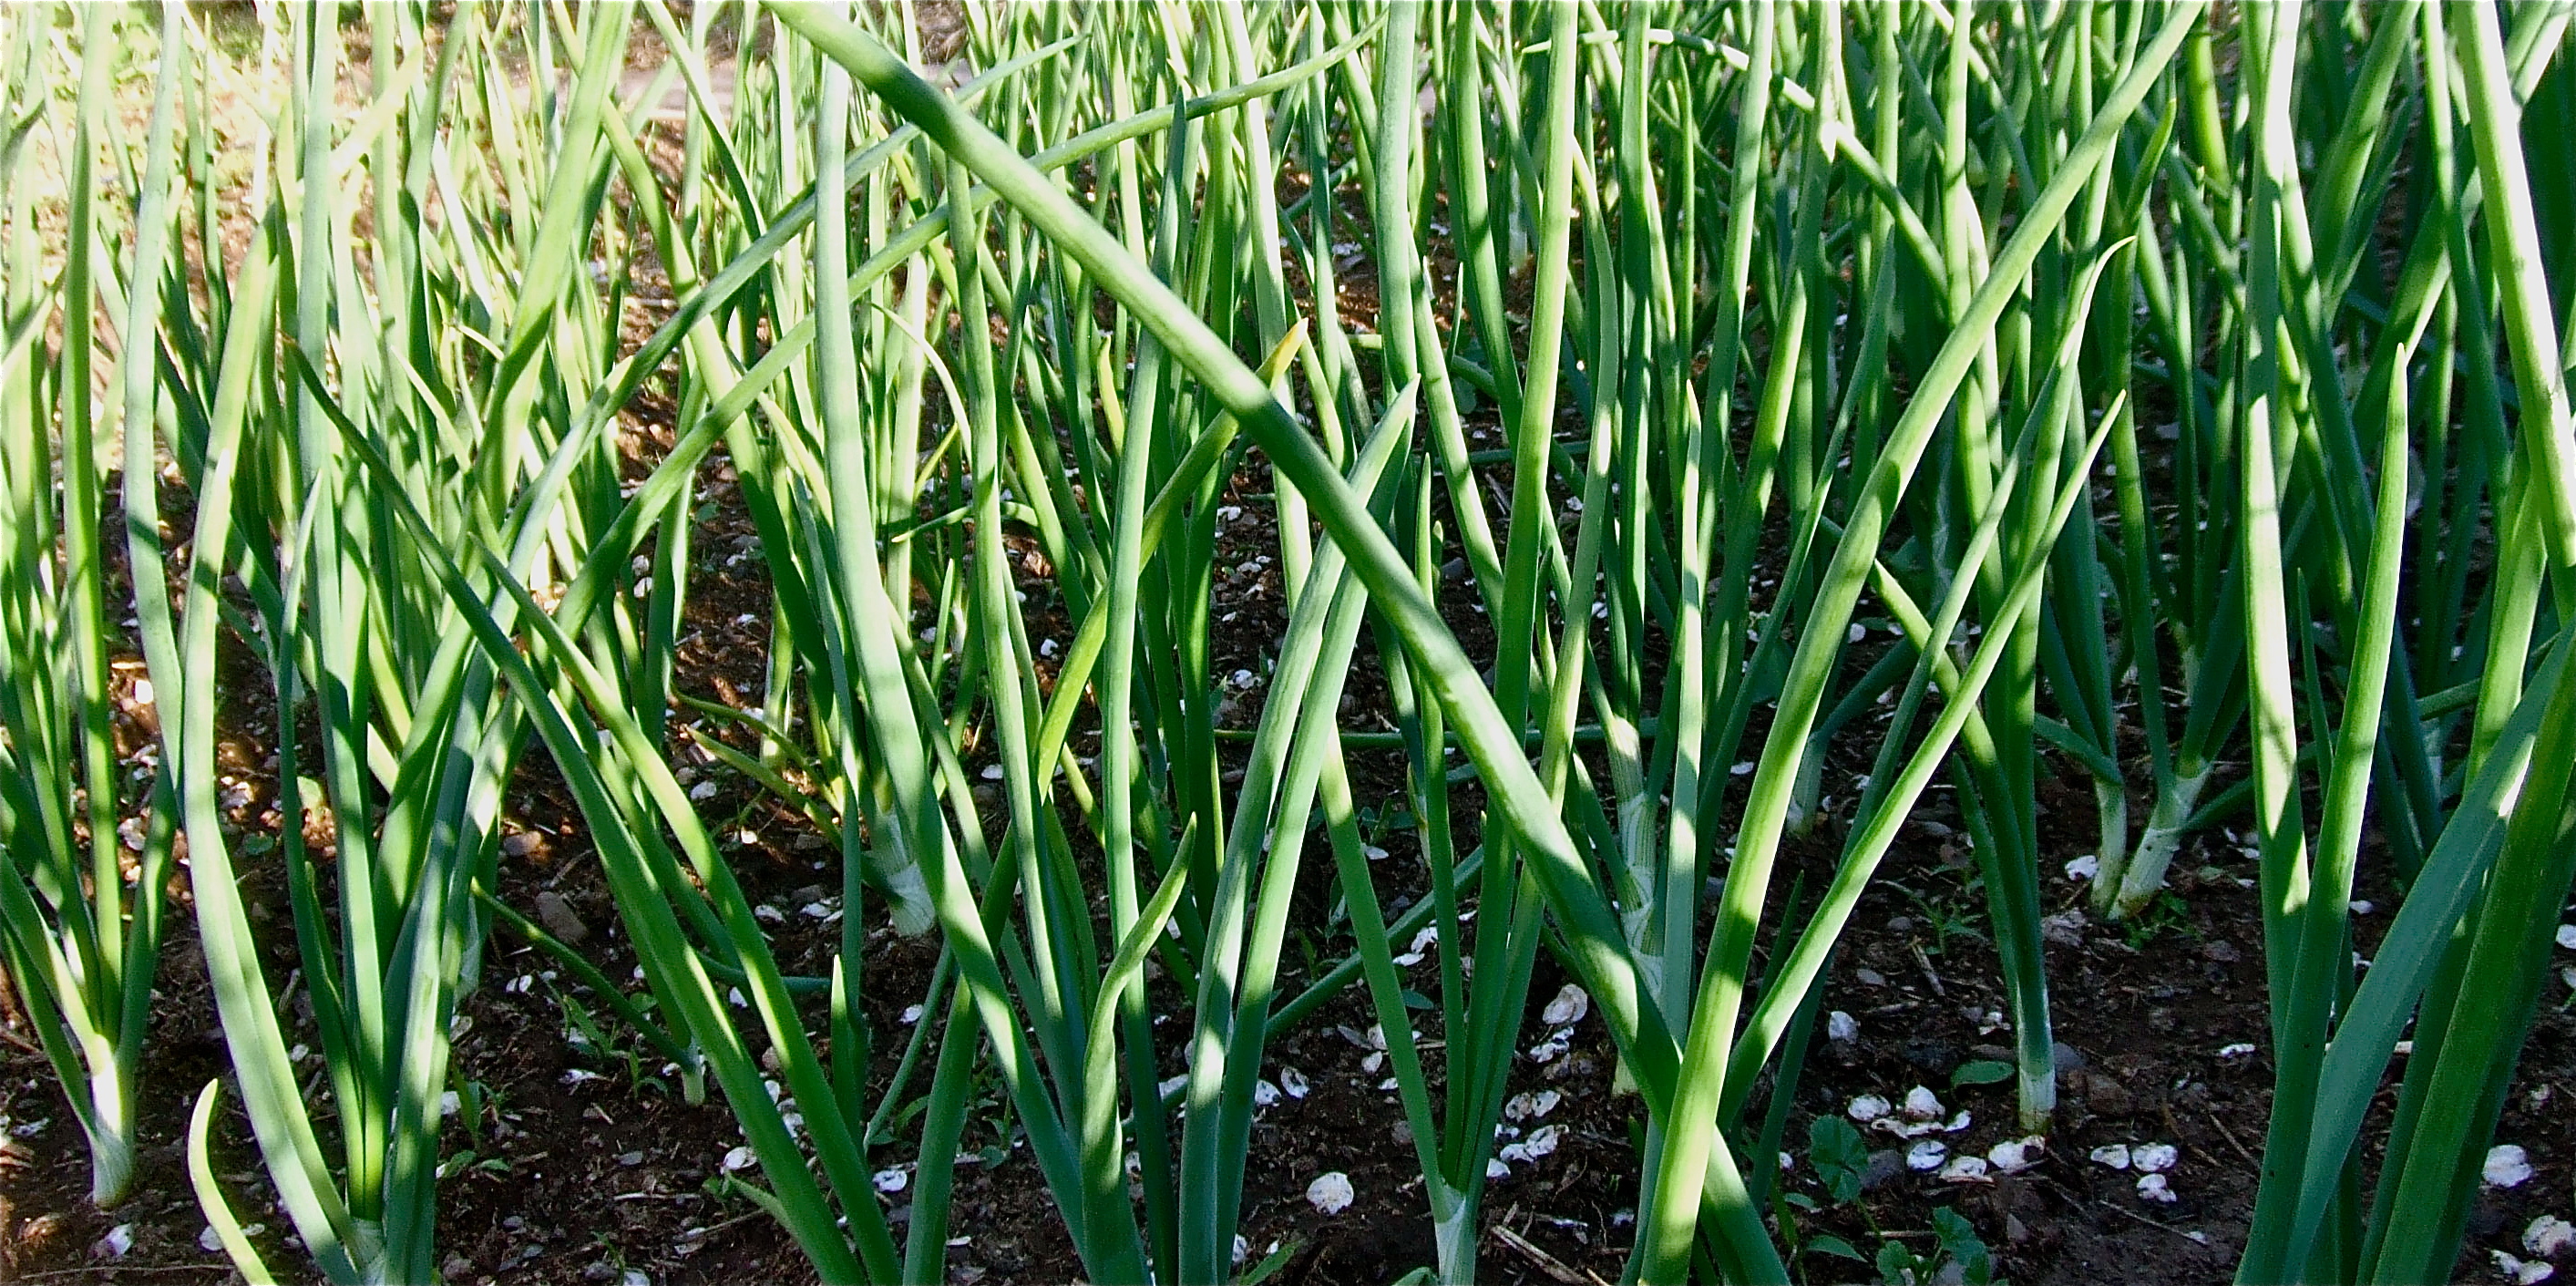
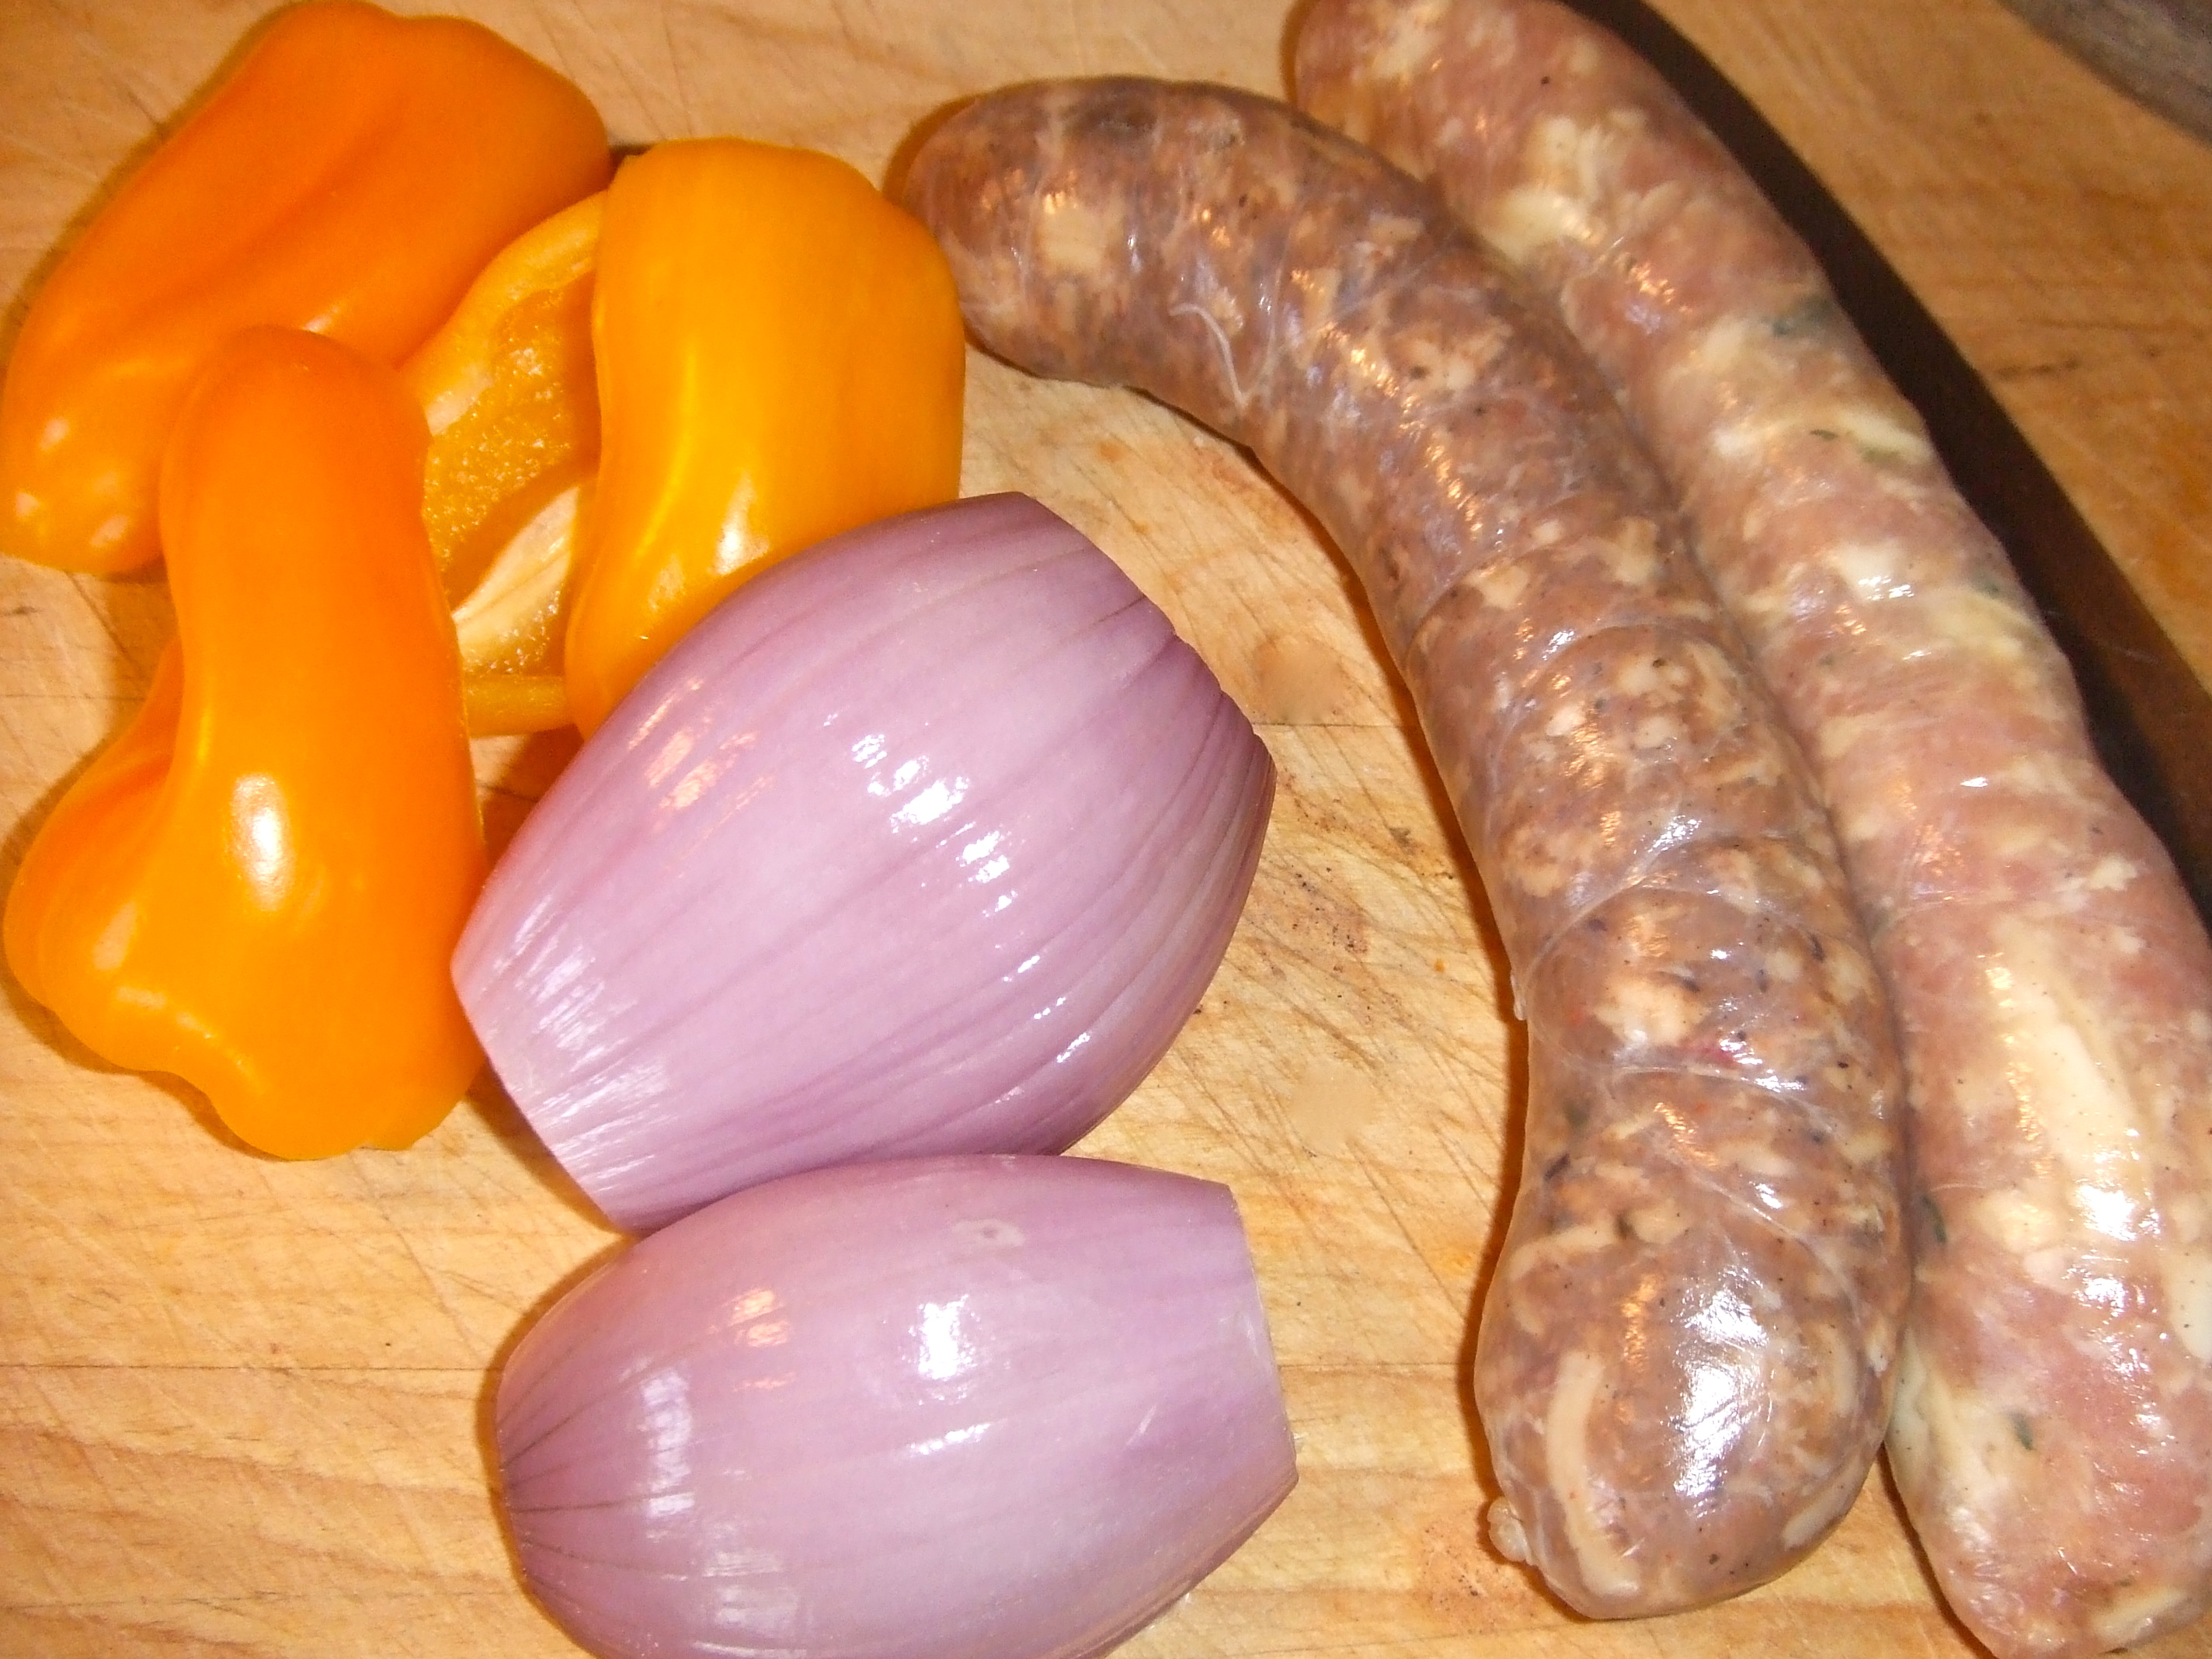
Garden onions for this recipe are required in large quantity.  A cast iron dutch oven is the best way to cook this stew for consistent heating and melding of flavors.  However, a standard covered casserole dish will also work well.

Venison Stew with Root Vegetables Recipe

1 – 2 lb. Venison (roast meat works just fine)

1/3 c butter

1-2 T dried hot chili flakes (such as cayenne)

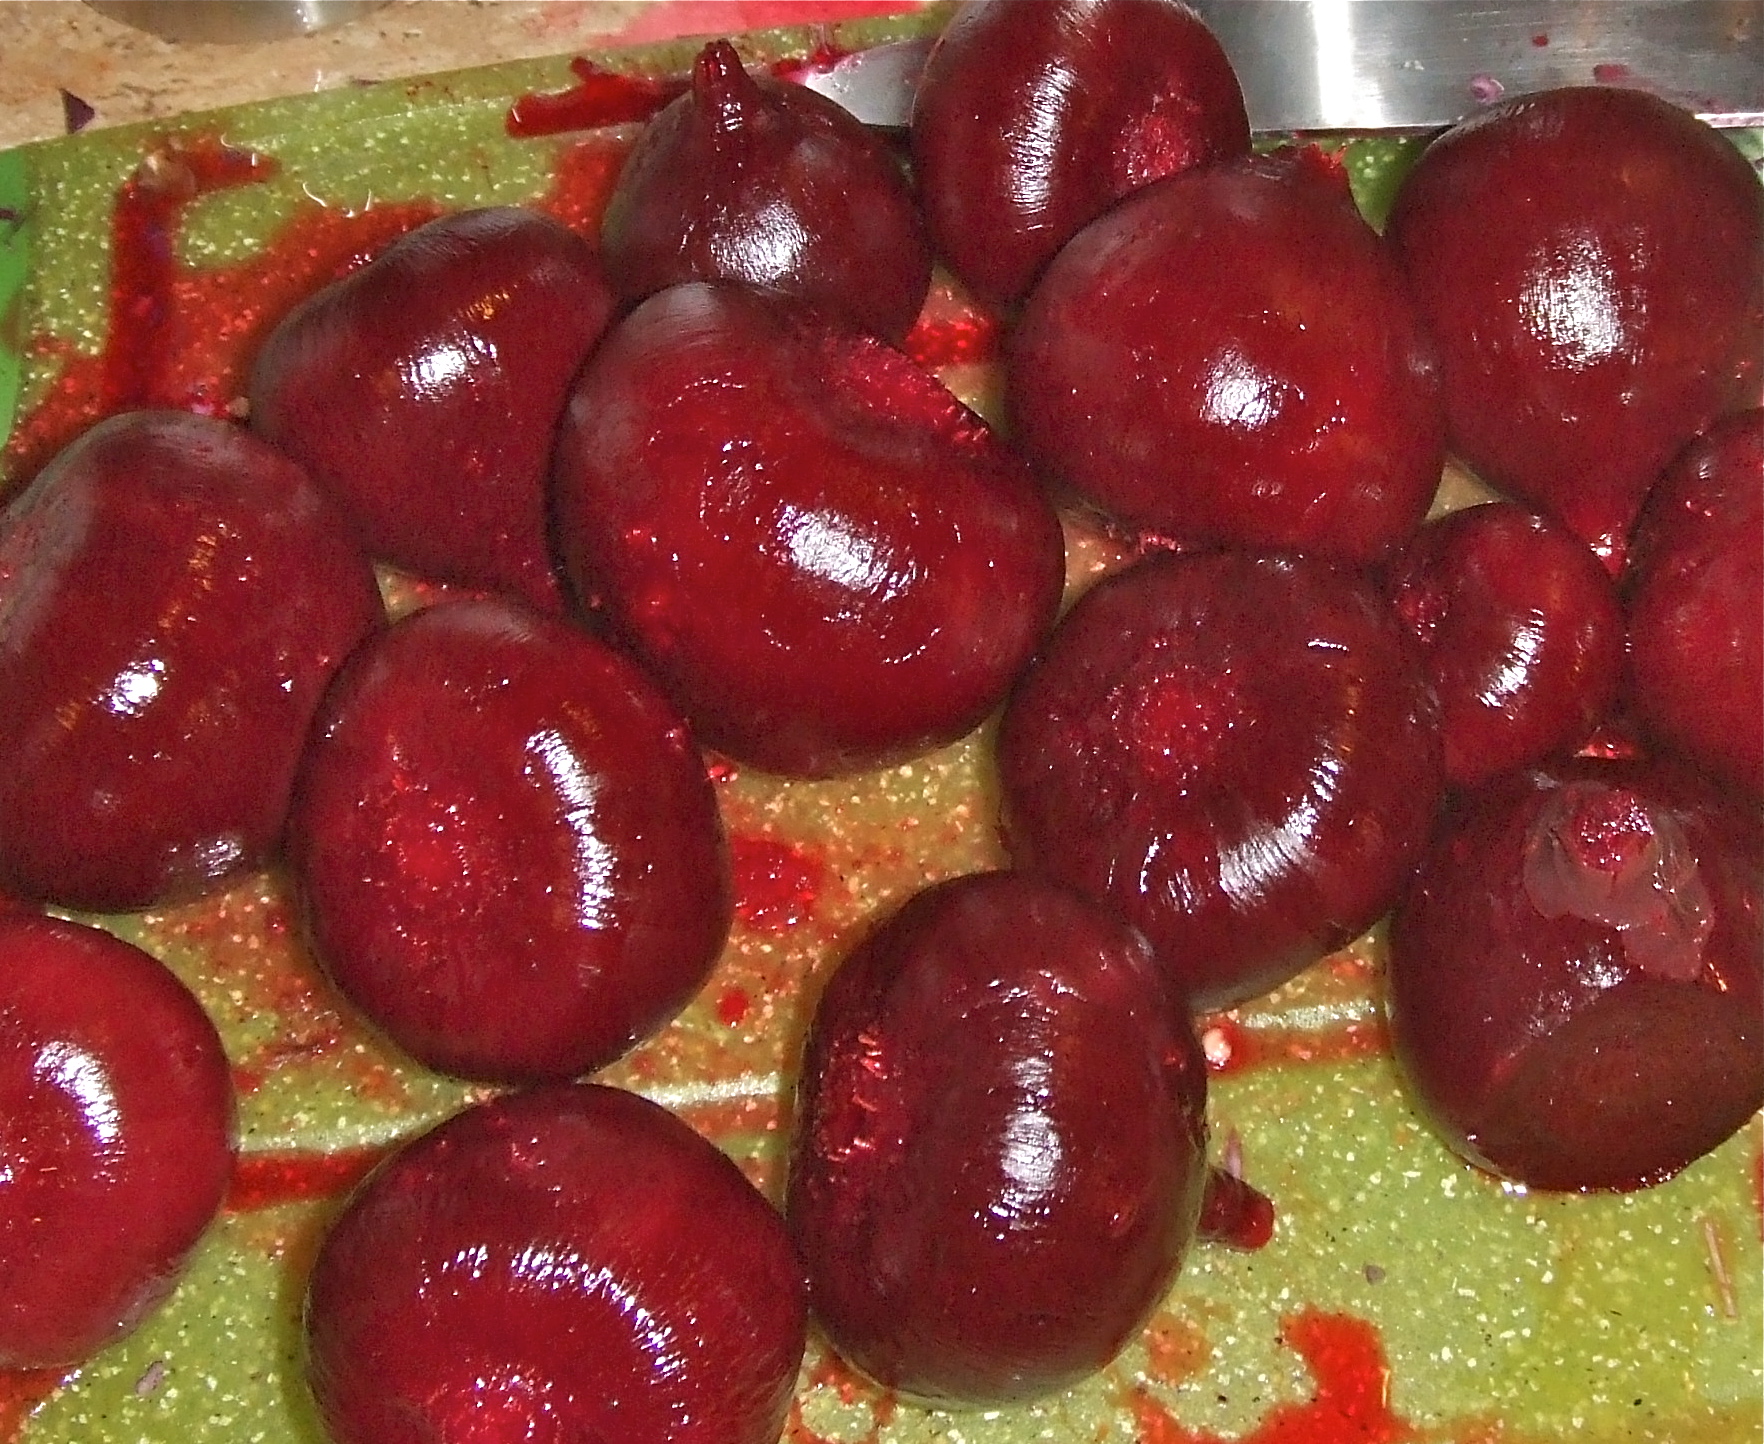
1 large sweet potato

1 large yam

2-3 large onions

ample salt and pepper to taste

½ c brown sugar

¾ c crumbled feta (I use Sunnypine Farms chèvre feta)

~Begin by trimming the venison roast of any tendons and excess fat; chop into large chunks, about 1-2 inches square.

~In a large fry pan, melt butter on medium high and add dried pepper; when chilies flakes are sizzling, add venison to the pan and seer on medium high on all sides, stirring frequently, until meat is browned; note: do not cook through—venison cooks quickly and is easily over done.

~Remove from heat and combine with brown sugar, salt and pepper; place meat in a covered casserole or Dutch oven.

~Chop onions in quarters and root vegetables in 2 inch chunks; cover meat with vegetables, but do not mix; top with feta and cover.

~Cook covered at 250 for about 1 hour, or until root veggies are soft when stuck with a fork; for last 10 minutes of baking, remove cover from dutch oven for browning of onions and cheese.

Yield: 6-8 servings

Love from our kitchen to yours! ~Georgina @ Soul & Stomach

DSCF4339


comment 0

AAA Soup ~ Kids’ Quote “(A)wesome, (A)mazing, (A)stronomical”

Improvisation and children’s love of garden to table food come together to create and name this soup.  After an improv in the kitchen last winter and an earning of the title “triple A” from my daughter, we made a second version together this week with the same rave reviews.  Quoth the daughter, “awesome, amazing!” and said the son, “astronomical mom.”

IMG_0174

This recipe is wonderful for inclusion of kids in the kitchen.  It’s terribly simple, beginning with sautéed onion, garlic and dried herbs, added stock and tomatoes for base, a brief simmer, then inclusion of browned beef, lentils, fresh vegetables, a little pasta, et voila.  Topped with a fine cheese, this soup is simply delectable and packs excellent nutritional value.

IMG_0168

Reading Mollie Katzen‘s hand written base tutors years ago makes improvisational soups such as this so simple.  Her Moosewood Cookbook gave her fame, but I find The Enchanted Broccoli Forest to hold the most magical advice, specifically her detailed descriptions of how to kneed brilliant breads and soup creation instructions that give any cook a solid basis for bringing out maximum flavor from each ingredient.  Following her guidelines on sequencing ingredients is highly beneficial to the end product.  Rules such as starting a sauté that includes dried herbs, rather than seasoning at soup’s end, is key to infusing flavor.  Crushing our own dried herbs still in large leaf form by mortar and pestle also increases pungent taste.

Balance is a key to this soup’s success.  A sort of minestrone by inspiration, it is also a well considered one pot meal, made in large proportions for storage of future meals (count on 3 four person servings from this recipe).

IMG_0165

AAA Soup Recipe

1 c lentils, boiled until softened

2 large onions, coarsely chopped

4 cloves garlic, minced

2 T each oregano and basil, dried and crushed

2 T olive oil, for sauté

1/2 t salt, pepper to taste

1 lb. lean ground beef, browned (Crown S. Ranch‘s free range is our local choice)

4 c chunked tomato, canned or fresh

5 c beef or chicken stock

handful of pasta, preferably linguine or spaghetti noodles broken in small peices

peas, carrots, corn, spinach or choice combination of fresh vegetables

fresh grated cheese, Parmesan or Pecorino Romano

~Fill a small sauce pot with water and boil lentils until barely softened; at the same time, brown beef in a fry pan.

~Heat olive oil in a large sauce pot on medium high heat and add onions to sauté; crush dried herbs with mortar and pestle and add to sauté along with garlic, salt and pepper and cook until browned; stir in tomatoes and stock and bring to a simmer.

~Let simmer on medium low for about 15 minutes; add meat and lentils and bring back to simmer;  add vegetables and return to simmer; finally, add pasta and simmer until just tender.

~Top with Romano or Parmesan and serve with bread for a complete meal.

Love from our kitchen to yours, Georgina @ Soul & Stomach

IMG_0175

comment 1

Good Morning Good Muffin ~ Rhubarb Wakeup

Morning muffins with tangy barb, so easy, so tasty, and they are a joy to make.  Speaking on that sentiment, The Joy of Cooking’s opening quote affirms precisely how I feel while baking and writing: “Joy’s soul lies in the doing.” ~ William Shakespeare

DSCF3279

When the children and I harvest our own fruit, make our own food and eat it with satisfaction, we find our joy in doing, and each experience is amplified. There is no question that these muffins are enjoyed exponentially more than anything we might buy.

After harvesting rhubarb and making gobs of sauce, we most often still have some bright, red shoots growing away. For rhubarb that goes unused at harvest, freezing is the method.  After my mother’s habit, extra barb in summer is chopped, bagged and frozen and comes out for a recipe just such as this.

Though I’ve never seen an actual written recipe for rhubarb muffins, it is perfectly simple to modify any fruity muffin recipe to accommodate your rhubarb. Begin by chopping the barb into berry sized bits and coat it in sugar to stand for about 1/2 hour.  This is to soften the stringiness of the barb, possessing very little sugar on its own.  Then begin your batter.

DSCF3412

Rhubarb Muffin Recipe

1 1/2 c Rhubarb, chopped in 1/2 inch peices

1/2 c sugar

2 c flour (I use organic Bluebird Grain Farms flour here)

1 T baking powder

1/2 t salt

2 eggs

1 c milk or cream

2/3 c sugar

1/2 c melted butter or vegetable oil

1 t vanilla

1~ Combine chopped rhubarb and 1/2 cup sugar in a small bowl and set aside for 1/2 hour, stirring occasionally; Set oven to 400F.

3~ Combine all dry ingredients in a large mixing bowl; combine sugar, eggs, butter and vanilla in a separate bowl.

4~ Make a well in the center of dry ingredients and add the egg mixture.

5~ Mix to barely combine (the batter should look lumpy and not fully mixed for proper rising); fold in rhubarb, and fill greased muffin tin cups.

6~ Bake for 12-15 minutes or until a toothpick inserted comes out clean.

7~ Let cool for a couple minutes before removing from pan; serve warm with butter.

Yeild: 12 muffins

Love from Our Kitchen to Yours, Georgina @ Soul & Stomach

comments 2

Blueberry-Beet Salad

DSCF4054

To the beauty of the beet: it is a root vegetable of many blessings to the self-sufficient gardener and cook—an early  grower, edible from root to leaf-top, beautiful, versatile, and makes its home near the top the list for nutritional value.  And for many of us, this vitamin rich veggie is there for the picking right now.

Colder weather cultivates a desire for pickled edibles. The palate matches the season in that sprightly pickled beets compliment cold weather main dishes, often heavy with dairy creams and rich meats.  Beets from the garden were preserved at summer’s end for a salad just such as this (canning recipe below).

2007_0810BarrowBonanza0016

The work involved with pickling beets is rather worth the effort. The vegetable is good shredded raw on salads or roasted in the oven, however, the pickling process adds sugar and spice to the benefit of the beet. I tried this recipe with oven roasted beets and it was good, but not nearly what it can be through pickling.

DSCF3630

Preserved, beets are seasoned to perfection, through and through. A jar can be pulled for topping salads, used as an instant vegetable side dish for many entrees, or eaten simply as a coveted appetizer.

Blueberry-Beet Winter Salad Recipe

1 1/2 c blueberries or purple or red grapes, season dependent

1 pint jar pickled beets, coarsely chopped

1 large head spinach, washed and torn

3/4 c roasted walnuts, coarsely chopped

3/4 c feta cheese (our Sunny Pine Farm chèvre feta is local preference)

sprinkle of salt and fresh ground pepper to taste

DSCF3634

Sherry Vinaigrette

If canning isn’t in the cards, modify this recipe as follows: roast the beets on 400 degrees for about 25 minutes and make up a sweet vinaigrette. I love working with sherry as it seems to enhance flavor complexities in a wide variety of foods. However, you may easily substitute other vinegars.

1 shallot, finely minced

1-2 garlic cloves, finely minced

1 t Dijon mustard

1 c extra virgin olive oil

1/2 c sherry vinegar

salt, pepper

~ Carefully sauté shallots in 1-2 Tablespoons olive oil until transparent and just beginning to brown; remove from heat and cool.

~Combine shallots, garlic, vinegar and mustard with whisk or food processor; emulsion is the key to a good vinaigrette, so proceed slowly with olive oil, pouring in a steady, small stream while mixing until smooth (using a food processor for this step hastens mixing immensely, but is not necessary, have much patience); add salt and pepper to taste and serve.

Yield: about 1 1/2 cups

~The presentation of this salad is best plated individually, so begin with beds of spinach.

~Combine chopped beets and blueberries in a bowl and set aside; roast walnuts and chop.

~Assemble salads by topping each spinach bed with approximately 1/2 cup beet and blueberry mixture; sprinkle with nuts and cheese; dress with vinaigrette or not as desired and serve.

Yield: about 6 servings

Sweet & Spicy Pickled Beets ~ Recipe for boiling water canner

10-12 medium sized beets, or 4 pounds

3 c onions, sliced long and thin

3 sticks cinnamon, broken

2 c sugar

1 t sea salt (to taste)

1 T allspice, whole

1 t cloves, whole

2 1/2 c cider vinegar

3 c water

4 cayenne peppers, whole and preferably fresh

4 cloves garlic

~Wash beets and trim stems and roots to about 2 inches (this will allow easy skin removal); boil in water until tender, remove and drain; when cool enough to handle, remove peel and trim ends if necessary.

~Combine remaining ingredients, besides peppers and garlic, in a large sauce pot and bring to a boil; reduce heat and simmer for 5 minutes.

~Add beets and simmer until heated throughout; remove cinnamon sticks.

~Using sanitary, hot pint jars, add one garlic clove and one cayenne pepper to each; pack beets into jars and ladle hot liquid over beets, leaving 1/4 inch headspace; remove air bubbles and adjust two-piece caps; process in boiling water canner for 30 minutes.

Yield: 5 pints

DSCF4063

The Beet as Food Coloring

One of the niftiest uses for beets is as a natural food coloring. For those attempting to avoid synthetic food coloring (often containing unnatural or toxic chemicals), the beet is the ticket. Simply slice the root into chunks, cover with water, and simmer down the liquid into a thick, fuchsia sauce.

This natural food coloring is virtually tasteless and is great added to frostings or desert sauces on special occasions. My daughter knows it well as her signature birthday cake coloring.

Love from our kitchen to yours, Gina @ Soul & Stomach

comment 1

Pick & Cook ~ Creating the Kitchen Herb Garden

Cooking with fresh herbs by simply reaching out a hand to snip is a succulent little joy.  In our home, we love to grow herbs and greens indoors throughout the year, and as many as possible.

DSCF2920

Not only do herbs in the kitchen make for fresh snips on hand, indoor planting can prove superior to growing them amongst outdoor vegetables.  Many herbs are prolific as “weeds” and potentially may take over the whole garden, with underground shooter roots which silently travel for yards before popping their heads.

I once lost half of our strawberry plot to rogue oregano which is rather difficult to contain in a raised bed garden.  Similarly mint makes it’s way through and among just about any veggie plot, raised bed or even gravel pathway.  Creating a squadron of herbs in pretty pots inside keeps these little soldiers under better control.

DSCF2695

Growing indoor herbs is fairly low maintenance and is an easy way to involve children with gardening. My daughter enjoys stripping the the tiny branches after we hang-dry the herbs, and her little fingers are ideal for the job.

Drying snipped branches in bunches can take a week or two inside, depending on the leaf sizes and general humidity level.  Especially in more humid climates, consider grinding down larger leaf herbs when jarring for dry storage. This helps ensure you have removed all the moisture from the plant.

Try using a mortar and pestle by hand rather than an electronic device.  This gives more control and avoids totally pulverizing the herbs into powder, which removes taste over time.

DSCF3607

In addition to standards like basil, oregano, mint, rosemary, this last fall we brought in the cayenne peppers that were not yet ripe in the garden to finish their season indoors, which was a total success.  Peppers are also amendable to drying, given a sunny, south facing window, but may take a good couple weeks of observation and turning.  Again, with mortar and pestle, grinding dried cayenne peppers proves perfect for dishes like curries or dry rubs for grilled meats.

DSCF2861

Kitchen Herb Garden Methods

1 ~ Seed herbs indoors anytime; try cilantro, cumin, basil, oregano, chives, rosemary, mint or any herbs you use most often in cooking.

2 ~ Keep soil consistently moist; watch for browning leaves, and if so, reduce water.

3 ~ Prune to prevent spindly plants. An herb like chives can grow in clumps, as can oregano, mint and cilantro. Others like rosemary and basil are longer lasting plants and need a few inches between them to grow well.

4 ~ Snip and consume at will. If any of your herbs get gangly or start to flower, simply snip the tops and the plant will bush out and grow further.

5 ~ When herbs prove abundant, dry by grouping them into 1 ” diameter bunches or less and tie off with twine (I use twisty ties I save throughout the year), then hang in a dry location.  Drying can take one to two weeks.  Be sure your herbs are crispy dry because if not they can mold when stored.

NOTES on locales for starting a kitchen herb garden

Check out Live In Artan informative, locally based blog that includes herbal recipes and methods for making home made herbal salves.

Organic and heirloom seeds may be purchased in our local Methow area at Local 98856.

For local Methow producers of herbs, greens and other goods, check out GLOVER STREET MARKET in Twisp, or purchase their Sowing Seeds organic seed stock onsite.

Local herbalist Rosalee De la Foret’s website Methow Valley Herbs includes reliable information on medicinal herbs and history.

Love from our kitchen garden to yours, Georgina @ Soul & Stomach


comment 0

Best Baby Foods ~ Garden to Table

Introduction of first foods for baby is a delicate endeavor for even the most diligent parents.  There are a plethora of opinions and products in our culture, but keeping it simple, all natural and straight from the earth improves focus as a mother and digestion in the babe.

IMG_0105

I led a local mothering support group for years and am currently in the state of spoon feeding my third child.  Through many conversations with wise mothers and much food research, I’ve condensed the knowledge gained of baby foods to a simplified format.

Especially for the very young, food introduction is particular, both for their physical experience of digestion and formation of diet for the long term.

IMG_0102

My little son is 18 months and has been my biggest eater post-nursing.  Yet the foods I’ve introduced have been rather basic, often the same each day.  After the first two children, I dispensed with the popular notion of our culture that seems to dictate a great variety of foods. 

IMG_0124

Motar and pestle  is an indispensable preparation tool for grinding down granola and grains, too large for little one’s digestion just yet, and comes in handy almost daily.  Our pantry preserves provide much of baby’s food, with applesauce, nectar and various fruit sauces for yogurt and cereal now dwindling rapidly.  And oh how satisfying to open and serve, straight from the summer garden to the table for our pure little one.

Baby’s Basic Daily Fare ~ Recipe

Our most common and successful meal combines all he needs in one sitting: whole grain, fruit and dairy based protein.

~granola

~yogurt, preferably Greek style, whole milk

~apricot nectar, or other pulpy fruit juice

First, grind down granola to a consistency of course sand; second, add preserved apricot nectar, mix and let it stand to soak in for a few minutes in order to soften the grains and make digestion of a carb like oats that much easier; finally,  mix in a couple good sized spoons of whole milk yogurt.

Apricot Nectar

IMG_0073

The first food I gave to little one was Apricot Nectar, a super thick juice packed with vitamins A and E, and made in a manner that the pulp is preserved through the canning process.

Starting around 6 months nectar was an easy first food, being naturally sweet like breast milk but fairly low on sugar content.  At around 1 year, I began adding it to granola pulverized with mortar and pestle.

See recipe in my article “Sweet Ambrosia: Canning Apricot Nectar”

Additional Best Baby Foods from Soul & Stomach

Rhubarb Sauce and Yogurt, see article “The Barb is On” for rhubarb sauce recipe and methods.

Quiche, see article “Quiche Magnifique.”

comment 0

Bar-B-Q Star ~ Meat & Greens as Main Course

Simple preparation and delightful presentation combine in this entree salad that consistently pleases.  A delicious lime-cilantro dressing, “stars” of lean beef, healthy toppings of black beans, corn, peppers and scallions plus a plethora of greens  make this recipe a main course in need of little else.

DSCF3406

Spring brings with it a renewed palate, ready for pure, light fare from the garden and farm, and this meal hits the mark.  After heavier comfort foods in the cold months, I enjoy the simplicity of a non-carb meal, and my body also thanks me.

Begin with the beef.  Locally grown, organic grass-fed top sirloin or tenderloin from our friends at Crown S Ranch is cooked to medium-rare in the broiler or the bar-b-q and then thin sliced.

For greens, go for tough and flavorful, spinach, kales, chard or a combination all work well as the salad bed.

DSCF3475

The dressing includes the spike of citrus, the fresh strength of cilantro, black beans, corn and sweet peppers to top the meat and greens perfectly and soak in an infusion of flavor.

NOTE an additional perk: this meal takes only about 1/2 hour to prepare.

DSCF3256

Meat and Greens Recipe

1 lb. + Tenderloin or Top Sirloin

Extra Virgin olive oil, salt and pepper, for beef

Big bunch of greens: spinach and kale are my preferences for this salad

DSCF3395

Dressing

1/2 c extra virgin olive oil

1/2 c fresh squeezed lime juice

1/2 c coarsely chopped cilantro

1/4 c chopped scallions (green onion)

2 t maple syrup (optional)

1/4 c black beans

1/4 c corn

1/4 c sweet bell pepper, chopped in 1/4 inch pieces

1~ Trim meat and rub with olive oil, salt and pepper; Grill meat on high heat, turning once. Be careful not to let it get over done, the beef will keep cooking for a couple minutes after it’s removed from the grill. Set aside to cool.

2~ Combine all ingredients for dressing. Add beans, corn and peppers to dressing to soak up flavors.

3~ Make a bed of greens for each plate. Creating a pattern with your greens enhances presentation.

4~ Cut the meat just as thinly as possible and place over greens creating stars on each plate.

5~ Pour an ample portion of dressing-bean combo over each serving. Finish with fresh cilantro if desired and serve.

Yeild: about 4 entree sized servings

Love from Georgina @ Soul & Stomach

 DSCF3402

comment 0

Cookie Classics

Long ago I swore off cookie and candy baking because of one unescapable reality: I could happily live on these foods alone.

DSCF4359

There are only two qualifiers that call for such activities; one, if it’s the holiday season and two, just for the kids. Currently both qualifications are met so treats abound!

After producing these batches, some improvisations and others classic recipes from our Swedish lineage, it was gratifying to see so many ingredients in use from the preserves of the summer. Among these are dried apricots, apple-maple jam and rhubarb sauce. In the fruit bar recipe here, the flavors of preserves prove perfect.

DSCF4361

These recipes comprise three Swedish generations of holiday treat baking, one from myself, one from my mama and one from her mother. Grandma Irene’s is authentically Swedish whereas the other two are simply yummy creations made by we with Swedish heritage.

Butterballs, Swedish Grandma’s Recipe

With her grand dinner parties, gracious hostessing and Swedish cooking, any recipe from Rene is a sure winner. So it is with these ever so tasty butterballs. These cookies qualify for the ‘anytime, anywhere’ list.

This recipe makes a treat of supple buttery texture and rich nutty flavor. It is a basic cookie at face value, but that would be an underestimation.  At first I was worried about the small measure of sugar that the recipe requires, but I would not change the ratios a bit.

1 c butter

4 T powdered sugar

1 t vanilla

2 c sifter flour

1 c chopped nuts

1-2 c powdered sugar

~Cream butter; add sugar and beat until light; add vanilla and beat again.

~Add flour and mix well; fold in chopped nuts.

~Shape into small balls on an ungreased cookie sheet and bake 15-18 minutes on 350º F or until just firm and beginning to golden.

~Roll in powdered sugar while still warm; allow to cool before serving.

DSCF4356

Fruit Bar Cookies with Preserves, Recipe

I toke a classic, simple bar cookie recipe from Better Homes and Gardens New Cookbook and created three different new fruit combinations. Each of these (apricot-date, apple-maple and rhubarb) came from the pantry, produced from garden and gathering in the sweet summer months. And each can be reproduced or replaced if desired.

1 c flour (I use our local Bluebird Grain Farms flour here)

1 c oats

2/3 c brown sugar

1/4 t baking soda

1/2 c butter

1 recipe fruit filling (see options below)

~Combine first four ingredients in a bowl and mix well; cut butter into flour mixture with a pastry blender, knives or food processor until resembling course sand.

~Reserve 1/2 cup pastry mixture and set aside; with remaining pastry mixture, spread on bottom of an ungreased 9 x 9 ” baking dish or pan; mash down to one even layer.

~Top first cookie layer evenly with fruit filling of choice; sprinkle remaining pastry mixture on top of fruit.

~Bake at 350 F for 30-35 minutes or until top crust begins to brown.

Apple-Maple Fruit Filling

I used my recipe for apple-maple jam, found on the preserves page (Canned & Preserved 2012), but here is a simple sauce that approximates the jam recipe.

1 1/2 c apples (preferable a tart variety) peeled and cored

1/4 c water

1/3 c maple syrup

pinch of cinnamon and nutmeg

~Bring apples and water to a boil and reduce to simmer for 3 minutes; add maple and spices and simmer for a couple minutes more; thicken with flour if desired; cool slightly and spread evenly on first cooking layer.

Apricot-Date Fruit Filling

1 c dried apricots

1/2 c chopped dates

1/2 c water

1/3 c sugar

3 T flour

~Chop apricots; bring apricots to a boil in water and let simmer for about 5 minutes or until soft; add sugar and flour and simmer for a couple minutes more; remove from heat and add dates; spread on top of first cookie layer.

Rhubarb Fruit Filling

Using rhubarb sauce is just fine for this version; see the recipe at article The Barb is On. I used rhubarb from the freezer that I had washed and chopped this summer. Here’s the quick cook down sauce that maintains some of the chunky freshness of the barb.

1 1/2 c rhubarb, chopped in one inch pieces

1/4 c water

1/2 c sugar

4 T flour

~Using a small sauce pot, boil water and rhubarb and reduce to a simmer; add sugar and cook, stirring occasionally, for about 5 minutes; add flour as needed to thicken and simmer a minute more; cool slightly and spread evenly on first cookie layer.

Peanut Butter Tiger Fudge Recipe

Super quick, fun to make with children and universally popular, this family recipe is one we make every year. It is easy to modify to your liking, i.e. remove or switch out nuts, coat with dark chocolate, light, or none at all. It seems to get eaten faster than any other holiday treat, regardless of the latest version. And if you are in a rush to produce some fast candy, this recipe is a sinch with no baking involved.

1 lb. candy coating (almond bark)

1 c creamy peanut butter

1 c walnuts or other nuts

1 c semi-sweet chocolate chips, melted

~Melt coating in a saucepan over medium neat, stirring constantly until smooth; remove from heat and stir in peanut butter and nuts.

~Fit tin foil to a shallow baking pan or two such as cake pans; spread candy mixture evenly to coat, about 1/4 inch.

~With spoonfuls of warm chocolate, spread in zig-zag patterns over top of candy mixture.

~Chill for 1 hour +; remove from refrigeration and cut into two inch pieces; store refrigerated.

Love from our kitchen to yours, Georgina @ Soul & Stomach

comment 0

Quiche Mañifique with Custom Made Chicken~Gruyere~Garlic Sausage

There is maintenance quiche, and then there is quiche of creative proportions. This recipe accomplishes the latter.

DSCF3548

I’m sure you’ve had one ~ a piece of freshly baked quiche that melds flavors perfectly, a flakey, buttery crust, melting in your mouth, so that one slice alone is not satisfying enough. You think, well, perhaps the quiche is a prime entree after all.

Thomson Custom Meats’ hand crafted chicken gruyere sausage with roasted garlic makes this recipe great. Without it, it would be a little less divine, but still delicious. Our friends at this Methow mainstay use 100% local meat without antibiotics for all their charcuterie. It’s a truly home grown, family operation. Chris Thomson consistently puts out the highest quality meat and cut.

Shallots, baby peppers and Thomson Custom Meats hand-crafted sausages

DSCF3517

Thomson Custom Meats (on FB) offers such variety as smoked meats, bacon, lamb and jerky to seafood, chicken, and, a personal favorite, handcrafted sausages.

It was a tough choice between their sausages: Garlic Merlot Pork, Tai Chicken, Chicken-Apple-Onion-Sage, Pork-Onion-Potato, Spanish Chorizo, Sweet and Traditional Italian, Italian Chicken with Parmesean…to name a few.

All were good, but after an extensive tasting, the Chicken-Garlic-Gruyere won, hands down for this recipe.

DSCF3533

Aside from the locally made sausage, this recipe is gratifyingly sustainable because almost every single ingredient is something we can produce. Eggs are farm fresh from the beloved chickens. Peppers grow in the garden as do herbs. Shallots are preferable, but onions will do the trick.

There is a deep love that comes through from cooking a meal you produce from gathering and growing the food yourself. This divine quiche is full of love and decidedly garden to table.

Place the grilled onion slices around the edge of the egg mixture so they can pop to the surface and brown.

DSCF3539

Quiche with Sausage & Sweet Peppers Recipe

6-7 Large Farm Fresh Eggs

1+ cup milk or cream

2 Brat sized Sausages, casings removed

2 Tablespoons Butter

2 Shallots (or onion of choice) 1 finely dices, 1 in thin horizontal slices

3 small sweet peppers or pepper of choice

1/4 cup chopped basil

1 cup shredded cheese (mozzarella, monteray jack or any mild cheese works well)

salt and pepper to taste

~Deluxe Flaky Pastry Dough~ modified from the Joy of Cooking, 1997 edition

3 cups Flour (try 1/2 Emmer Grain Flower, Bluebird Grain Farms)

1 cup butter

1/2 teaspoon salt

1-2 teaspoons sugar

1/3 cup iced water

1~ Prep dough: combine flour, salt and sugar; using a food processor or pastry cutter, cut in butter until dough resembles course sand; add cold water and mix until just combined; separate dough into two balls, wrap and chill for at least one hour.

2~ Sauté 1/2 minced shallots and 1/2 minced peppers briefly in butter and set aside; using the same pan, sauté chunks of sausage and set aside.

3~ Mix eggs, milk, salt, pepper and fresh basil. Now you are ready to layer your quiche.

4~ Roll out cooled dough on a floured surface; place dough in buttered dish and flute edges.

5~ Spread cheese as first layer; add sautéd shallots, peppers and sausage; place shallot slices around the edge of quiche; slowly pour in egg mixture; top with remaining halved peppers.

6~ Bake at 375F for 1/2 hour or until quiche is cooked through and crust is golden brown.

7~ Let sit for 10 minutes after baking, serve and enjoy.

Love from our kitchen to yours! Georgina @ Soul & Stomach

comments 4

Sweet Ambrosia: Canned Apricot Nectar

One of the simplest and most rewarding canning recipes, apricot nectar is true ambrosia, a term referencing the mythical “food of the gods.”  In our home, apricot nectar has obtained that nearly divine status in the pantry and thankfully it also fills the body with concentrated vitamins and nutrients.

IMG_0096

To our family’s satisfaction, the trees are lush at summer’s end and brimful of harvestable cots. At this time in the season, writing goes by the wayside while I preserve our bounty for winter.  Many in the Methow Valley reflect during harvest that if production recipes aren’t happening every day, we’re getting behind.

DSCF3930

I learned to make apricot nectar (and to surreptitiously gather it from the cellar) from my dear friend’s mother, Betsy Buford. It never fails to please and includes the wonderful necessity of a hand crank food mill.

Betsy was one of those rare super-moms of the ’70s. Raising four children miles from any town in the north woods of Okanogan County, she prided herself on completely home-grown, self sufficient living ~ from dispensing with running water and electricity to canning meats raised on their farm.  Meals at Betsy’s house might consist of giant buckwheat pancakes with straight molasses for breakfast or a gooseberry pie for a treat. Everything eaten was grown in the yard or gathered from a friend.

I asked her once why she did it. Her response: “to prove to myself that I could.” She’s the mountain mama I think of as I preserve apricots each year.

Now a professional chef and baking professor at Edmonds College, Betsy Buford has been a pastry chef at fine Seattle restaurants including Falling Waters, Ray’s Boathouse, and Campagne as well as at Sun Mountain Lodge, local here in Methow.  Betsy taught me about the spirituality of food as a kid.  Grow it, harvest it, can it or cook it, and feed it to your family without apologies but with loving appreciation ~ that’s the joy of cooking.  And, cooking without devices to cook for you is not only an accomplishment in self-sufficiency, it is immensely satisfying for the soul. This recipe captures all of those spiritual aspects of cooking.

IMG_0073

Apricots make their appearance mid to end of summer.  Many trees in the Methow Valley’s semi-arid, high mountain climate are ancient and laden with fruit.  Huge, knarly branches bend under the weight of the fruit, dripping golden, pink and crimson orange hues in a variety of flavors.  Some cots can be subtle in taste yet substantial in size, while others are tiny (even 1″ diameter) but pack so much flavor that they are more than worth the effort of picking and processing. I have two such trees in our yard, but I’ve found that any cots will work well for nectar. If you do not have a tree immediately near, try your farmer’s market for fresh organic cots.  One or our favorite local growers for purchase is Smallwood Farms.  Or just keep an eye out throughout the year for a rogue tree on public land, for there are many.

One beauty of this recipe is that it is entirely malleable to your taste; no sugar or sweetener is needed, but the recipe is very responsive to added acidity or sugar depending on your cot.  I choose to cook the fruit down, but Betsy also made a raw pack version of the nectar that is excellent.

But the most satisfying part of this recipe? One sip of nectar in winter is like a mouthful of fresh picked apricots at harvest.

NOTES on Method

A word or two about hand-crank food mills. There are a couple varieties on the market and many work well, however, my favorite for efficiency is the old fashioned cone shaped food mill.

Apricot Nectar Recipe

Fresh apricots​​​

​​​Hand-crank food mill

Water​​​​​​​​

7 quart size mason jars

New sealing lids, bands

Sugar or honey, to taste

Fresh lemon juice, to taste

~ Your apricots need not be perfect; after rinsing them, pit and cut any brown bits or buggy parts inside the cot; don’t worry about marks on the skin as they will be pressed and discarded. In this way, the recipe maximizes the fruit, capturing all possible pulp.

~ Fill your largest sauce pot to the brim with apricots and add enough water (at least 1/3 of the pot) to account for moisture loss and to prevent sticking; cook on medium heat until all fruit is softened.

~ Place your food mill over a large bowl and have a couple other bowls on hand; fill the mill with cooked apricots, cranking both clockwise and counter clockwise and repeat until all juice is extracted and you’ve pressed down the pulp as much as possible; return all to the sauce pot.

~ Add honey or sugar and lemon juice to taste; generally I use very little lemon or none and as little sugar and water as possible, preferring a pure thick nectar, however experiment to your liking; then bring the nectar to a simmer and immediately can your nectar; as with any fruit or veggie, the less it is cooked, the more nutrients are retained.

Preserving Nectar 

~ While you are processing the apricots, start your boiling water canner on high and boil quart jars to sanitize for 10 minutes.

~ Pour boiling water over new lids and bands and let sit.

~ Remove jars from hot water bath; fill each jar with nectar to within ½ in head space; in case of splatter, wipe jar rims clean with a wet, hot towel and lid them, screwing bands to finger tip tightness.

~ Process in hot water bath at a full boil for 25 minutes; remove from water and tighten bands; let stand untouched for 12+ hours to set.

~ Put up in the pantry for yumminess all year long

NOTE  Aside from a drink, nectar is great over ice cream for desert, added to baby’s foods or as a base for a meat glazes.

Love from our pantry to yours! Georgina @ Soul & Stomach