Inspired growing, gathering, canning and cooking of creation's abundant blessings ~ original and heritage recipes and methods to feed the soul and stomach.
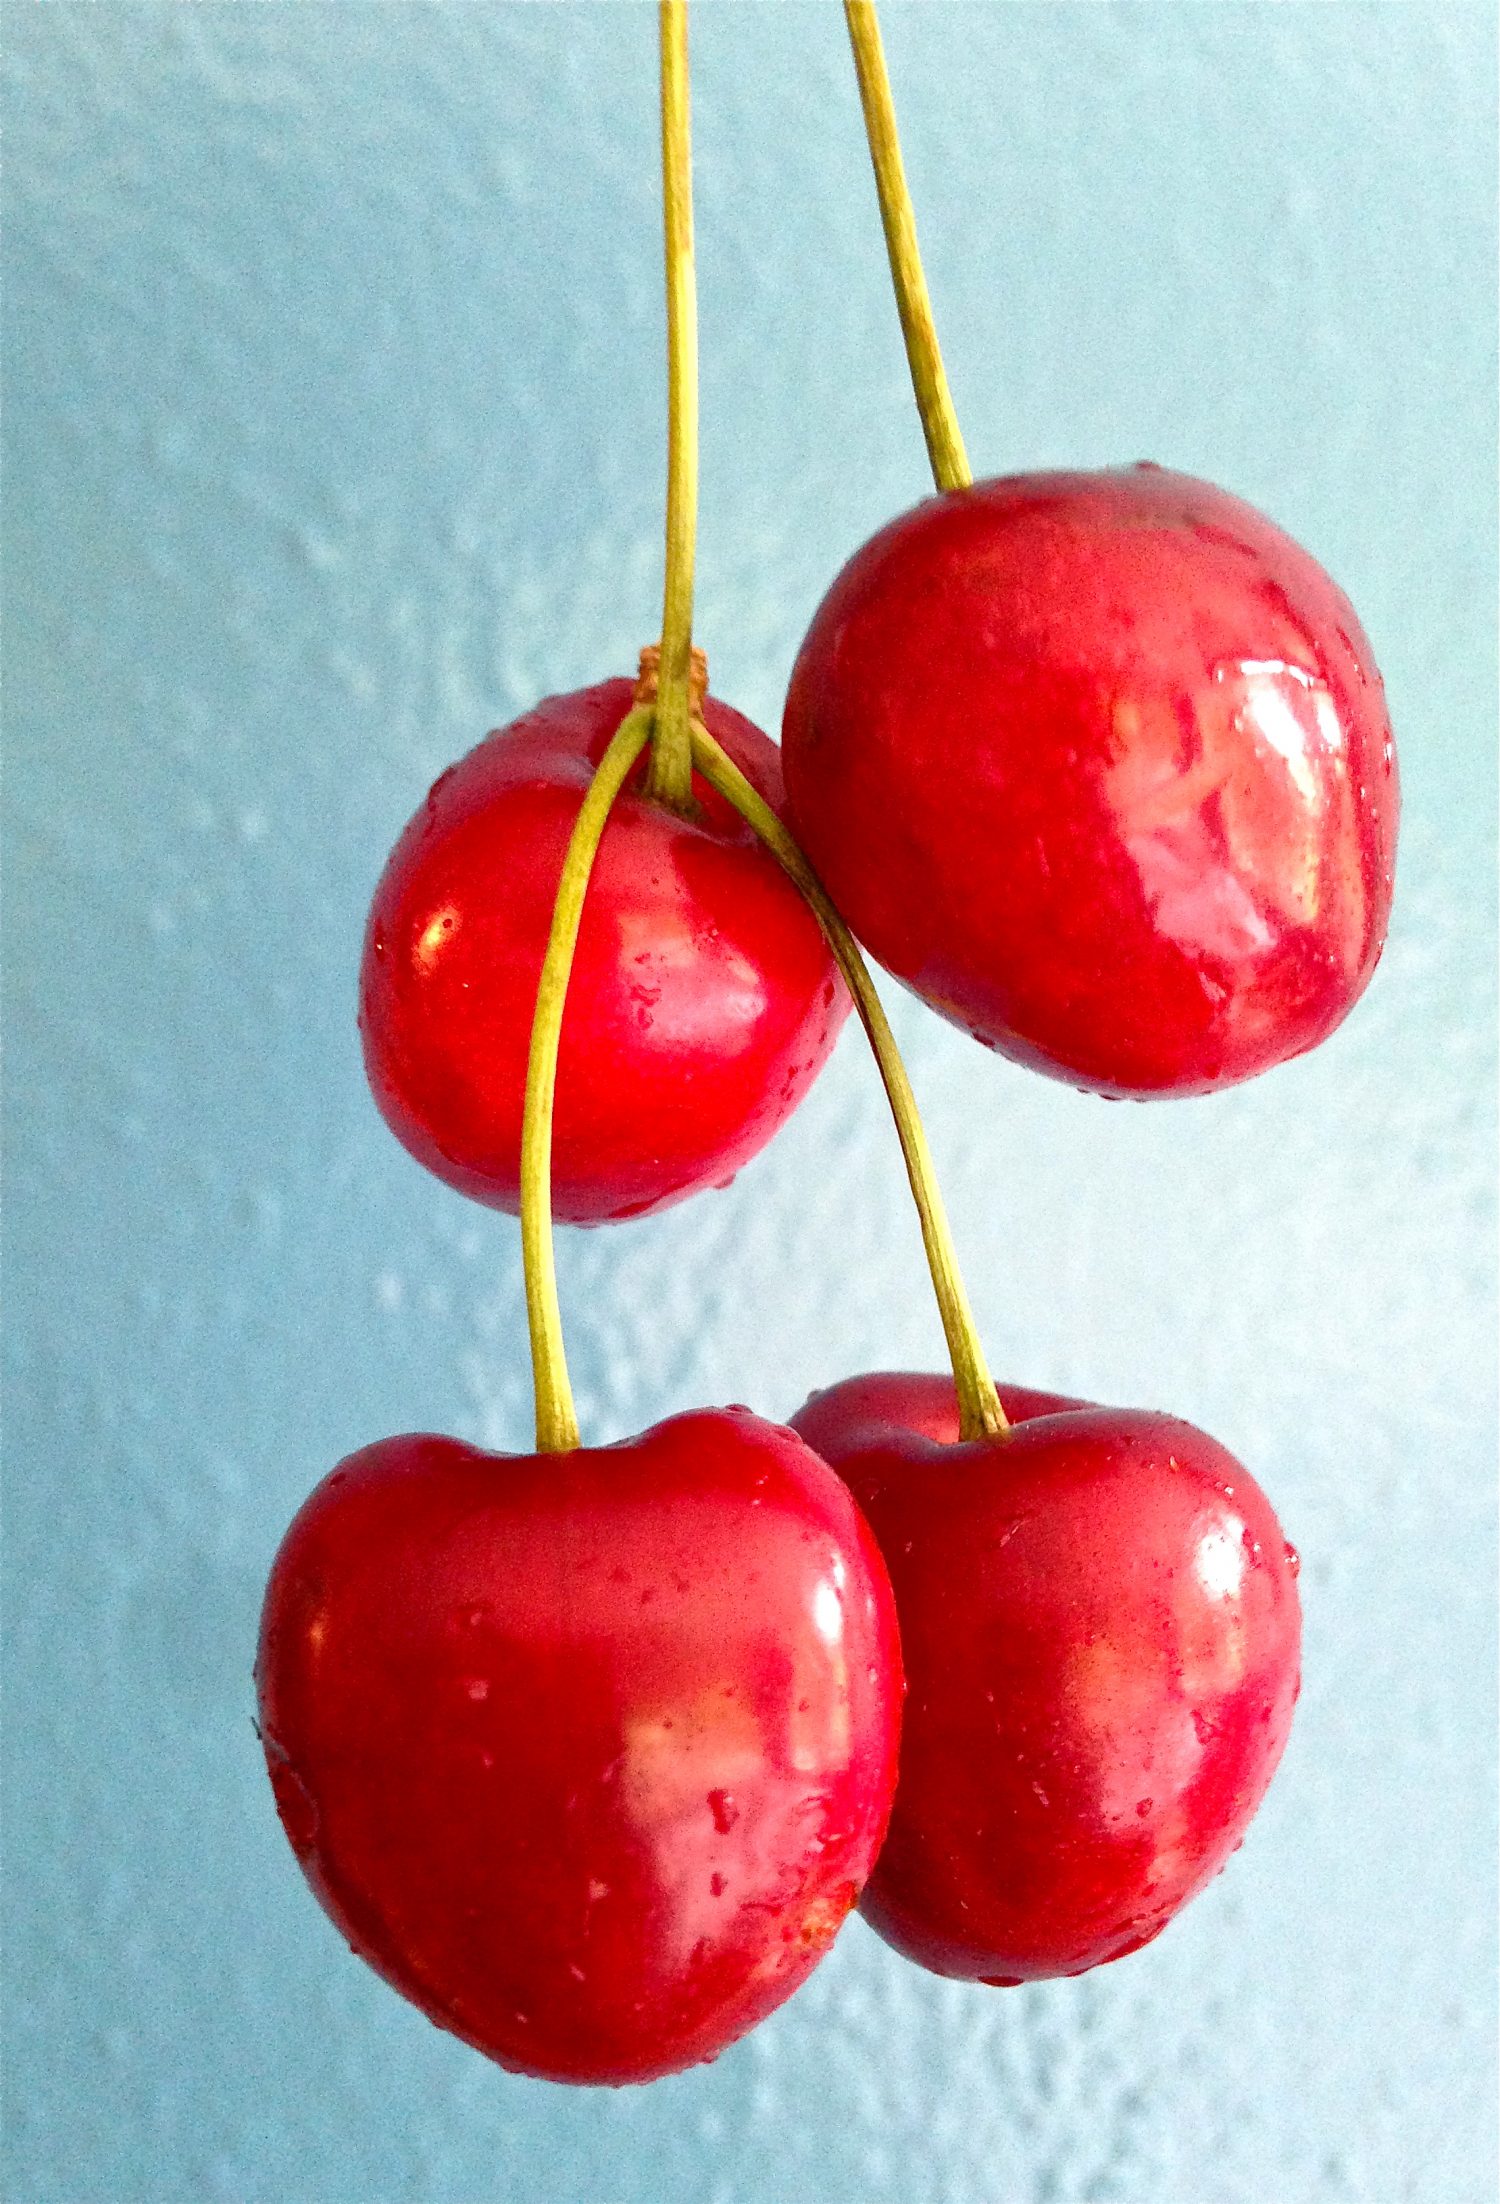
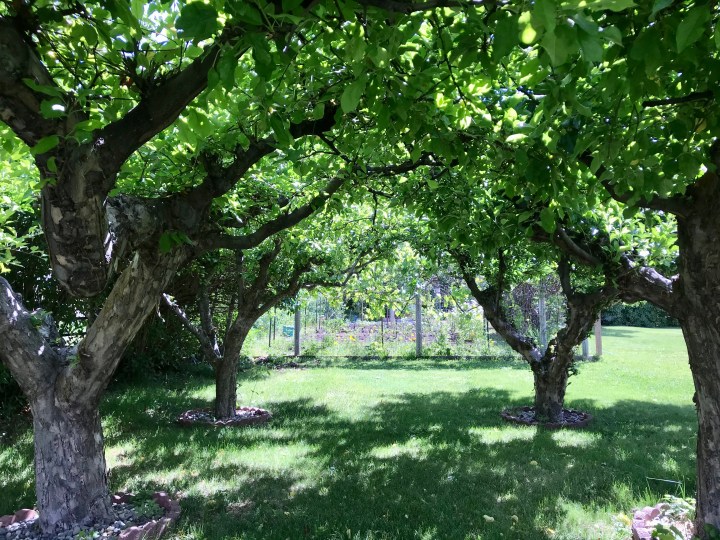
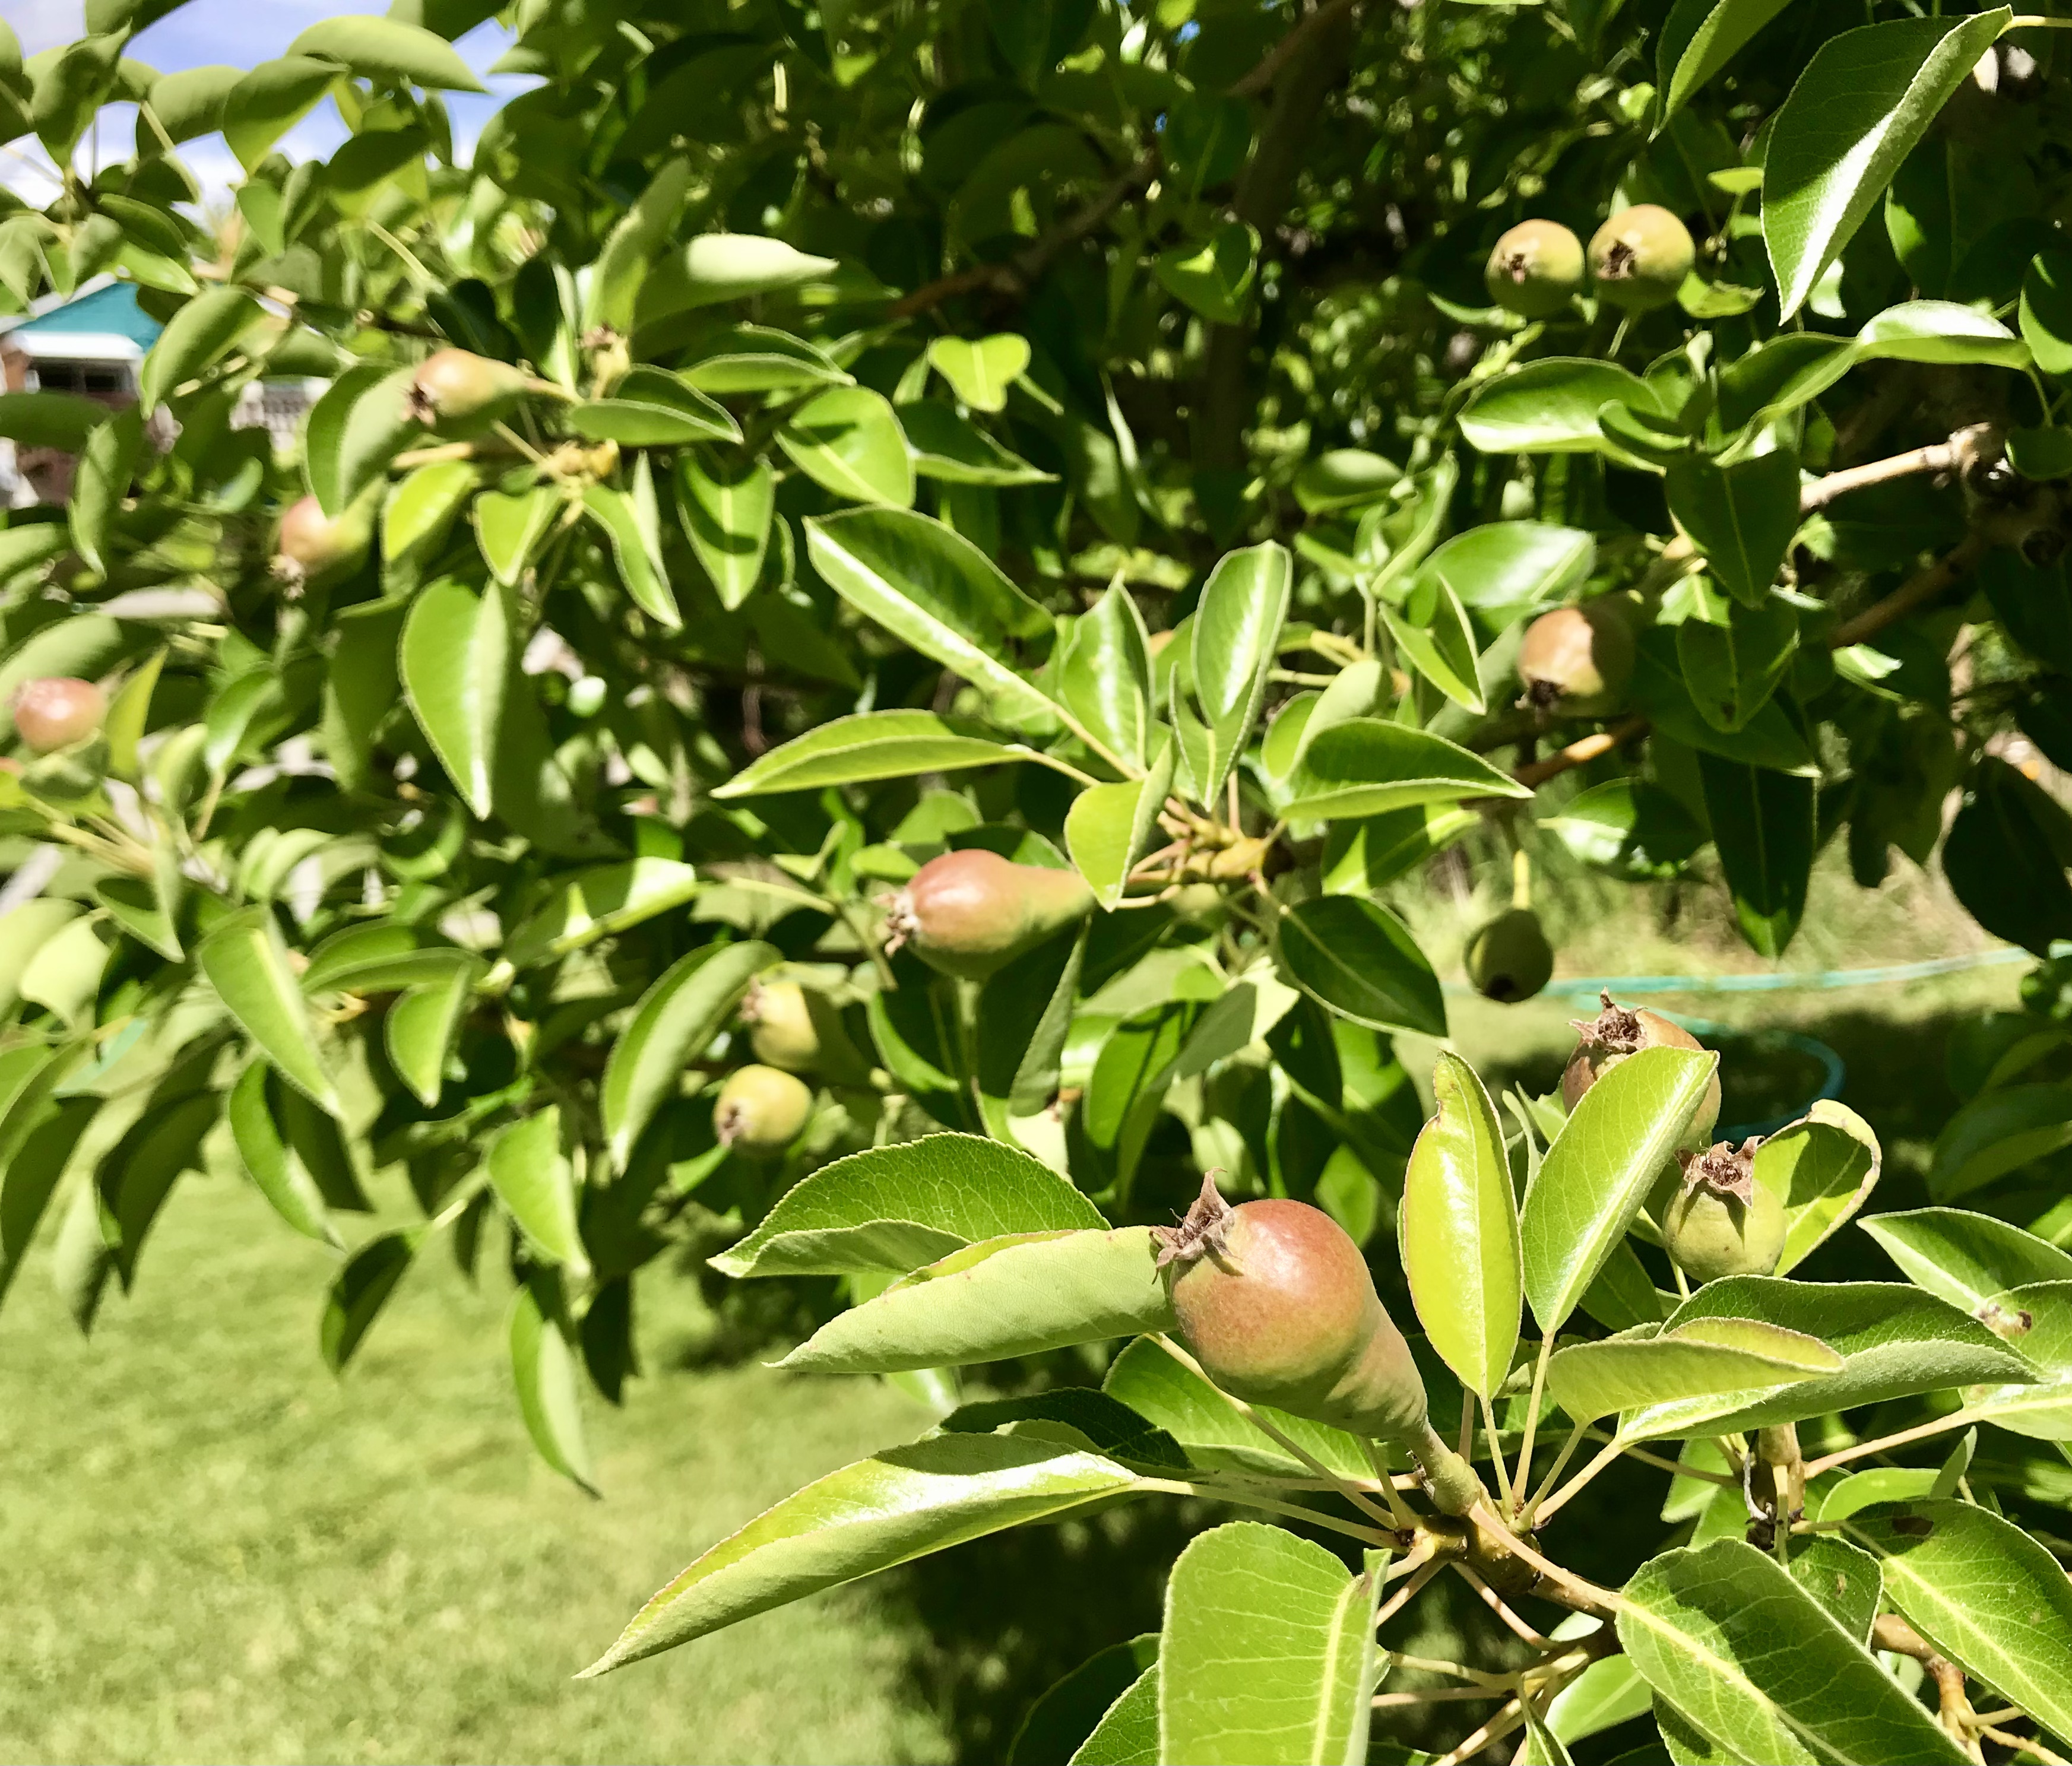
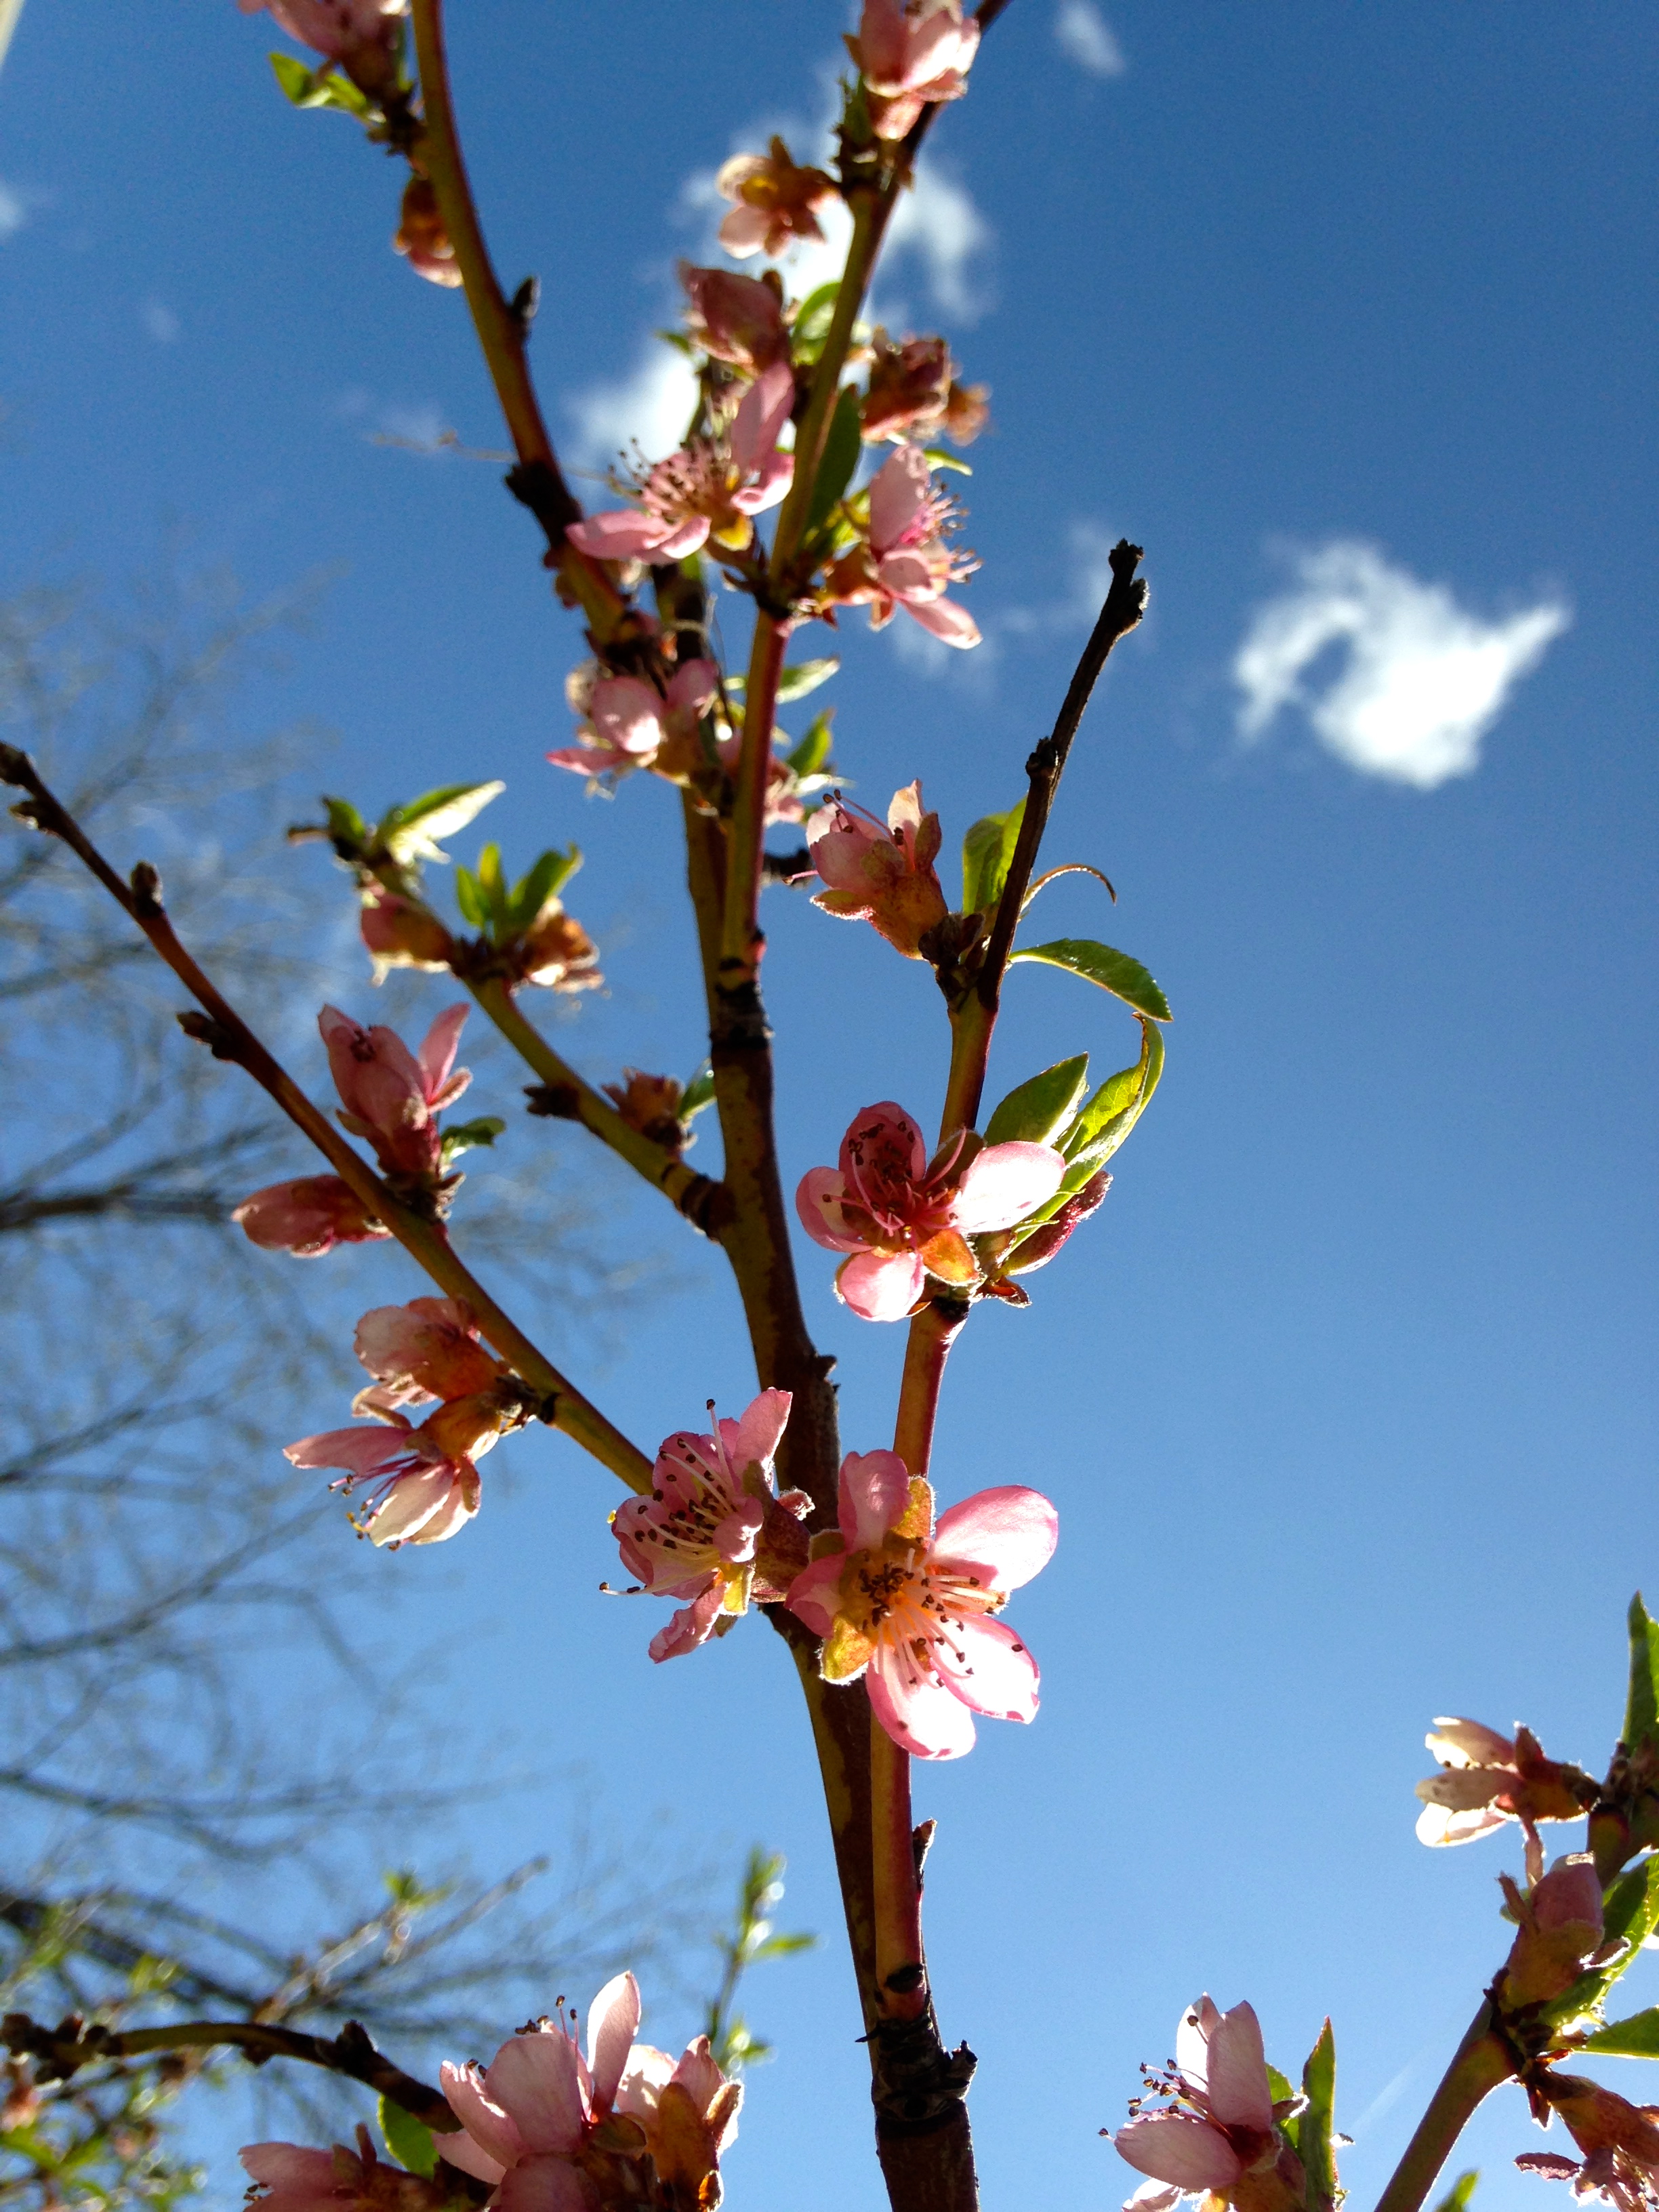
Pruning of fruit trees in early spring, pre-blossom, yields green growth sprouting cherries, plums and pears.
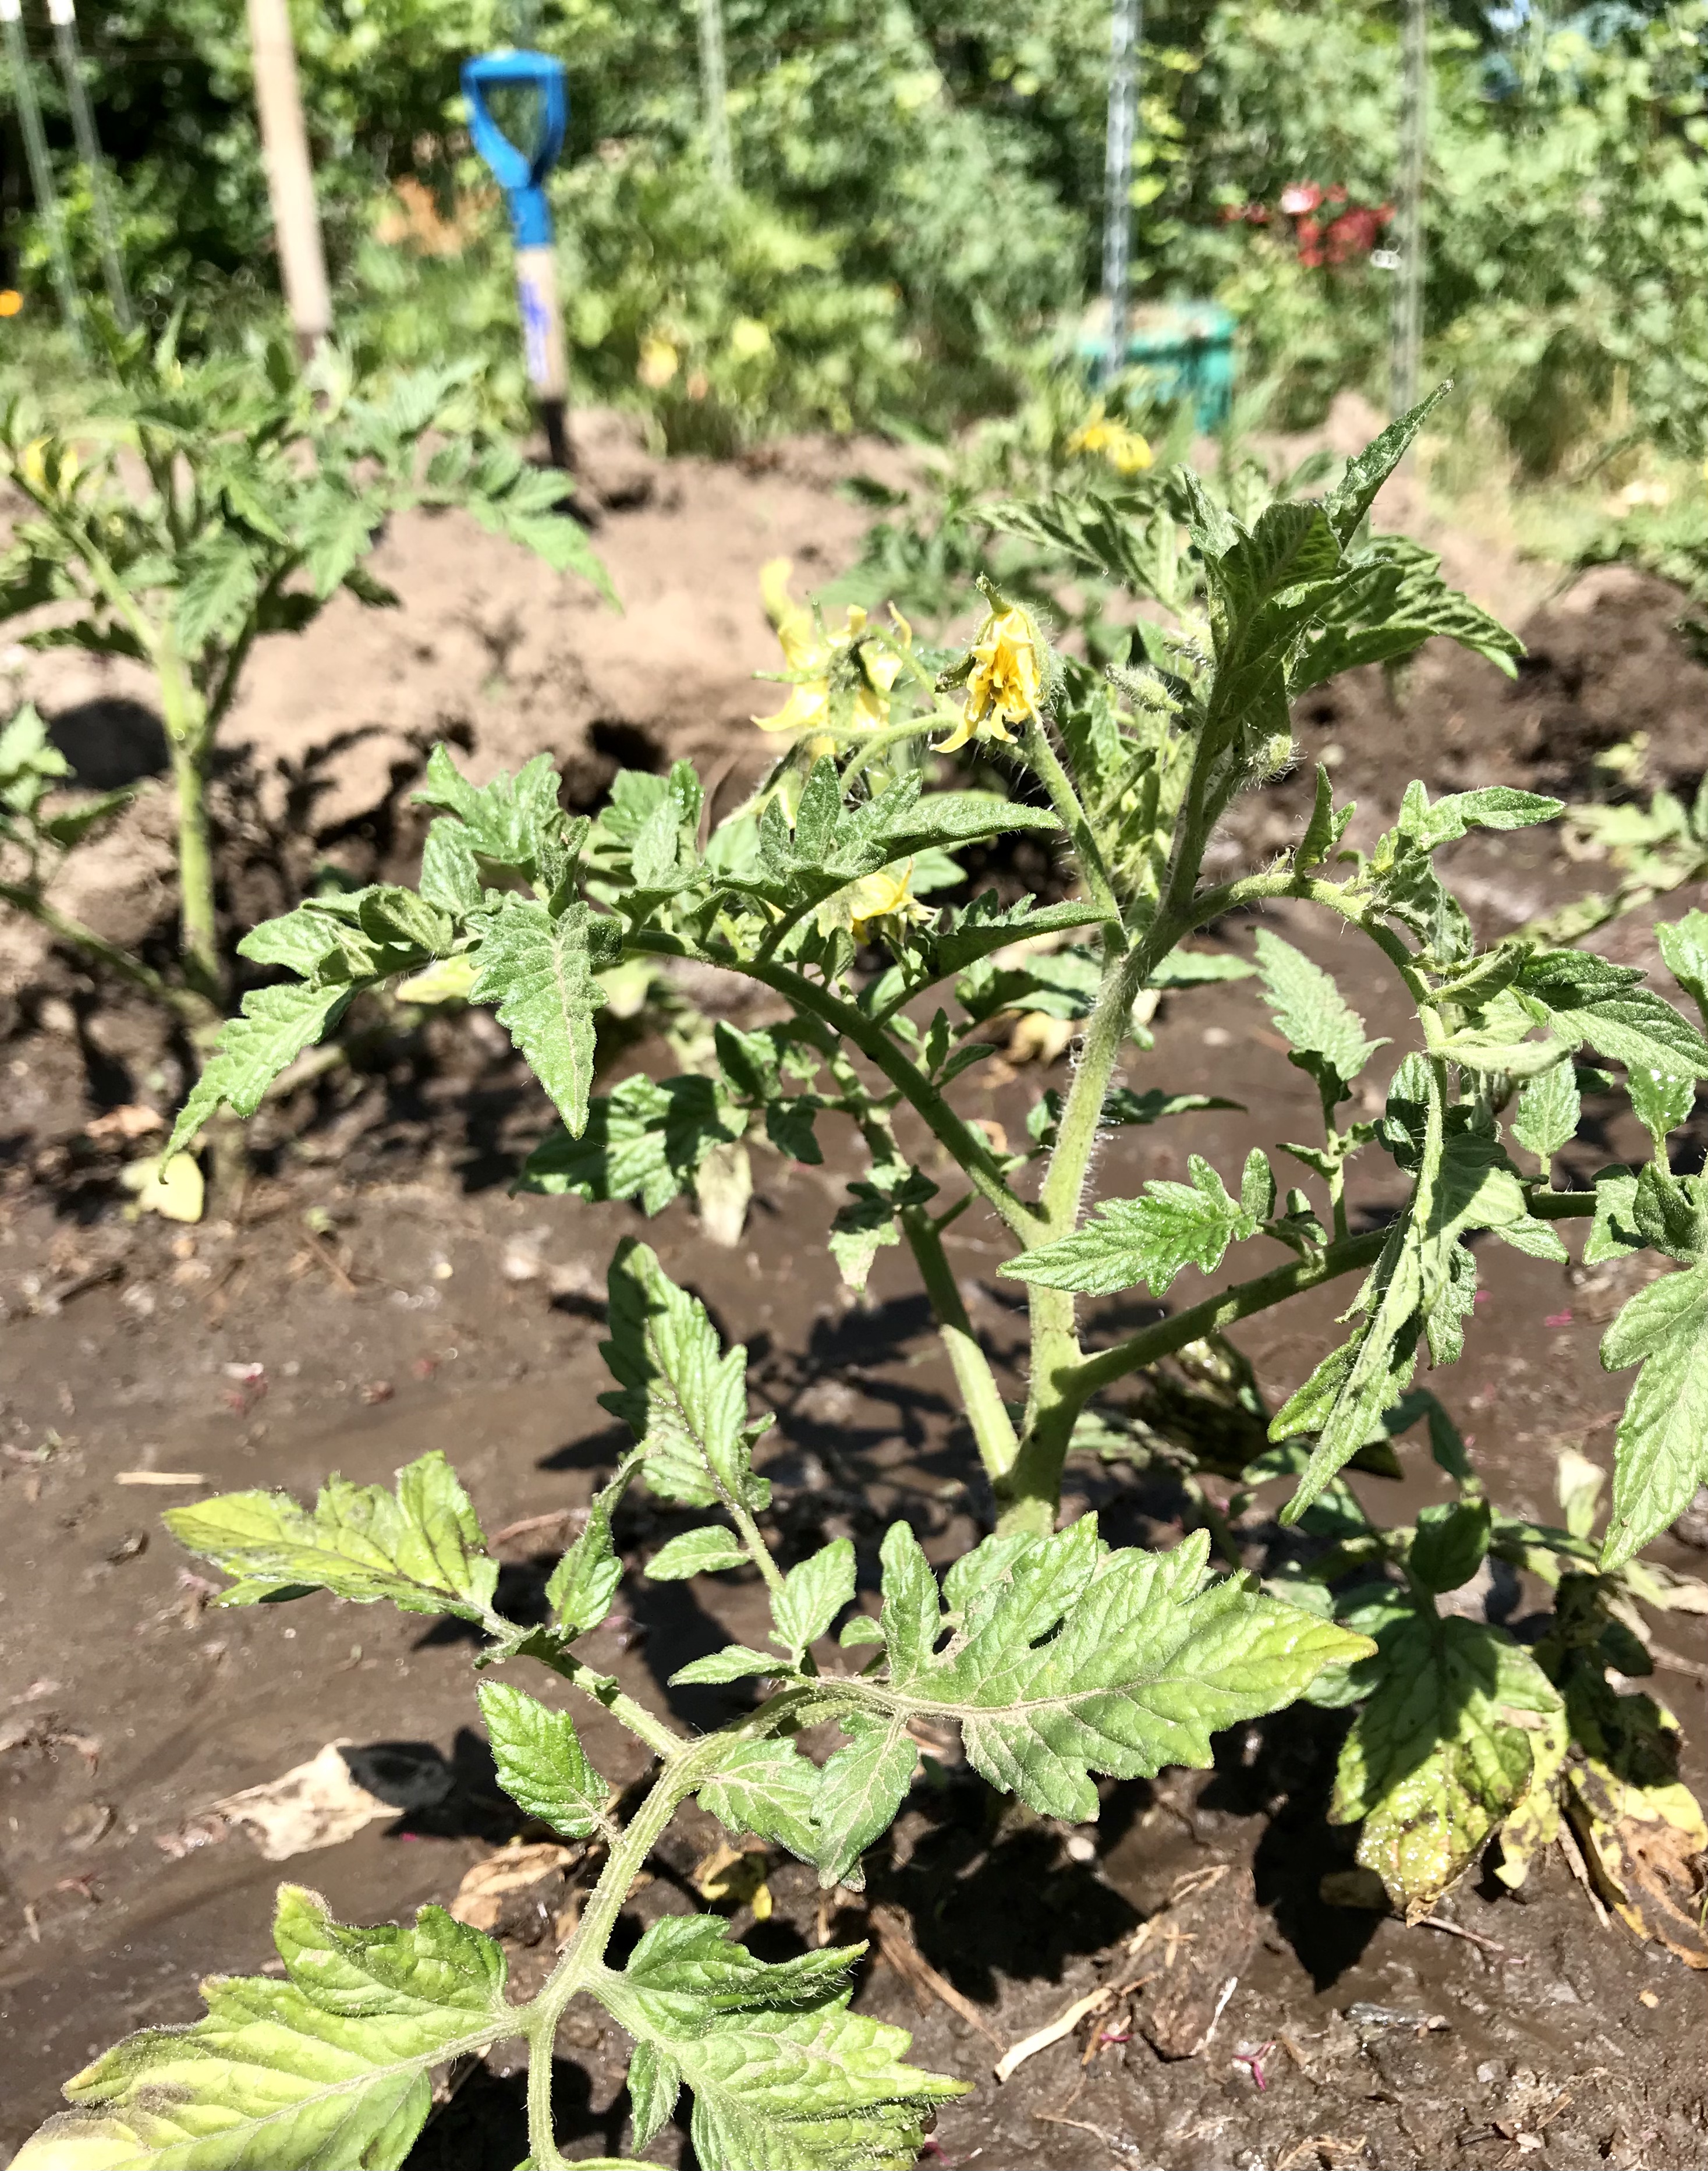
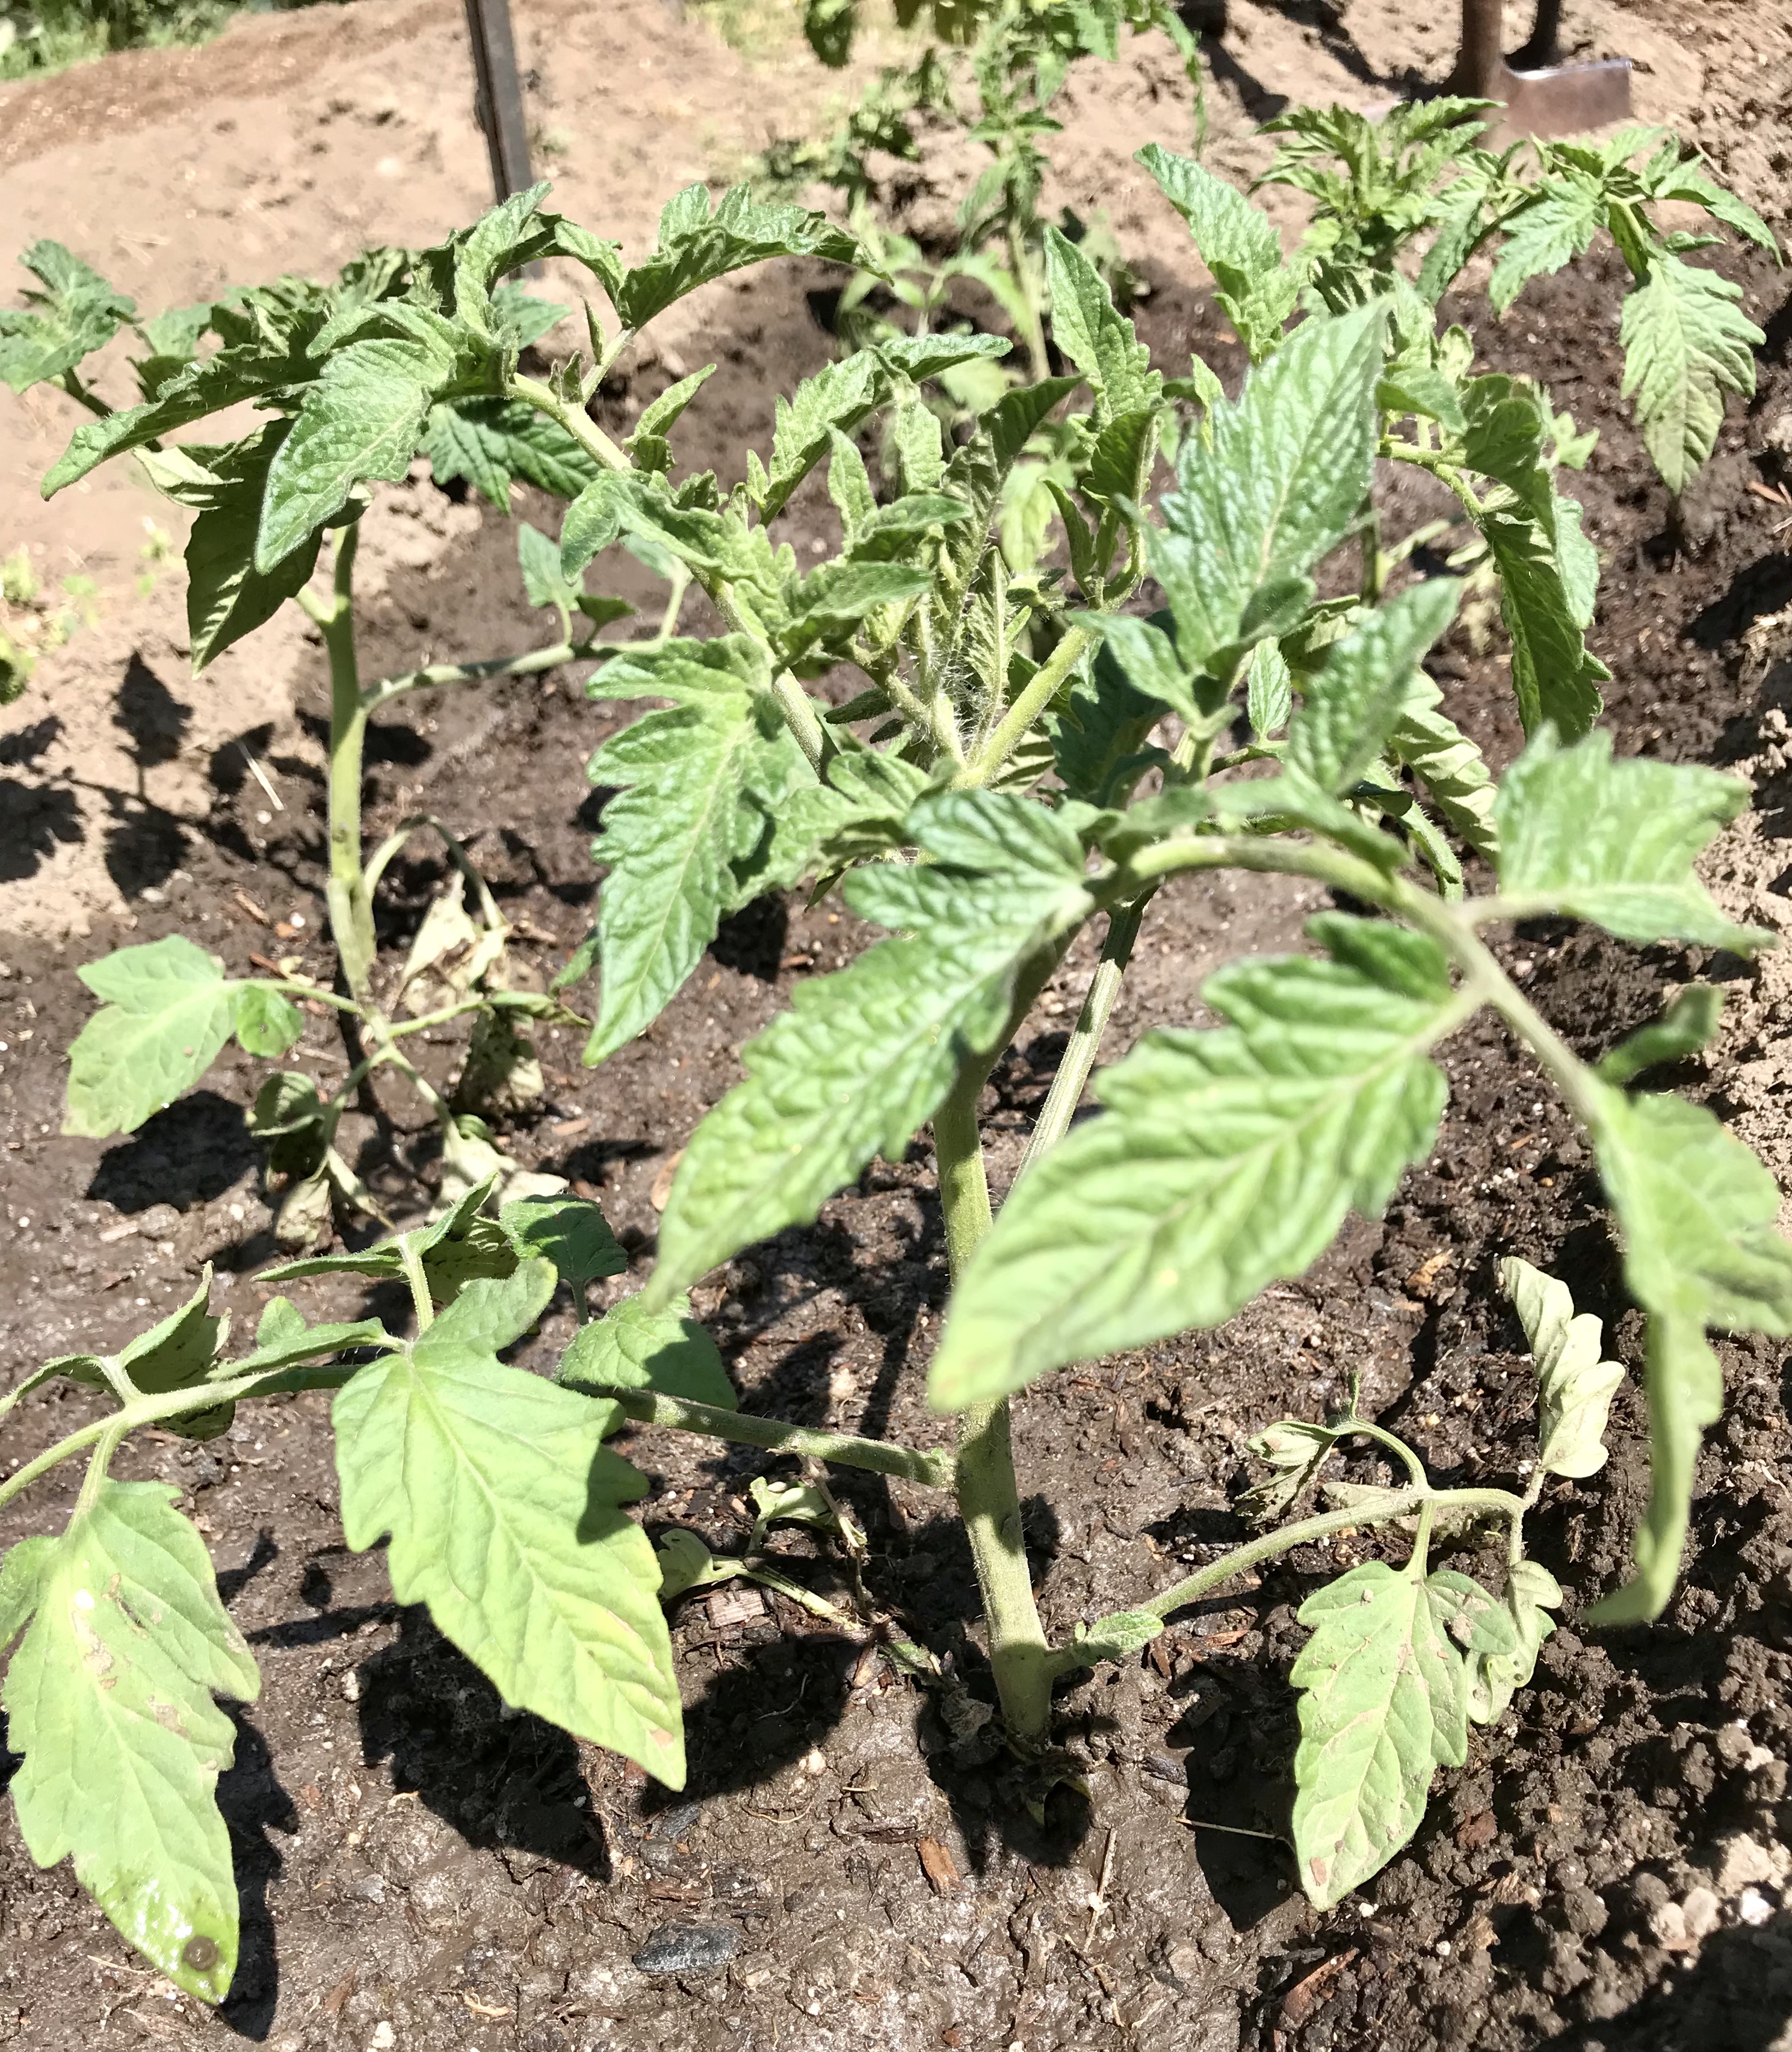
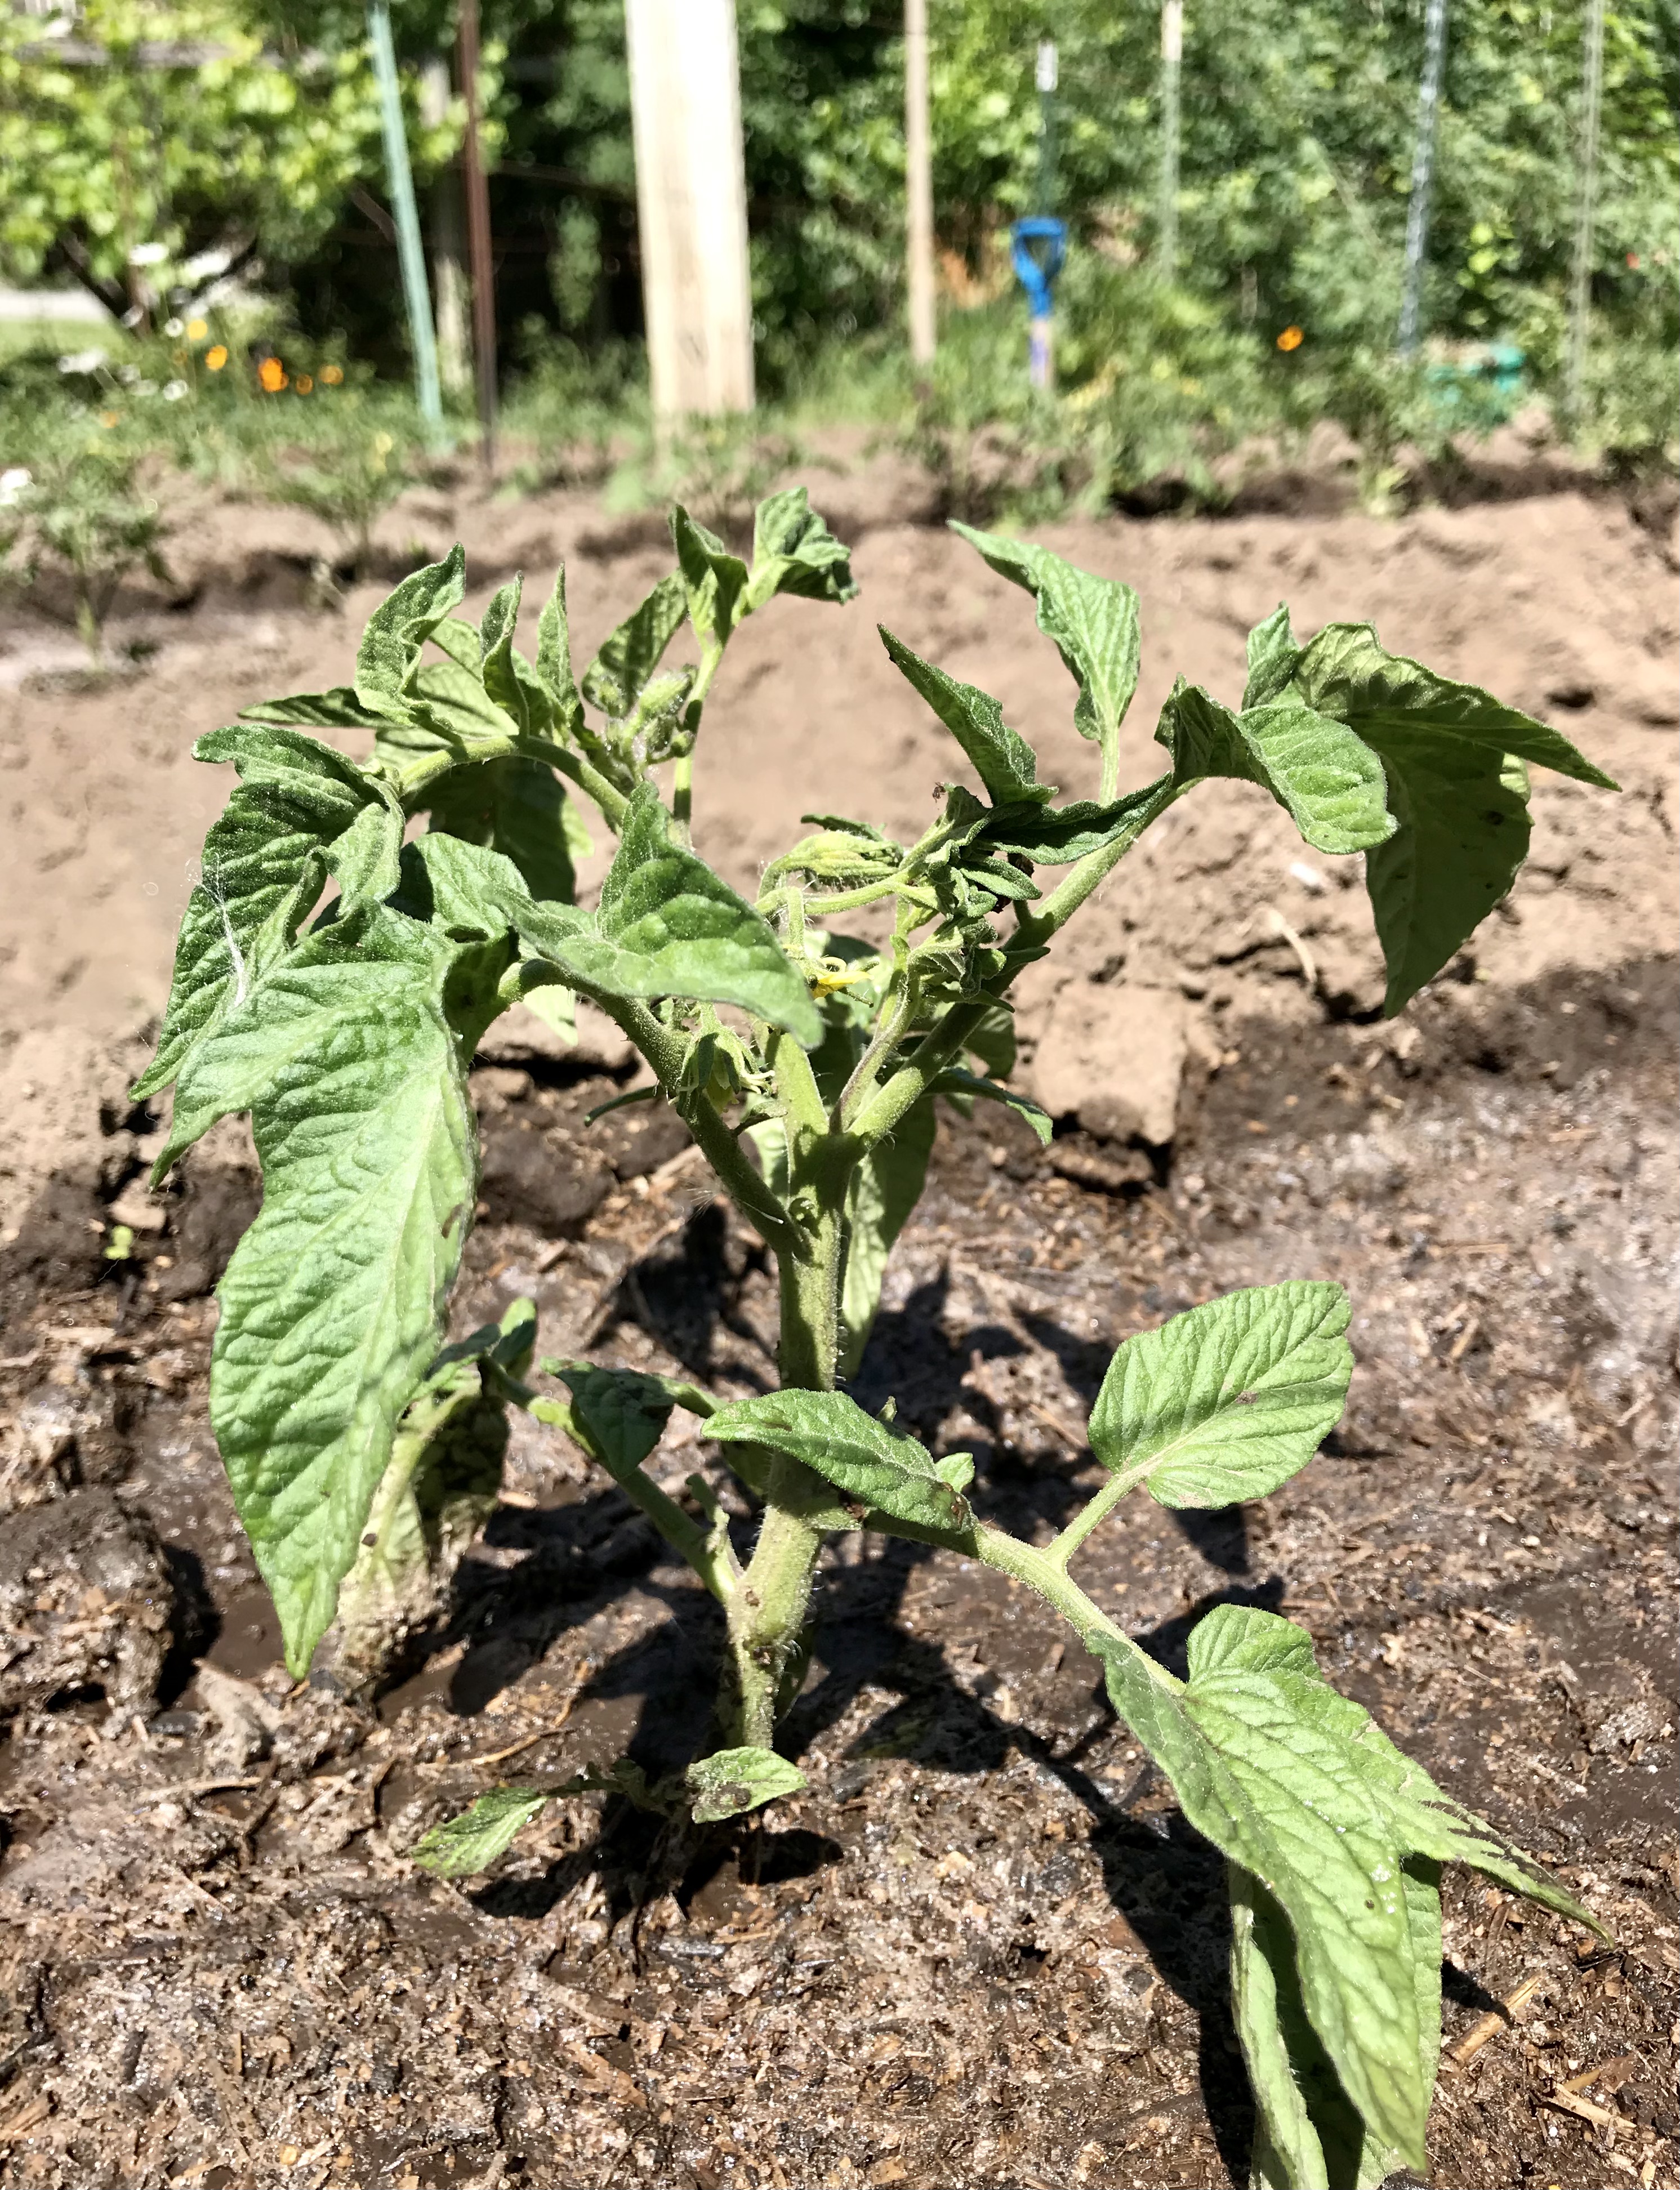
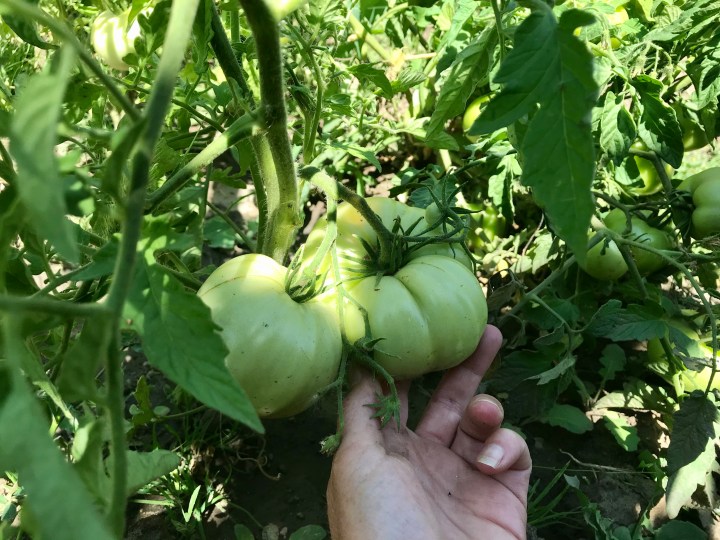
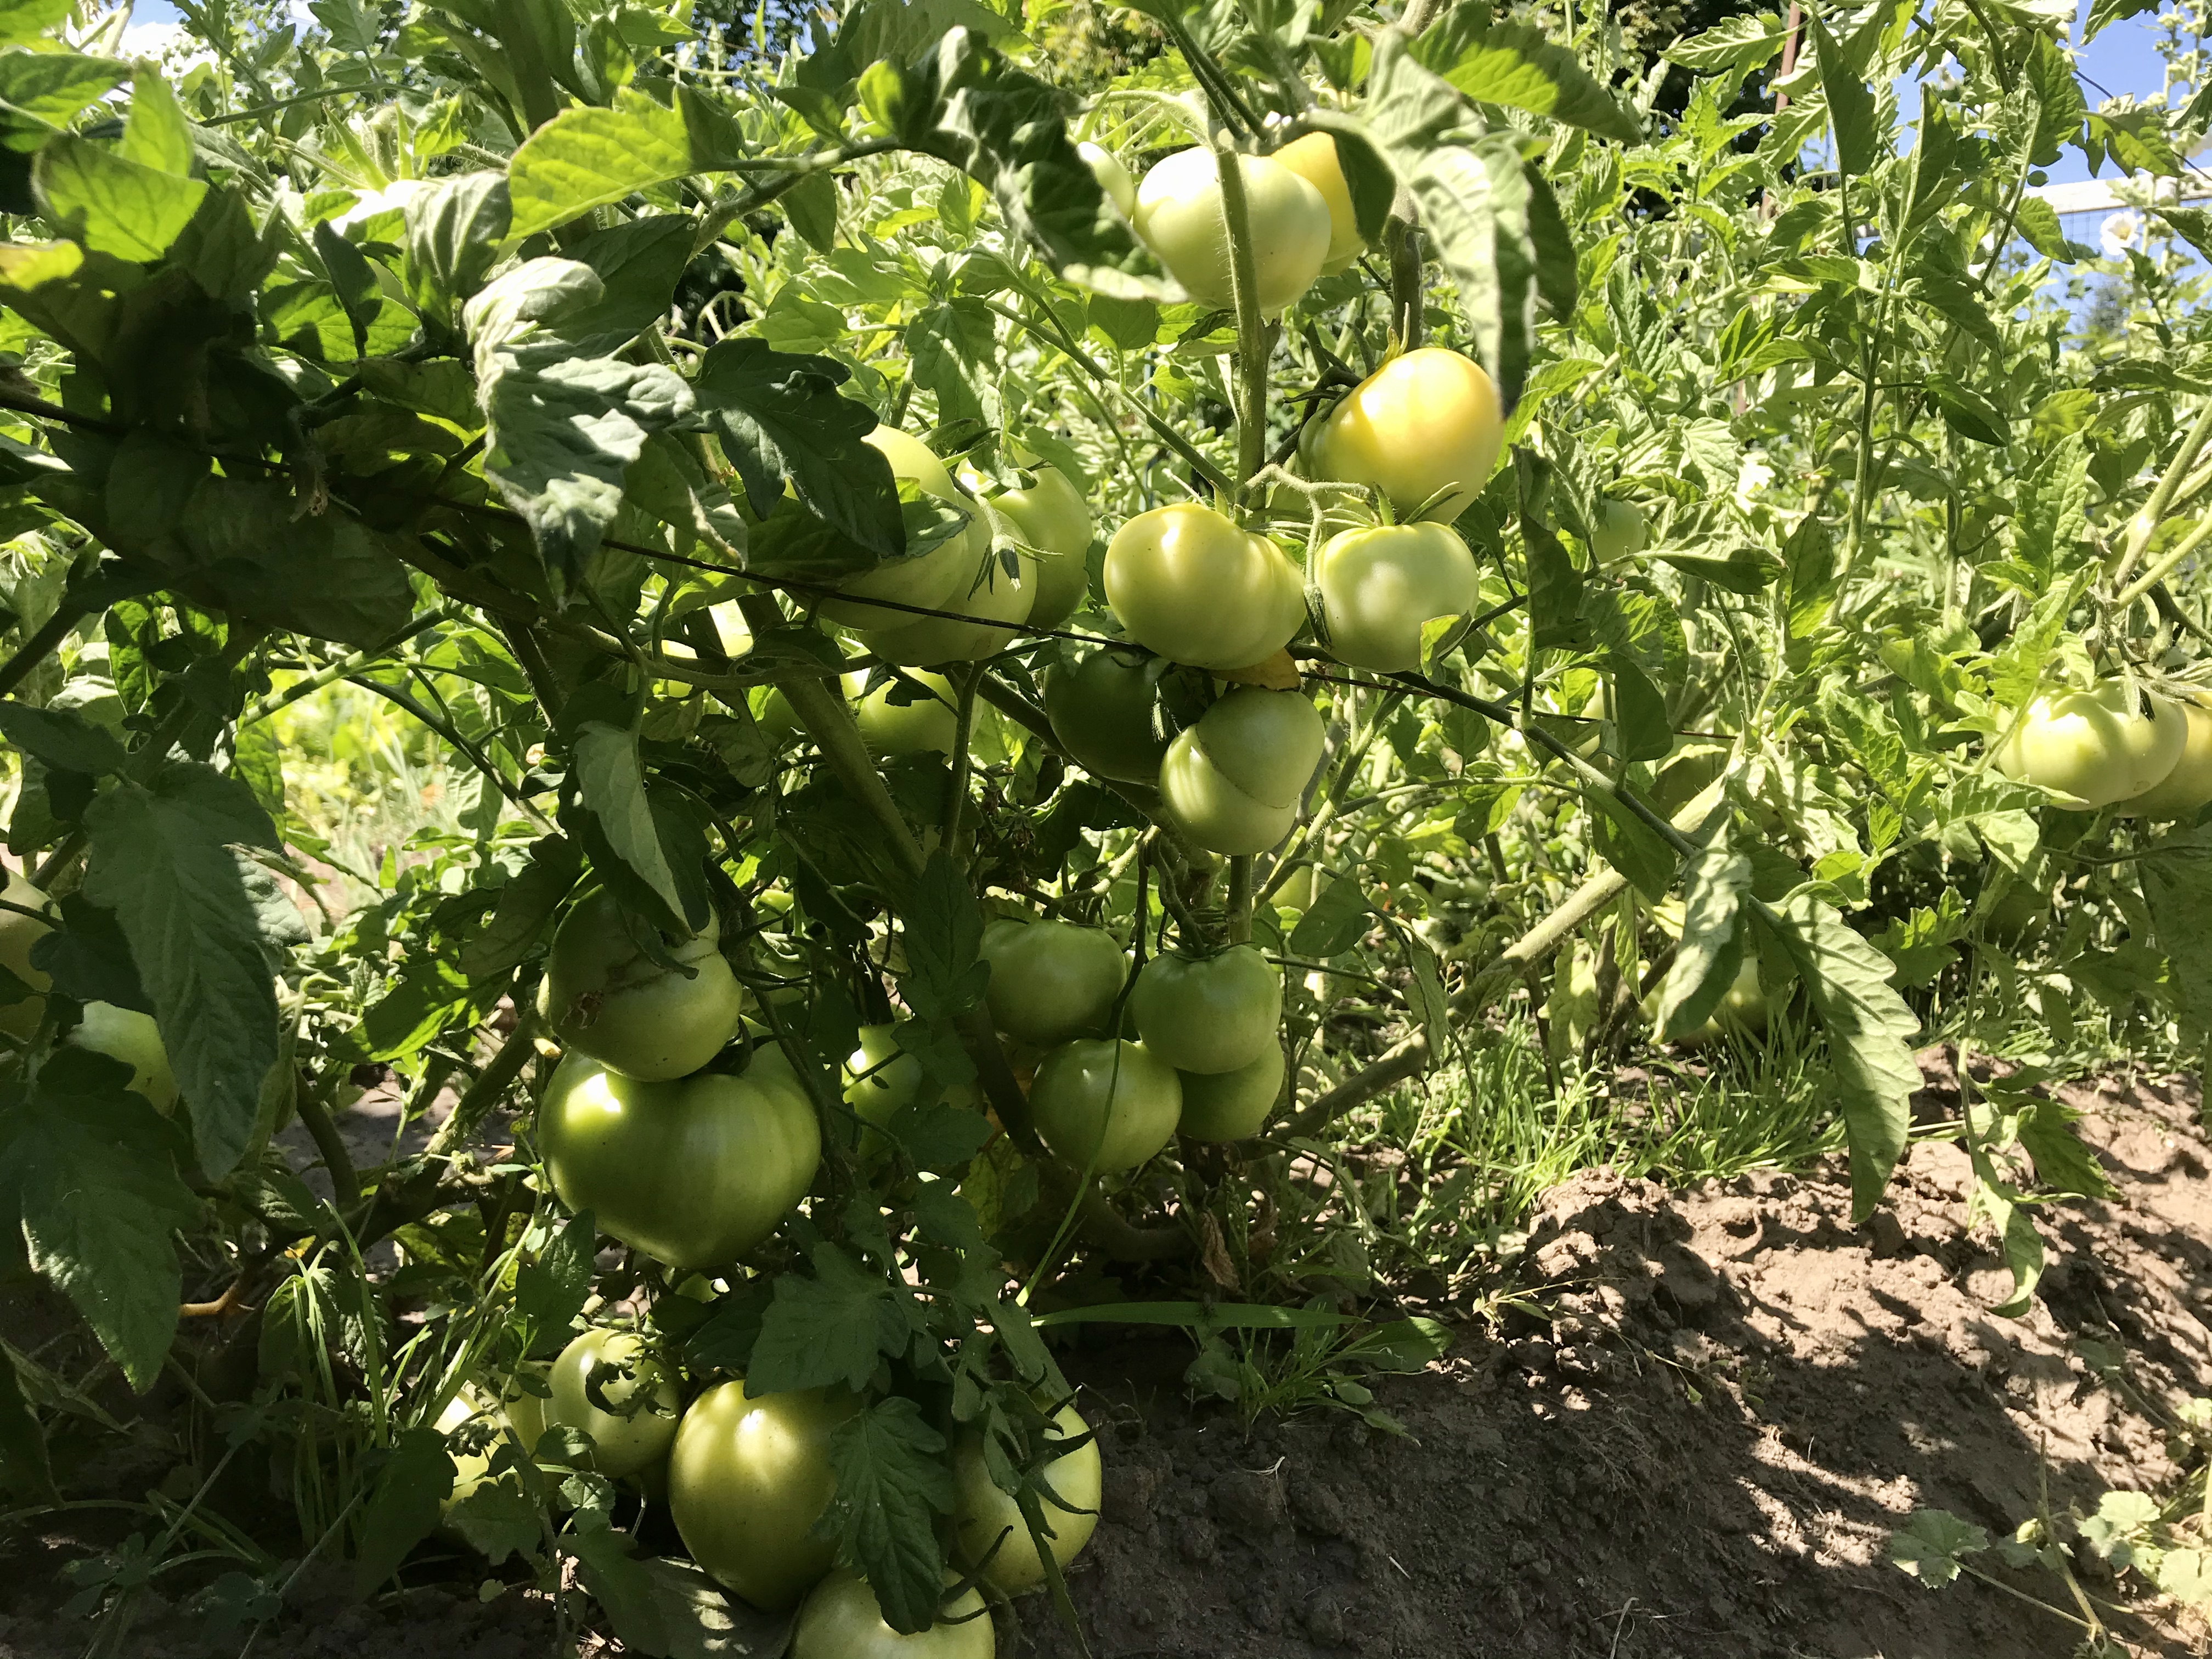
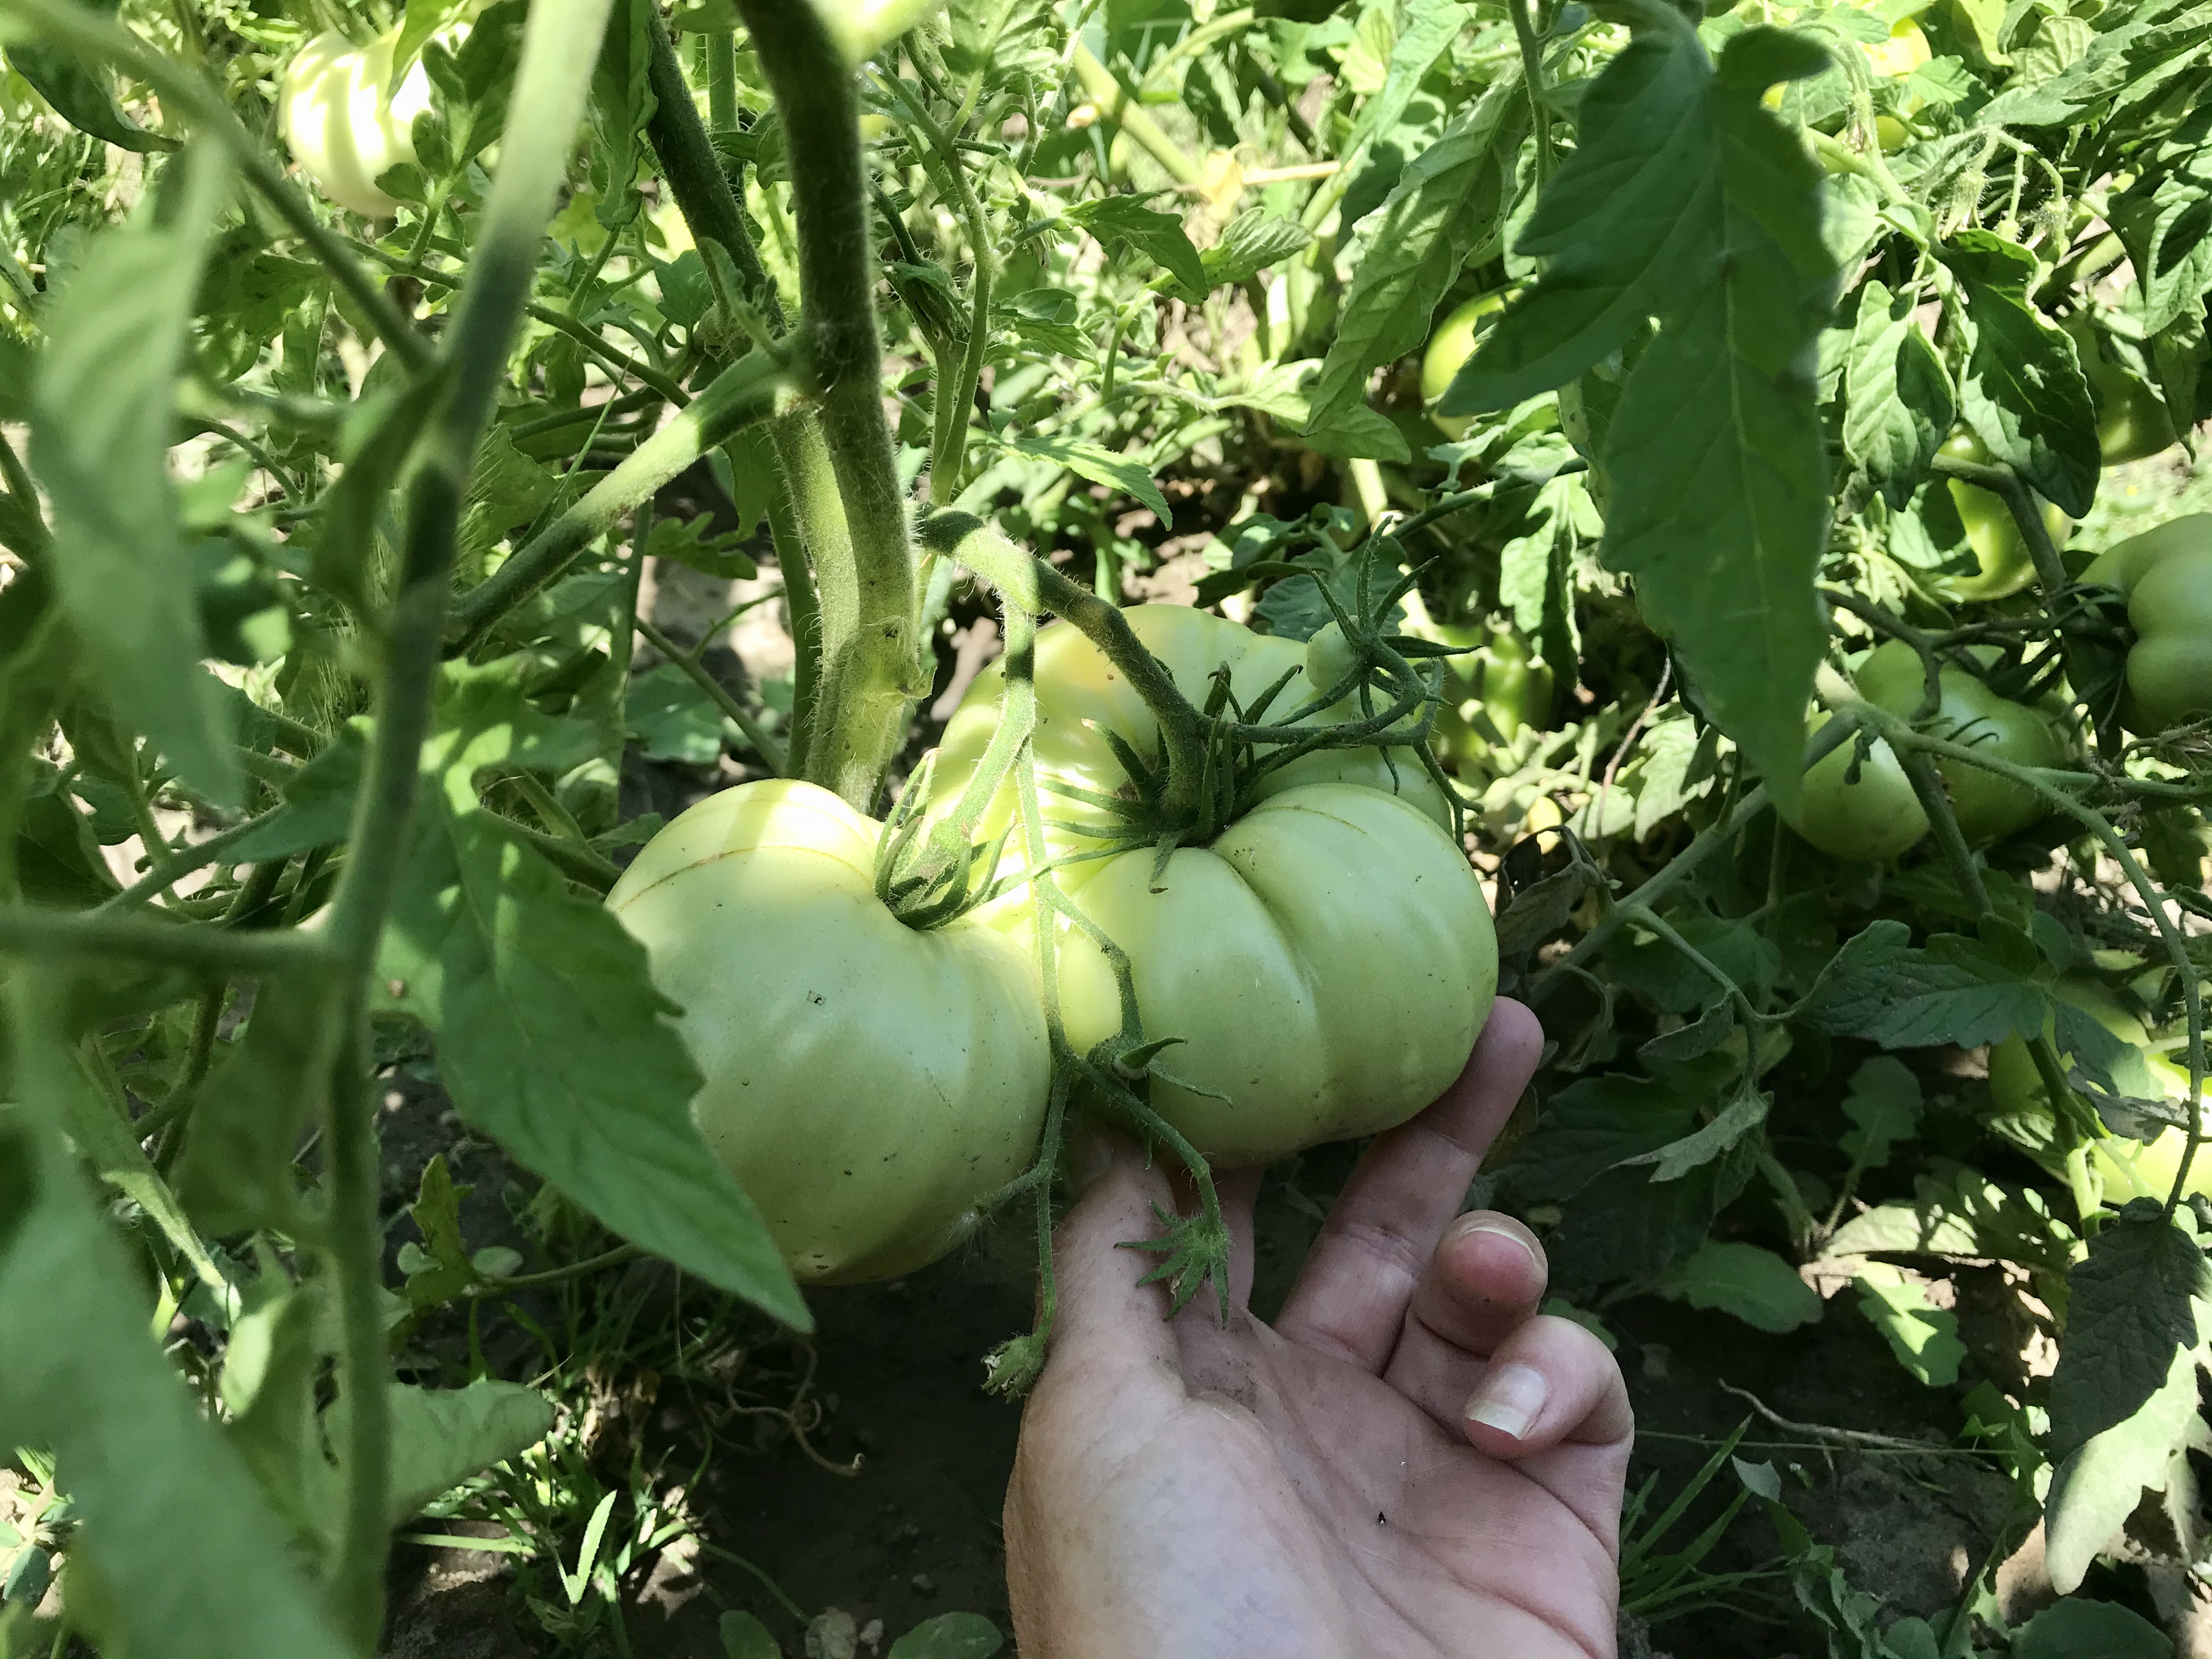
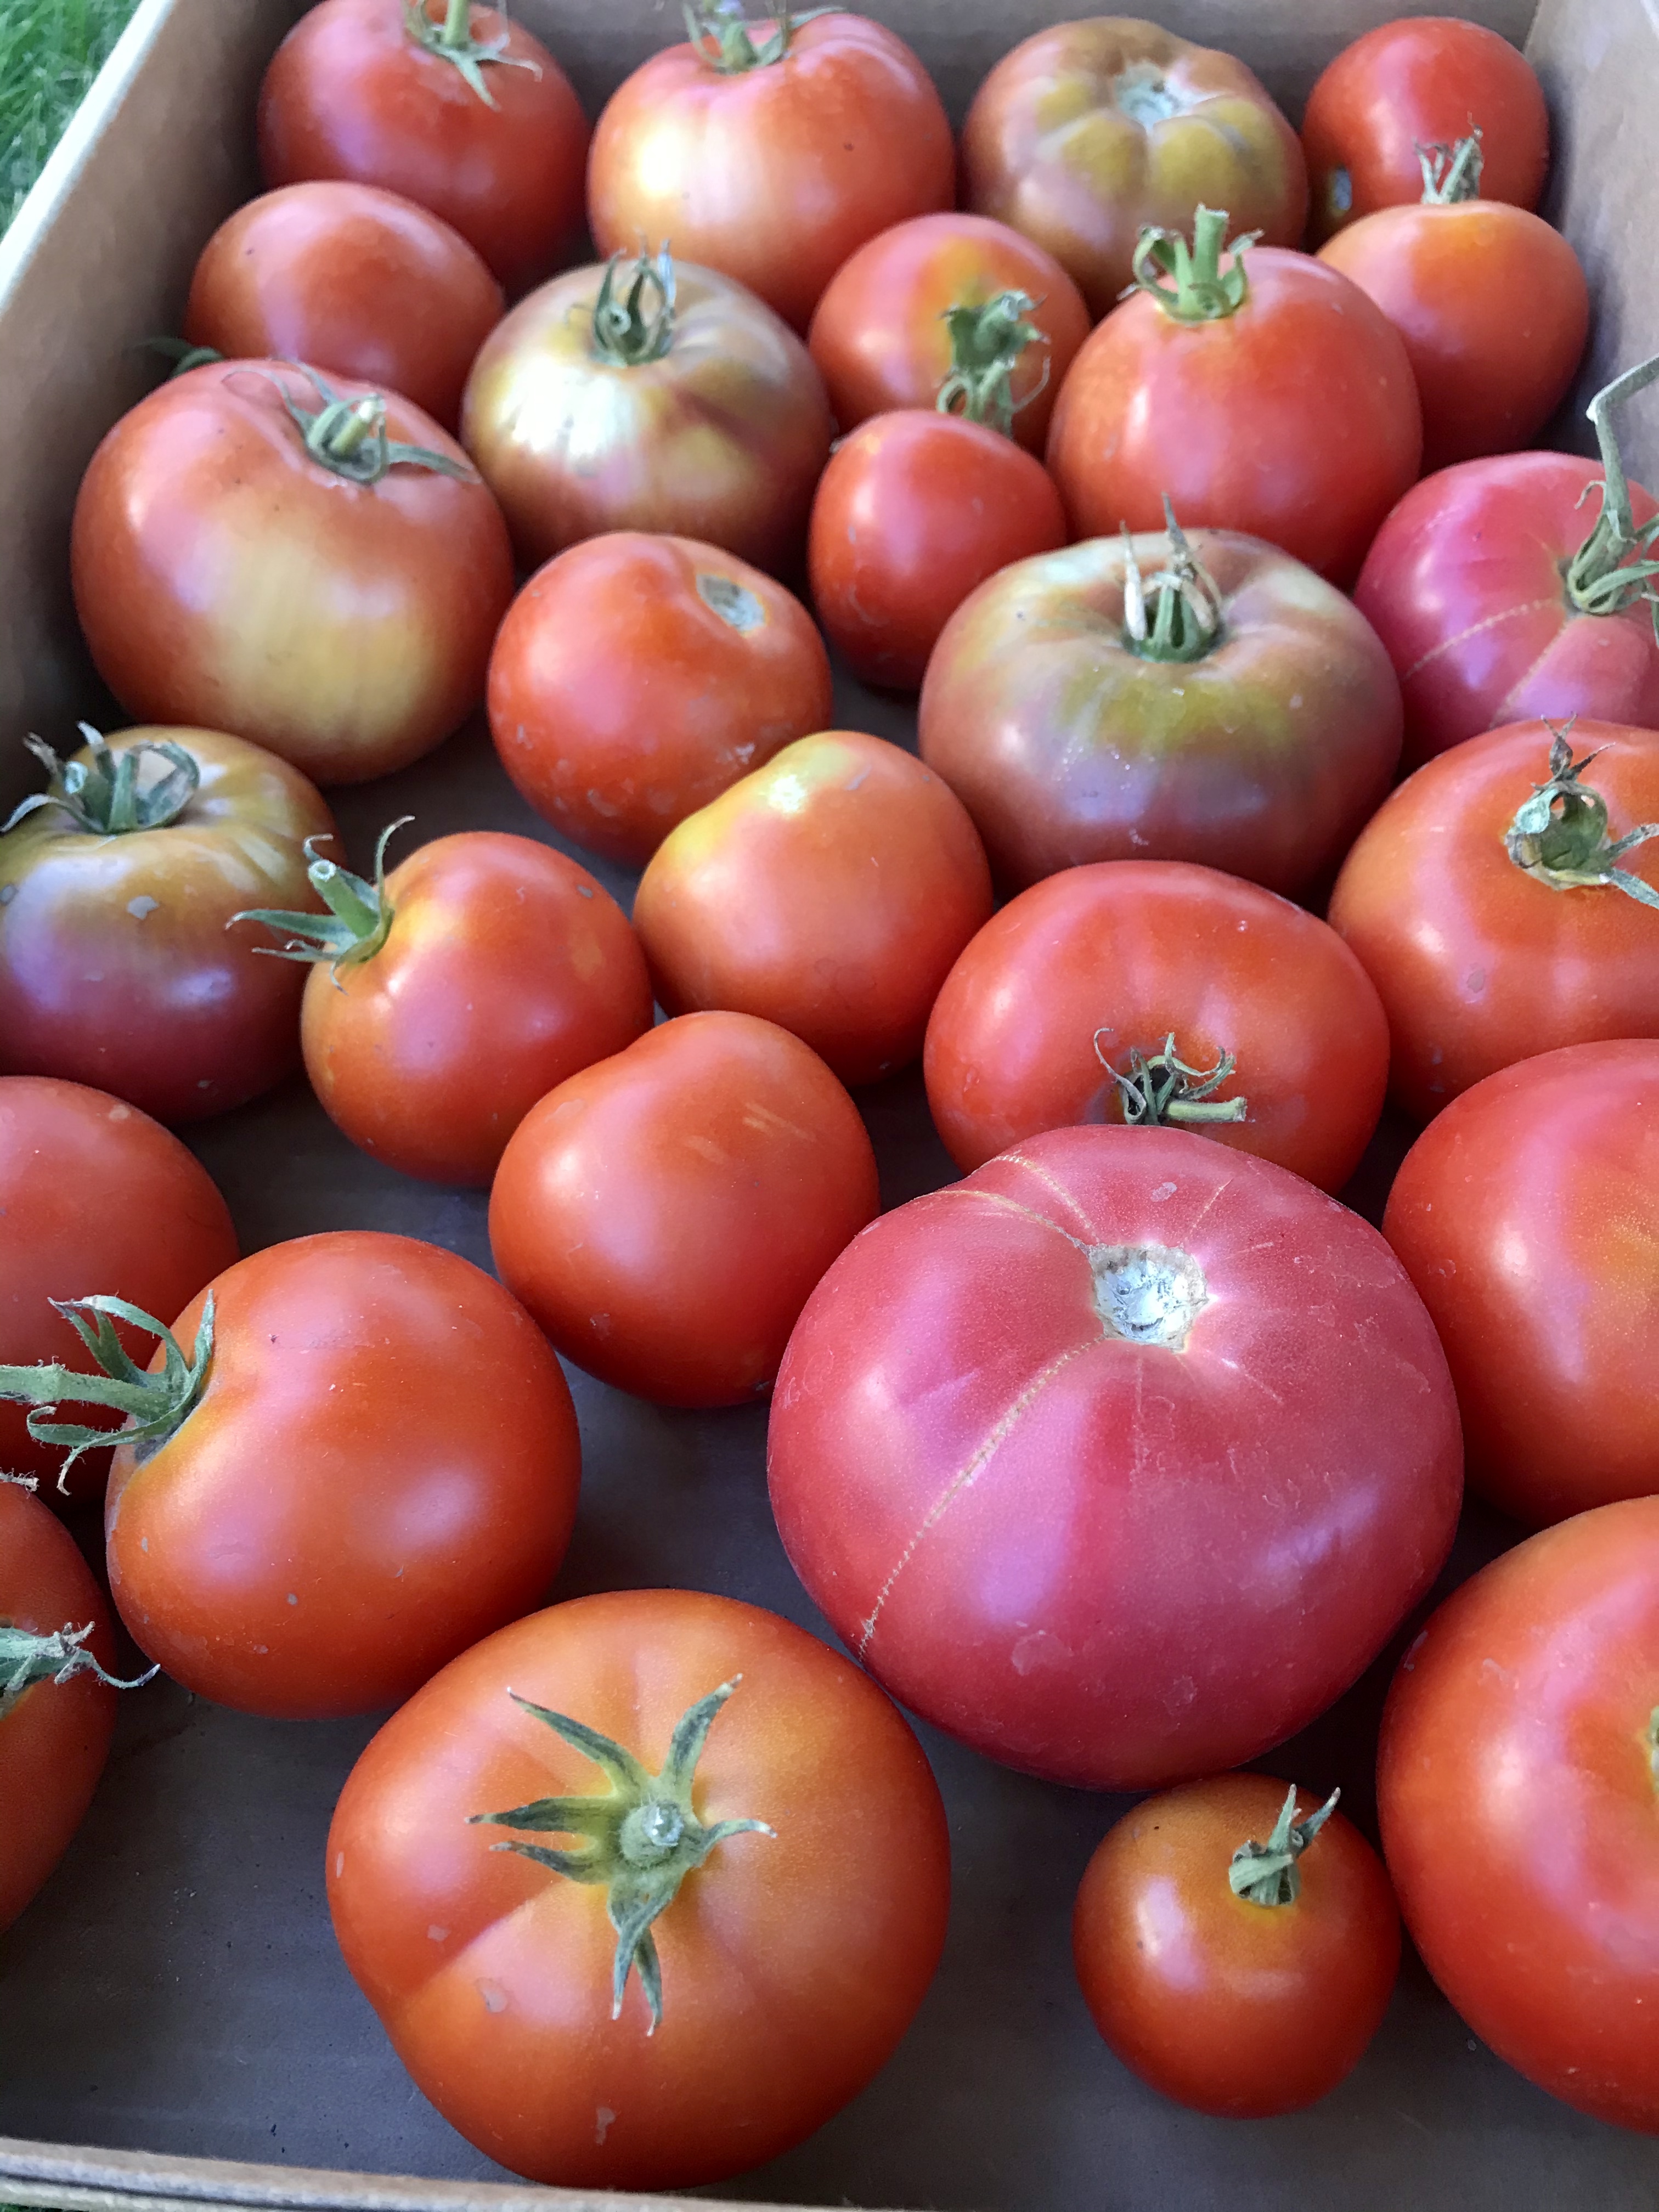
Tomato plantings take off after night frost danger has passed. Big beef, early girl and brandy wine varieties chosen for their larger fruits to be sliced and roasted for sauces and salsas planned to preserve at harvest.
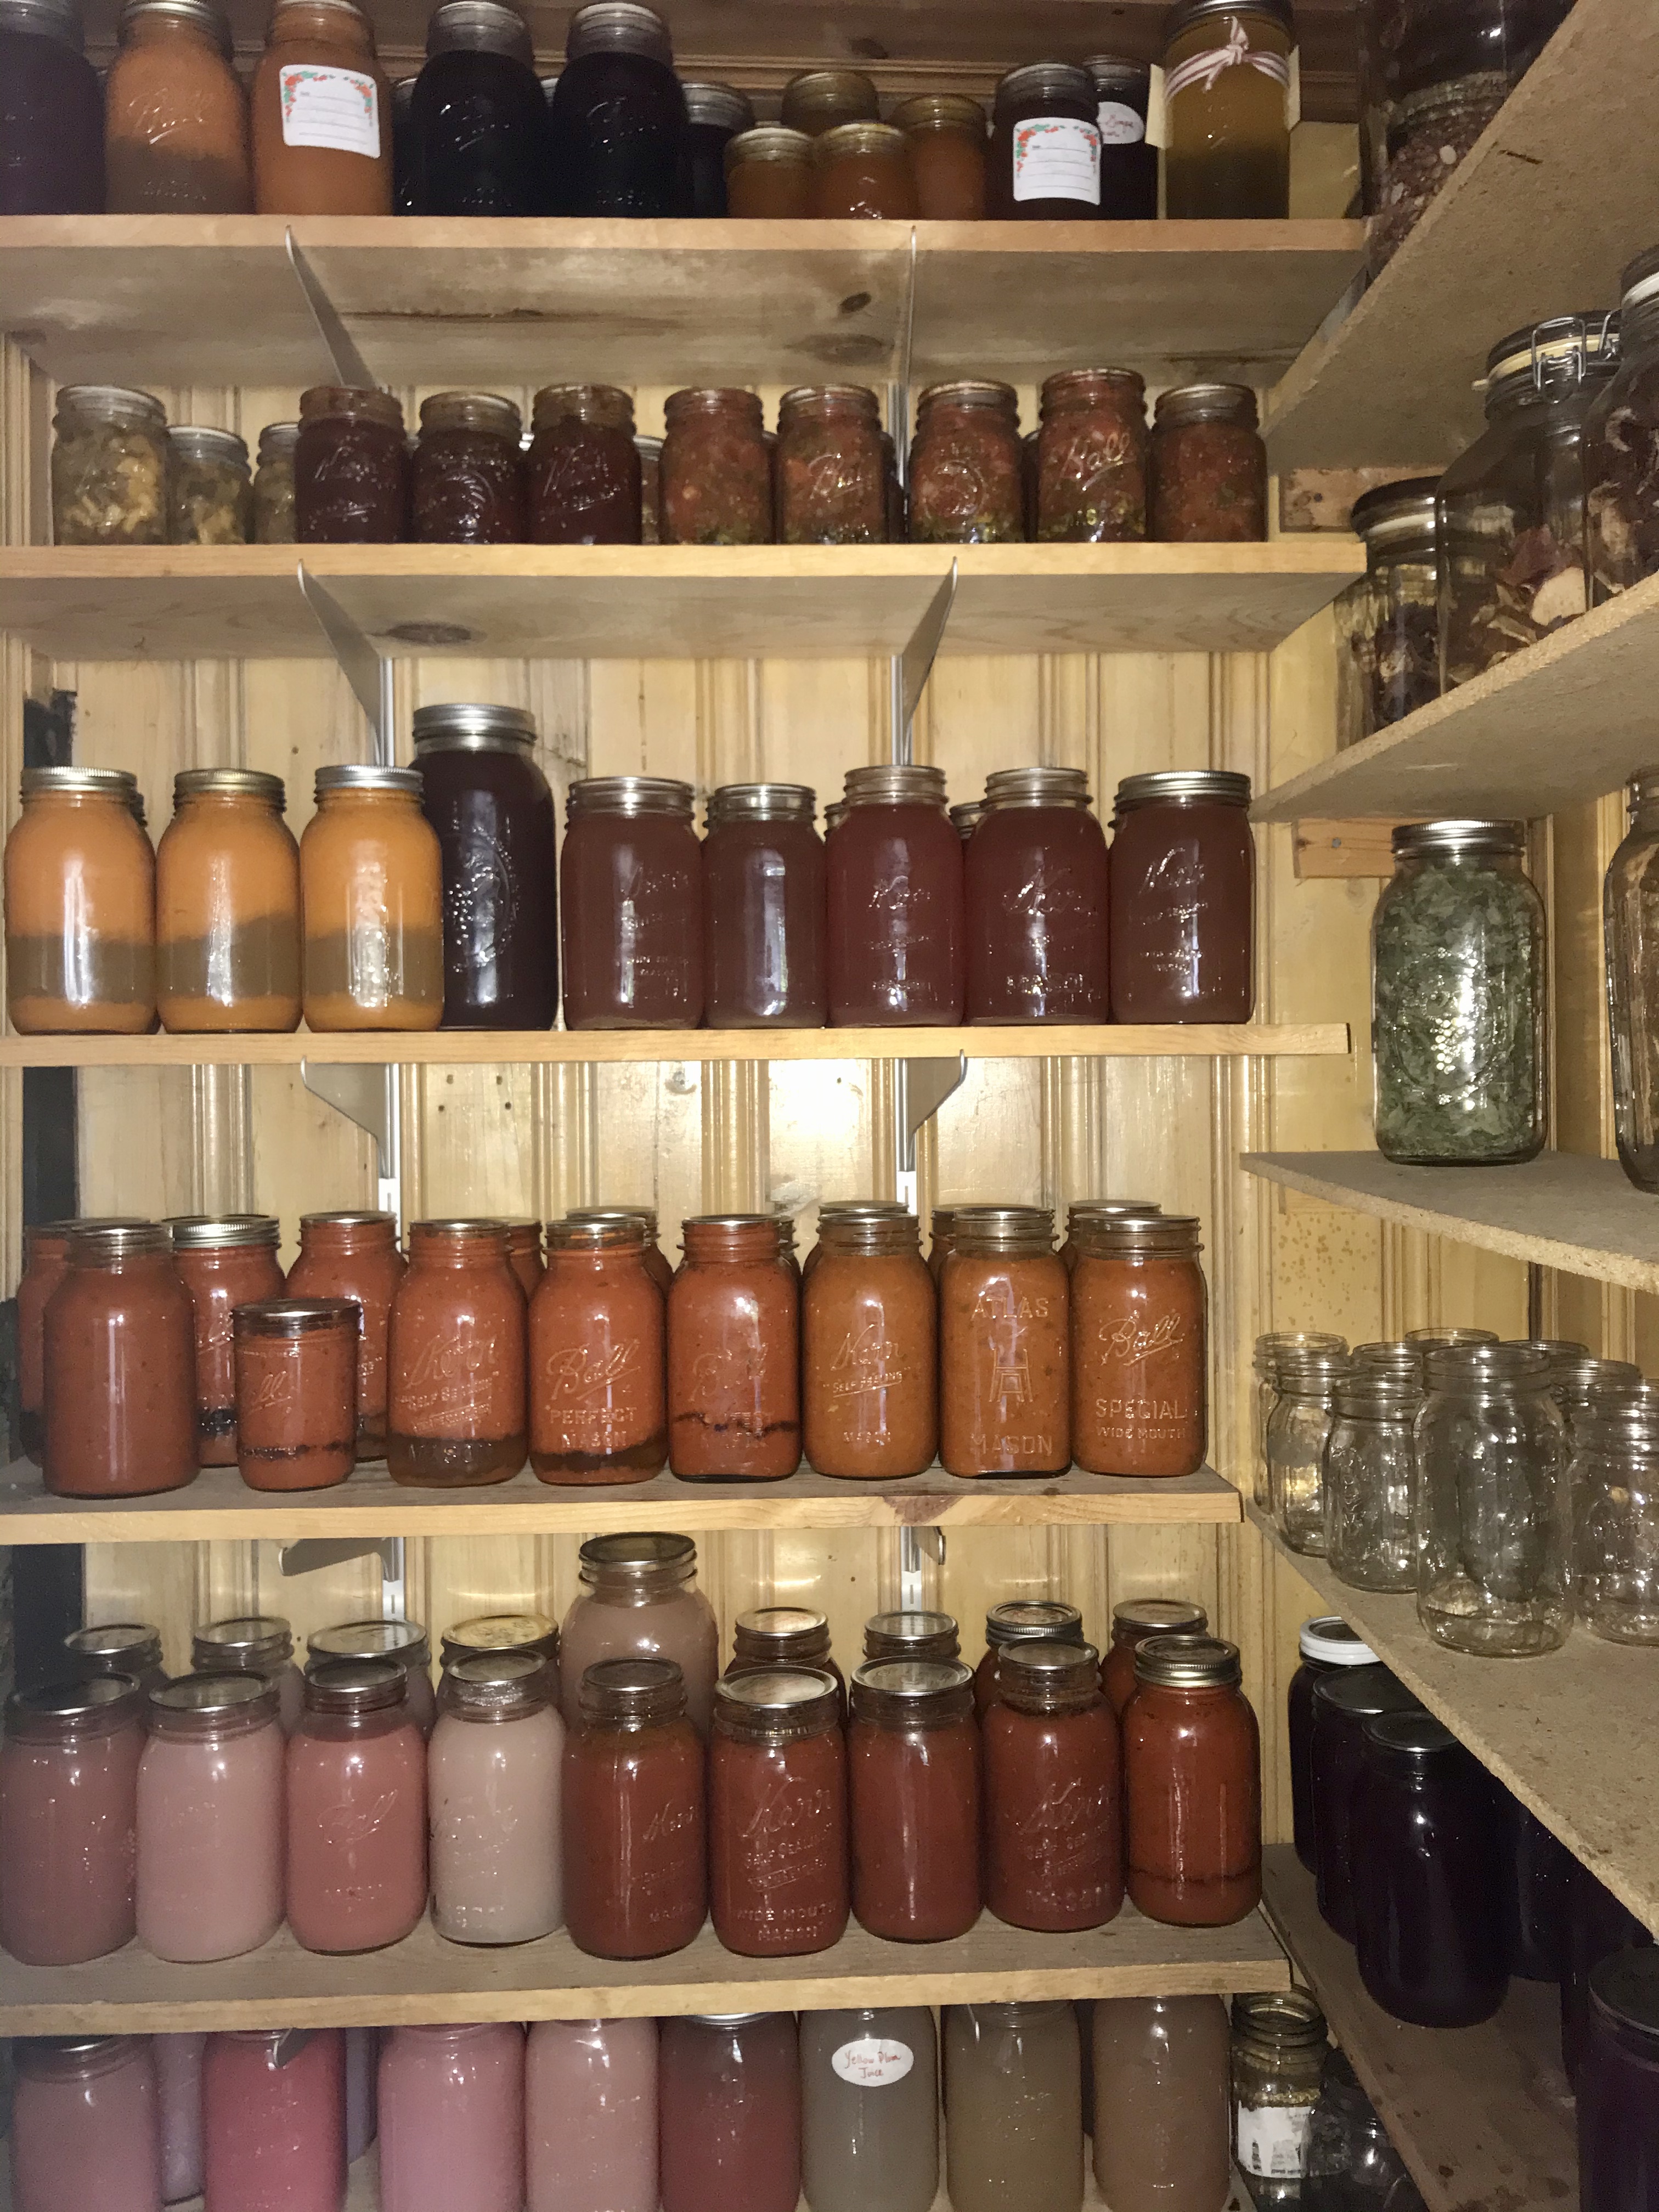
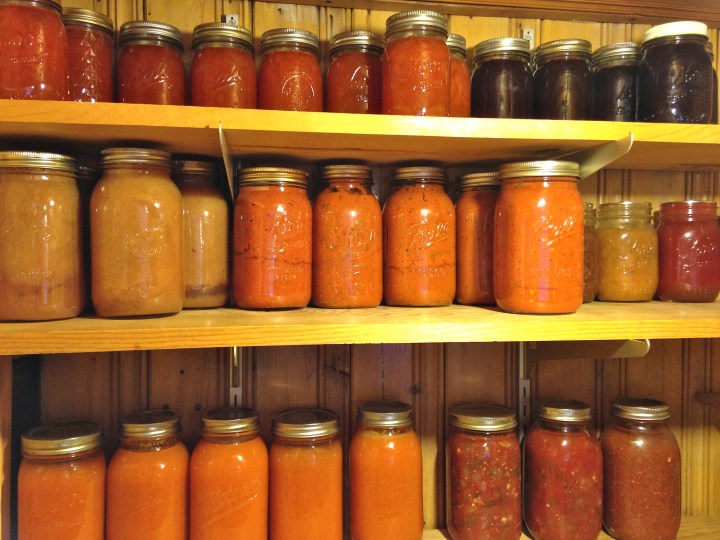
Though the pantry is still packing it in, much of the juices, herbs, marinara, salsas, syrups and jams will be eaten up by autumn. Getting the garden in gear is the humble, hard work of May and June for future winter replacements.
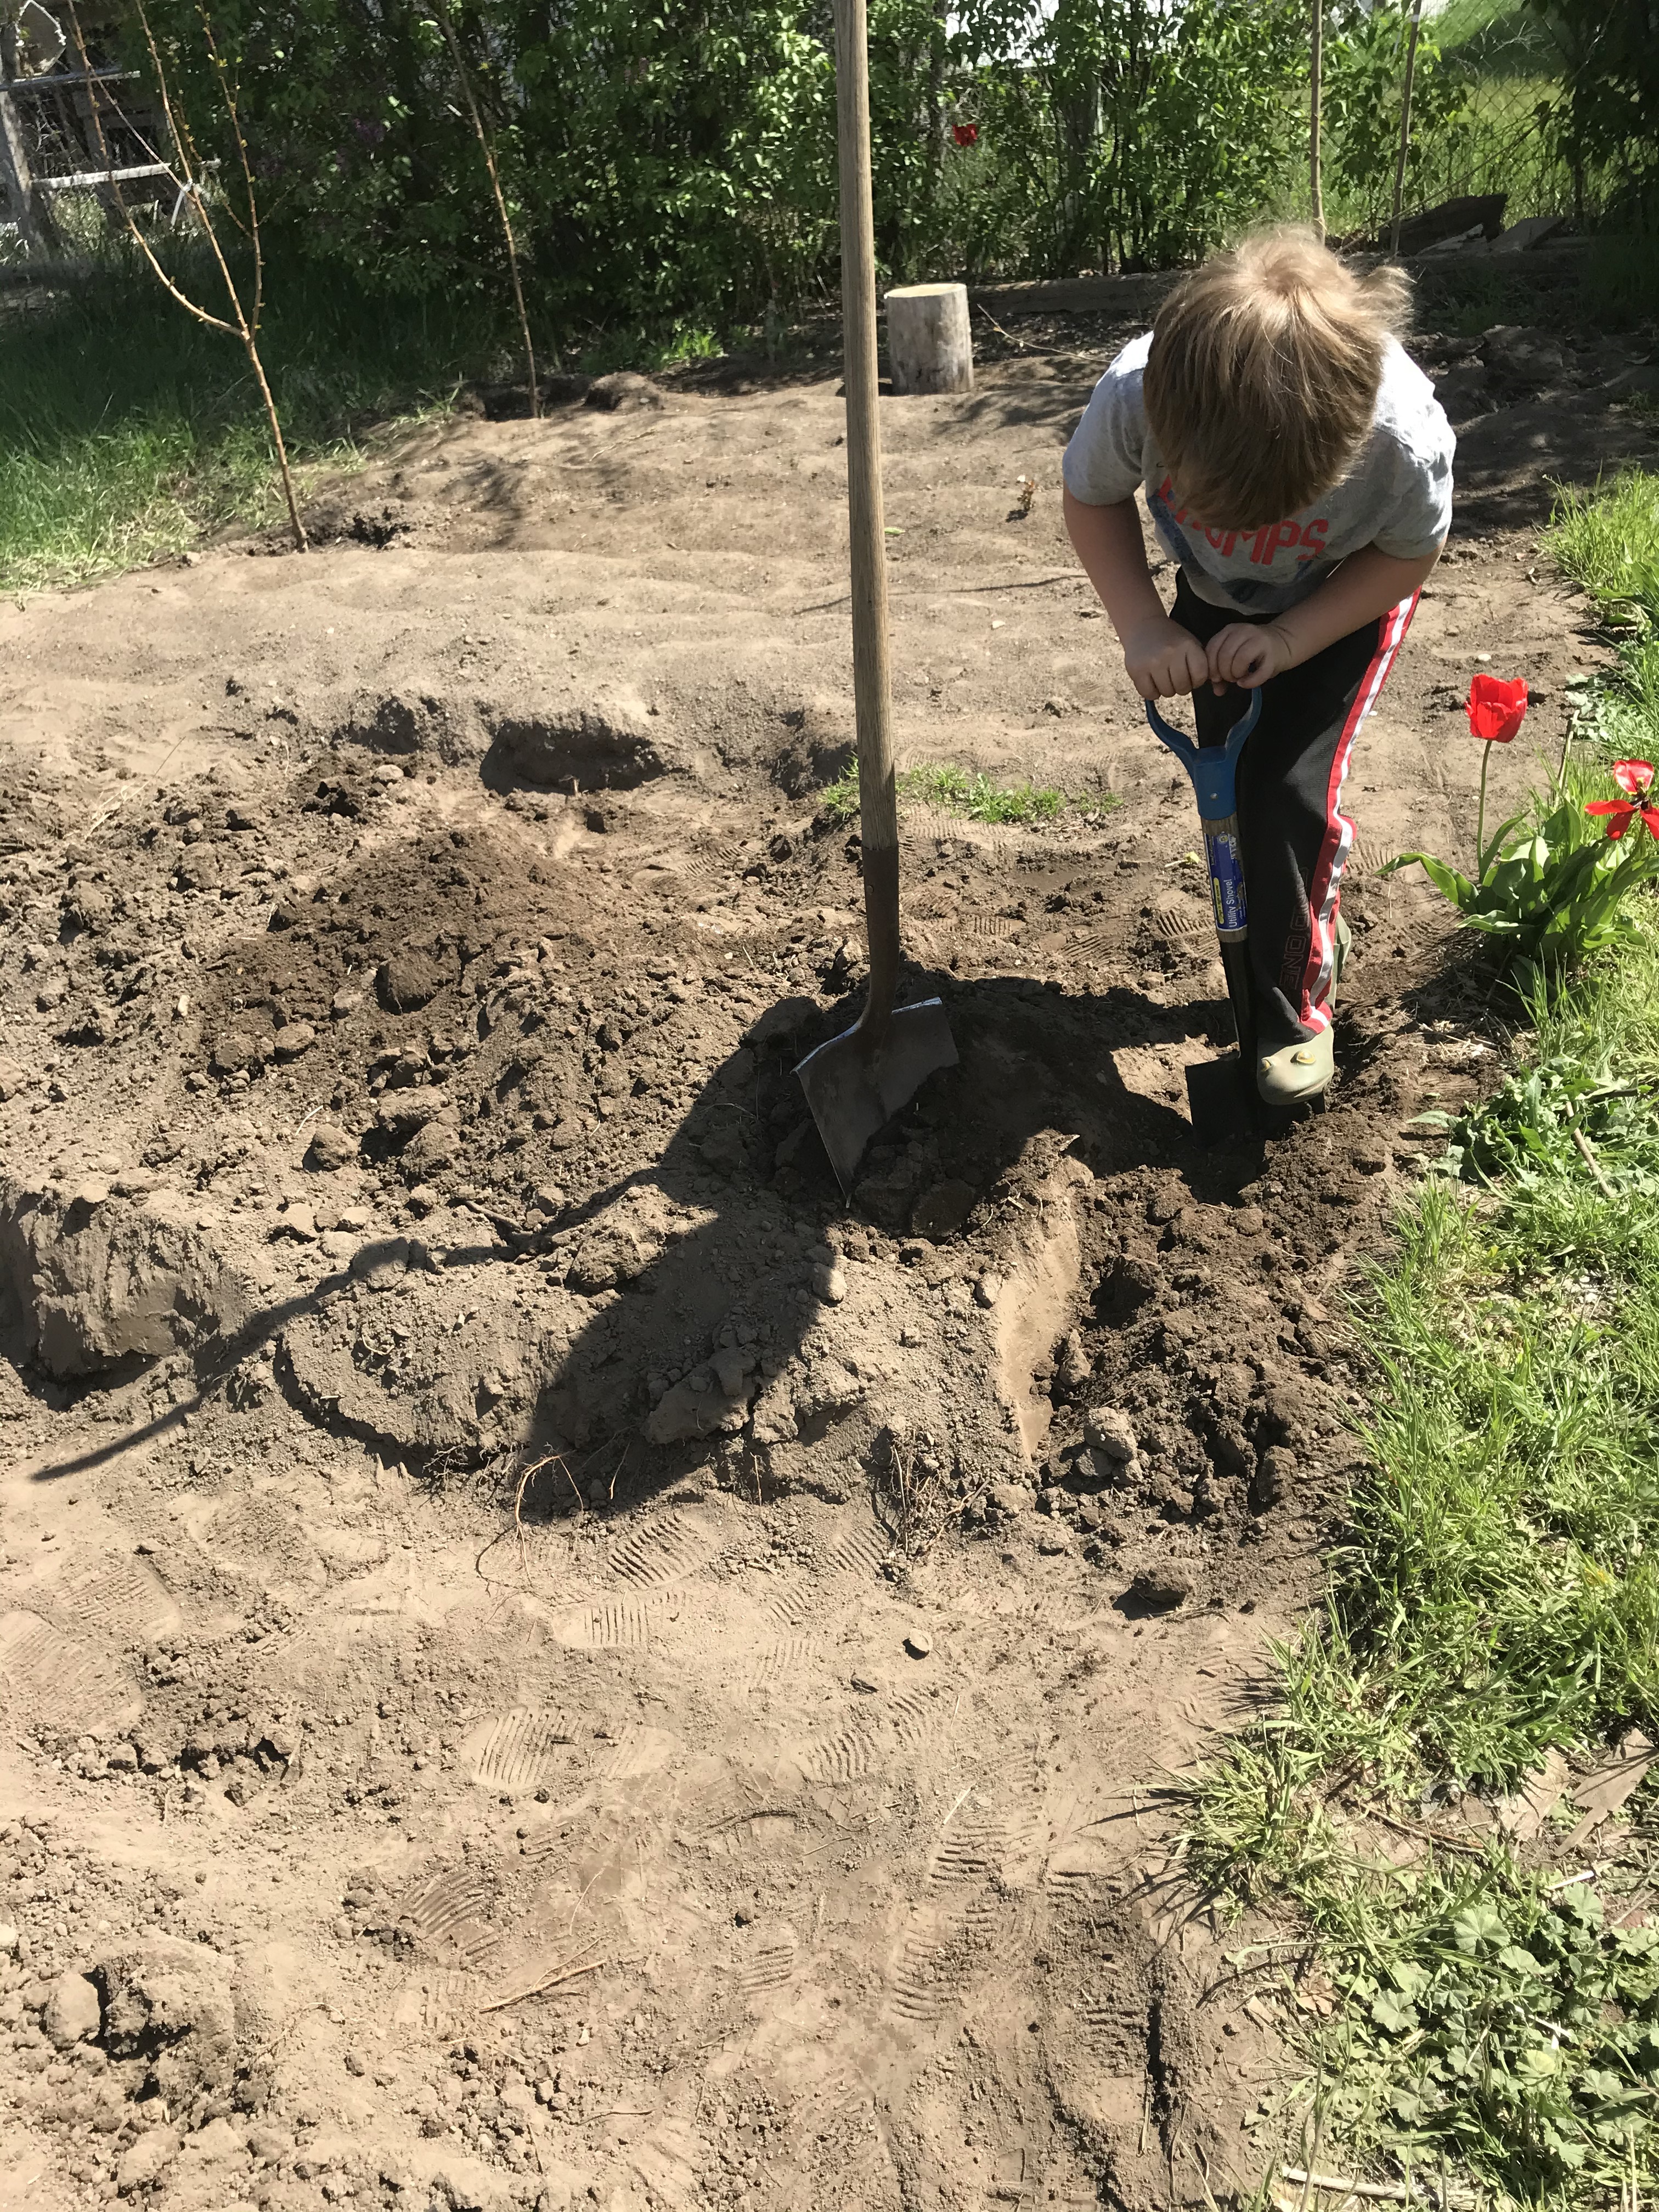
Building deep beds will help the garden grow, and teach the children well. The sweat equity is well worth the results. Replenishing and rebuilding beds also become easier in subsequent years.
The children will be thankful when they know how to grow their own in years ahead, harnessing the power of life by peaceful appreciation. And the beauty and the bounty will be worthy every harmonious step of the way.
Love from our spring garden to yours~ Gina @ Soul & Stomach
It’s the question of the hour. The frost is coming, if not already at your door. Tall tomato plants hold on desperately to clinging green fruits. What to do with all these green tomatoes before the freeze kills them for sure?
First off, get them all picked. Brown paper bag green tomatoes and store in a cool, dry, dark location–never in the fridge, a pantry is ideal. They will gradually ripen over a couple weeks.
Big brown paper bags of green tomatoes ripen nicely in a the cool, closed up pantry.
I check my pantry bags every couple days, and pull out a couple ripe tomatoes, adding to the counter fruit bowl for slicing on sandwiches, adding to curries, sauces or whatever is on the menu.
Check bags and remove ripe tomatoes for fresh eating, re-bag and store the green ones for later.
Secondly, there’s a host of nifty recipes to use green tomatoes creatively. One I love comes from a harvest table customer this summer: green tomato pie. She bought flats of green tomatoes from my garden and described her traditional pie as a must try: “people always say, that sounds terrible, then after one bite they say, that’s delicious!”
Green tomato pie, she went on to describe, is essentially the same as a tart apple pie, with exactly the same ingredients of cinnamon, sugar, a traditional pie crust top and bottom, with the green tomatoe’s tartness and firmness acting in place of a good granny smith.
A green tomato gazpacho is an interesting possibility. Gazpacho is a Spanish simple, fresh vegetable blended soup. A green tomato variation, with cilantro, garlic, green pepper and onion is both pretty and tasty as a main dish soup or appetizer. The effect is surprising, encouraging guests not only to taste but praise it.
Try: 4 c green tomatoes, seeded; 1 c fresh cilantro; 1/2 white onion; 2 cloves garlic; 1/2 green bell pepper; 1 small cucumber, seeded; juice from a lime or 1/4 c sherry vinegar; 3 T olive oil; salt and pepper to taste; blend in food processor or blender and enjoy.
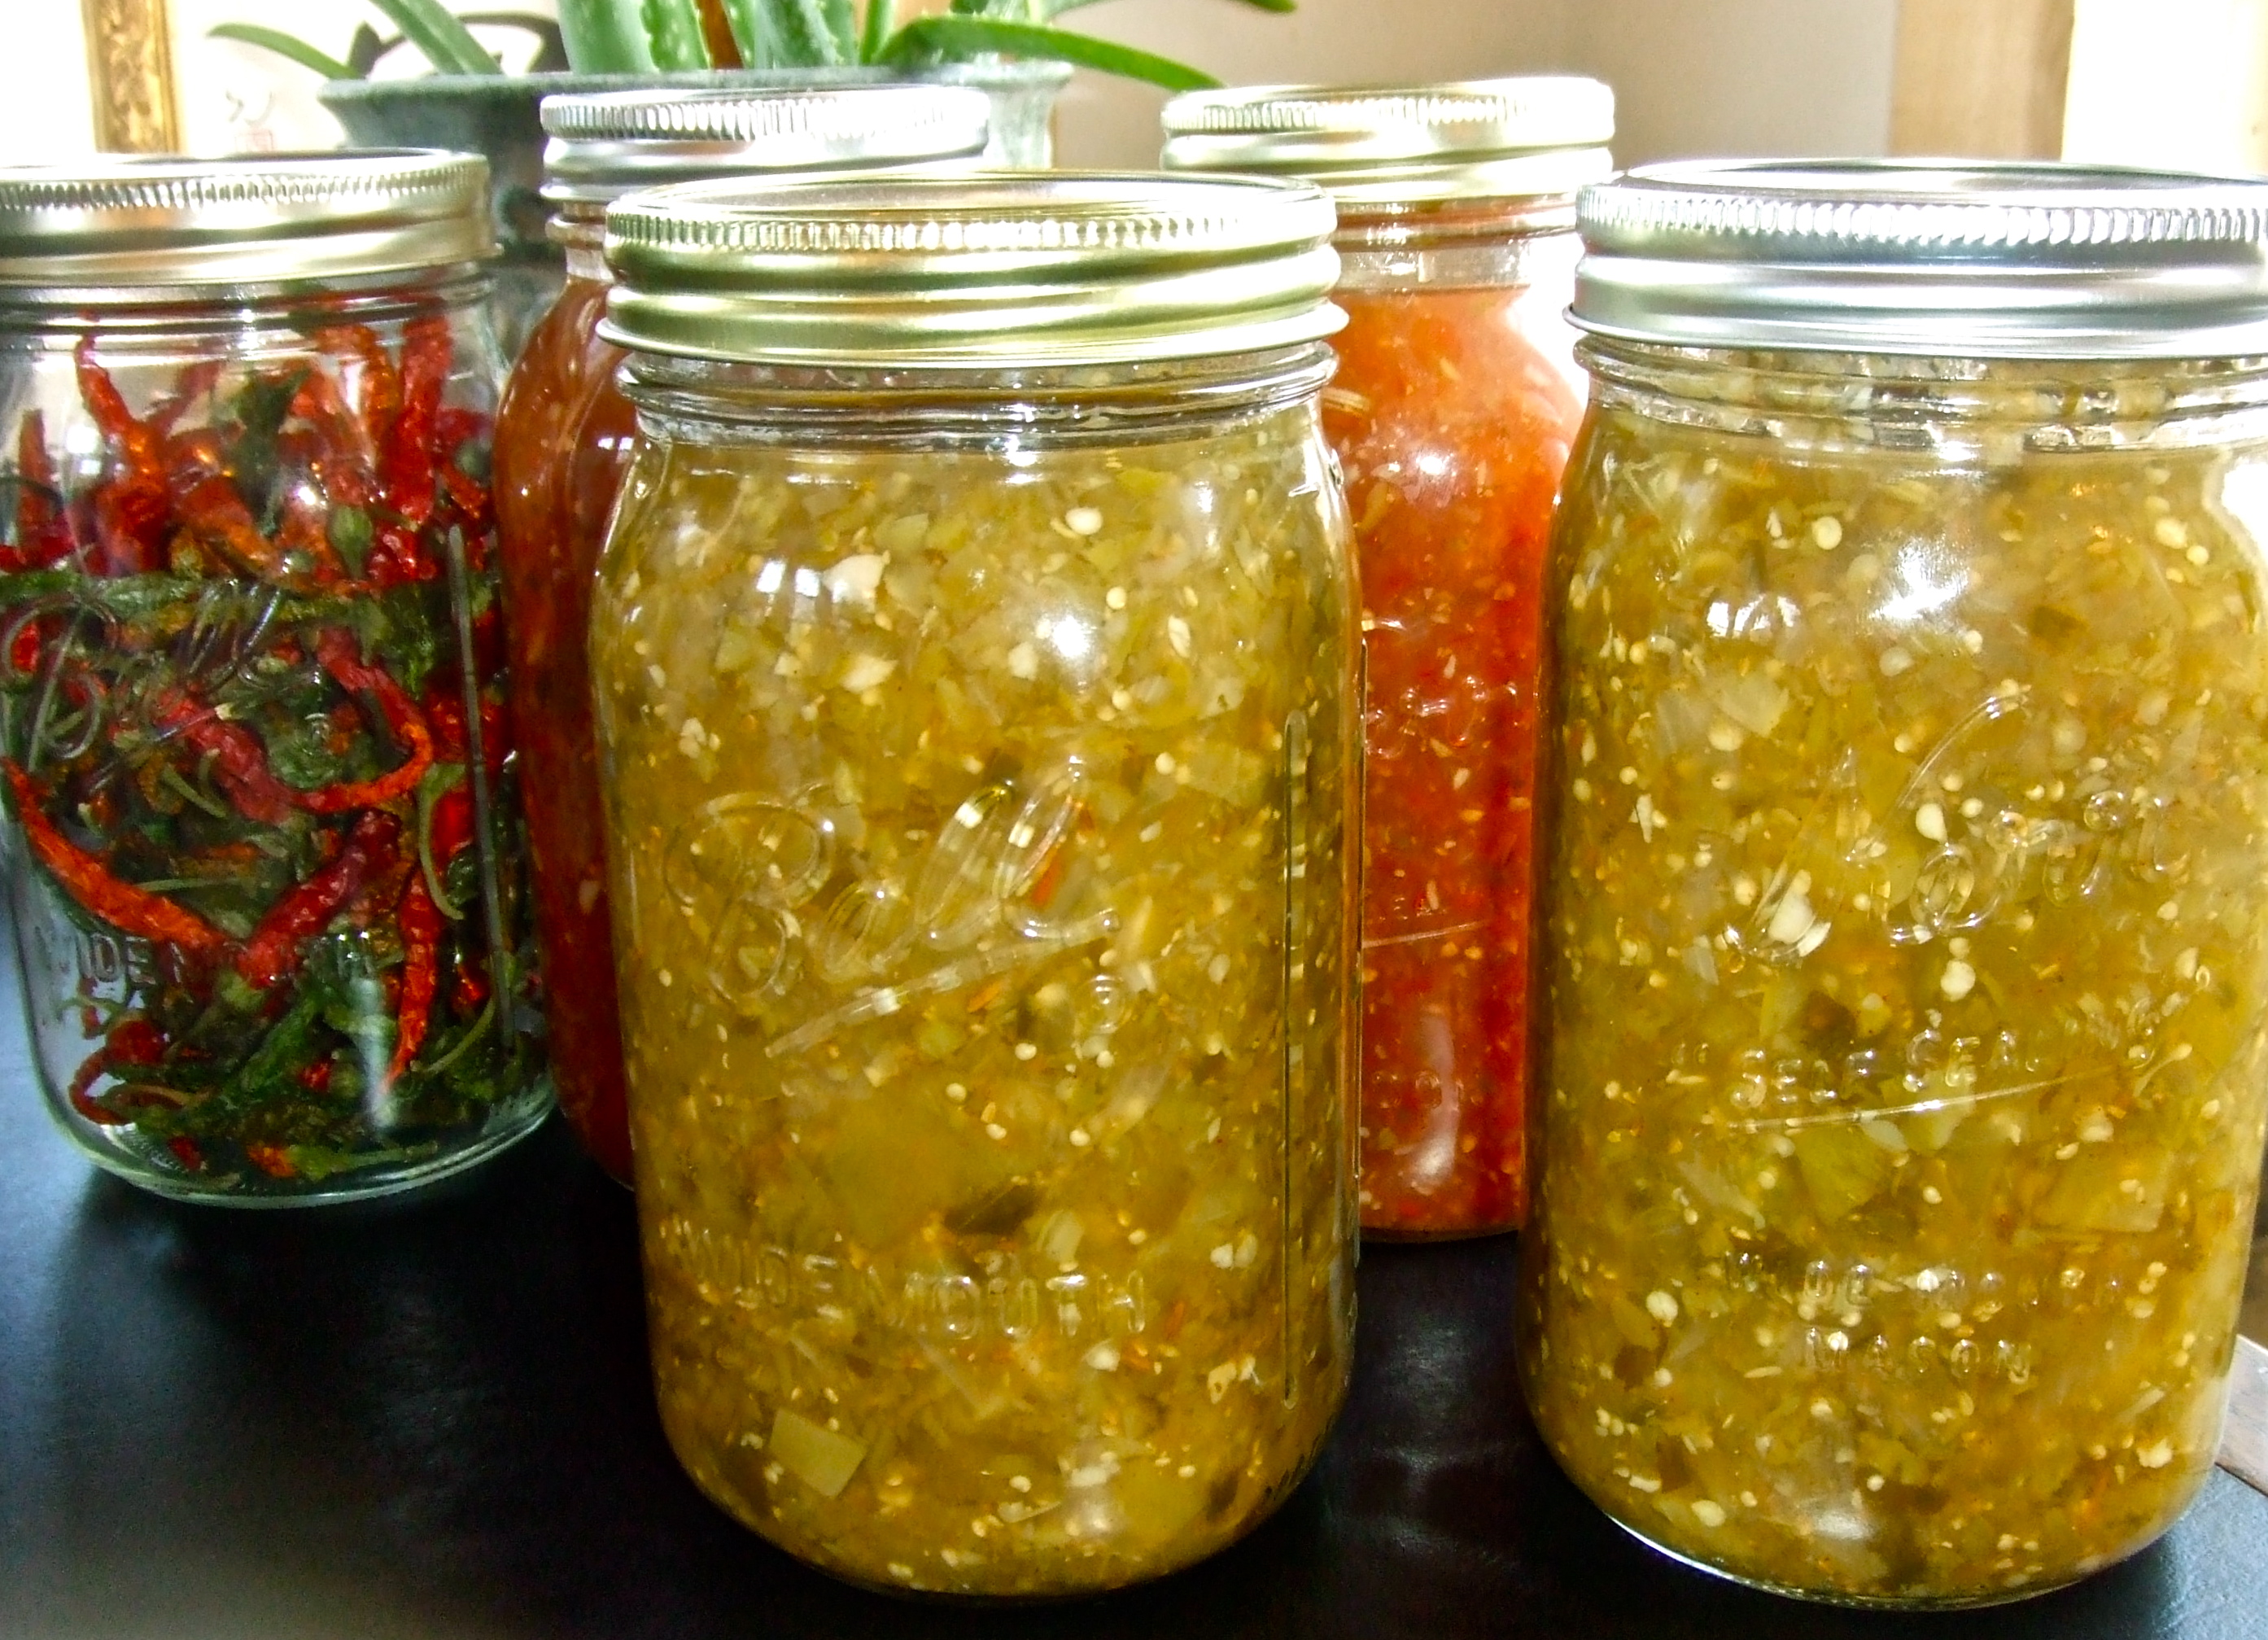
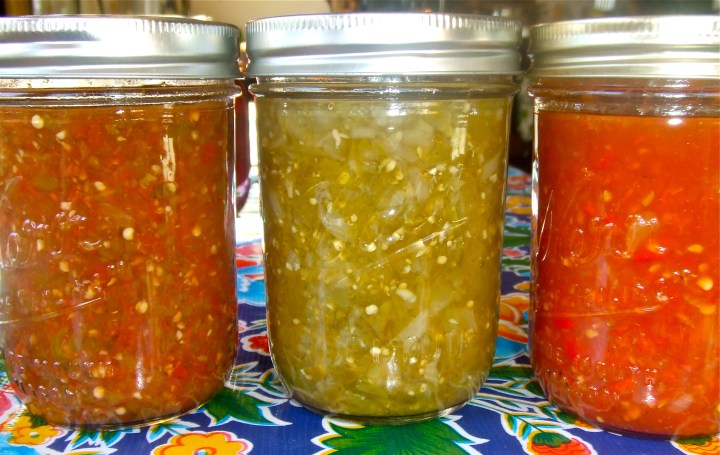
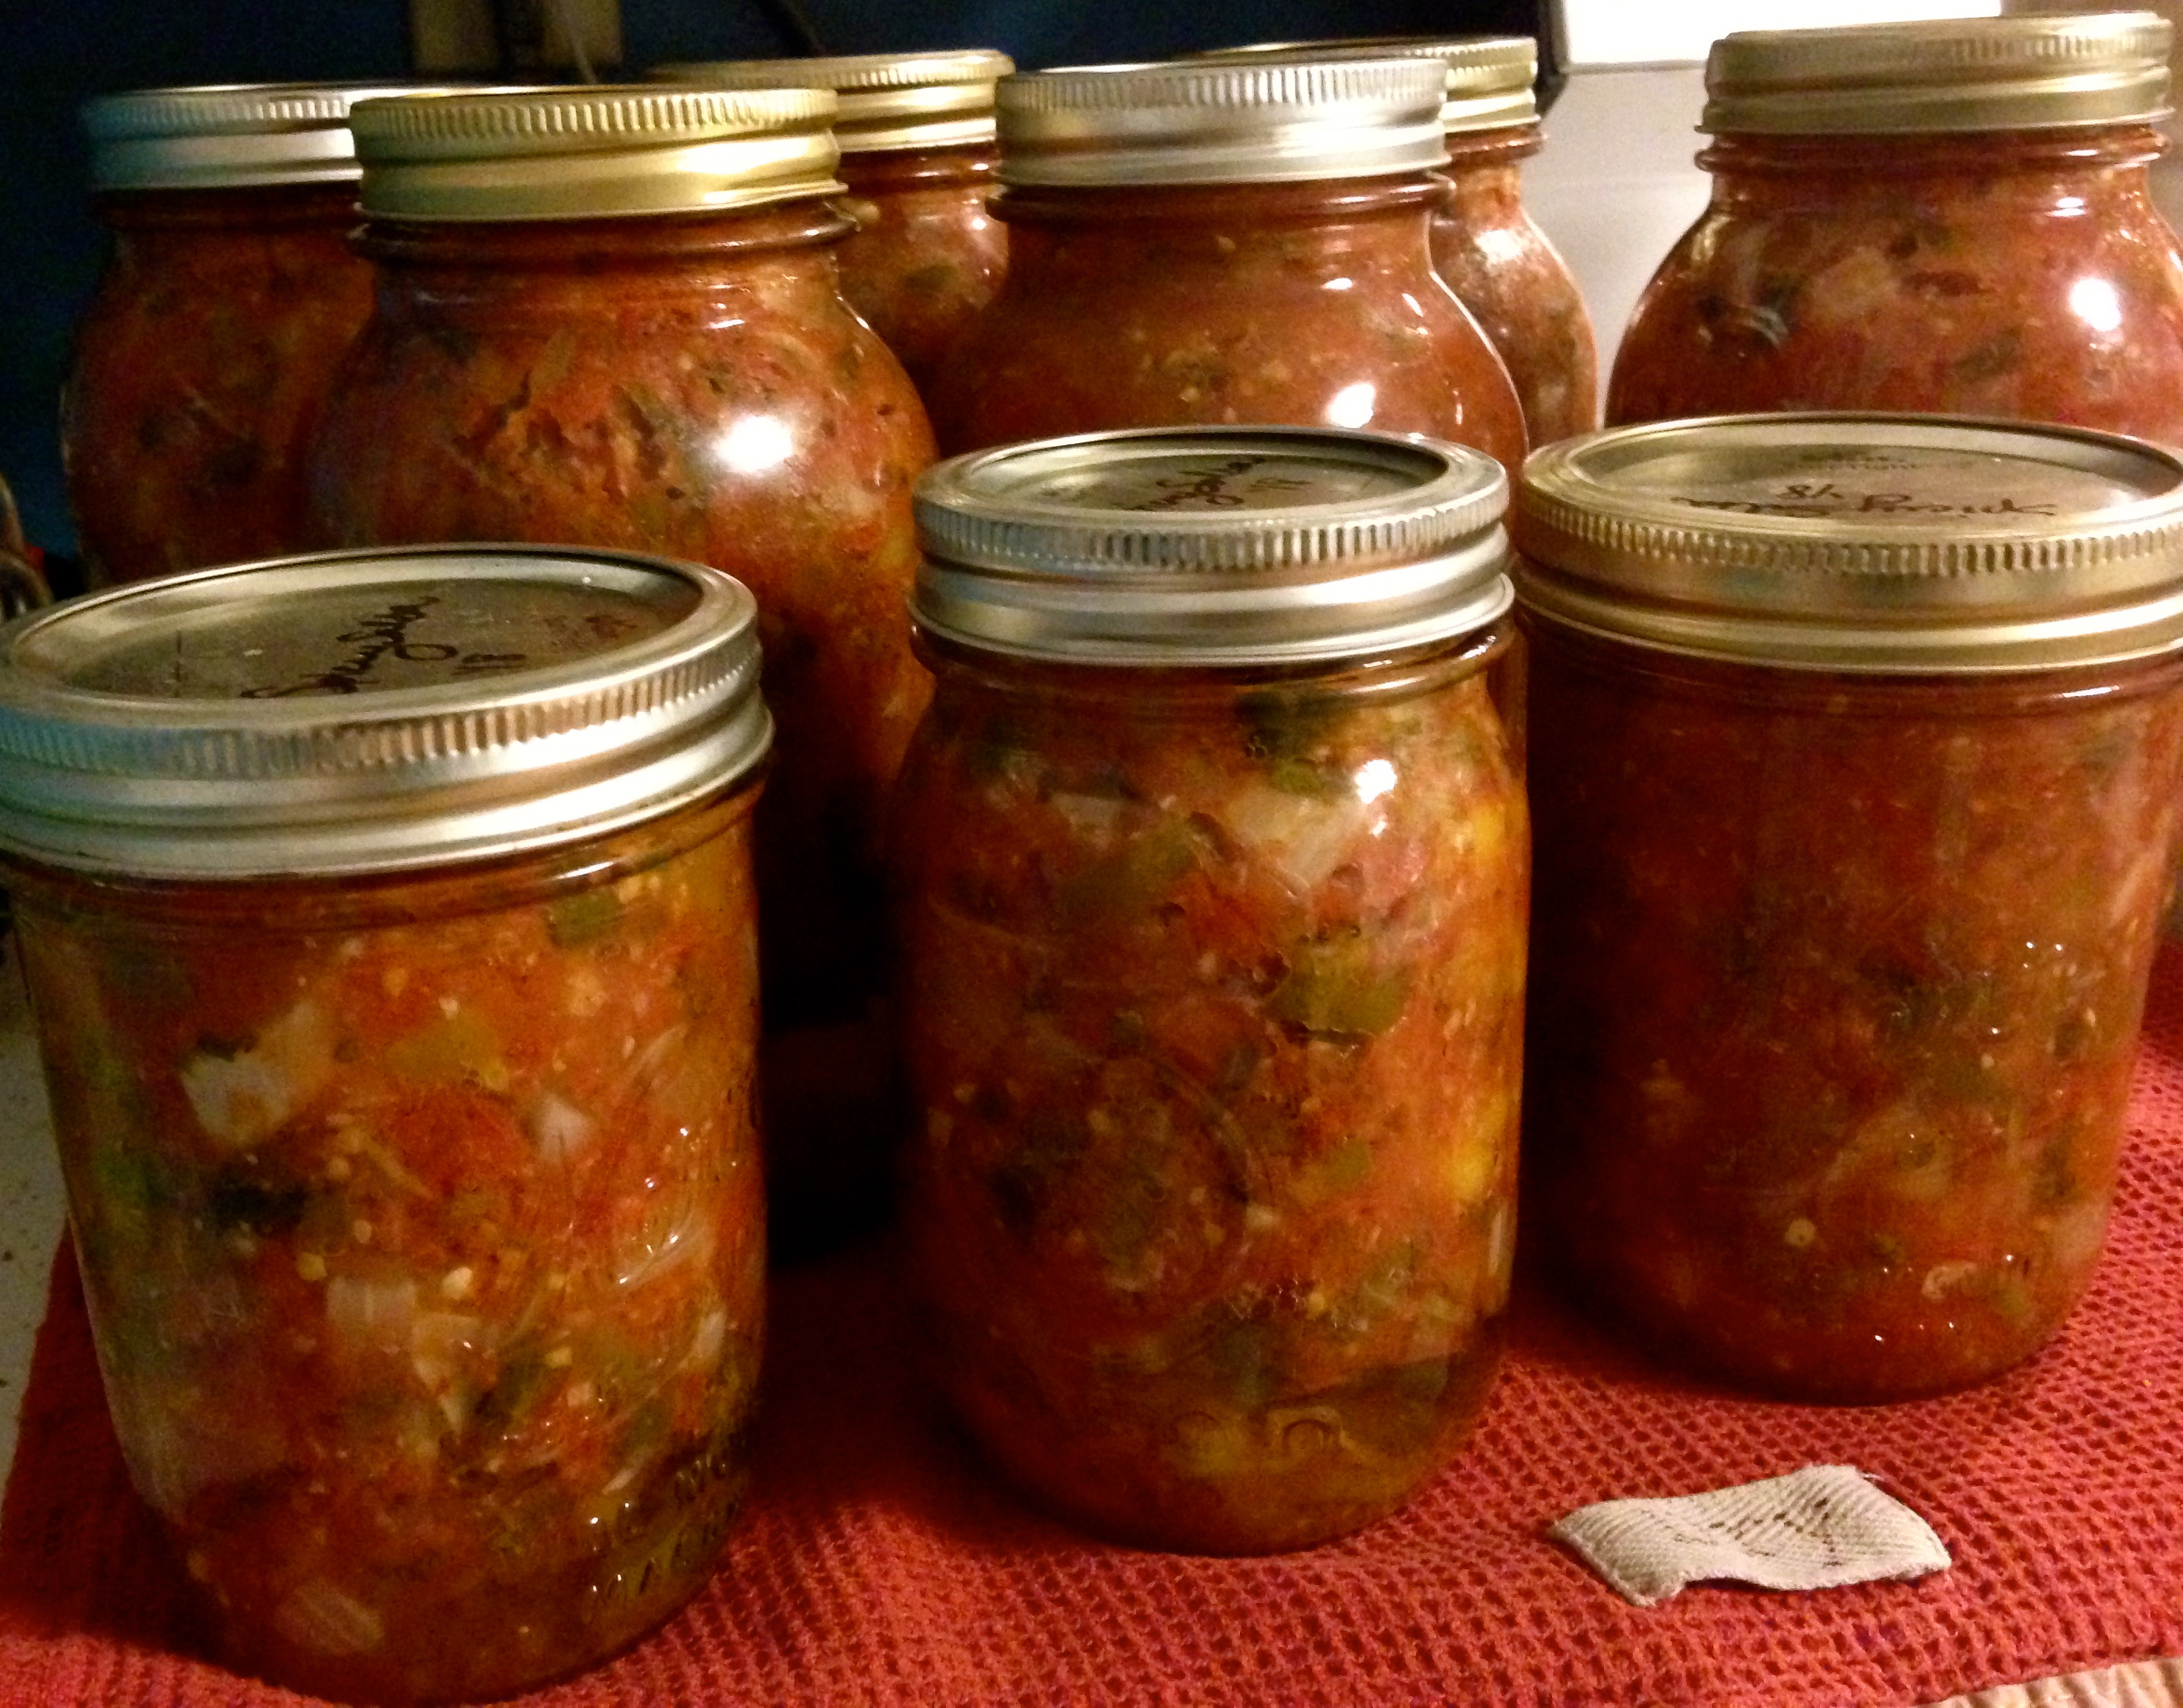
Salsa verde begins.
Finally, and my #1 recommendation of how to utilize your green tomatoes, the recipe I’ve been waiting to share:
Tried & True Salsa Verde: with fresh ground Cumin and Lime
Oh it’s tasty. Having seen many salsa verde versions through the years and tried different experiments, I’ve chosen this recipe as the best. Naturally smoky cumin, fresh ground, gives a deep, earthy dimension to the acid based green tomatoes and lime. Plenty of onion, cilantro and garlic is required, as with any good salsa, but it’s the pungent cumin and lime that distinguish this one.
Excellent for many Latin dishes, particularly fish or chicken, salsa verde is worth canning large amounts for later. Herein, the recipe to preserve a bunch, hopefully taking care of all those green clingers out there before the freeze.
Salsa verde with it’s red tomato sisters and dried cayenne peppers.
Some prefer a thick and chunky salsa, in which case, seed the green tomatoes. Others prefer a saucier salsa, for which you can leave the seeds. This recipe works for either.
The instructions are for a “max batch,” designed to fill the water canner with 7 full quarts or multiple batches of pints. Cut the recipe in half for smaller amounts of vegetables.
Hopefully your garlic is plentiful and punchy for this recipe. I find the spicyness of garlic to be one of the most important flavors in good salsa.
Cilantro is easy to grow on a constant basis. It grows very quickly, and can be reseeded throughout the year indoors. Cilantro is entirely useful, roots, stems, seeds, leaves and all!
When in comes to cumin, purchasing fresh seed is necessary. Pre-ground cumin is always disappointingly dead, and a recipe like this takes the full-on flavor of the spice to stand up to competitor acids of green tomato and lime.
A final note about the heat of your jalapeño peppers: gauge their spice level partially on their maturity. A pepper of full maturity will have “veins” of white stretching vertically from base to stem. Without these, you may still have a spicy pepper, but it will be generally lower heat than a veined jalapeno, and a taste test is advised.
~Salsa Verde~
24 large green tomatoes, or 12 c diced
5 c onions, diced
20 cloves garlic, finely minced
8-10 jalapeño peppers, to taste depending on heat, finely diced
Juice from 3 limes, or 1/2 c bottled lime juice
3 T fresh ground cumin seed
2-3 t salt, to taste
1-2 bunches of fresh cilantro, 1 1/2 – 3 c
~Dice all vegetables, and add to a large sauce pot; use gloves when handling peppers if you find it necessary, and be careful not to touch face or eyes.
~Meanwhile, sterilize jars in boiling water canner; set out all canning supplies.
~Combine all ingredients except cilantro in a large sauce pot; bring to a boil and then reduce to a bare simmer; then add chopped cilantro (its delicate construction loses flavor if too boiled much).
~Taste for spice and salt content and adjust.
~Process in a boiling water canner 25 minutes for quarts, 15 minutes for pints.
Yield: 7 quarts or 14 pints
Love from our feezing garden to yours! Gina @ Soul & Stomach
Planting the garden has never been more relevant. People garden for many reasons ~ for beauty, food, hobby, even exercise. But now, when we look at our simplified, quarantined lives, the need to take care of ourselves and future possible food shortages, it is skill turned to necessity. And it’s also just the way we are intended, to harmonize with the earth.
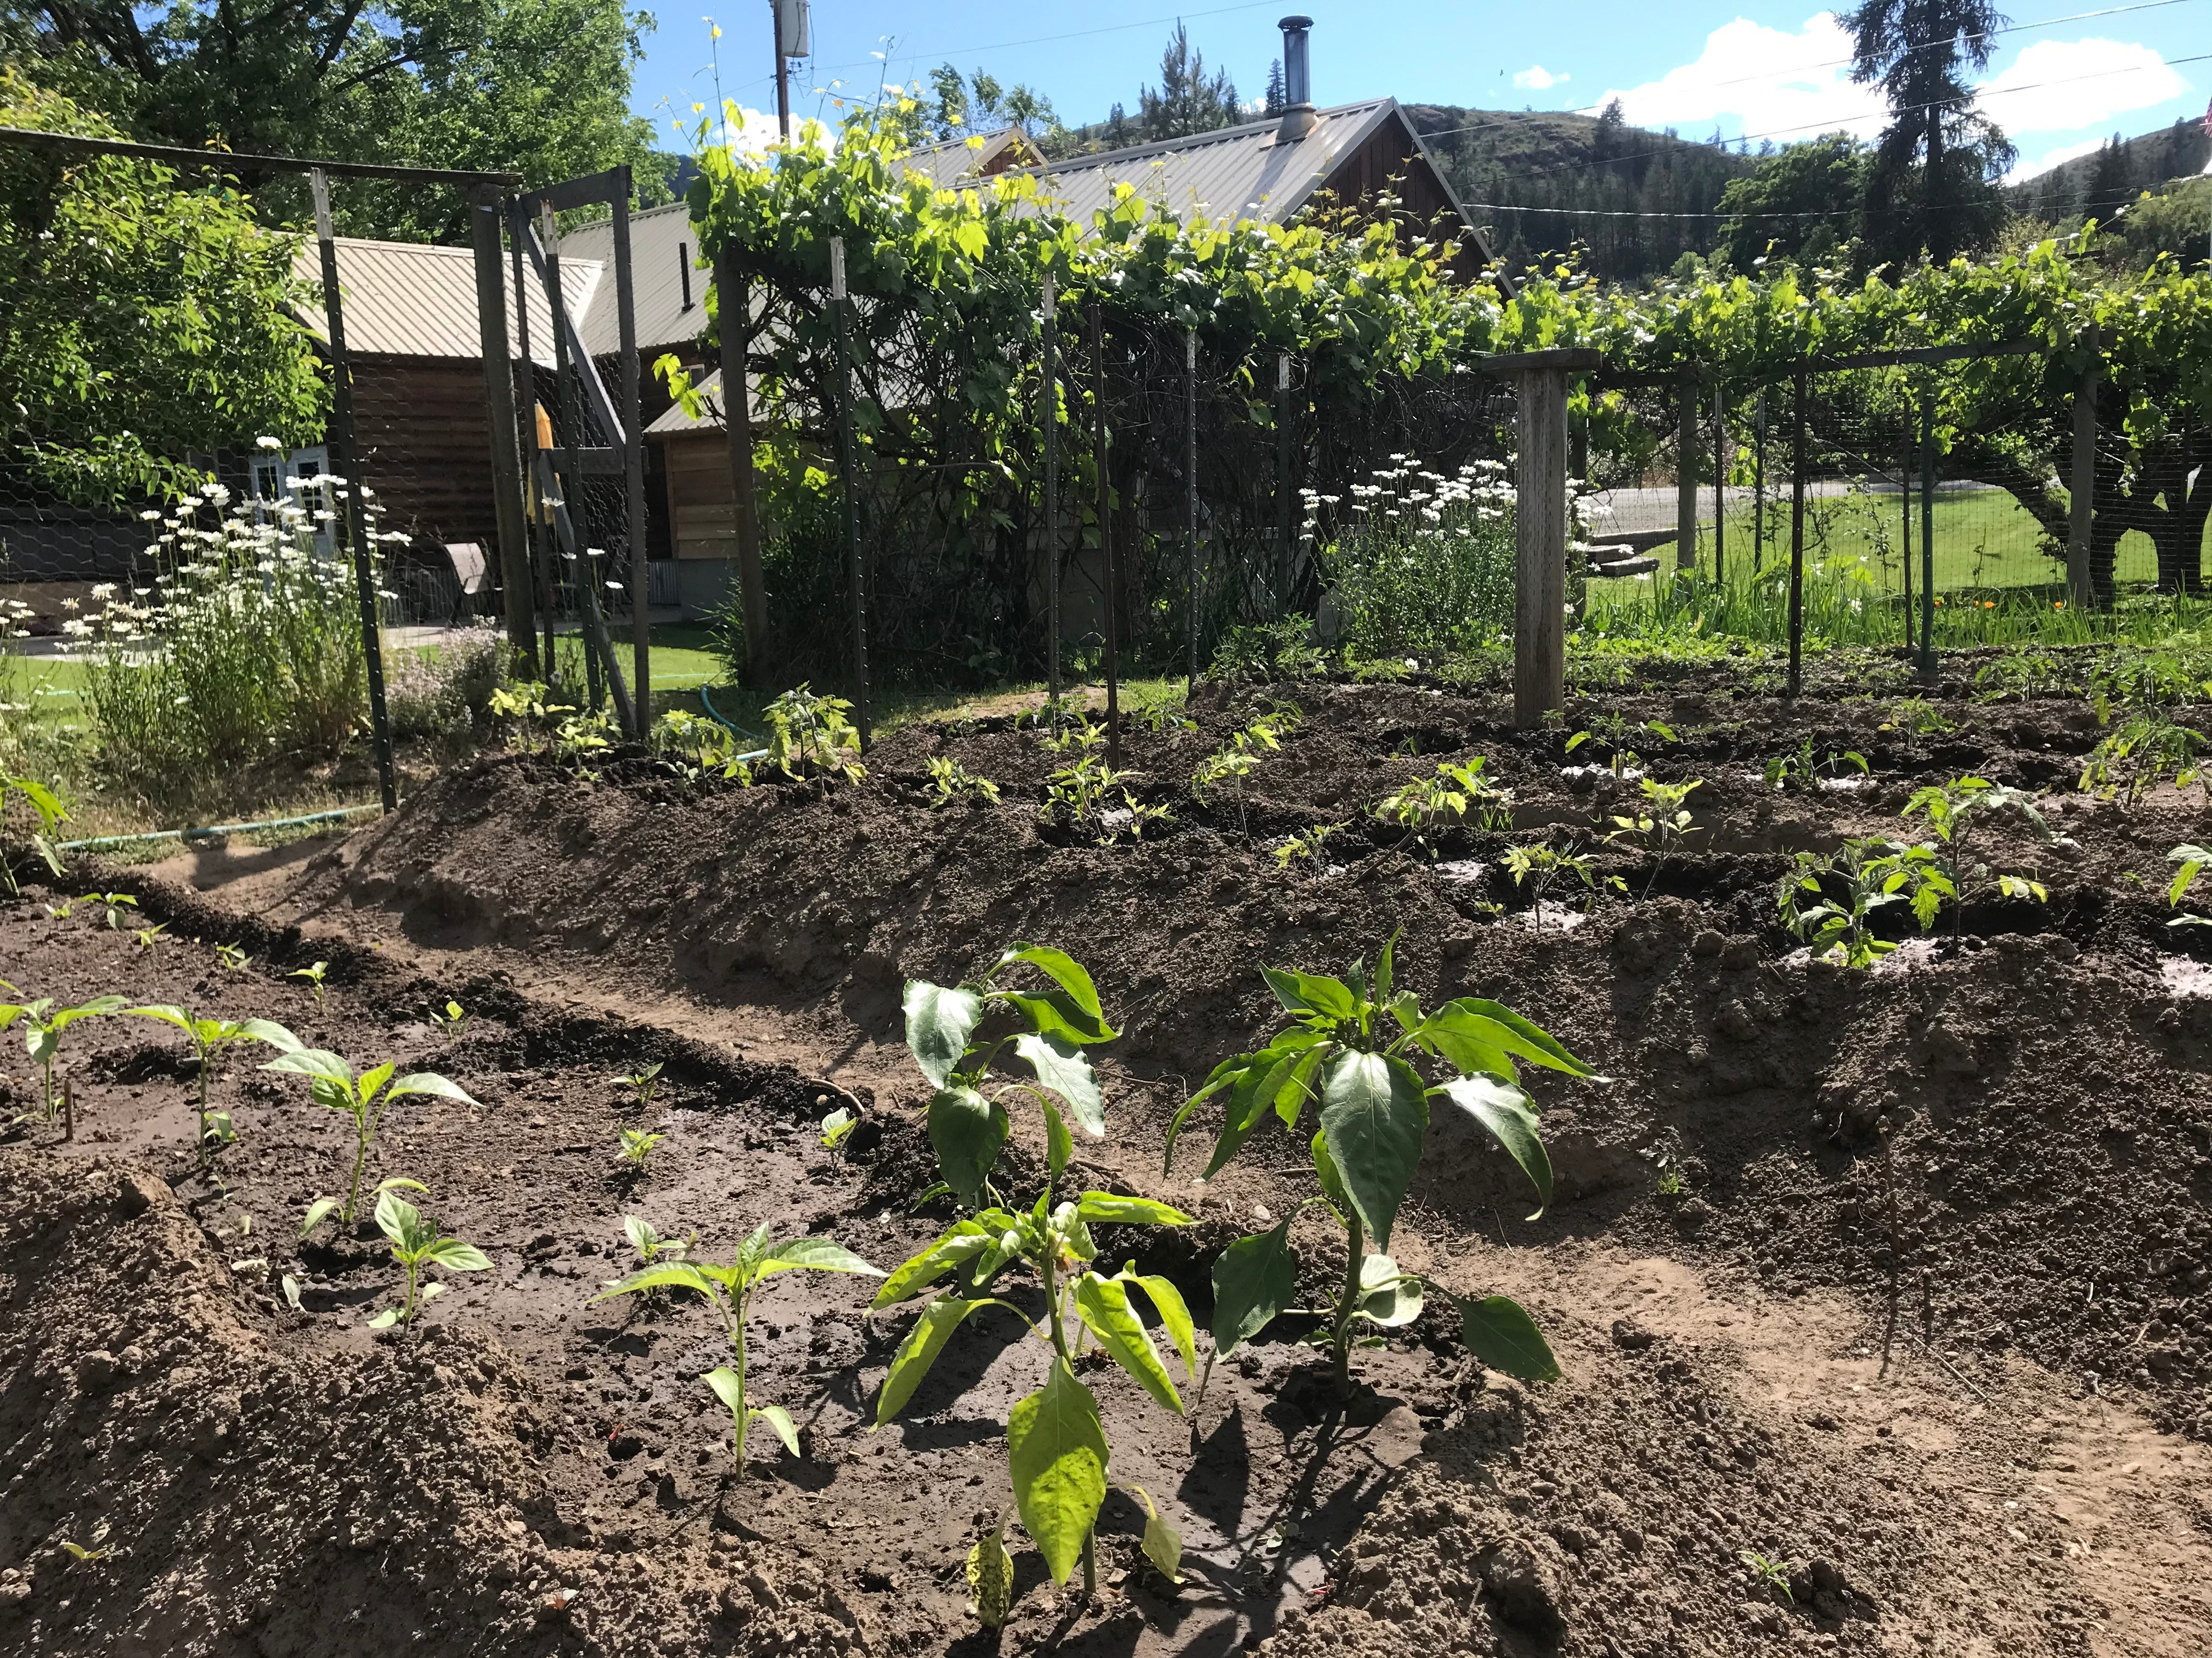
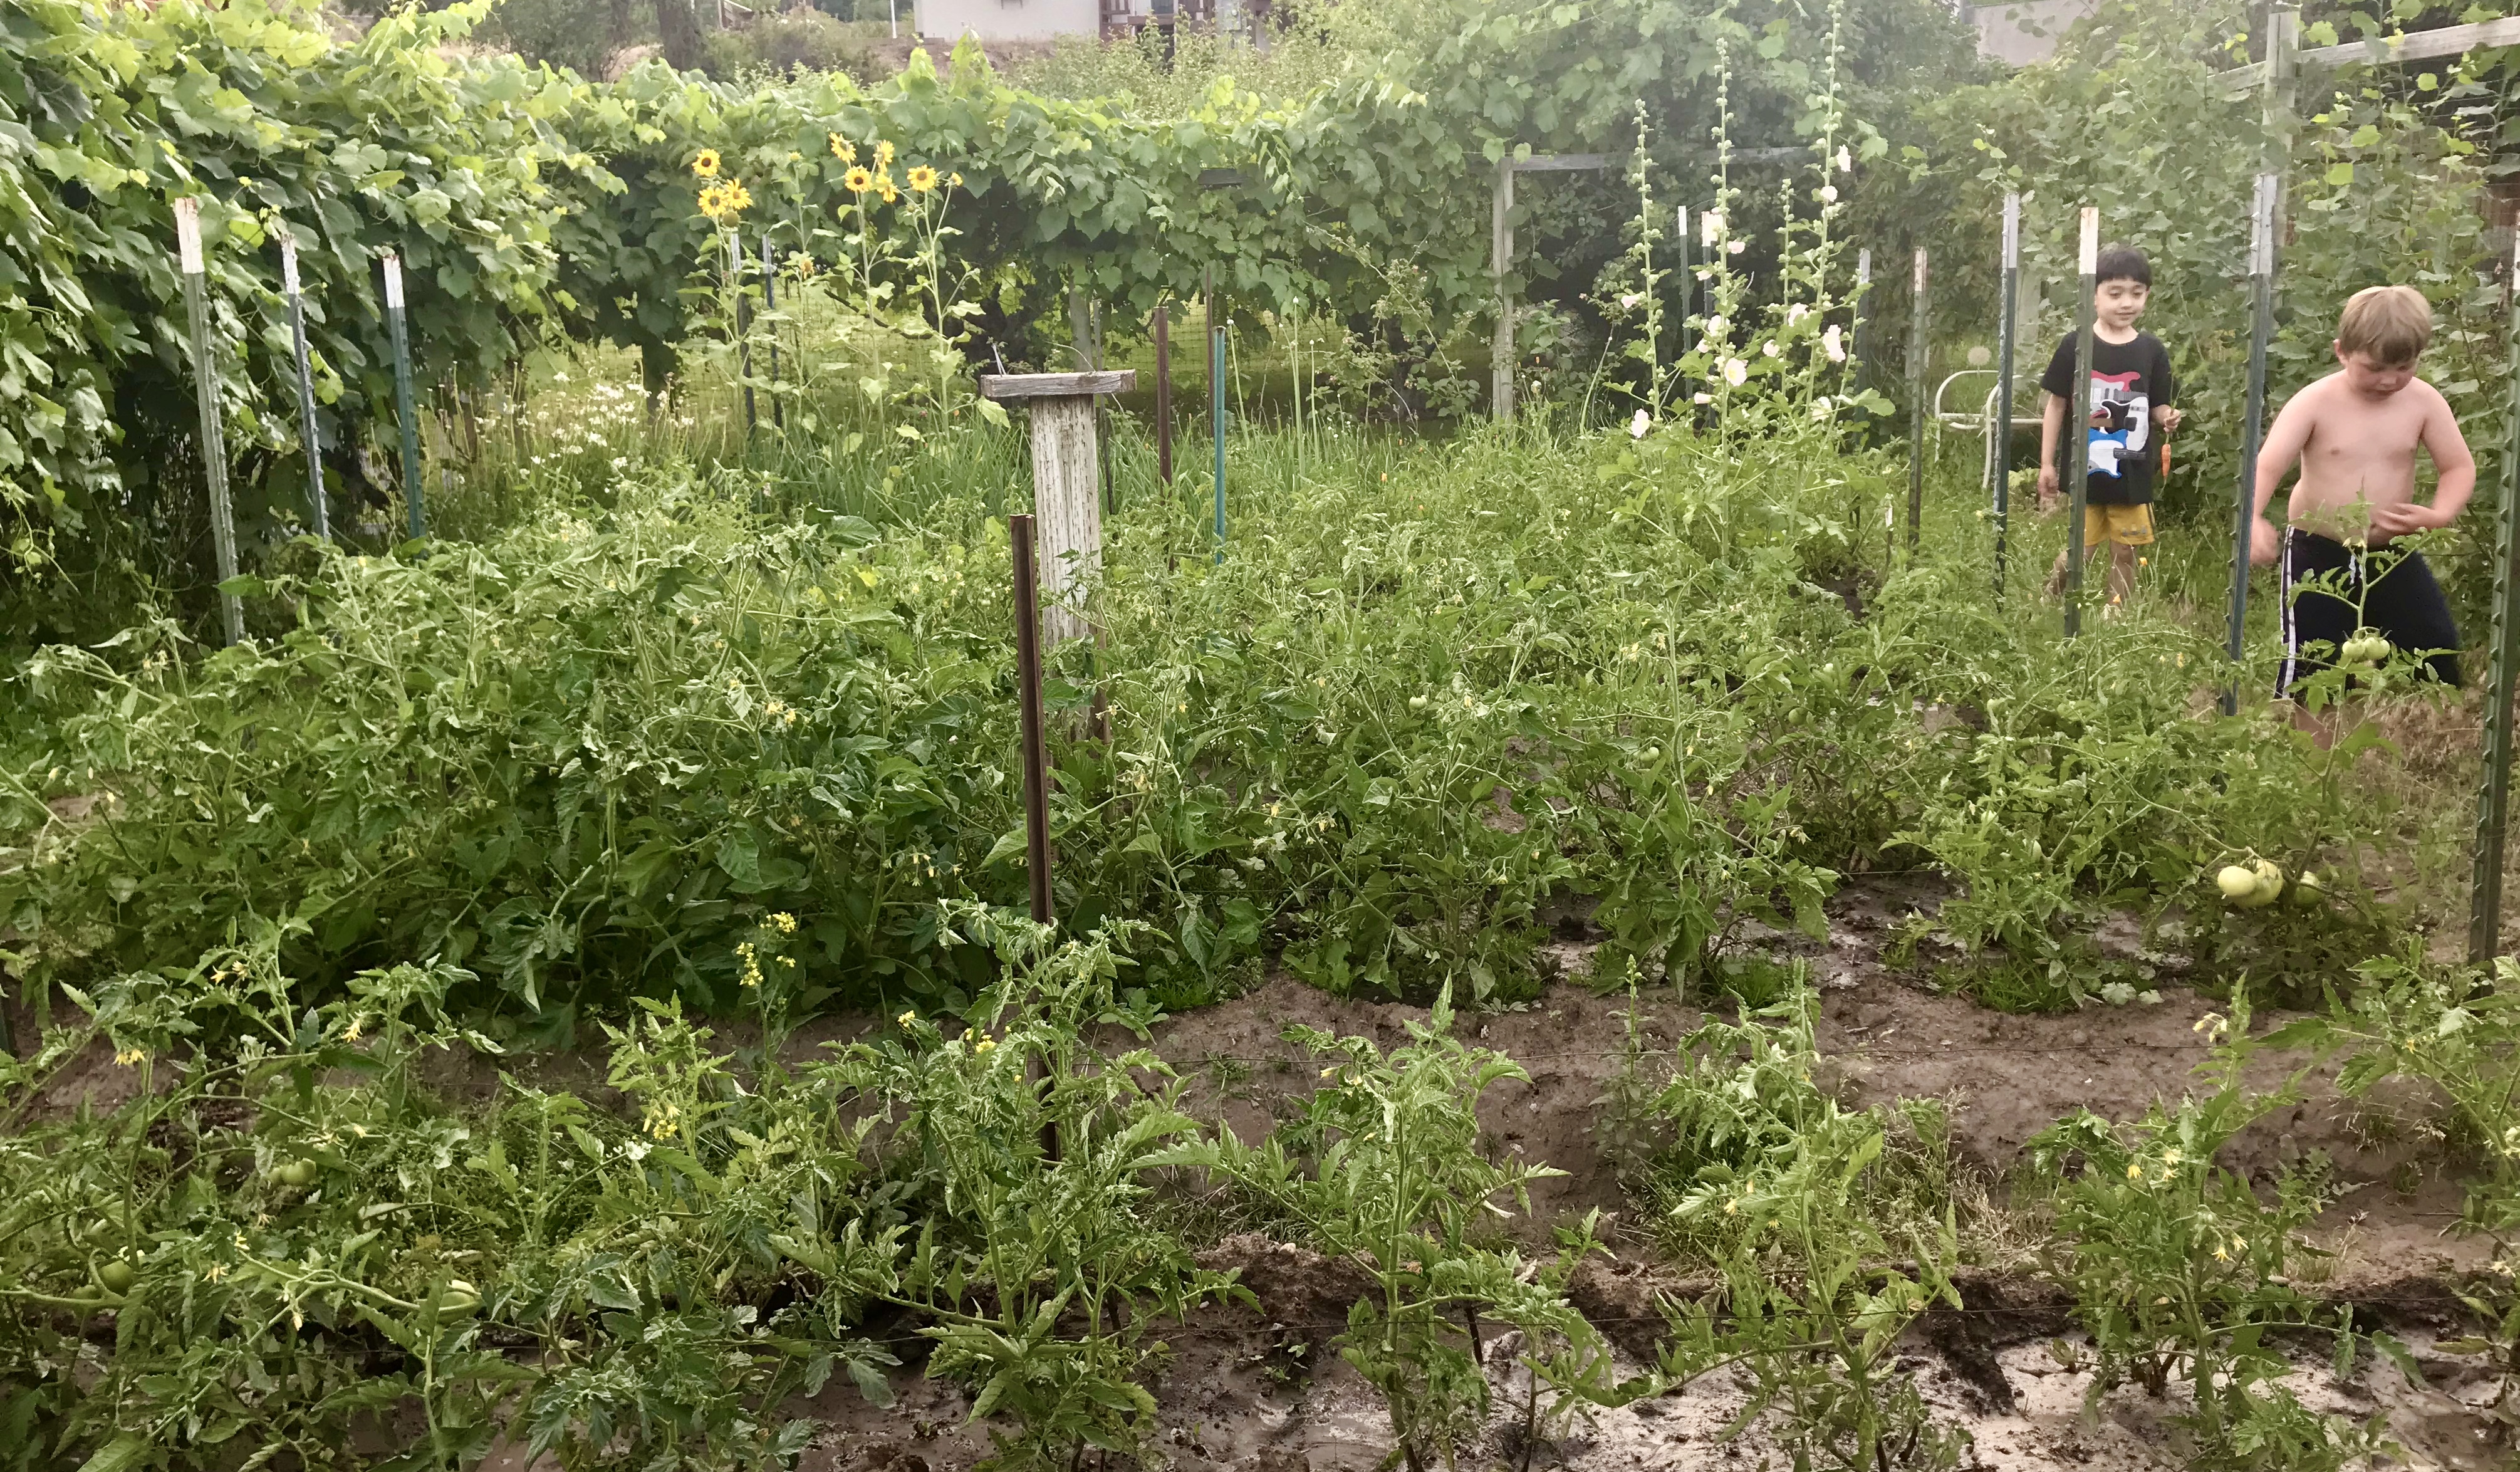
The baby plantings of May have turned bounty in August.
In the beginning ~ May.
And today ~ August.
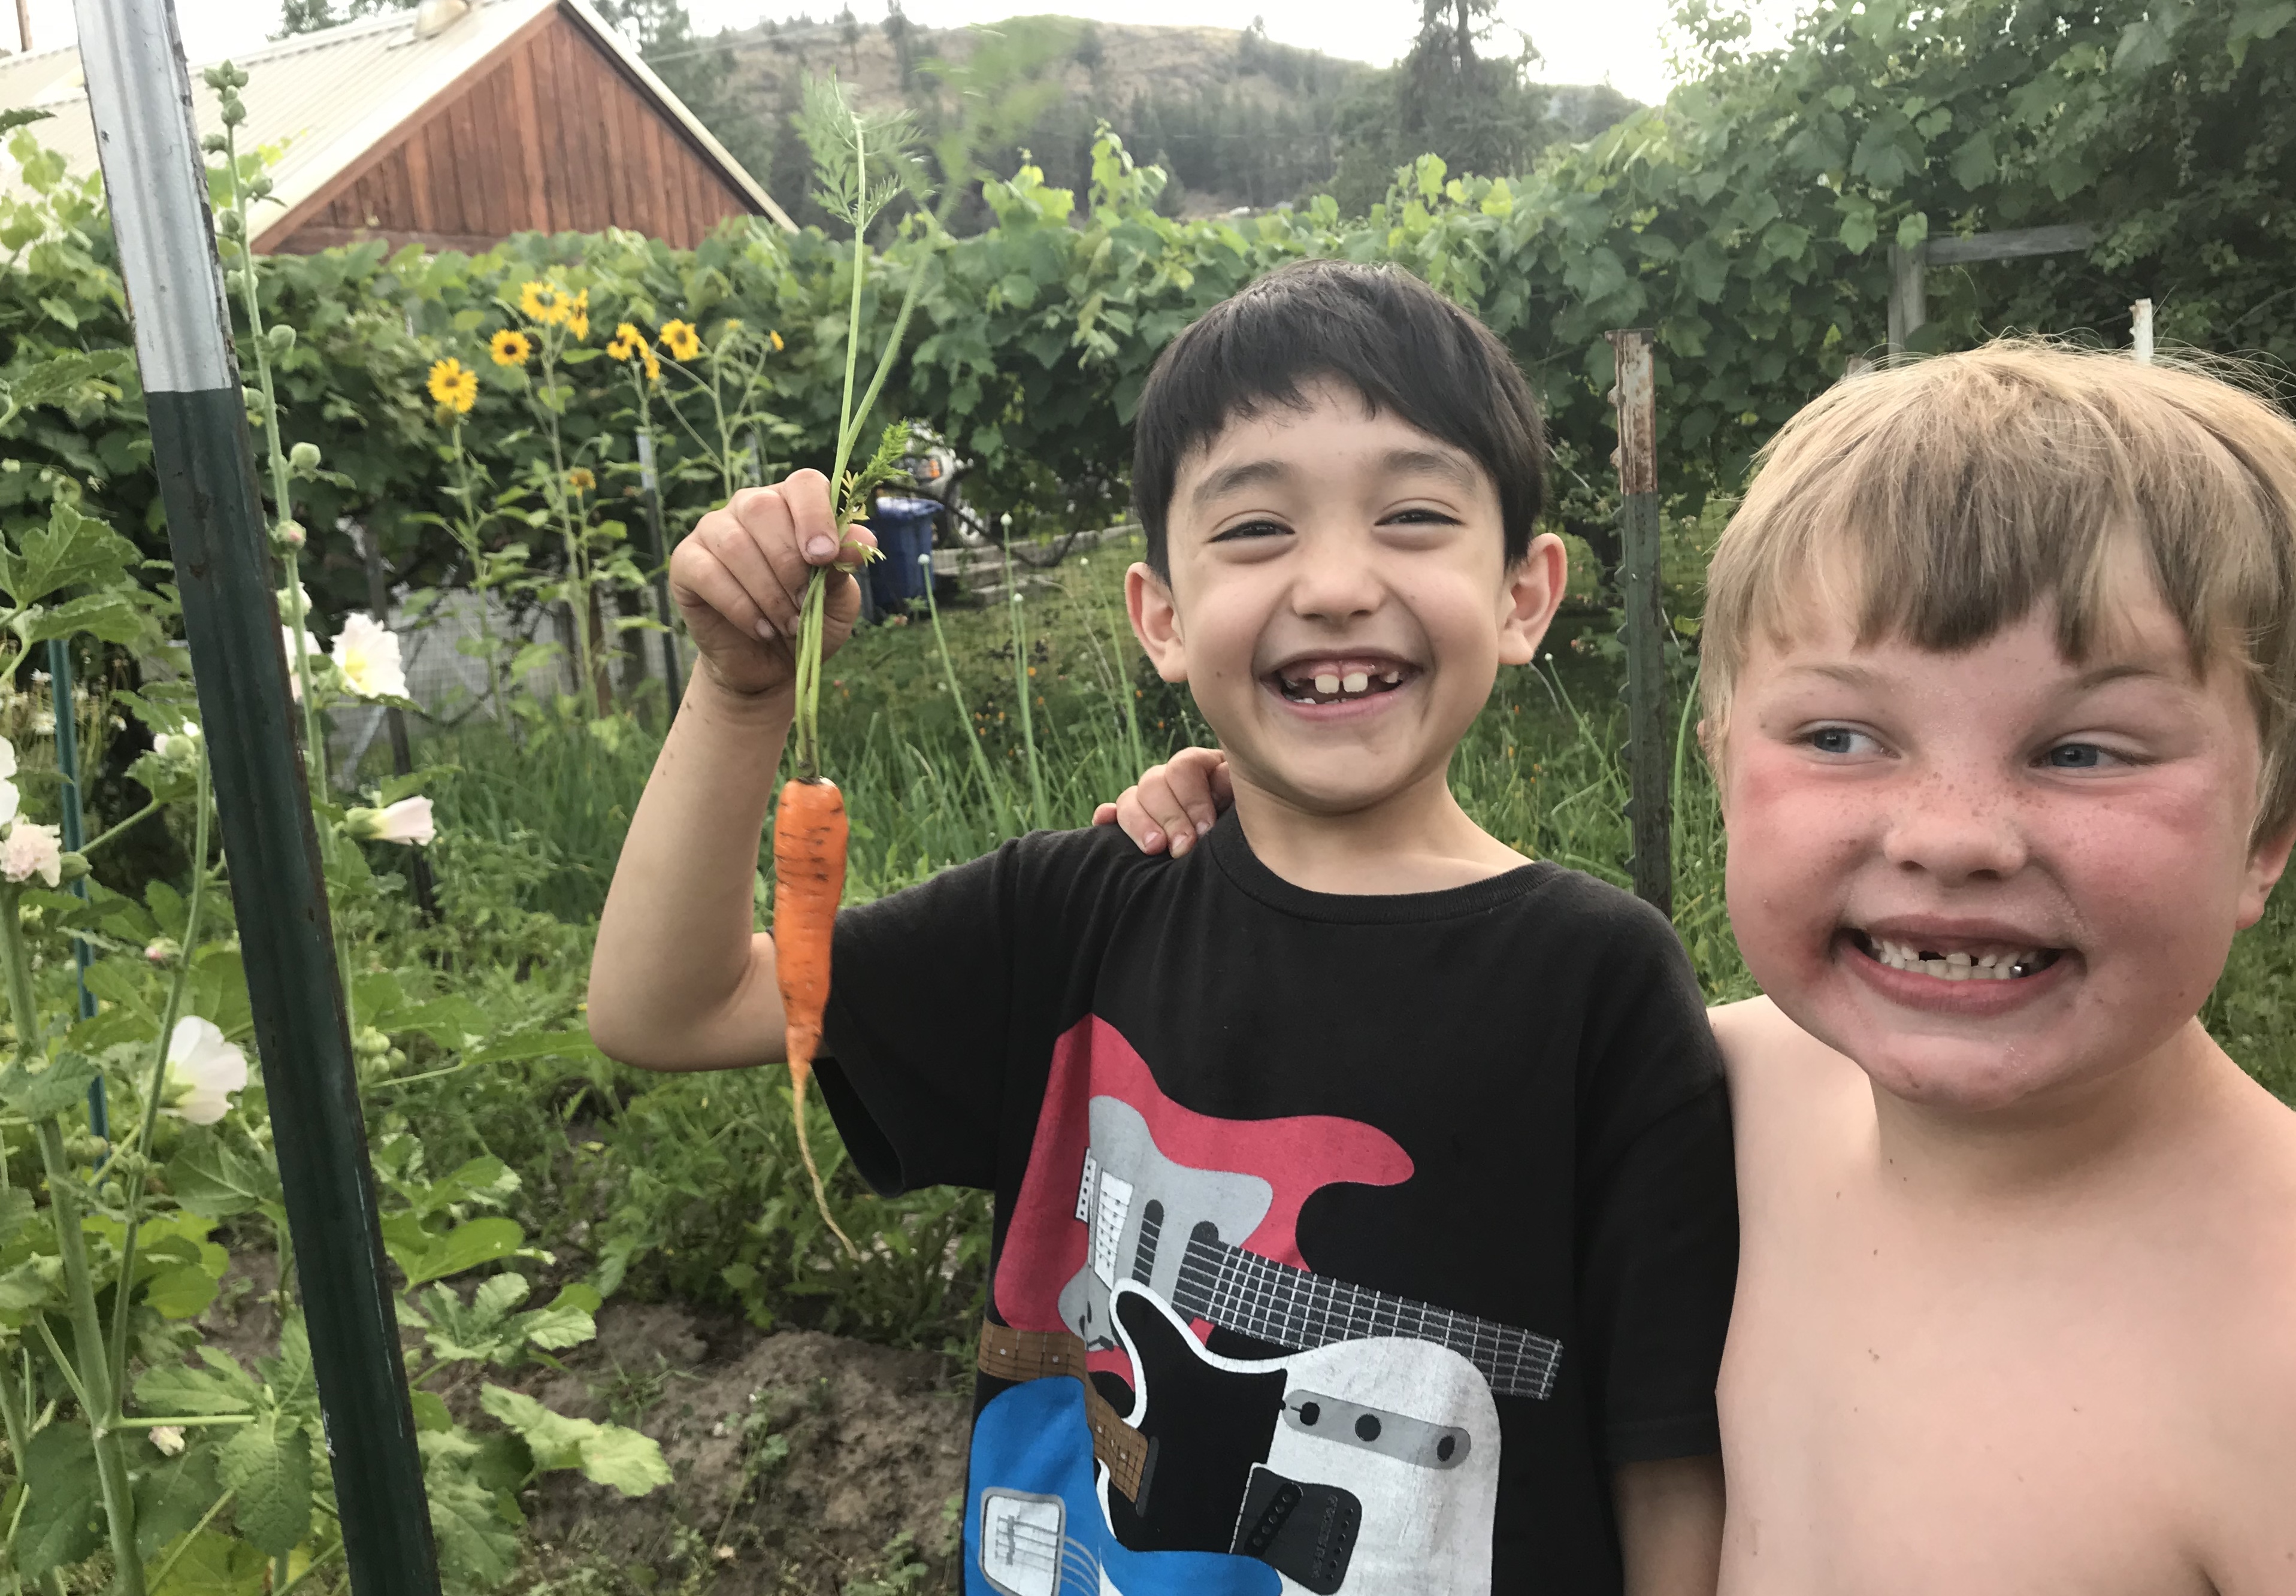
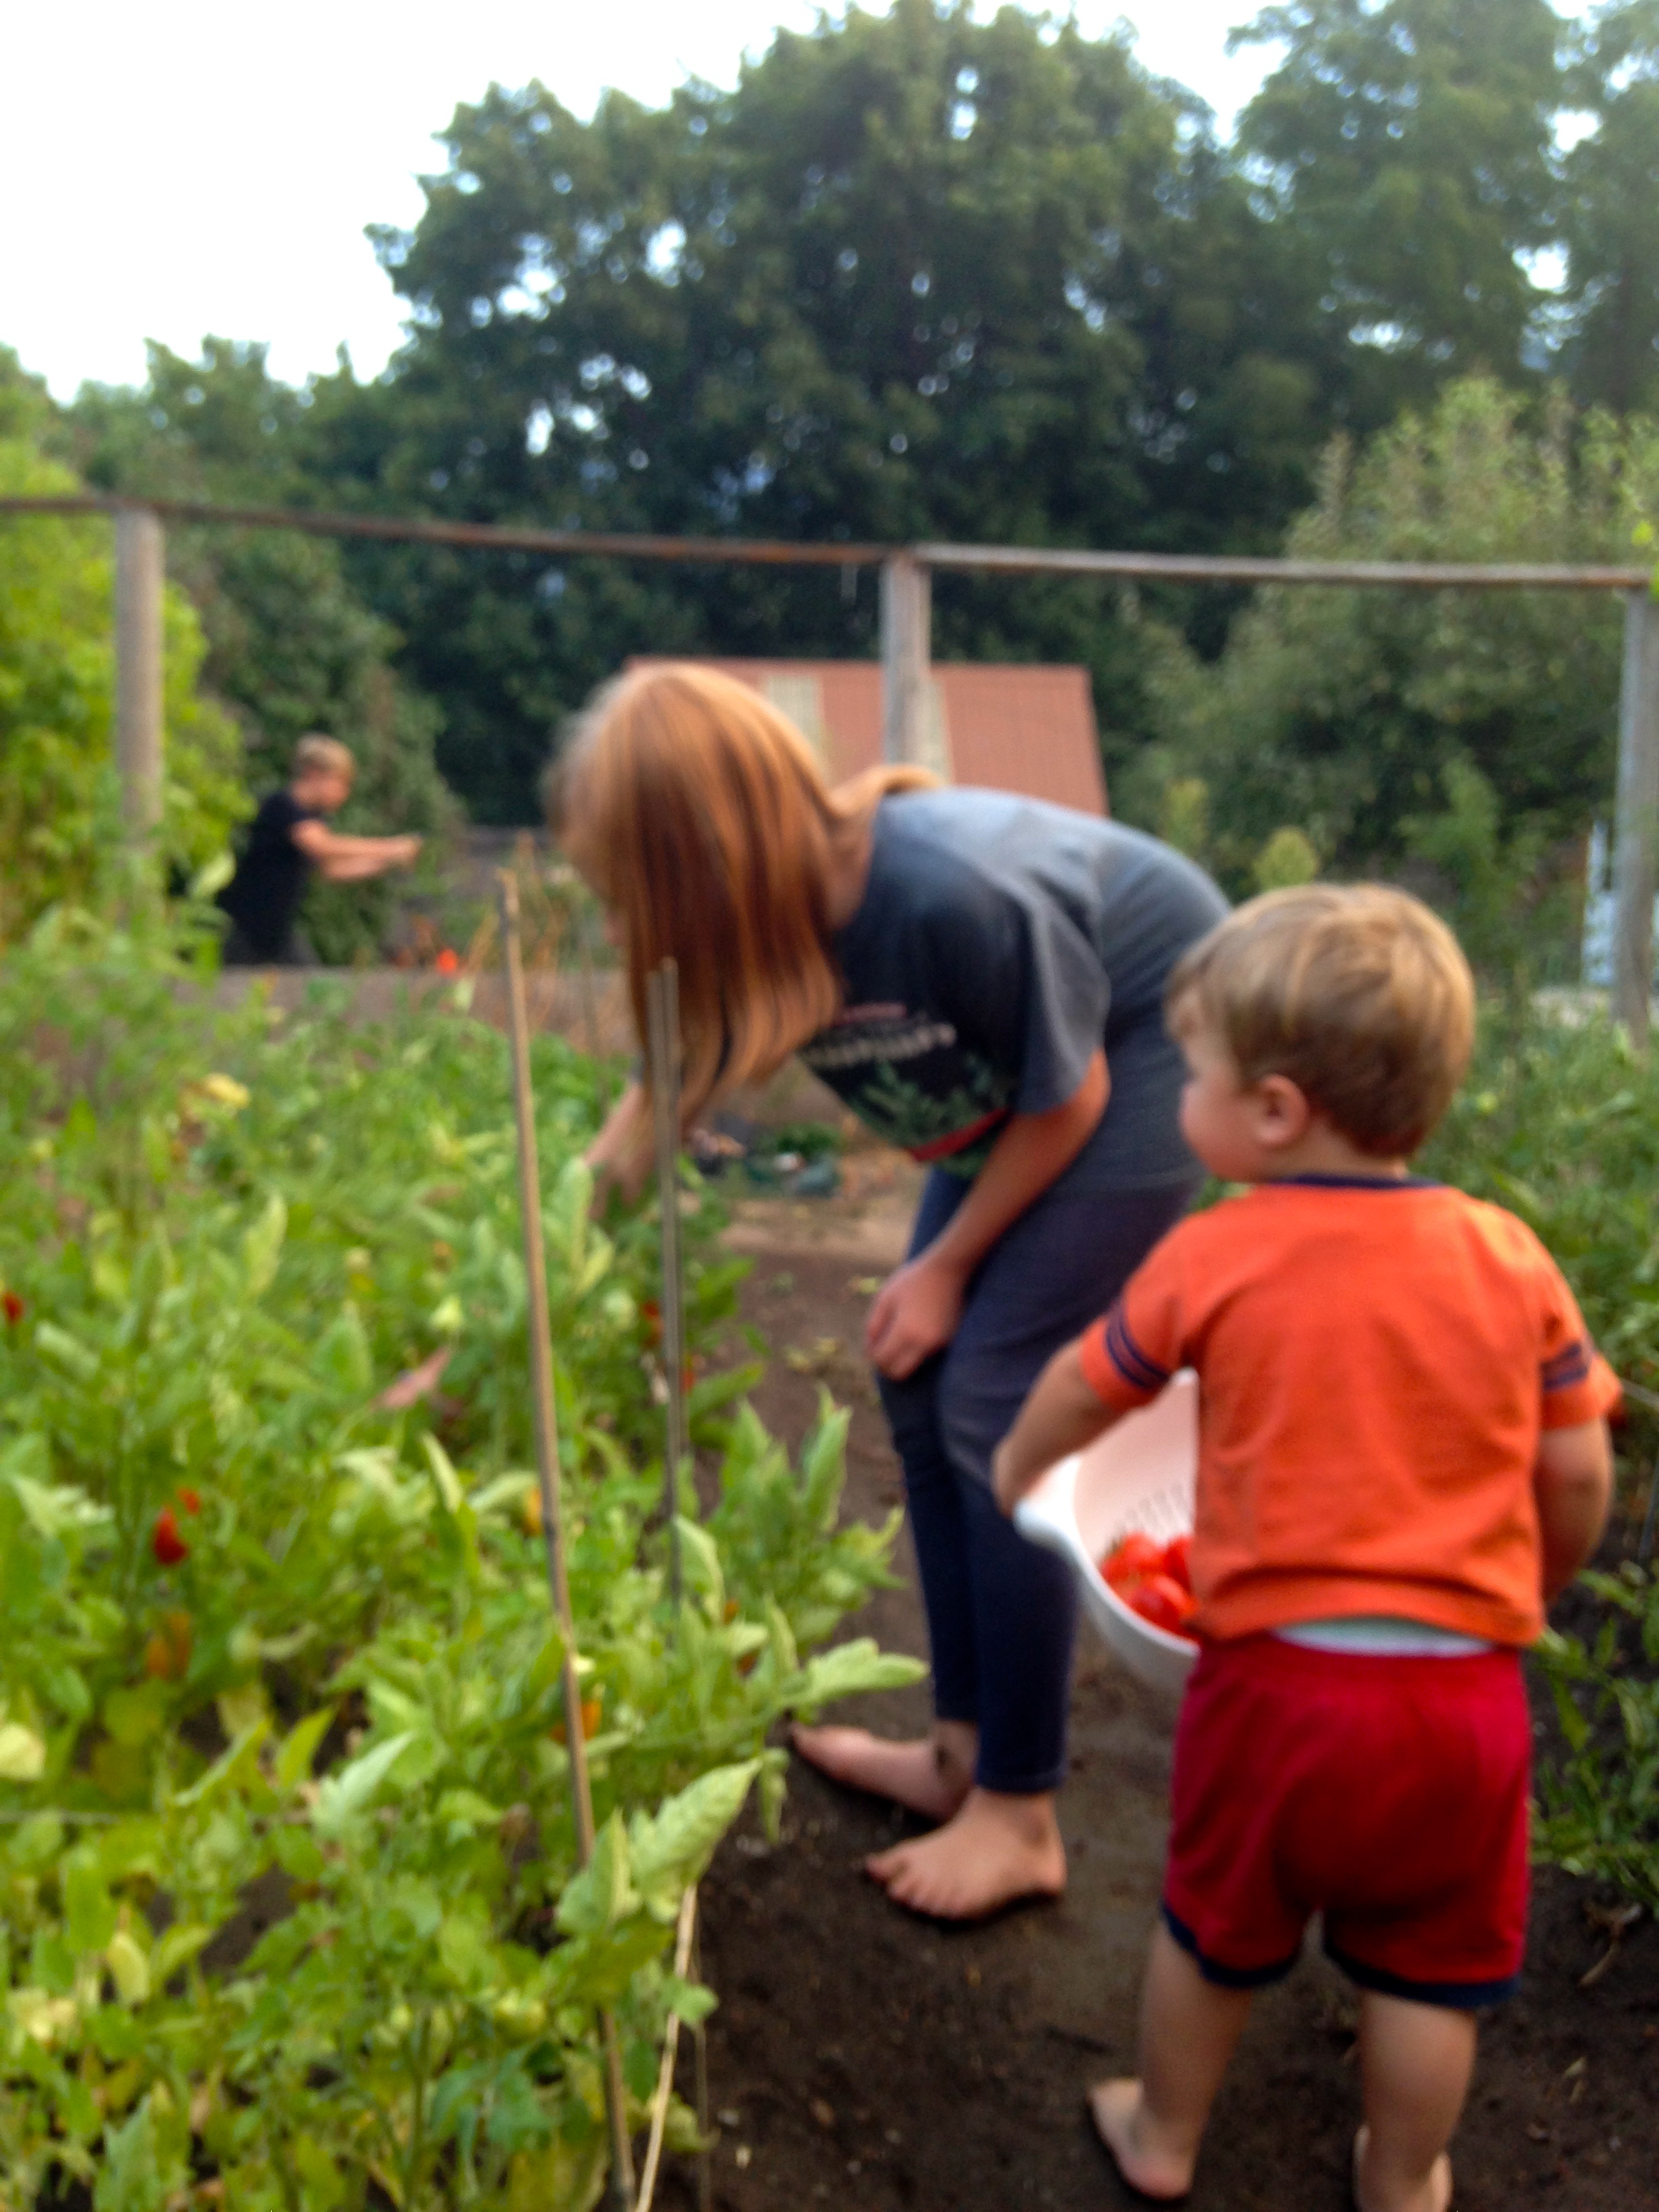
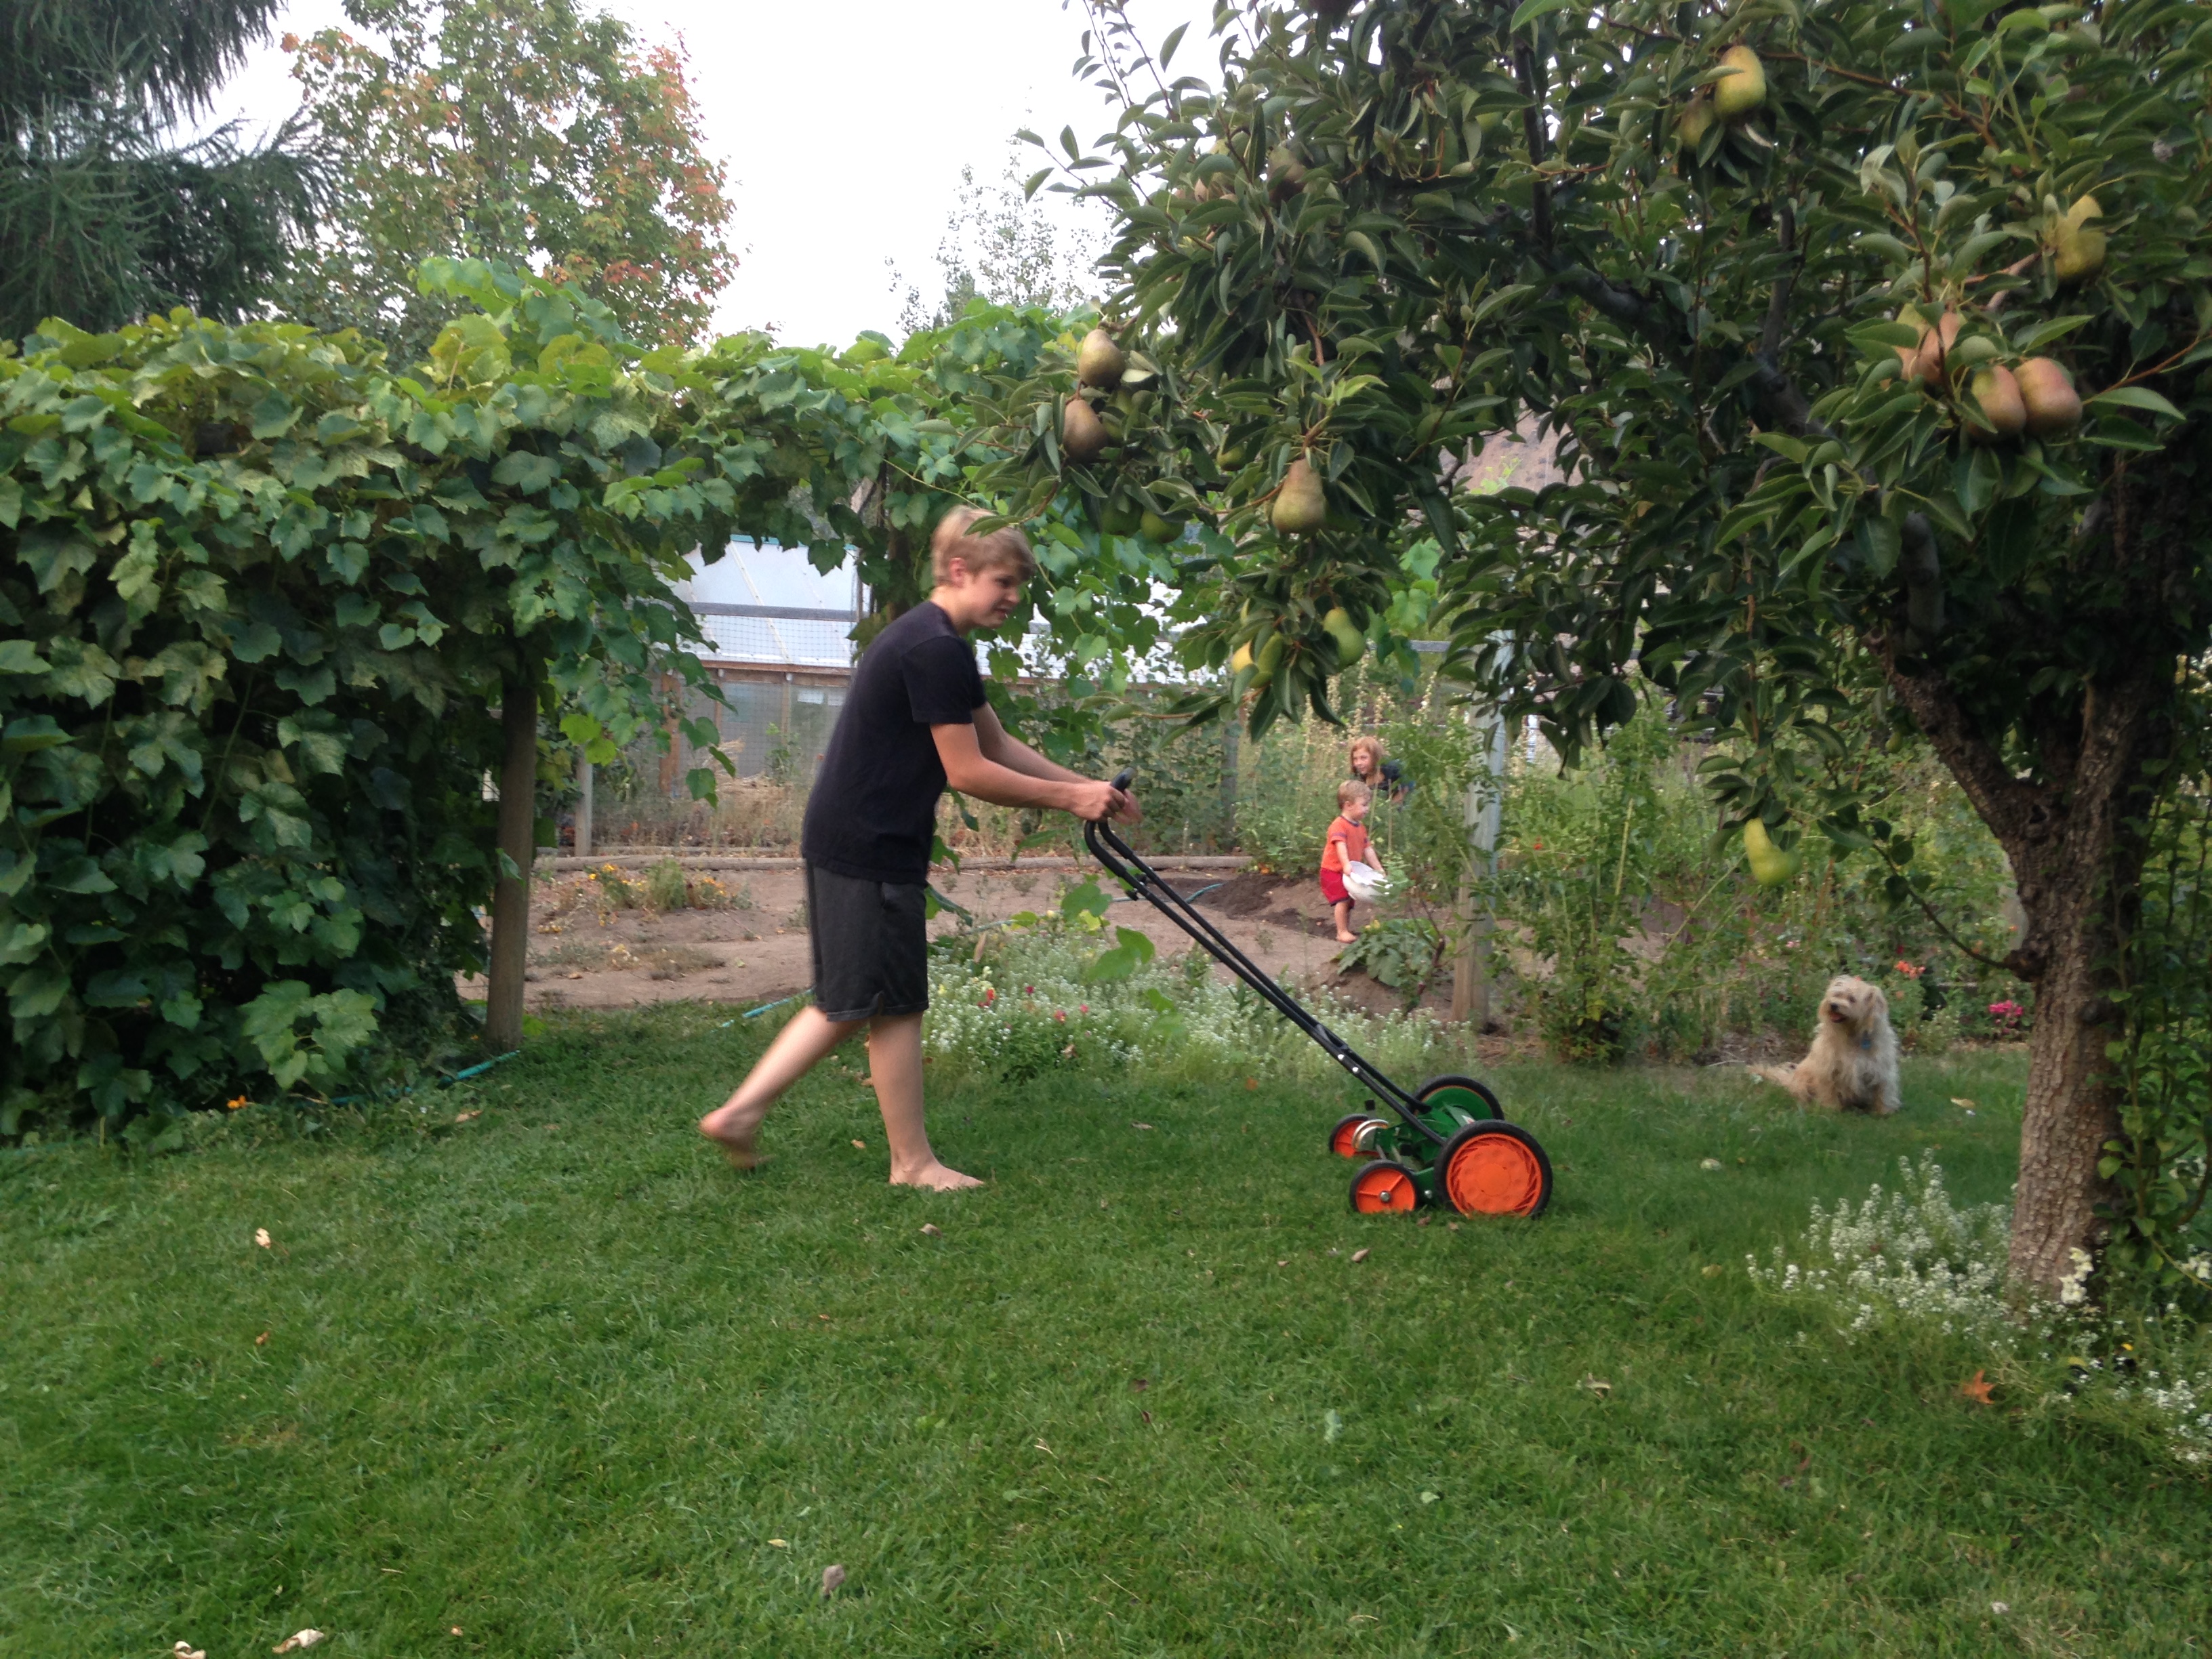
Homeschooling included a lot of planting and garden math this spring and summer. My six year old planted 100 onions and all our carrot seeds. He double counted all our tomato plants and peppers. Now with raspberries and carrots to snack on as we water each day, the digging, planting and sweat equity is satisfying for him, his experience coming full circle.
Snacking
It’s awesome to try growing all kinds of nutrient rich plants, interesting tastes. But I’ve honed the garden growing over the years to those that we’re guaranteed to eat in large quantities.
Naturally we won’t to be able to eat everything fresh, and as abundant harvests should never waste, the choices of what to grow also hone to what can be canned and preserved.
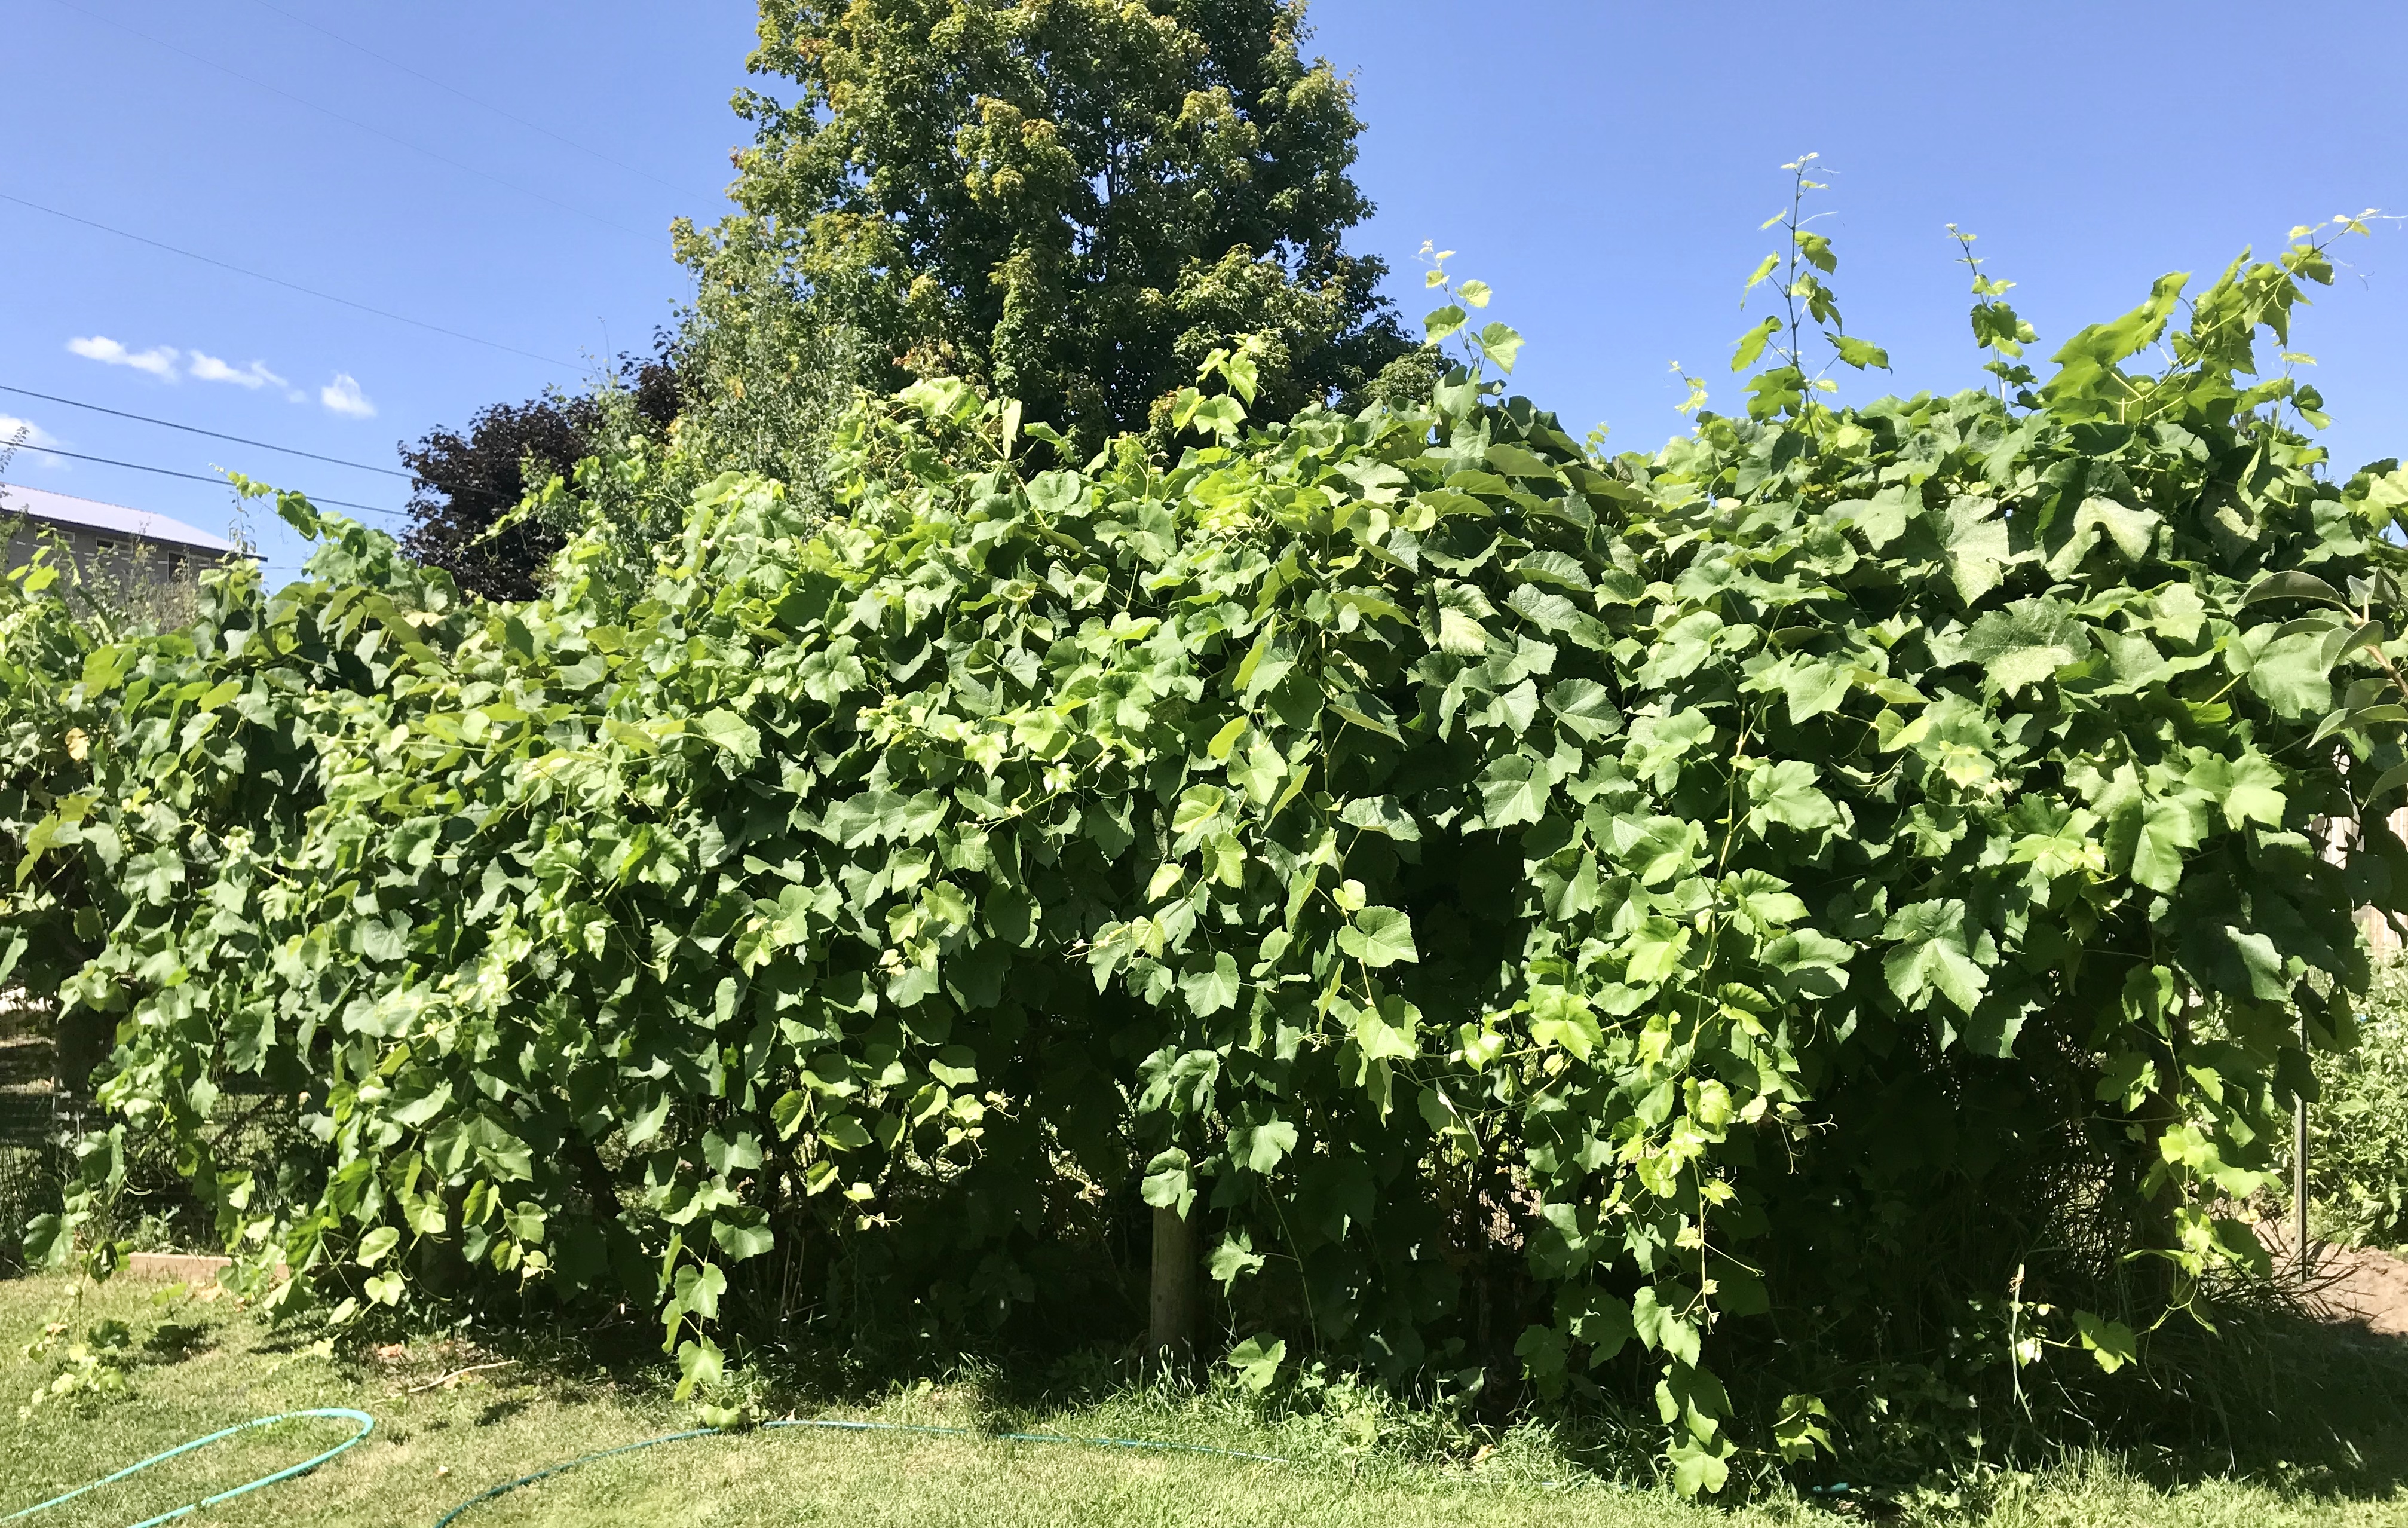
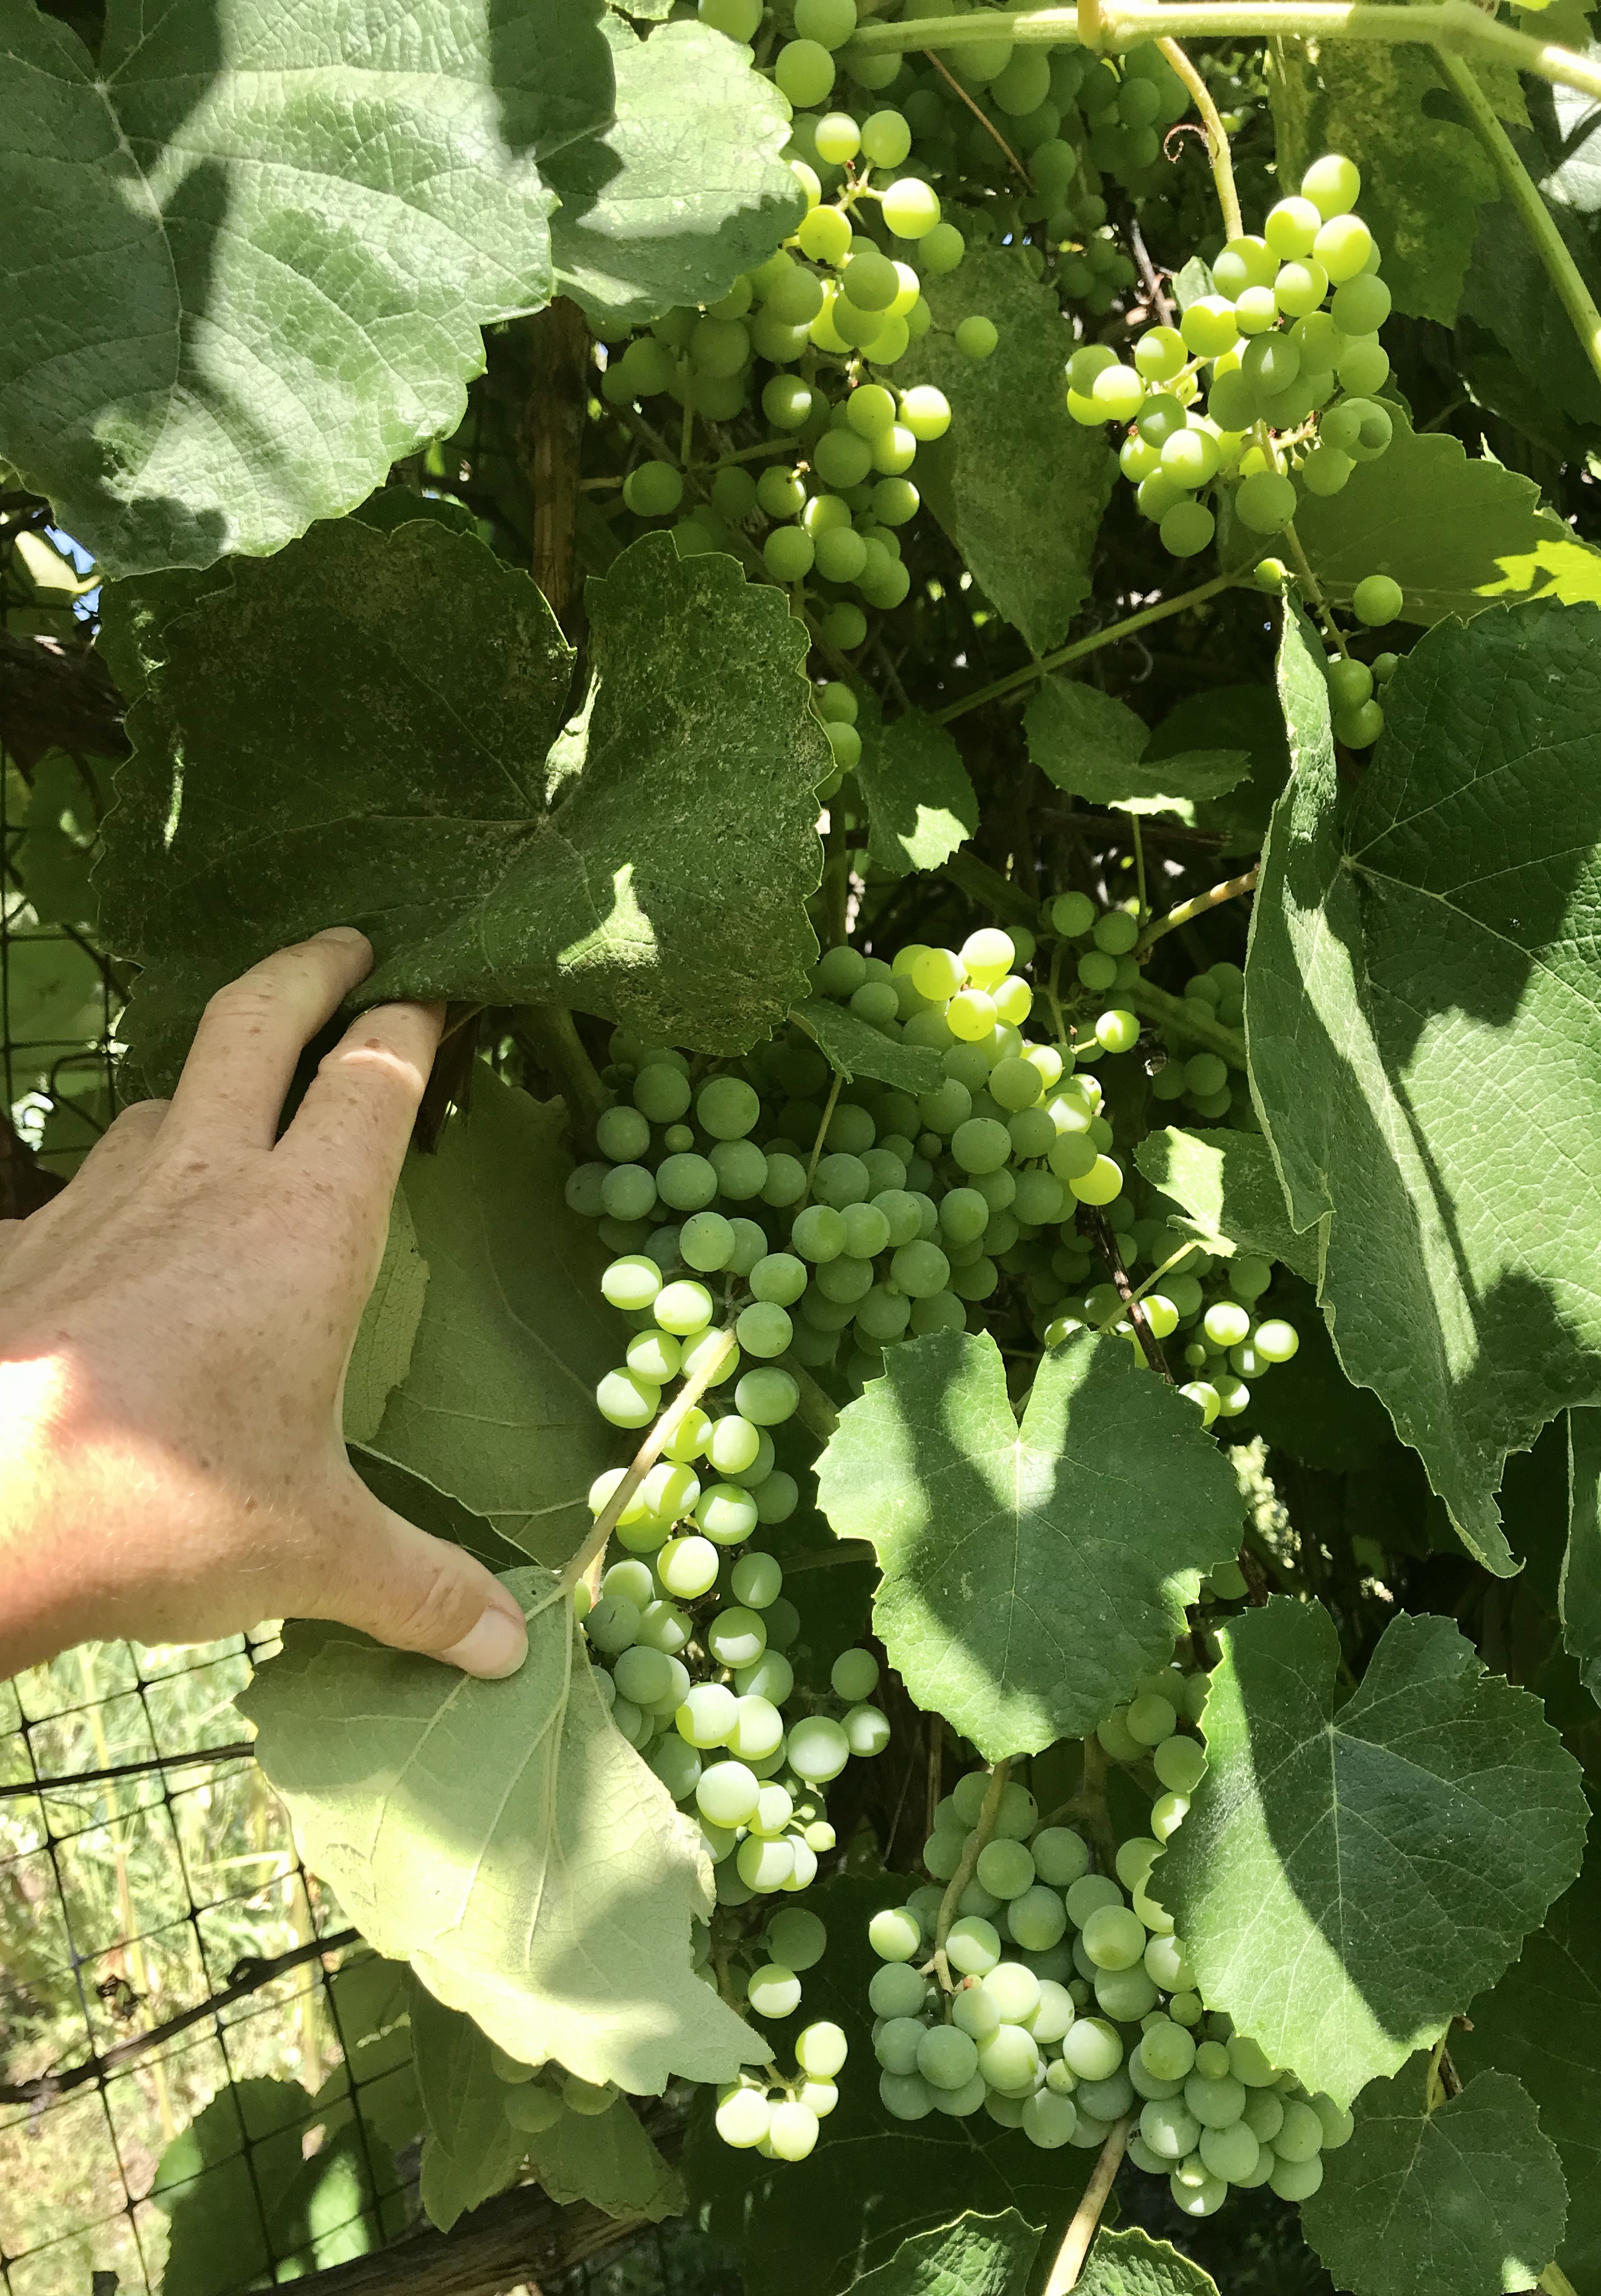
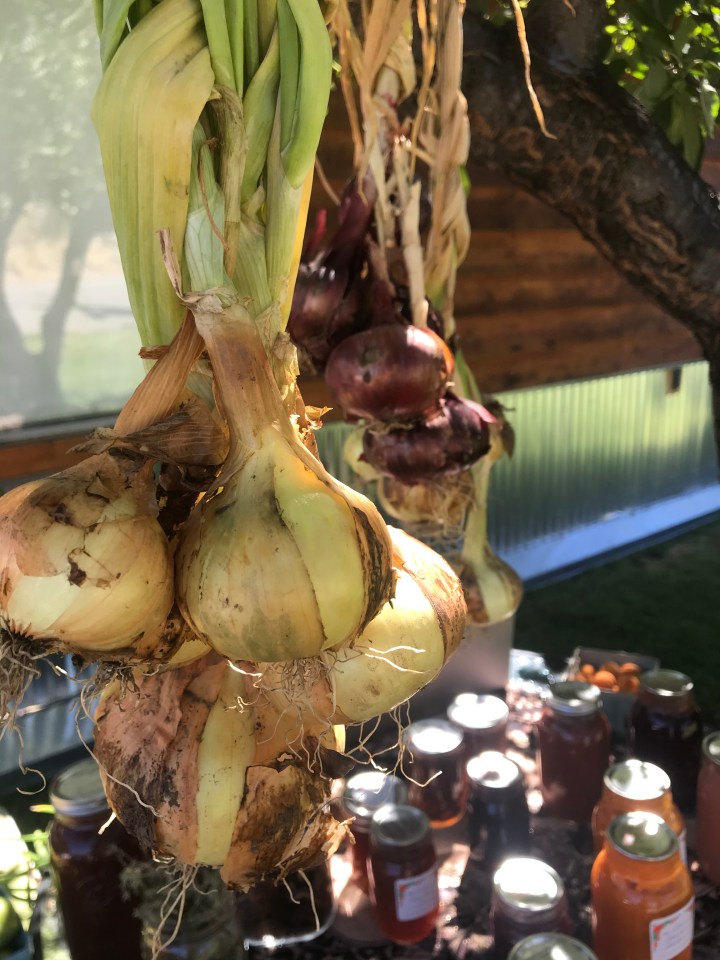
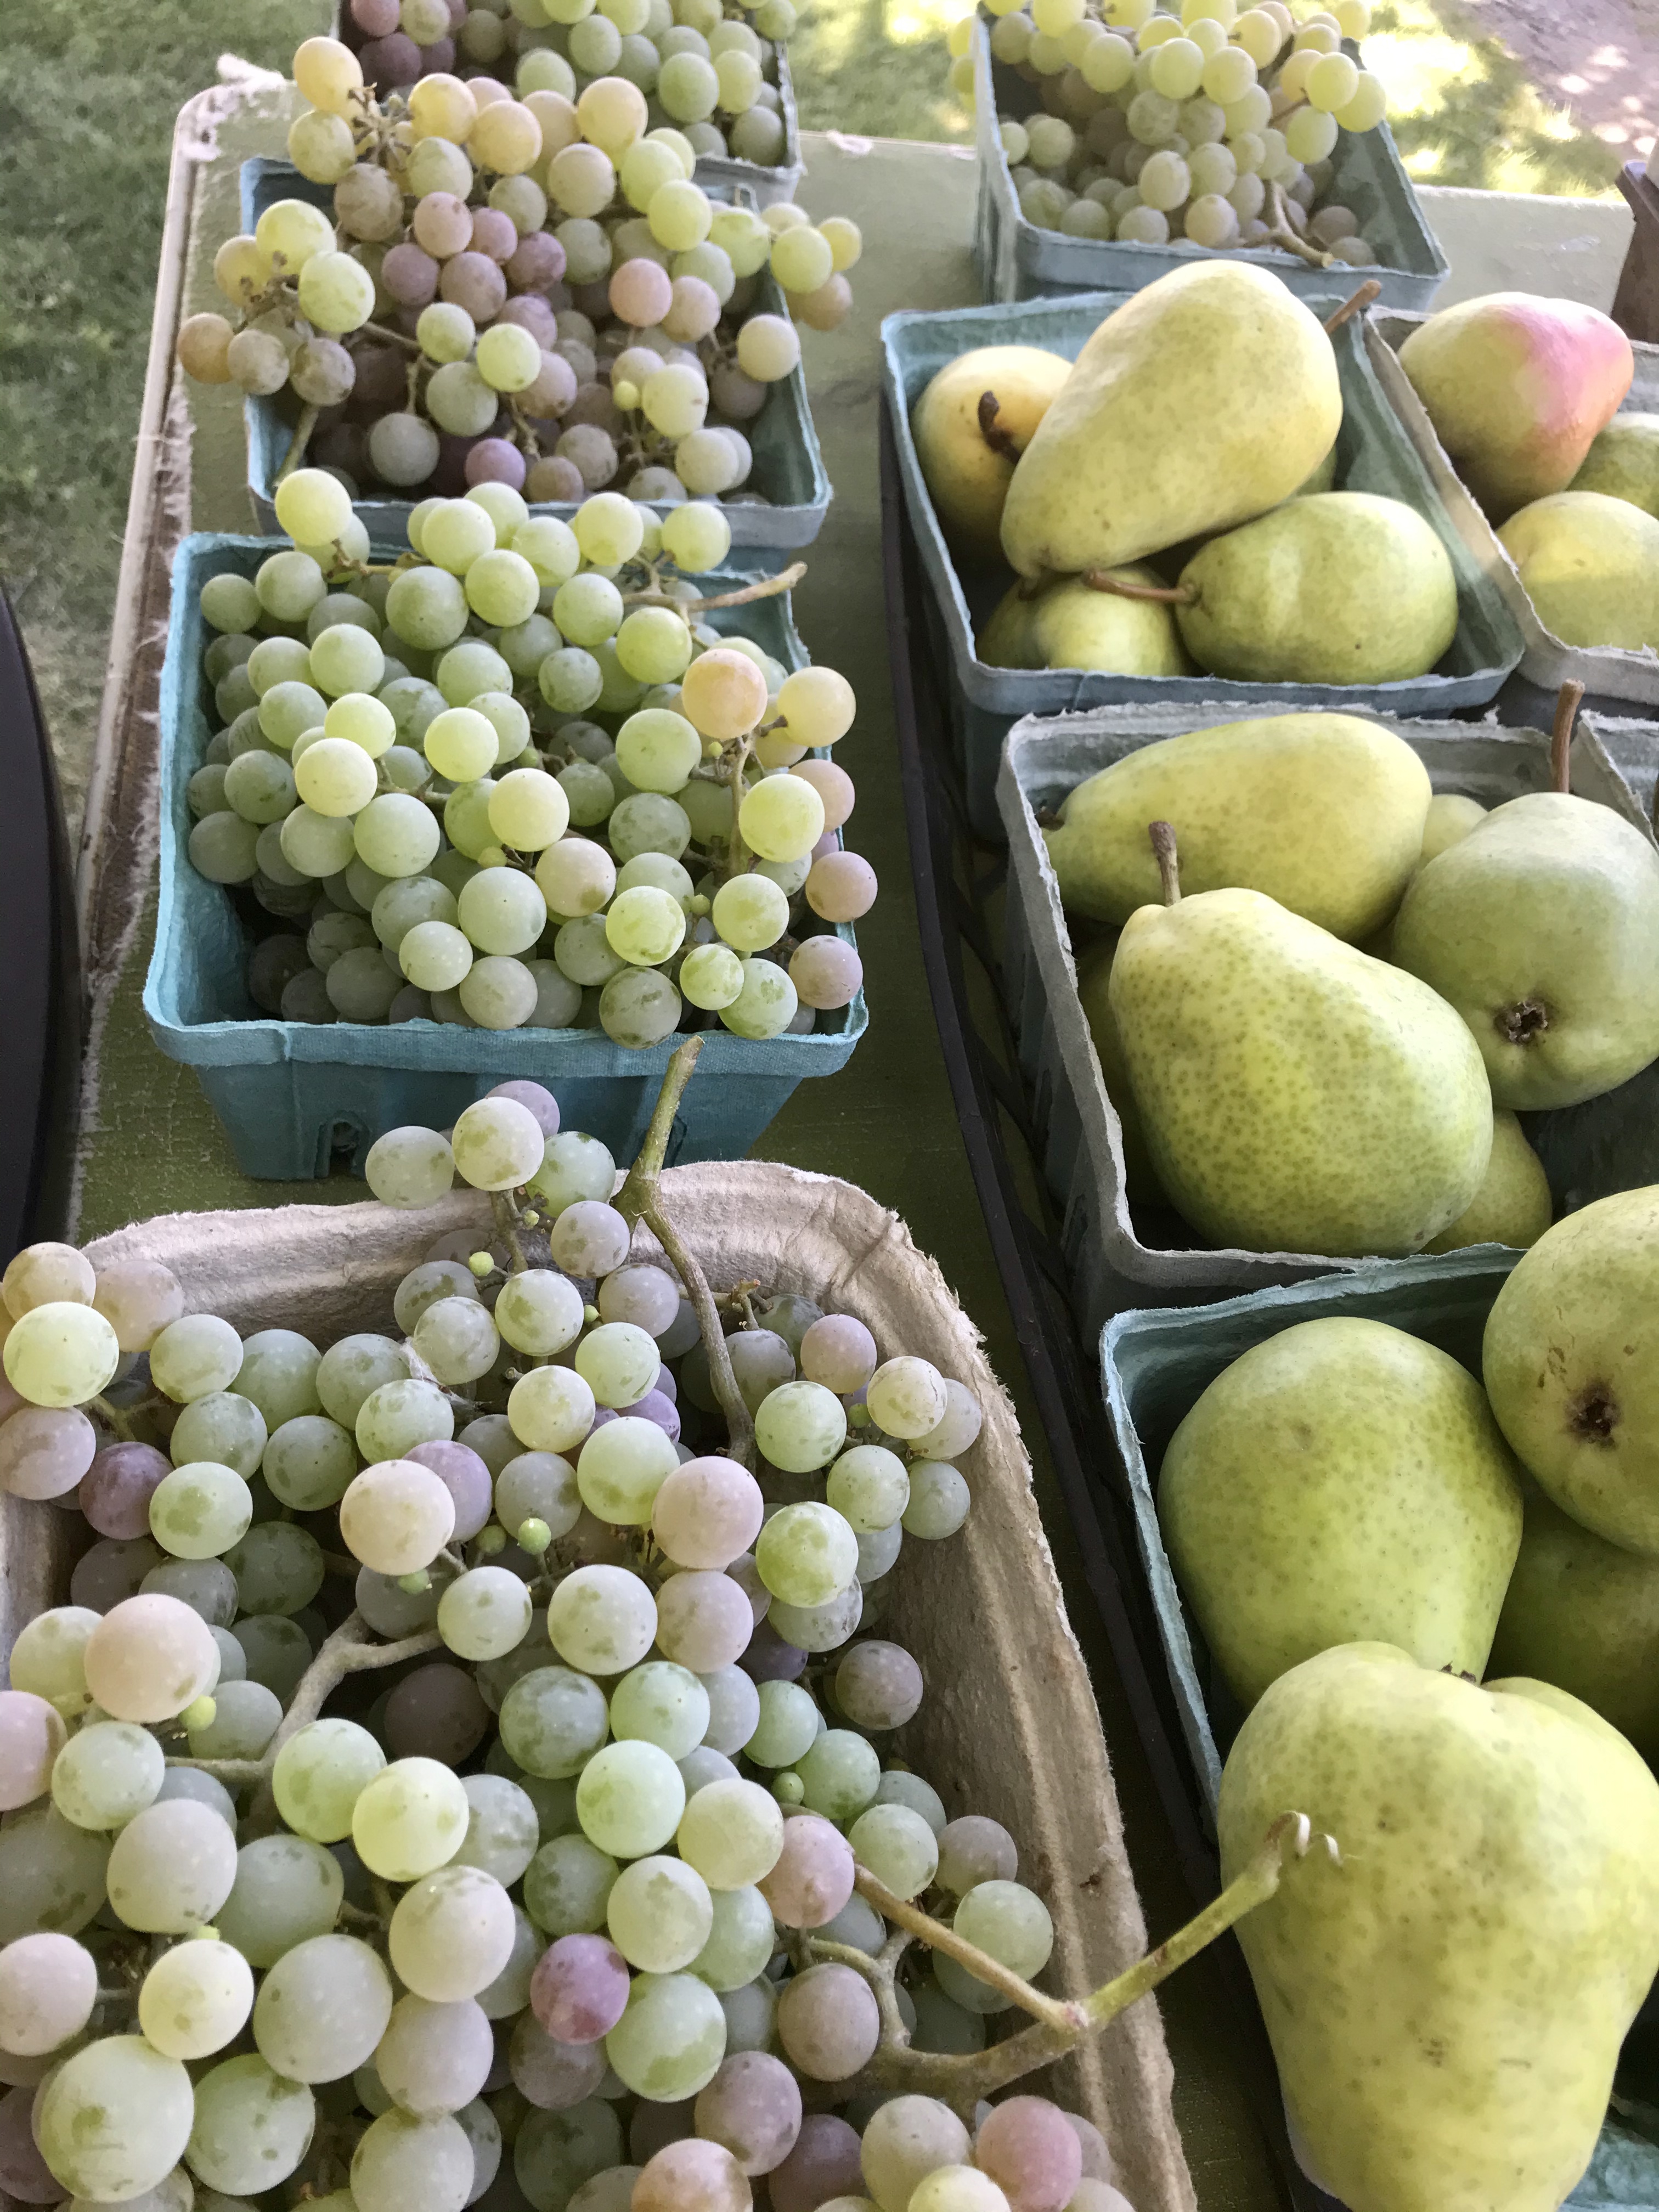
The plantings 2020: 12 raspberry plants (a patch begun!), 73 tomato plants (fresh slicing, marinara, salsas), 33 sweet peppers (raw salads, salsas, curries, bean dishes), 14 hot peppers (curries, salsas, drying), 100 onions (all of the above), beaucoup de beets (raw salads, pickled), many carrots (for fresh crunching), and basil and thyme to flavor the lot. There’s a healthy corner of four robust rhubarb plants and grape vines crawling the fence like gang busters.
As I look out over the garden, I note that no money exchanged hands to produce it. I spent on nothing–not a single seed, not a single plant–all were traded for or given. The gift and my thankfulness is overwhelming.
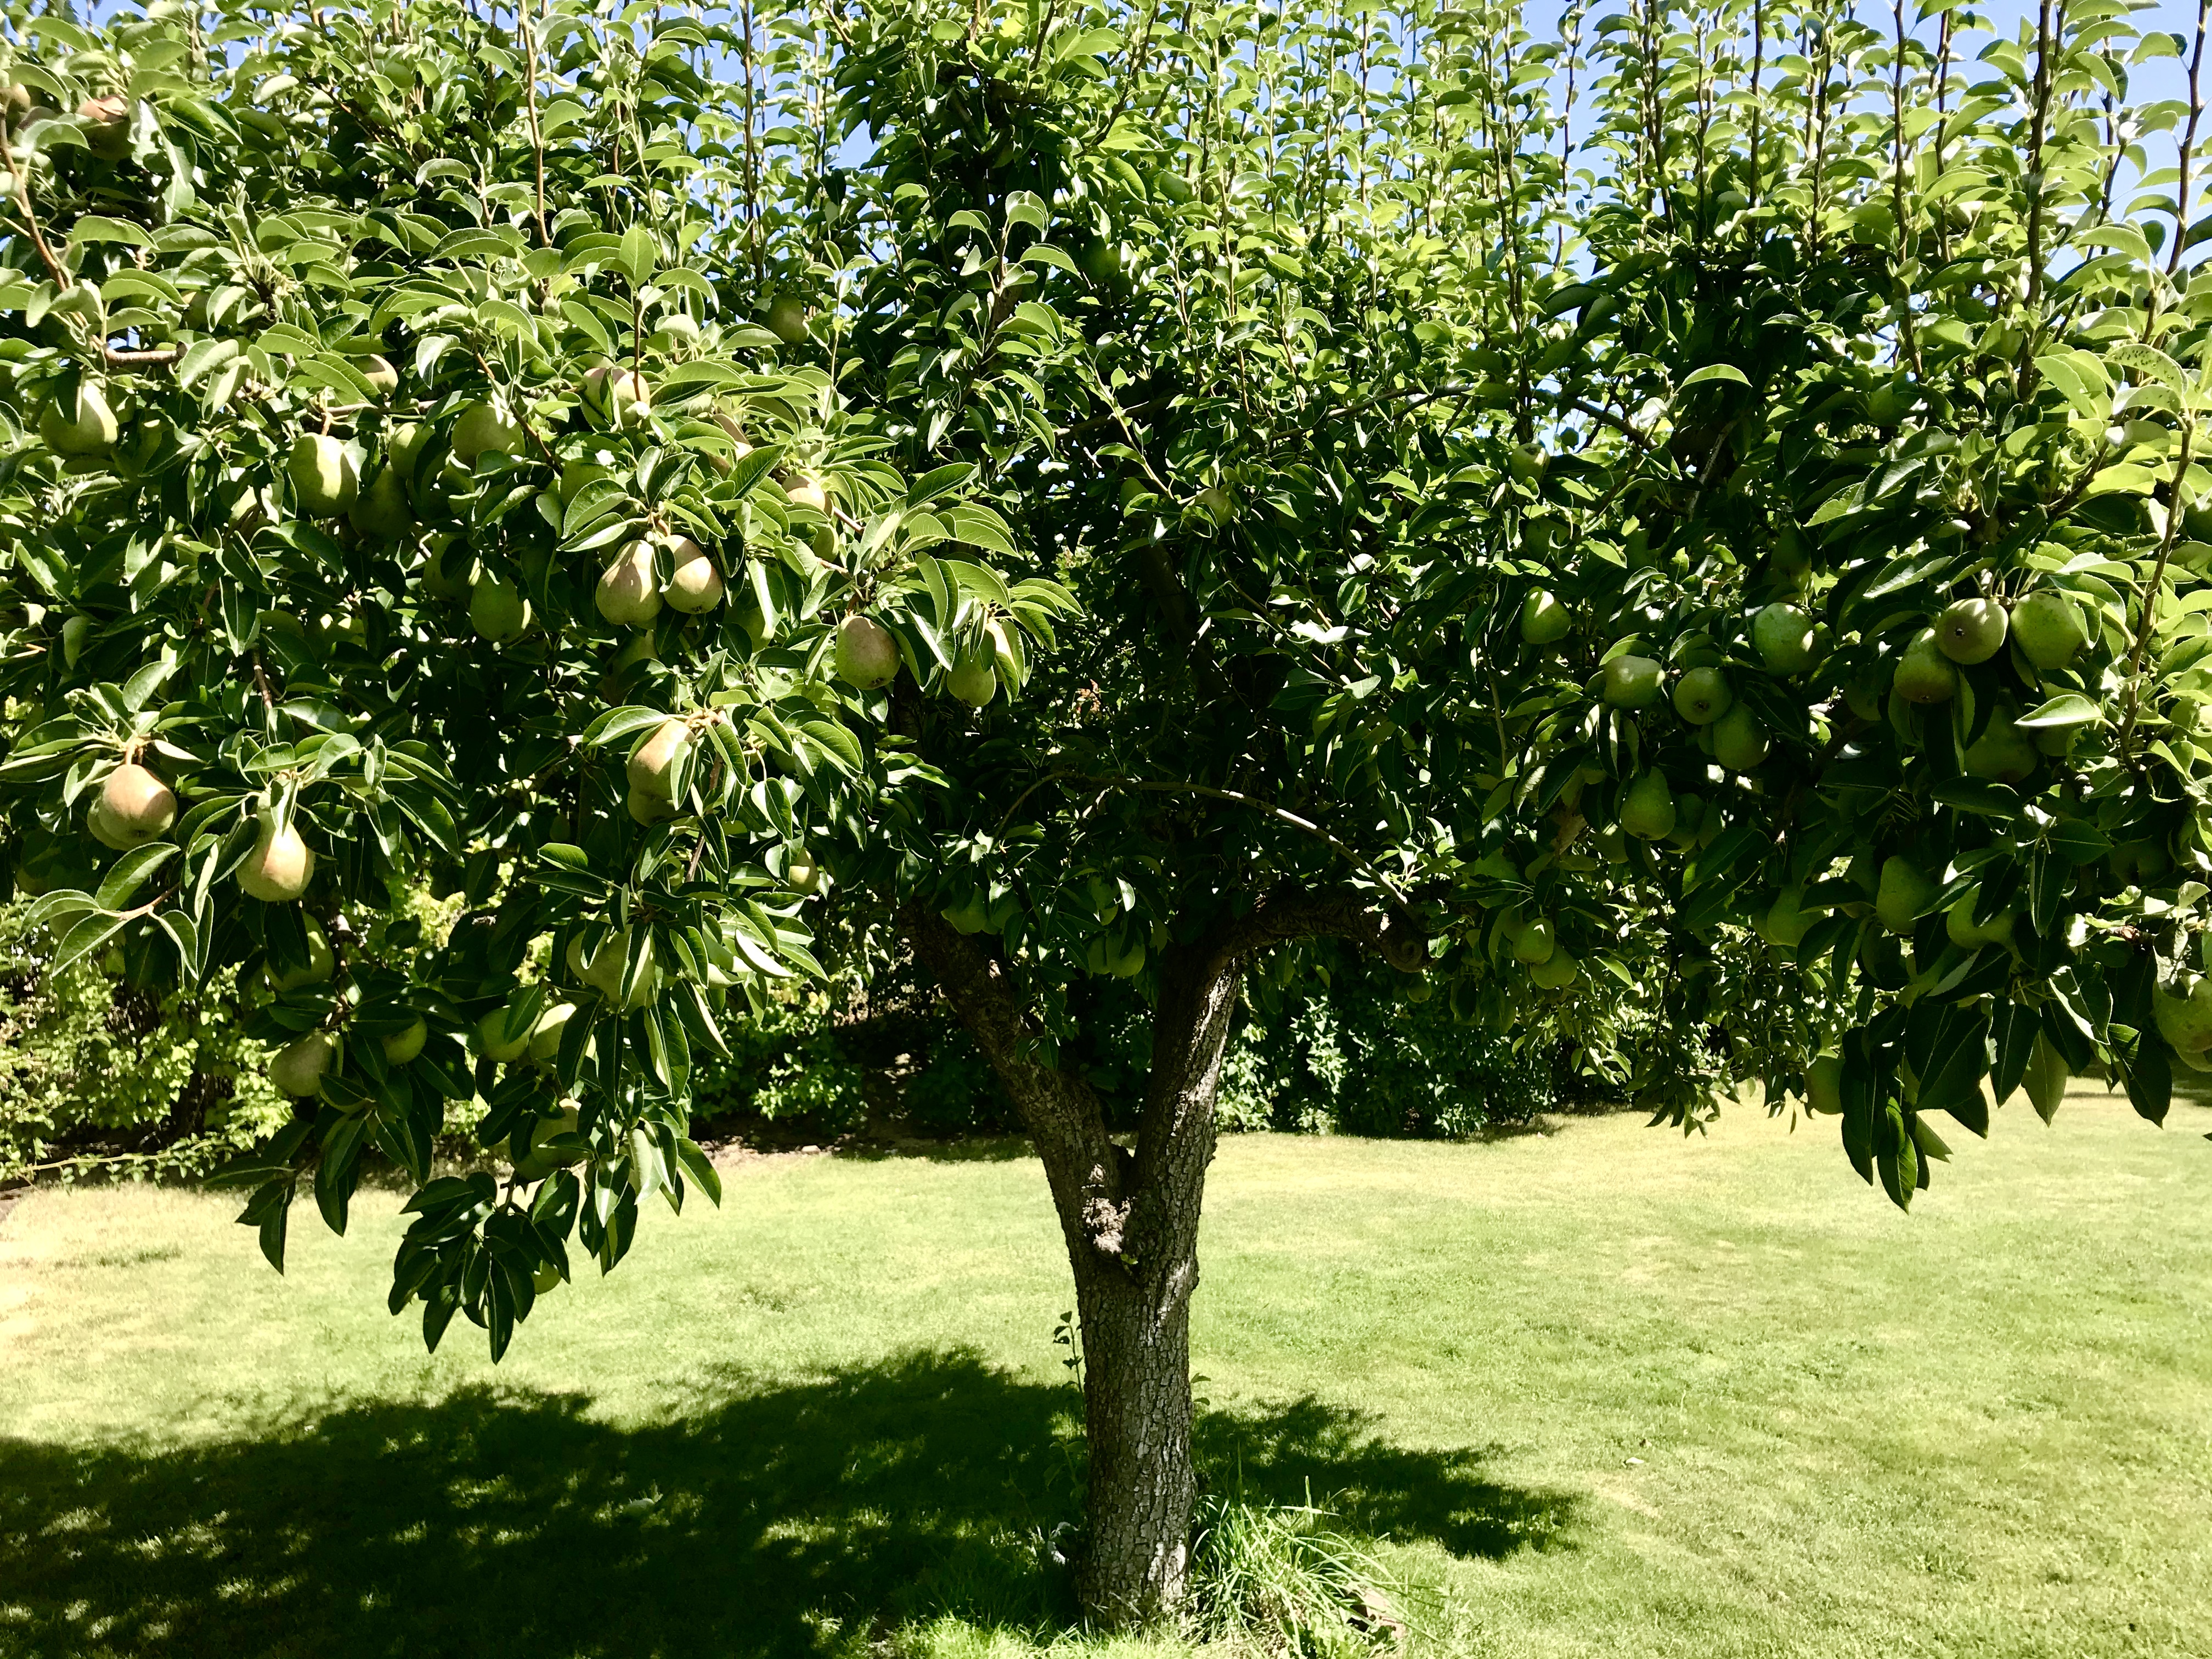
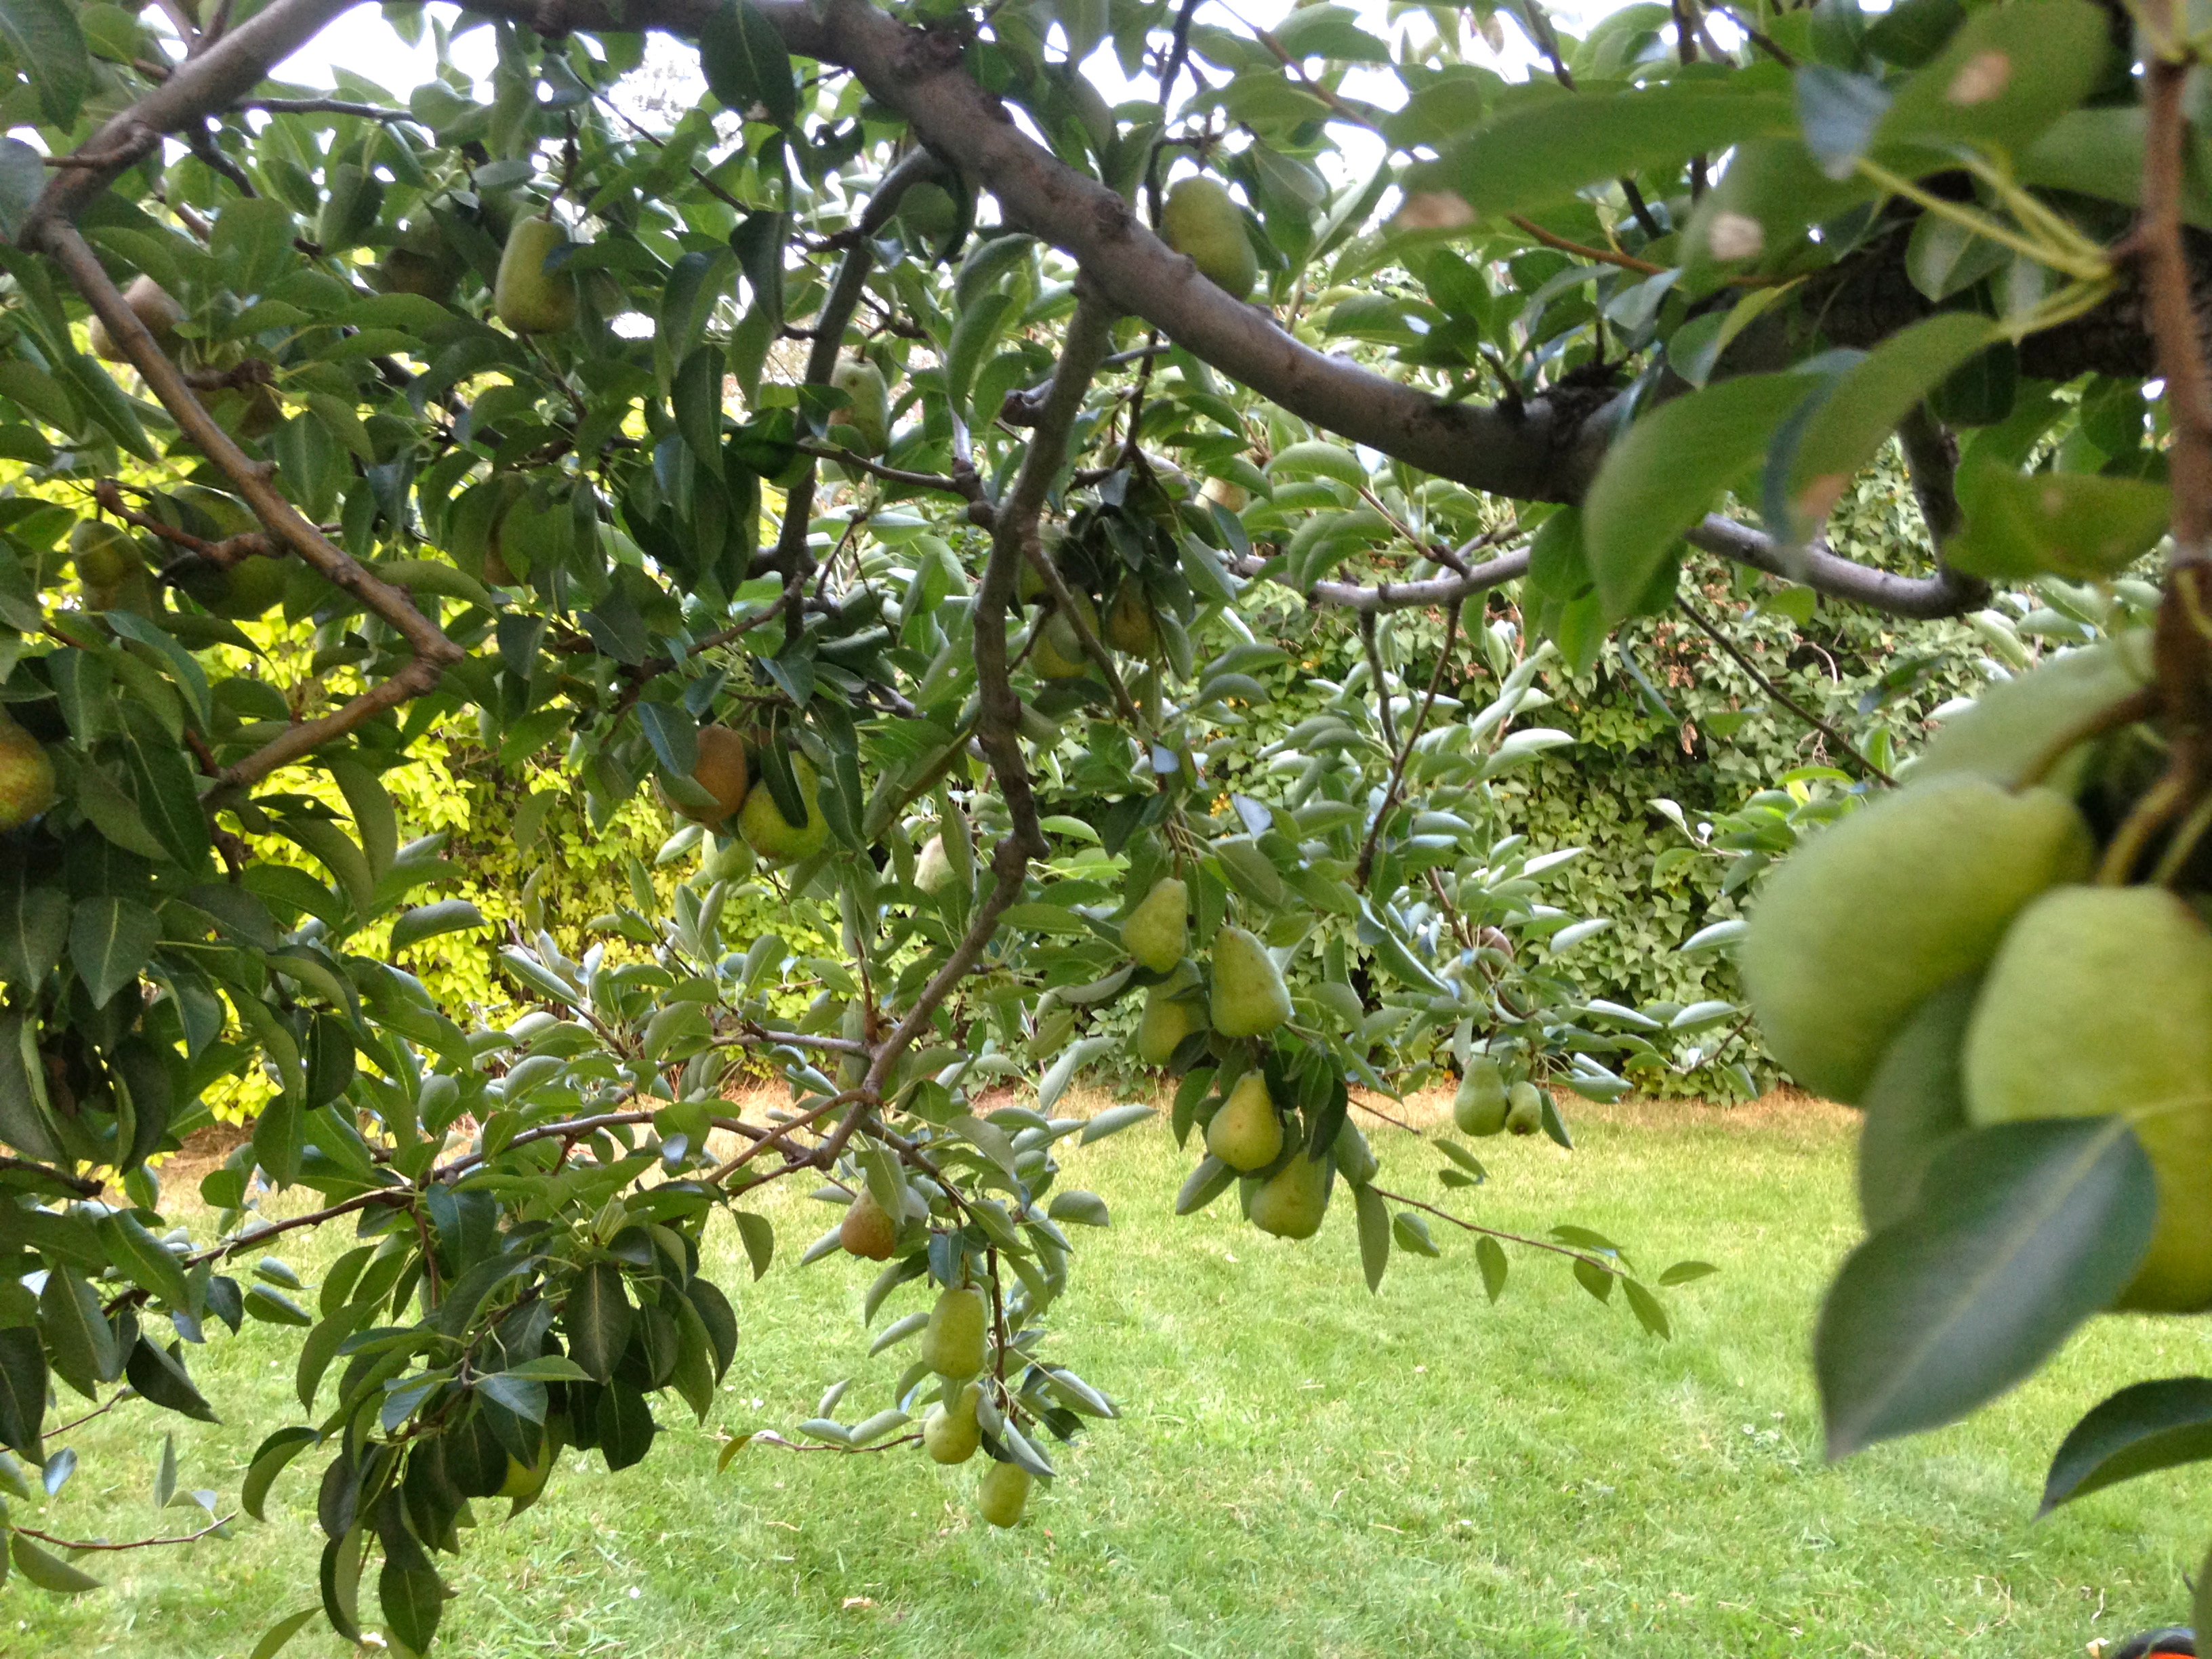
Loaded little pear tree.
Outside the garden lines, old fruit trees will produce apples enough for the year, plus many quarts of sauce and dried apples, and all you can eat pears for the same. One fantastically healthy cherry tree makes my favorite jam we eat and gift throughout the year. And new baby plumb and apricot trees hold their promises to come.
Without animal livestock, living in town limits, bartering is gold. So when offered many pounds of local beef for grape picking in the fall, I jumped to trade. We receive eggs for fruit, garlic for canned goods. We need not all grow it all, if we can share our work. Richness in barter is the way.
I like to operate as though the stores will all close. Given food shortages through purchase or even industrial complex collapse, we will comfortably survive through winter on what’s stocking the pantry.
I grew up respecting those who produced their own food, but even more so, those who live in harmony with our natural world. There is no illusion of people verses nature in the garden. There rightly is our natural place within Natural Law.
Choose to co-create! We are gifted this life of harmony.
~Love from our garden to yours! Gina @ Soul & Stomach~
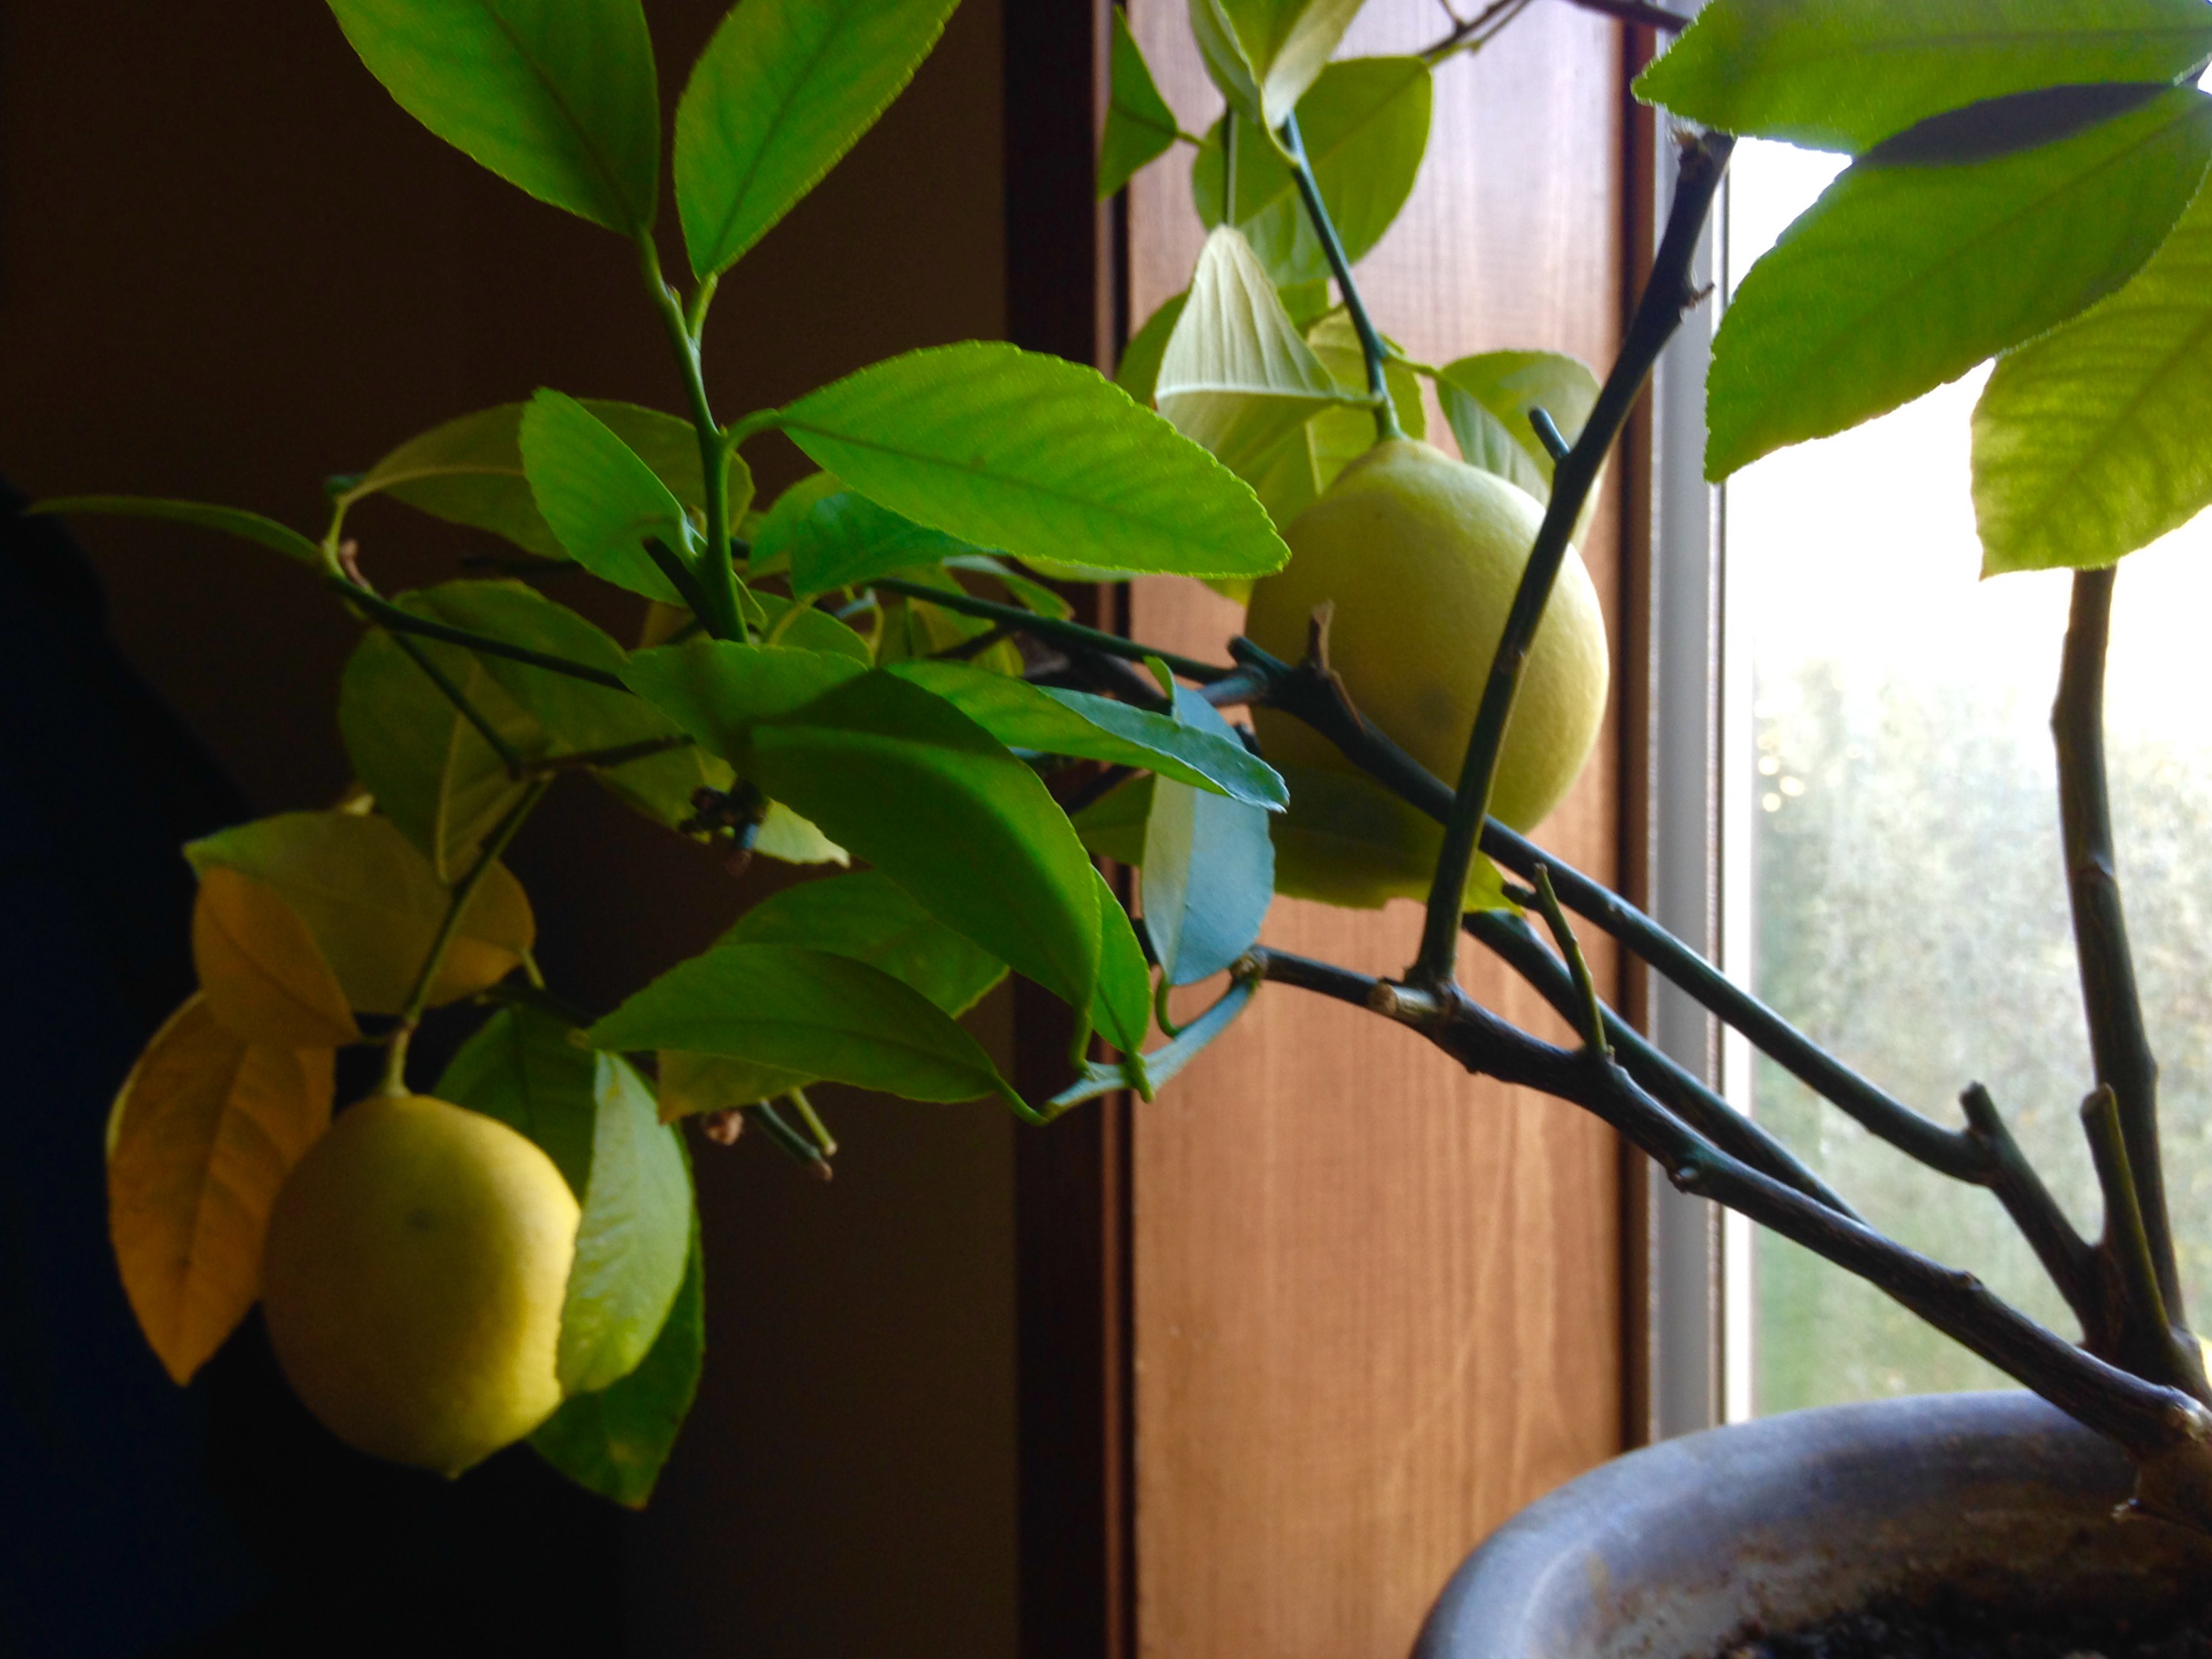
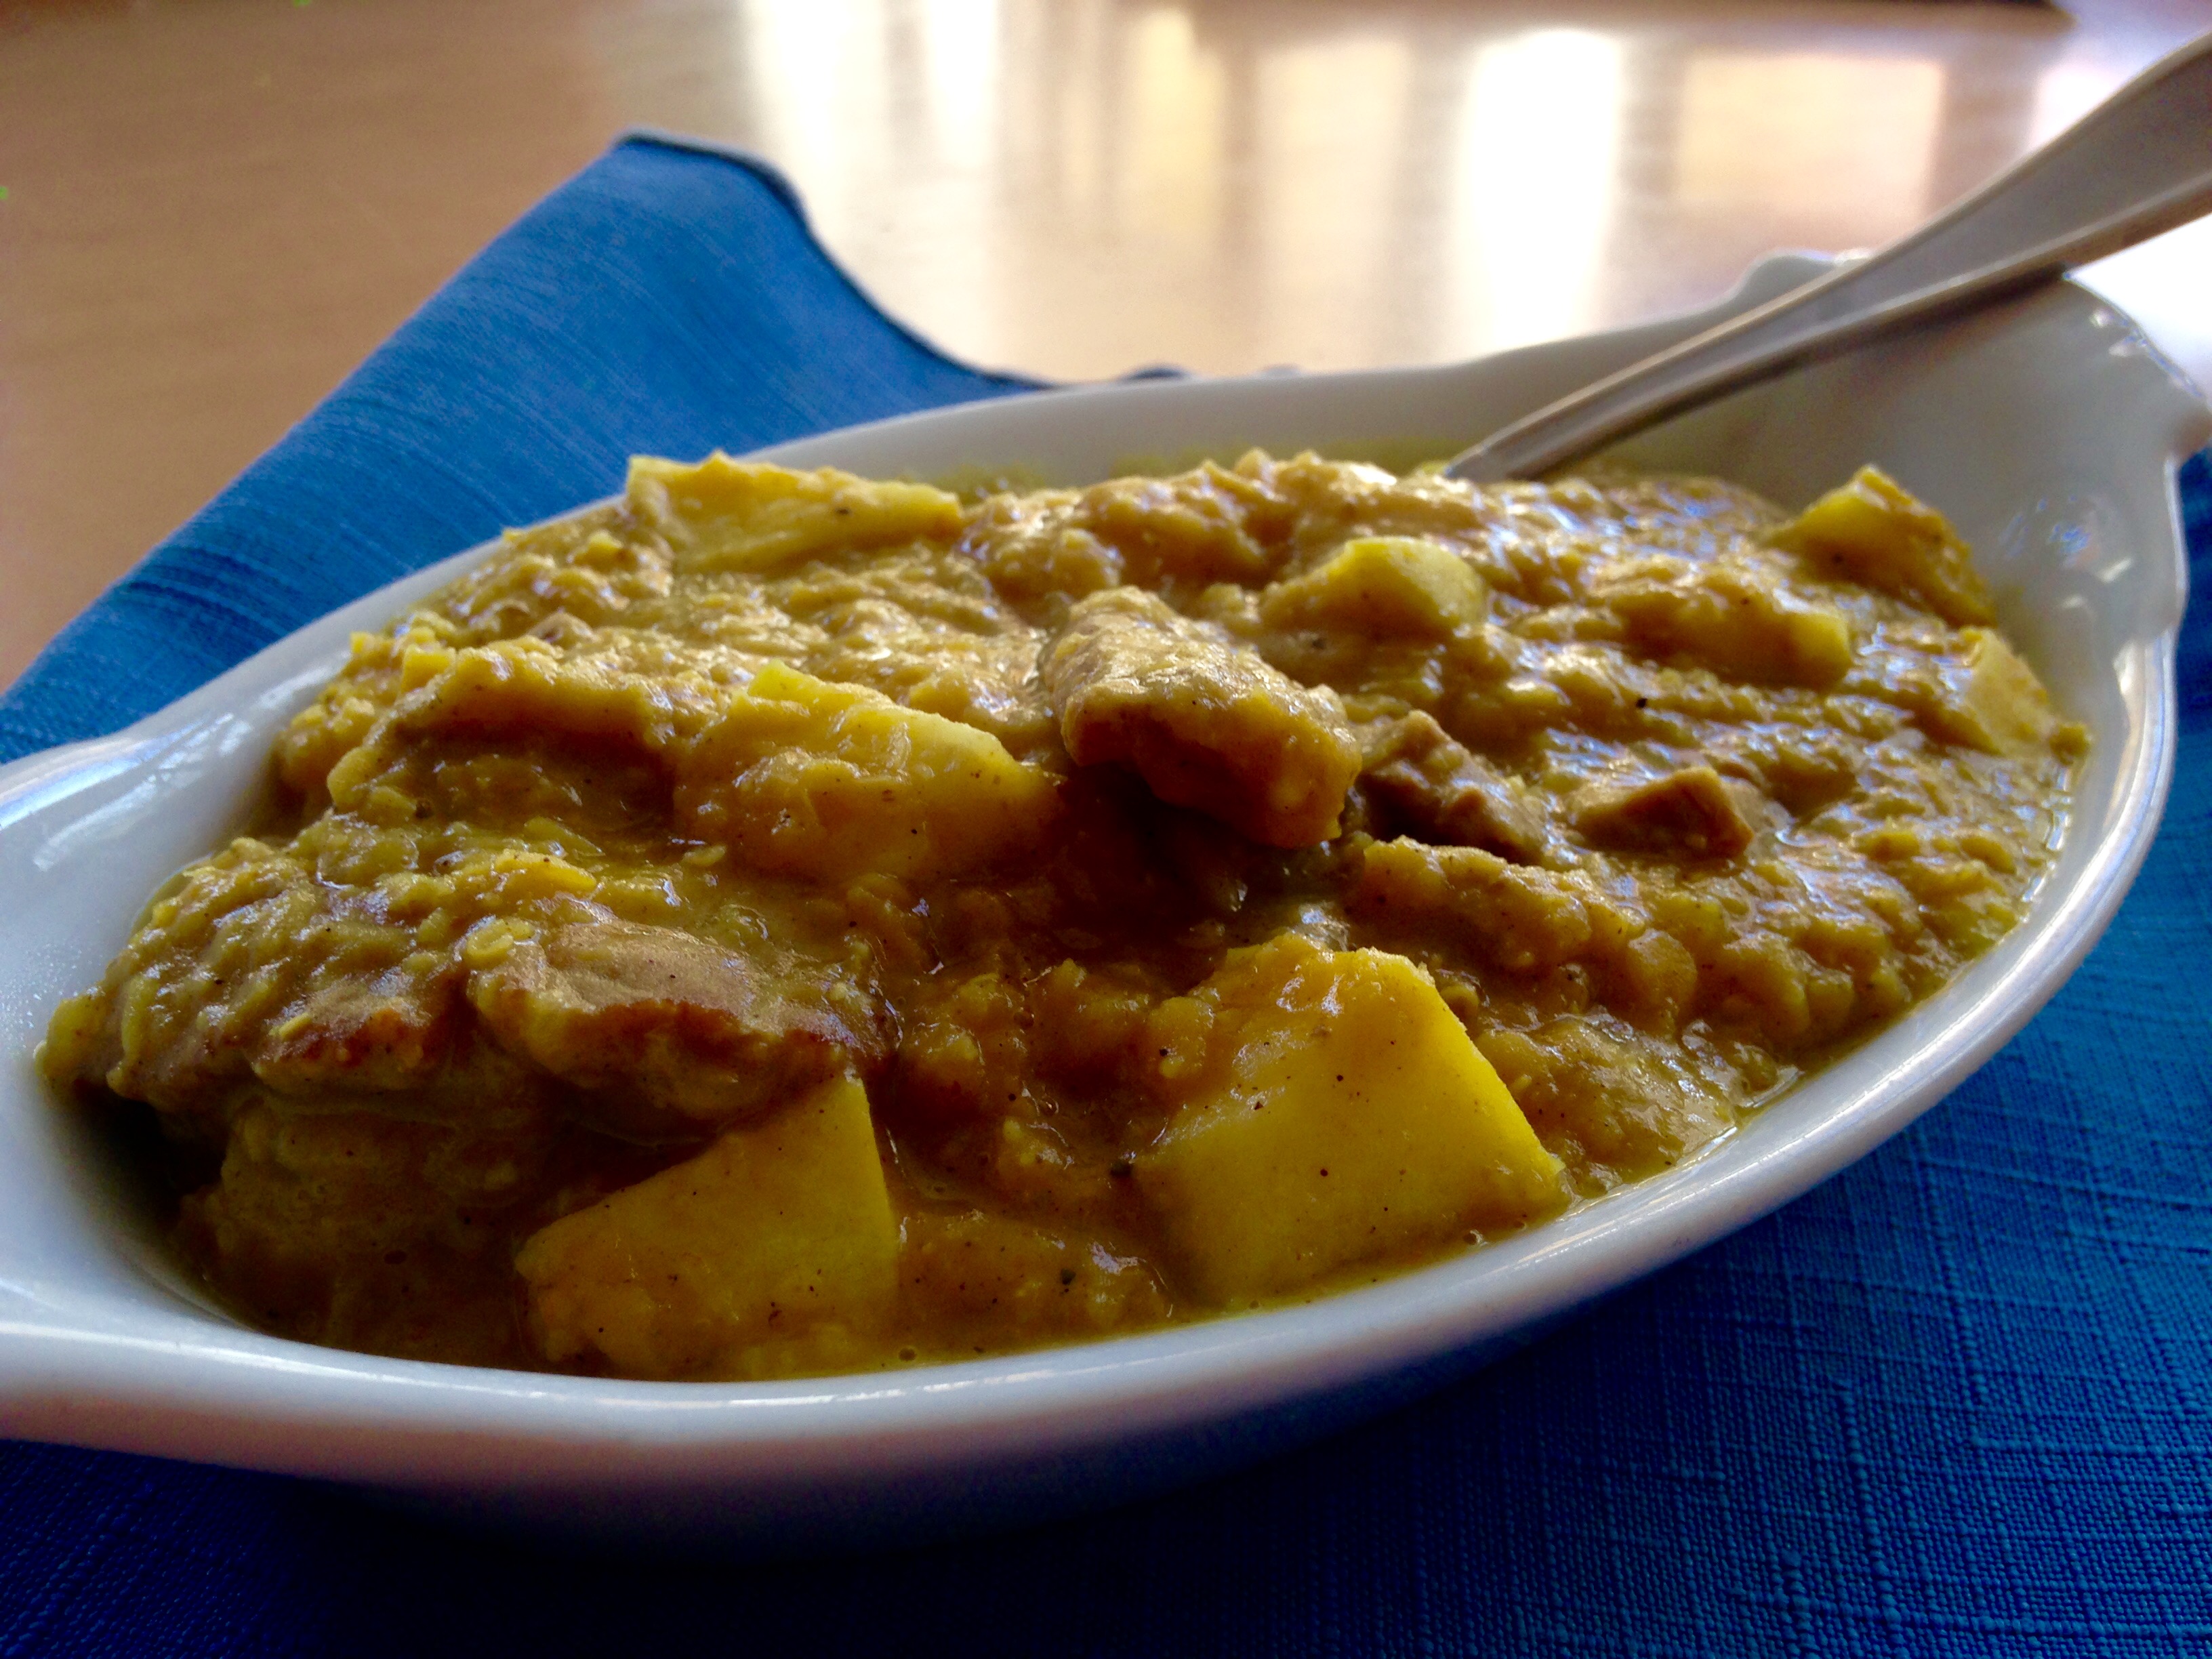
This recipe, just right for the season and written for large quantity, hails from my college days before having apples of my own and a little lemon tree to pick. These fruits are complimented well by sweet coriander and cardamom, cinnamon and turmeric in a coconut base.
Filling and healthy, this fall meal provides us all aspects of nourishment. Spiced lentils will delight your senses, with savory onion and garlic to round out tender beef and subtle lentils with a zest of fresh lemon.
The recipe is designed for a crock pot but can easily be made in smaller proportion on the stove top, covered, or in a standard dutch oven.
Coriander, cardamom, cinnamon and turmeric warm and brighten.
~Recipe~
Indian Lentil Dinner
3 c raw lentils (any type will do, I used red this time) and 5 cups water to cook
6 T coconut oil
1-2 lbs beef (I used round steak, but most any cut will do)
4-5 cloves garlic, minced
2 cups onion, chopped
2 t salt
pepper to taste
1 t turmeric
1 t cinnamon
1 t coriander
1/2 t cardamom
1 lemon
2 c apple, chopped
salt to taste
~Place lentils in crock pot, add 3 T coconut oil and water; cover and turn on high.
~Cut beef in 1 inch pieces; quick fry on medium high heat in 3 T coconut oil, but do not cook through; add onion and garlic and cook briefly; remove and add to lentils.
~Grind spices along with salt and pepper with mortar and pestle and add to lentils along with juice from one lemon.
~Cook 1-2 hours or until tender; add apple and cook a few minutes until tender; salt to taste.
~Cook rice of choice and serve lentil curry over rice or separately, and enjoy!
Love from our kitchen to yours! Gina @ Soul & Stomach
Harvest time ~ busy and abundant are the key words of these weeks. The canner and dehydrator fill up every day. Trees and gardens overflow as the days grow shorter. The sun’s giving us the hard working energy we need for high gear preservation of fresh fruits and vegetables.And the joy that comes with harvest inspires the work of cooking, freezing and preserving.
Harvest can be overwhelming when all the produce seems to be ready at once.Planning food production and preservation at summer’s outset is an asset now when timing is key to putting up all that’s been grown and gathered. Utilizing all you have, wasting naught, tis the goal.
Tomatoes must be used fresh—refrigeration saps their complex sweet flavor.Herbs can be brought inside and potted for winter or hung dry and then crumbled and jarred. Root veggies and hard fruits are stored easily. But as tomatoes are top priority, we often start here. And after making dozens of different salsa recipes through the years, I know this is a useful canner, which I offer as solid and adaptable.
Tomato Salsa for Canning, Max Batch
Tomatoes, about 5 gallons, diced
Onions, about 6-7 diced
Garlic, about 20 cloves, or large 2 heads, diced
Vinegar, 1 1/2 c white wine or cider
Peppers, spicy: jalepenos recommended, about 10 diced
Peppers, sweet: bells, pablanos or banana peppers, 5-6 diced
Salt, 2 T plus to taste
Cilantro, 1-2 bunches fresh chopped (equalling 1-2 cups) stems and all
This recipe is designed for a double batch of salsa in a 20 quart roaster, designed to fill the water canner twice. Cut the recipe in half for one batch made in an 8 quart sauce pot which will yield 7 quarts of salsa to fill the canner once.
As usual, be sure all lids, bands and jars are washed and hot, sitting in boiled water water when ready to process.
For best, fresh flavor, combine all ingredients in a 20 quart roaster or large sauce pot and bring barely to a simmer; do not simmer longer. This will retain the chunky salsa and not thin it out. No worries about flavors combining—they will in the canning process and in the pantry with the slight pickling process that occurs with vinegar based salsa.
Fill hot jars to 1/2 to 1 inch of head space from top and close with hot, new seals and bands.
Process in a boiling water canner: quarts for 25 minutes, pints for 15 minutes.
Remove and let stand 12 hours, checking seal before putting up in pantry.
Sustainable Tips:
Hopefully your garlic is plentiful and punchy for this recipe.I find the spice of garlic to be one of the most important flavors in good salsa.Planting garlic in the fall, be sure get it in before the ground freezes, covering with staw for extra insulation.
Cilantro is easy to grow in a kitchen herb garden or outside.It grows very quickly, and can be reseeded regularly. Cilantro is entirely useful, roots, stems, seeds, leaves and all!The seed is a super sweet one called coriander very common to East Asian curries and pastes.It is good to have on hand for grinding and adding to dry rubs or for reseeding when your cilantro greens get low.
Love from our kitchen to yours ~Gina @ SoulandStomach
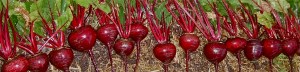
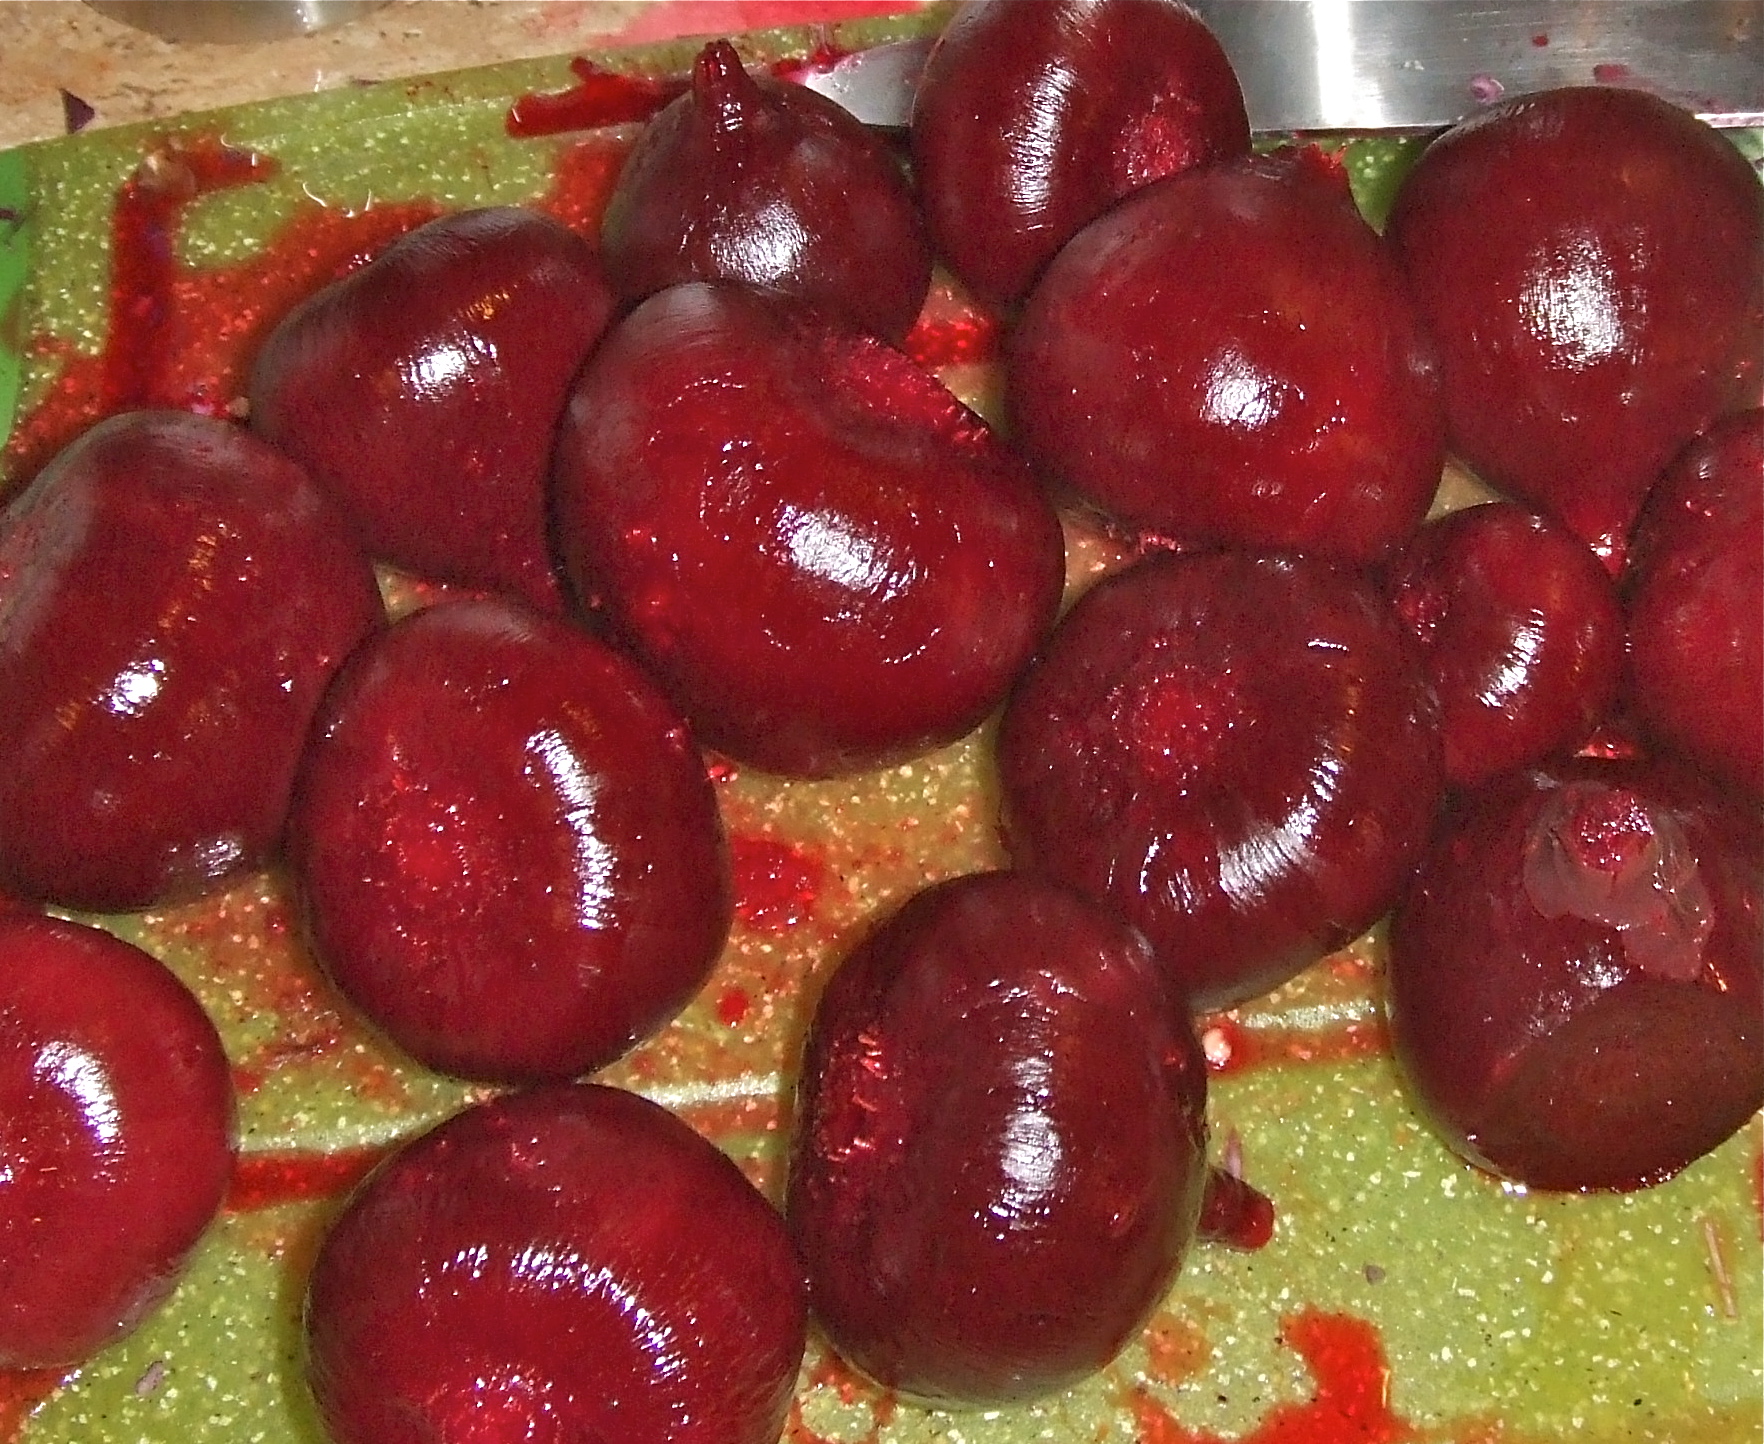
To the beauty of the beet: it is a root vegetable of many blessings to the self-sufficient gardener and cook—an early grower, edible from root to leaf-top, beautiful, versatile, and makes its home near the top the list for nutritional value. And for many of us, this vitamin rich veggie is there for the picking right now.
Colder weather cultivates a desire for pickled edibles. The palate matches the season in that sprightly pickled beets compliment cold weather main dishes, often heavy with dairy creams and rich meats. Beets from the garden were preserved at summer’s end for a salad just such as this (canning recipe below).
The work involved with pickling beets is rather worth the effort. The vegetable is good shredded raw on salads or roasted in the oven, however, the pickling process adds sugar and spice to the benefit of the beet. I tried this recipe with oven roasted beets and it was good, but not nearly what it can be through pickling.
Preserved, beets are seasoned to perfection, through and through. A jar can be pulled for topping salads, used as an instant vegetable side dish for many entrees, or eaten simply as a coveted appetizer.
Blueberry-Beet Winter Salad Recipe
1 1/2 c blueberries or purple or red grapes, season dependent
1 pint jar pickled beets, coarsely chopped
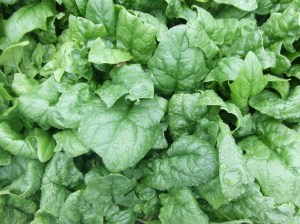
1 large head spinach, washed and torn
3/4 c roasted walnuts, coarsely chopped
3/4 c feta cheese (our Sunny Pine Farm chèvre feta is local preference)
sprinkle of salt and fresh ground pepper to taste
Sherry Vinaigrette
If canning isn’t in the cards, modify this recipe as follows: roast the beets on 400 degrees for about 25 minutes and make up a sweet vinaigrette. I love working with sherry as it seems to enhance flavor complexities in a wide variety of foods. However, you may easily substitute other vinegars.
1 shallot, finely minced
1-2 garlic cloves, finely minced
1 t Dijon mustard
1 c extra virgin olive oil
1/2 c sherry vinegar
salt, pepper
~ Carefully sauté shallots in 1-2 Tablespoons olive oil until transparent and just beginning to brown; remove from heat and cool.
~Combine shallots, garlic, vinegar and mustard with whisk or food processor; emulsion is the key to a good vinaigrette, so proceed slowly with olive oil, pouring in a steady, small stream while mixing until smooth (using a food processor for this step hastens mixing immensely, but is not necessary, have much patience); add salt and pepper to taste and serve.
Yield: about 1 1/2 cups
~The presentation of this salad is best plated individually, so begin with beds of spinach.
~Combine chopped beets and blueberries in a bowl and set aside; roast walnuts and chop.
~Assemble salads by topping each spinach bed with approximately 1/2 cup beet and blueberry mixture; sprinkle with nuts and cheese; dress with vinaigrette or not as desired and serve.
Yield: about 6 servings
Sweet & Spicy Pickled Beets ~ Recipe for boiling water canner
10-12 medium sized beets, or 4 pounds
3 c onions, sliced long and thin
3 sticks cinnamon, broken
2 c sugar
1 t sea salt (to taste)
1 T allspice, whole
1 t cloves, whole
2 1/2 c cider vinegar
3 c water
4 cayenne peppers, whole and preferably fresh
4 cloves garlic
~Wash beets and trim stems and roots to about 2 inches (this will allow easy skin removal); boil in water until tender, remove and drain; when cool enough to handle, remove peel and trim ends if necessary.
~Combine remaining ingredients, besides peppers and garlic, in a large sauce pot and bring to a boil; reduce heat and simmer for 5 minutes.
~Add beets and simmer until heated throughout; remove cinnamon sticks.
~Using sanitary, hot pint jars, add one garlic clove and one cayenne pepper to each; pack beets into jars and ladle hot liquid over beets, leaving 1/4 inch headspace; remove air bubbles and adjust two-piece caps; process in boiling water canner for 30 minutes.
Yield: 5 pints
The Beet as Food Coloring
One of the niftiest uses for beets is as a natural food coloring. For those attempting to avoid synthetic food coloring (often containing unnatural or toxic chemicals), the beet is the ticket. Simply slice the root into chunks, cover with water, and simmer down the liquid into a thick, fuchsia sauce.
This natural food coloring is virtually tasteless and is great added to frostings or desert sauces on special occasions. My daughter knows it well as her signature birthday cake coloring.
Love from our kitchen to yours, Gina @ Soul & Stomach
Rhubarb: how we love thee. You are full of the zing of spring, yet you are humble and hearty.
And how underestimated you have been in years past!
From early childhood, my mother always made rhubarb sauce (recipe herein), pie, crisps and cobblers and froze the sauce of whatever was left over for winter delights.
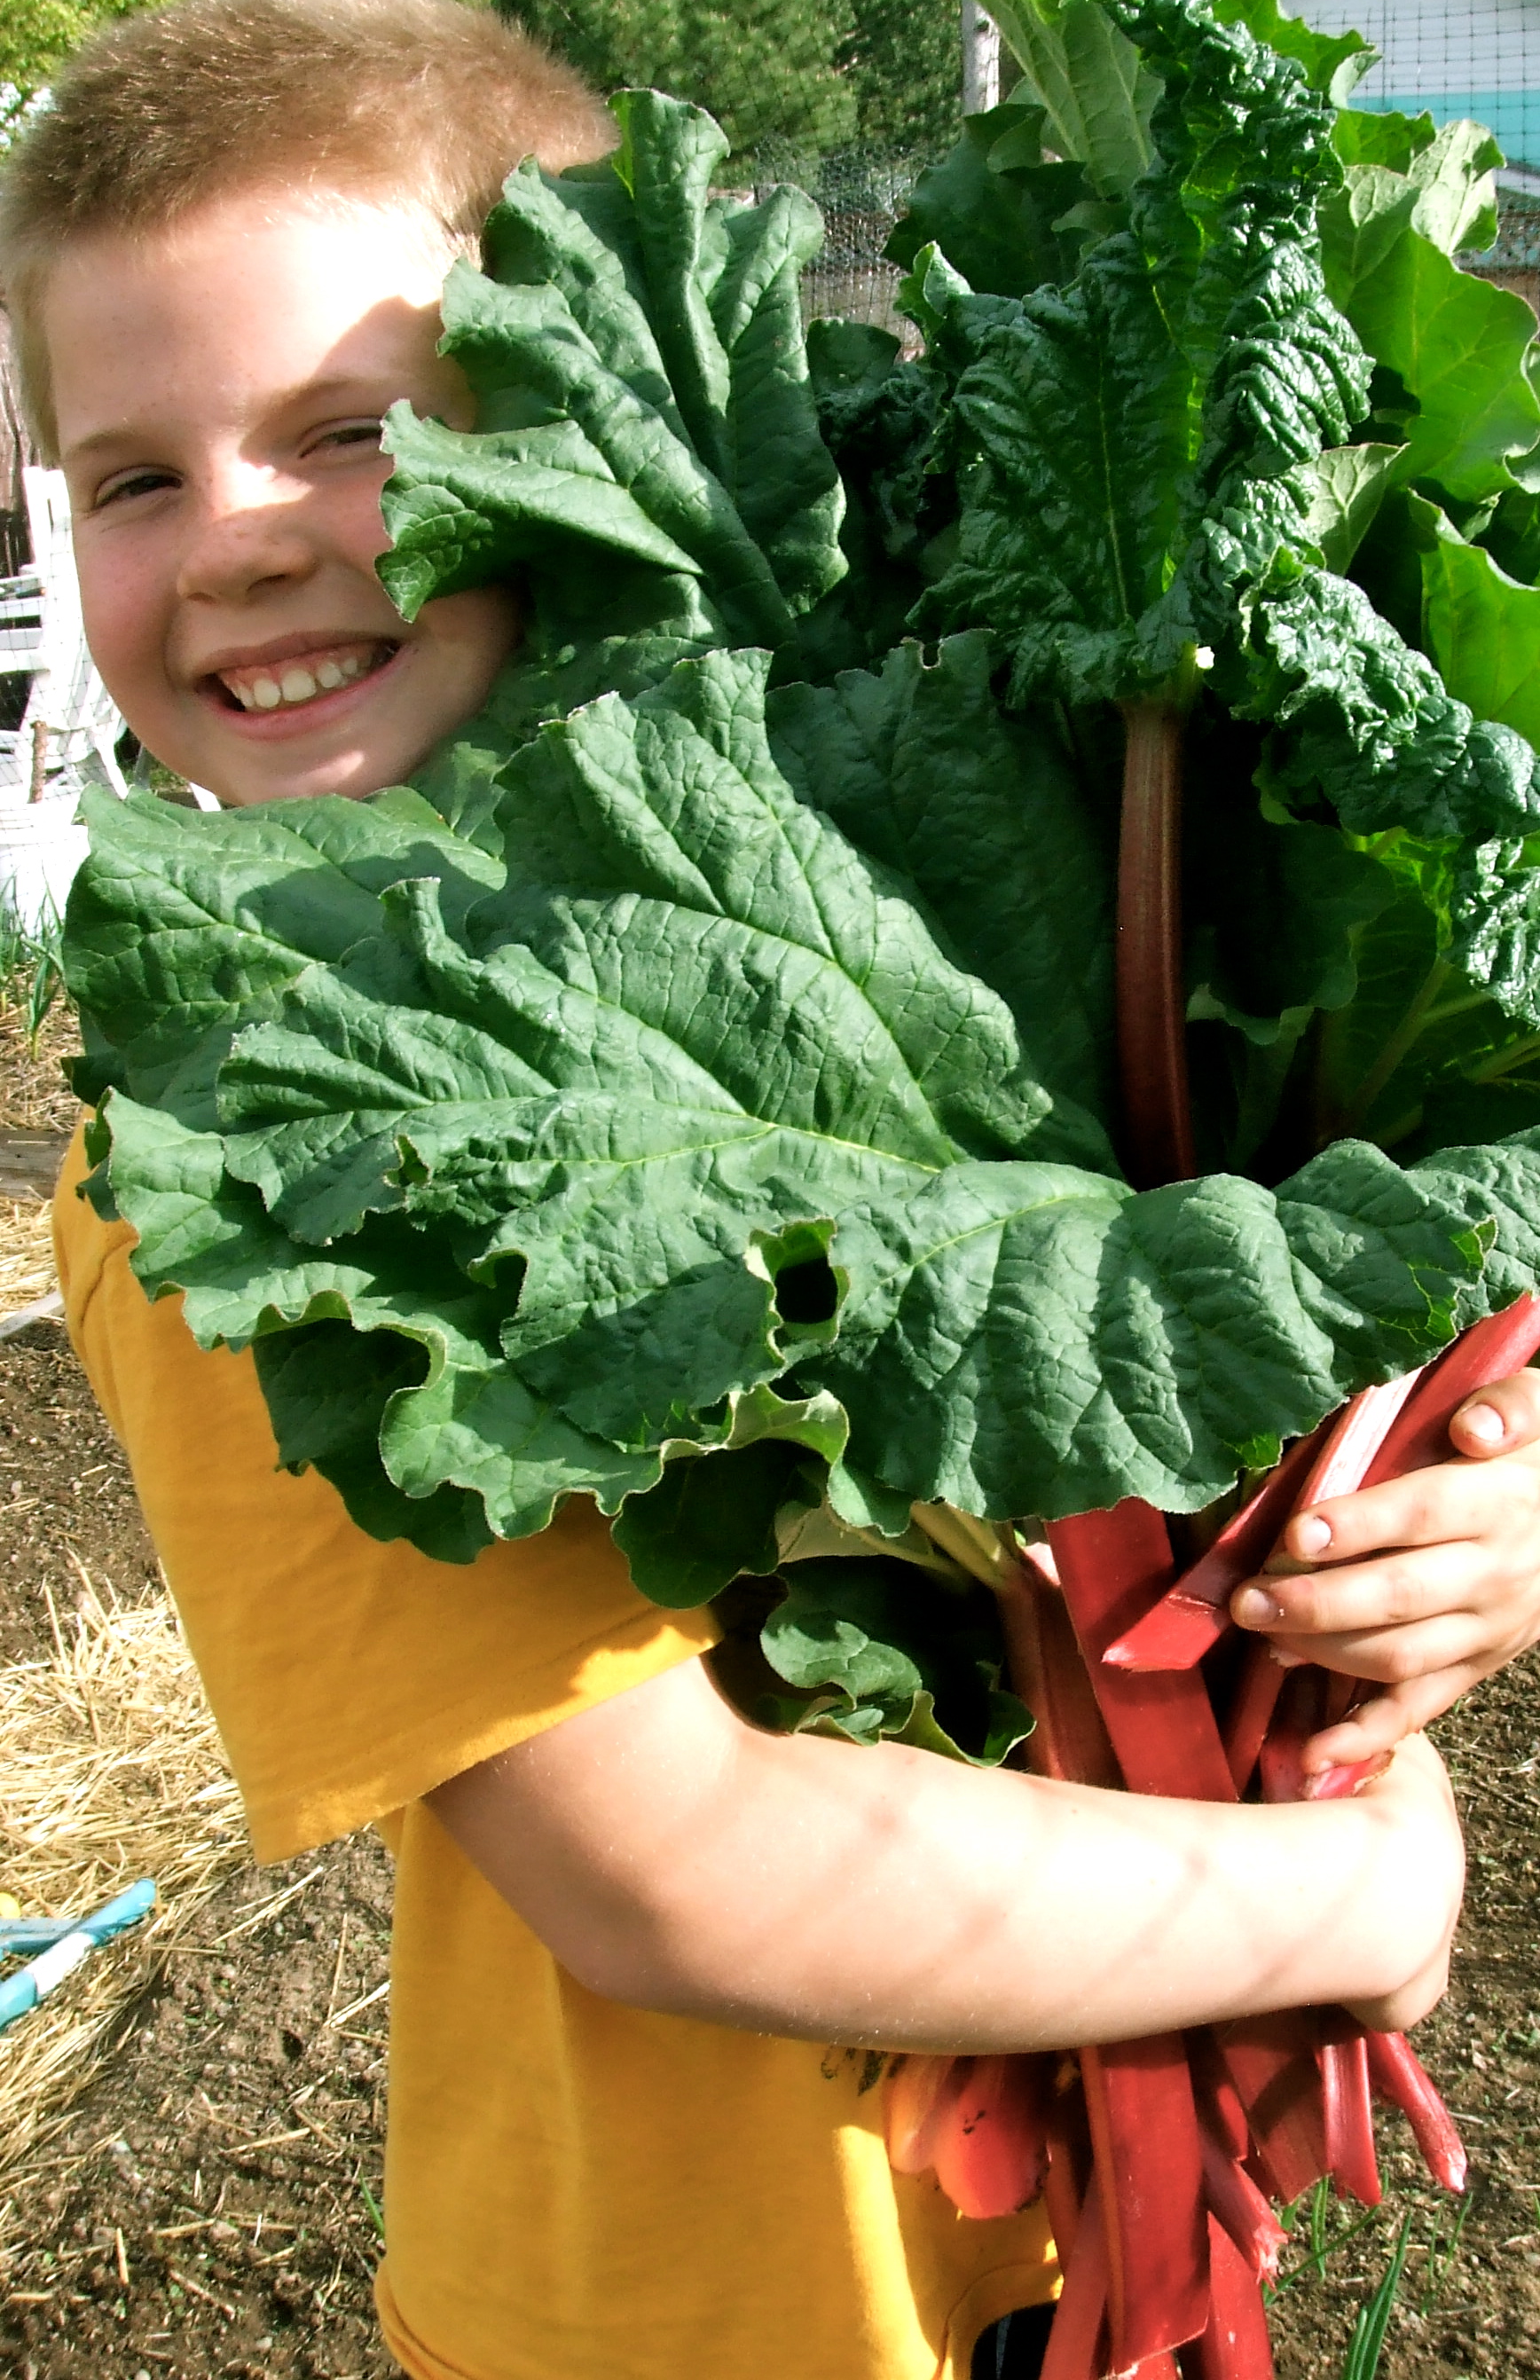
Farmer’s Markets often have an abundance of rhubarb, and likely your neighbor does too. Harvesting rhubarb is easy for kids ~ and produces tasty treats they love.
I’ve often heard folks describe rhubarb as a weed or make comments like, ‘what would I do with it?’ to which I respond, “I’d be happy to take that off your hands so it’s not in your way.” I’ll never say no to free barb.
Rhubarb sauce over yogurt was a staple growing up as it is in our home now. We regularly harvest, and make sauces for breakfast dishes, lunches and snacks. If the seed stalk is kept cut back, and you trim your barb as it ripens, you can keep a plant producing all summer long.
Kid Friendly Harvest & Recipe
My son now enjoys working the entire process, garden to table. He harvests, washes, cuts and cooks the sauce, all himself. (Well, I did the taste testing for sugar ratio, otherwise it would have come out fairly sucre heavy:).
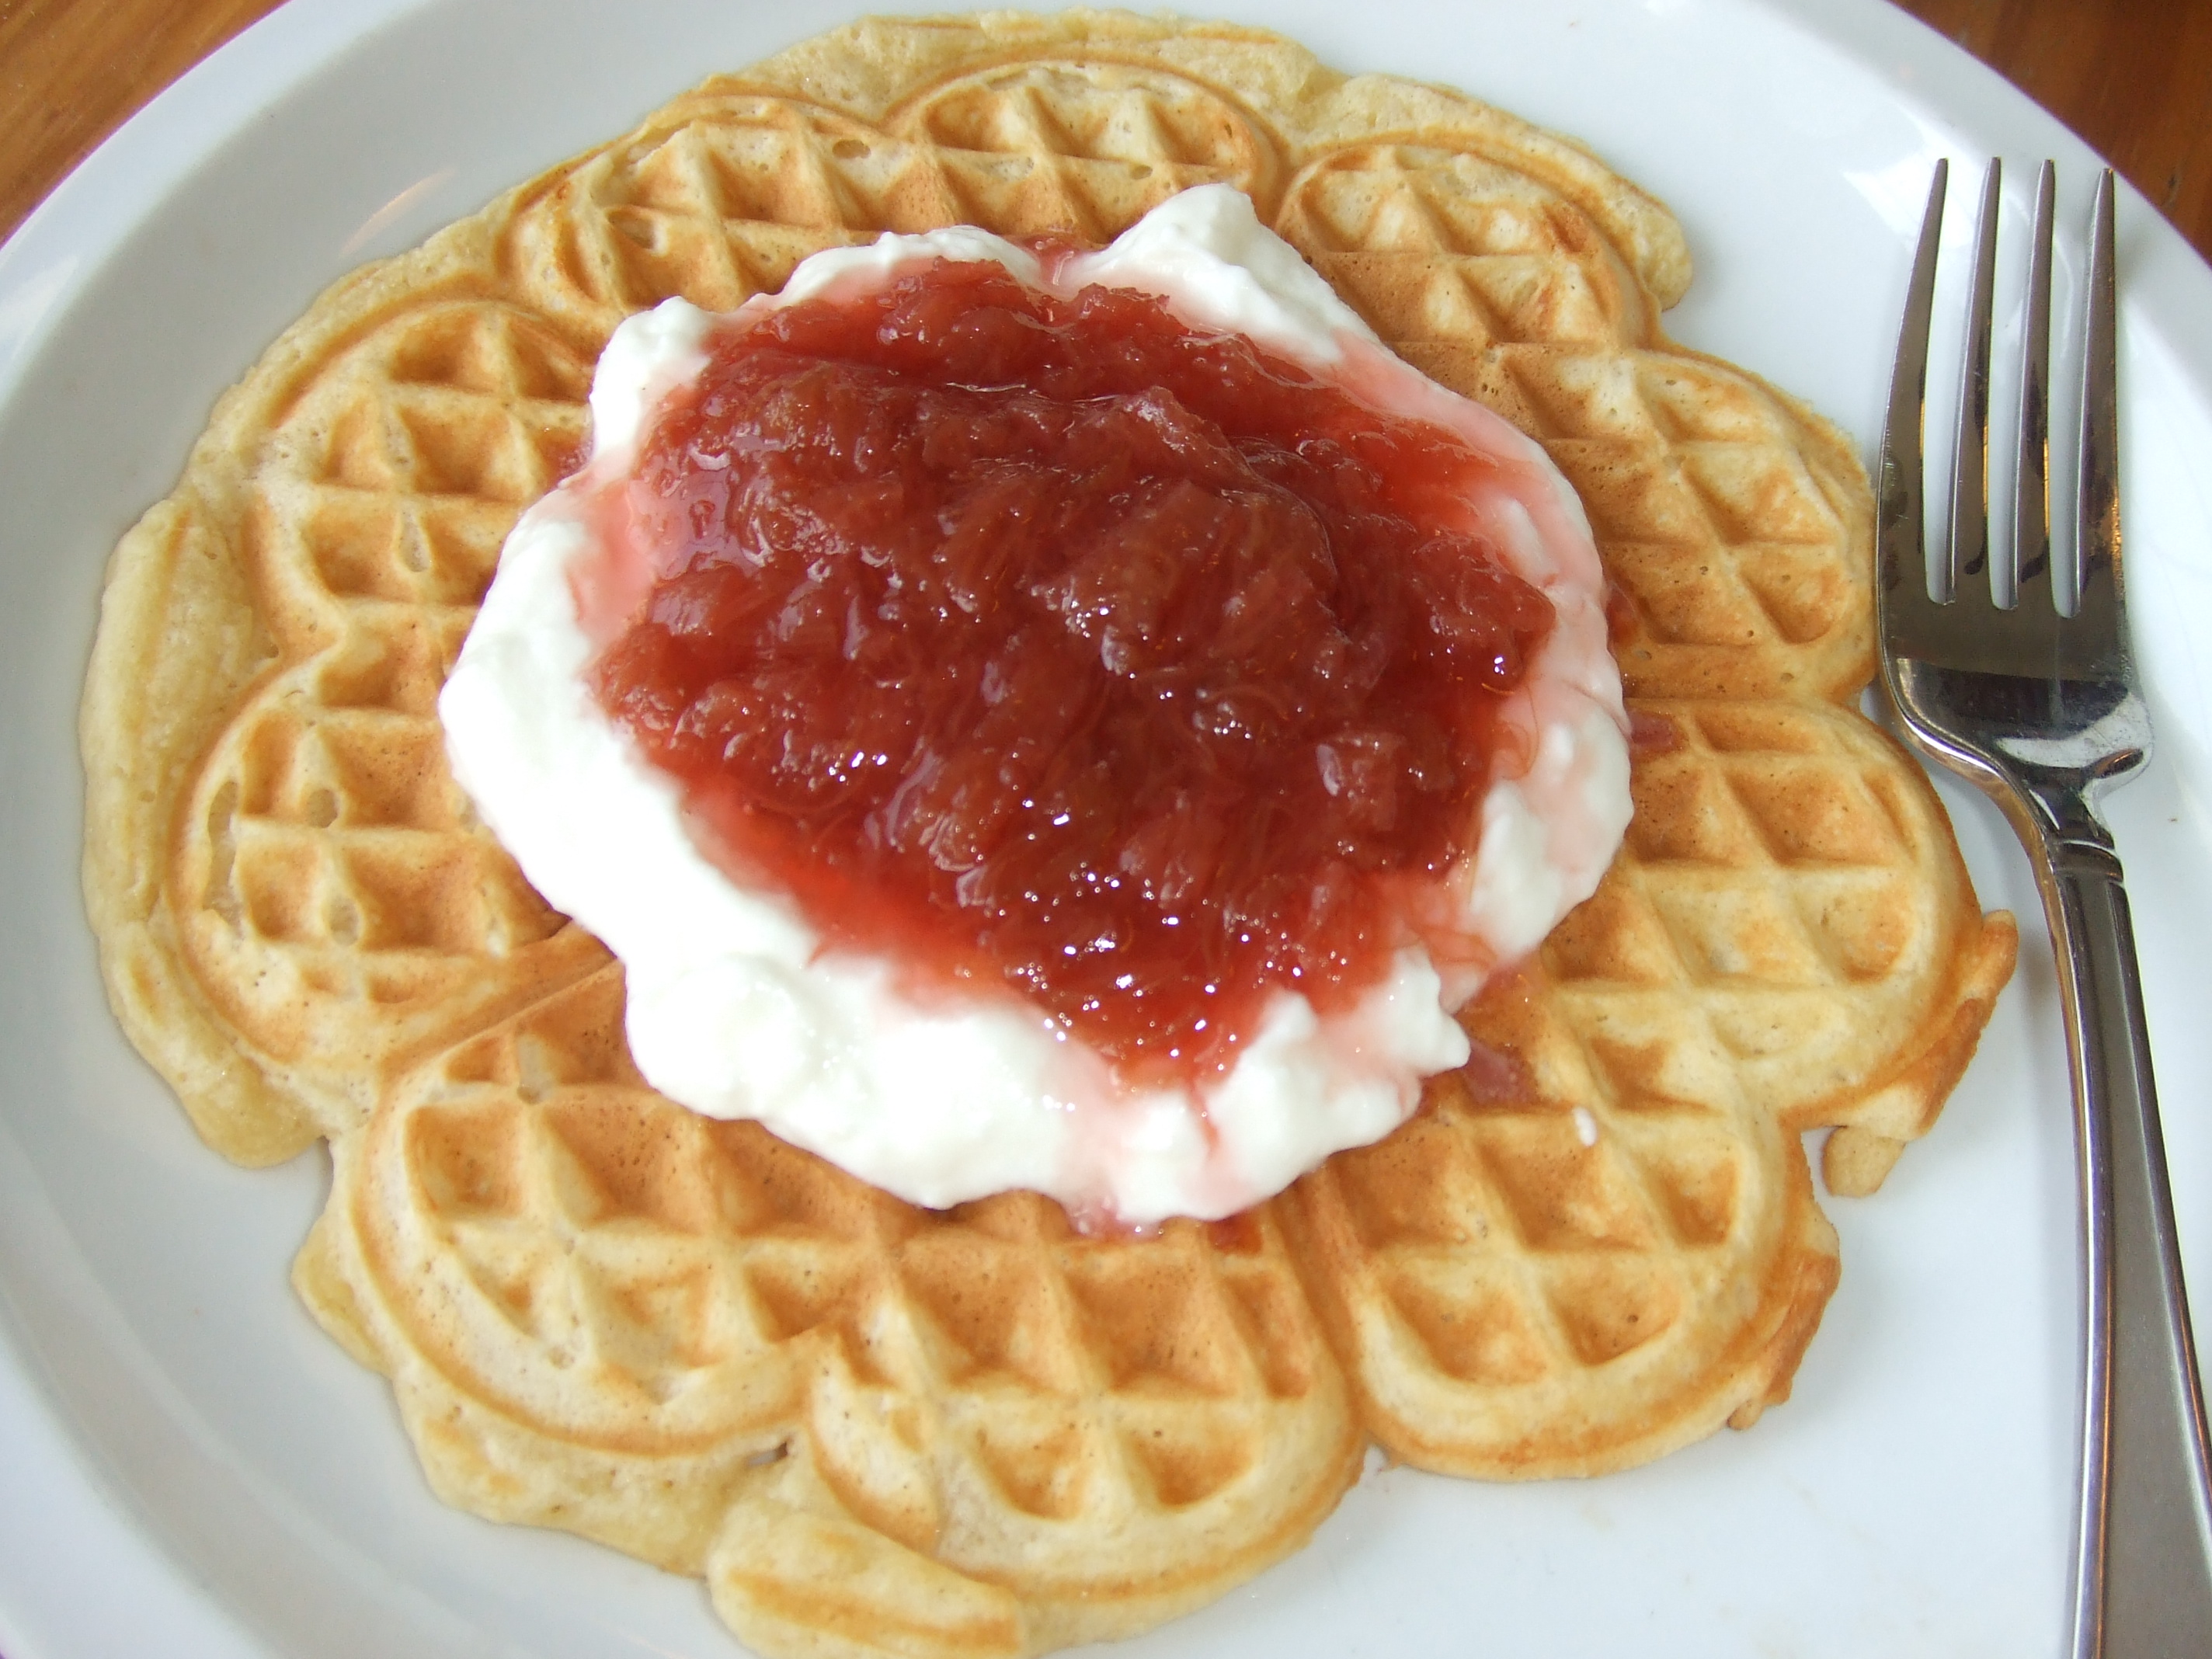
This is a wonderful recipe to use as a tool to get your kids into gardening and cooking. The resulting food is something kids love ~ a sweet and tangy sauce that goes well over yogurt, ice cream or, my favorite, breakfast waffles and pancakes.
Rhubarb Sauce
Fresh Rhubarb
Sugar
Water
~ Chop washed rhubarb into 1 inch chunks and fill a quart sauce pot. Add enough water to cover the bottom with at least 2 inches.
~ Bring to a simmer on medium-high heat, stirring frequently. Once the fruit starts to break down, reduce heat to low.
~ Add sugar and stir occasionally; once the sauce is simmering again, it’s just about done. You may add your sugar to taste, but for a quart pot full of fruit, I generally use about 4 cups sugar.
~ Eat fresh on yogurt, waffles, over ice cream, or jar in Masons and freeze.
NOTES on Rhubarb
~For planting, try finding an existing plant to cut from. The root of the barb is like one solid mass. You can cut right through it to divide the plant. Don’t worry about damage, this root is hard to kill. It will grow almost anywhere.
~Water rhubarb liberally. I made the mistake years ago of thinking the wild plant on the side of the house didn’t need tending. Not so ~ the barb takes a lot of water in spring and through the summer if you want a hearty, deep red stalk and to harvest repeatedly.
~ Save it for later! If you don’t want to make sauce out of all your barb, wash it, cut it in one inch chunks and bag in the freezer. It is just as good taken out months later for pies, sauce, chutney or crisps.
She said, “I wanted to prove to myself that I could.”
Mt Hall, Okanogan highlands outside Tonasket.
In our current culture that so often caters to lowest common denominator thinking, I feel the urge to write about standards of excellence, people who live through demonstrating the highest standard of authenticity.
Emulate the exceptional, and the common denominator increases it’s value: this is true of consciousness and practical choices in everyday life.
Betsy Buford was the mother of four kids around the corner, her third girl my best friend from age 8, my constant comrade in hikes, bikes, runs, music, laughter and spiritual commiseration. Her other three kids, older and younger were super cool too, allowed a maximum freedom within safe boundaries and given a lot of inspiration for inner strength by their parents.
“Beautiful Bets,” as her husband called her, had the largest preserve collection of anybody around, a whole room beneath a huge trap door in the floor leading to a root cellar of food treasures. When I walked over to the safe haven of their simple, music filled home, I’d find her baking a gooseberry pie, canning apricot nectar (recipe link here Sweet Ambrosia Canned Apricot Nectar), roasting hazelnuts, or some such home made goodie from their vast gardens.
But when I met them in suburbia circa third grade, the crunchy home comfort I found was already a significant move into ‘established society’ from their more pure, back-to-lander beginnings. In the rural Tonnasket highlands of Mount Hall, with neighbors closest a mile away, the Buford fam had lived without running water or electricity, raising their own animals, growing food, with the roof over their head built by the righteous dad, and the babies birthed at home and nurtured by the all natural mama. The eldest daughter said to me recently, the secret to their success in the back-to-lander days was that mama Betsy was happy.
Choosing a more physically difficult life, choosing against consumerism, slavery to money, status, temporary pleasures, and gaining a greater happiness–yes! The simple life, the self-sufficient life, the natural life, yes, these lead to greater happiness, and indeed higher consciousness. These are the values I got thoroughly exposed to in the Bufords and sought to emulate early on, in response to vast sickness and degredation in American pop culture, i.e. lowest common denominator thinking.
Being from the 1970s Methow Valley, the home of my heart always, I found in the Buford family connectedness and common identity in the midst of hyper-commercialized 80s culture around us. Being outside status quo thought, I questioned popular assumptions as a matter of duty to an excellent God given brain–again, valuing authenticity over status. And praise be for this second home of mine, where creative expression and open minds were prized, responsibility for your actions expected, do-it-yourself mentality demonstrated, and “gotta be smarter than the machine” spoken intensely.
Betsy took such values to a second level of generosity by founding our suburban town’s first Montessori school. So, many besides her children and myself were recipients of her spiritual affirmations.
I asked Betsy when I was 17 and going off into the world myself, why she isolated in the woods, producing all that sustained them. And she responded, “I wanted to prove to myself that I could.” Now that statement would not be meaningful for just any activity. But what Betsy proved to herself and her children was of value beyond what words can express here, and affected me deeply in conscious manifestation my whole life.
Her example of woman and mother was precisely what my particular soul needed. Here was a concrete affirmation of the strength and prime value of motherhood, of sustaining your children without dependence on corporations or synthetics, of the value a man/father should have for a strong, beautiful woman, and of the grace and supernatural toughness of natural womanhood.
Today ~ how all-natural living keeps a lady shiningly beautiful.
After twenty years of growing and preserving food in a mountain climate, living these years raising children in the glorious Methow, I often ruminate over the canning pot how I owe the inspiration of my pantry to her. Heritage is powerful.
When I write these little essays in Soul & Stomach, I’m thinking so often of Betsy’s example, a beacon of strength, envisioning what we can do out of the box with spiritual prowess and courage. And in this I wanted to take the time to honor her. Whether she had hiked twenty miles through the hills and mists and had come home to share her spiritual experience with us silly kids, or she was working her simple kitchen to it’s max with her latest berry creation, this back-to-lander mama’s multifaceted beauties remain in my mind, brilliant still life images of harmonizing in the world with grit and magic.
Forever Thank You Betsy! Love from my garden, kitchen and soul to yours! Gina @ Soul & Stomach
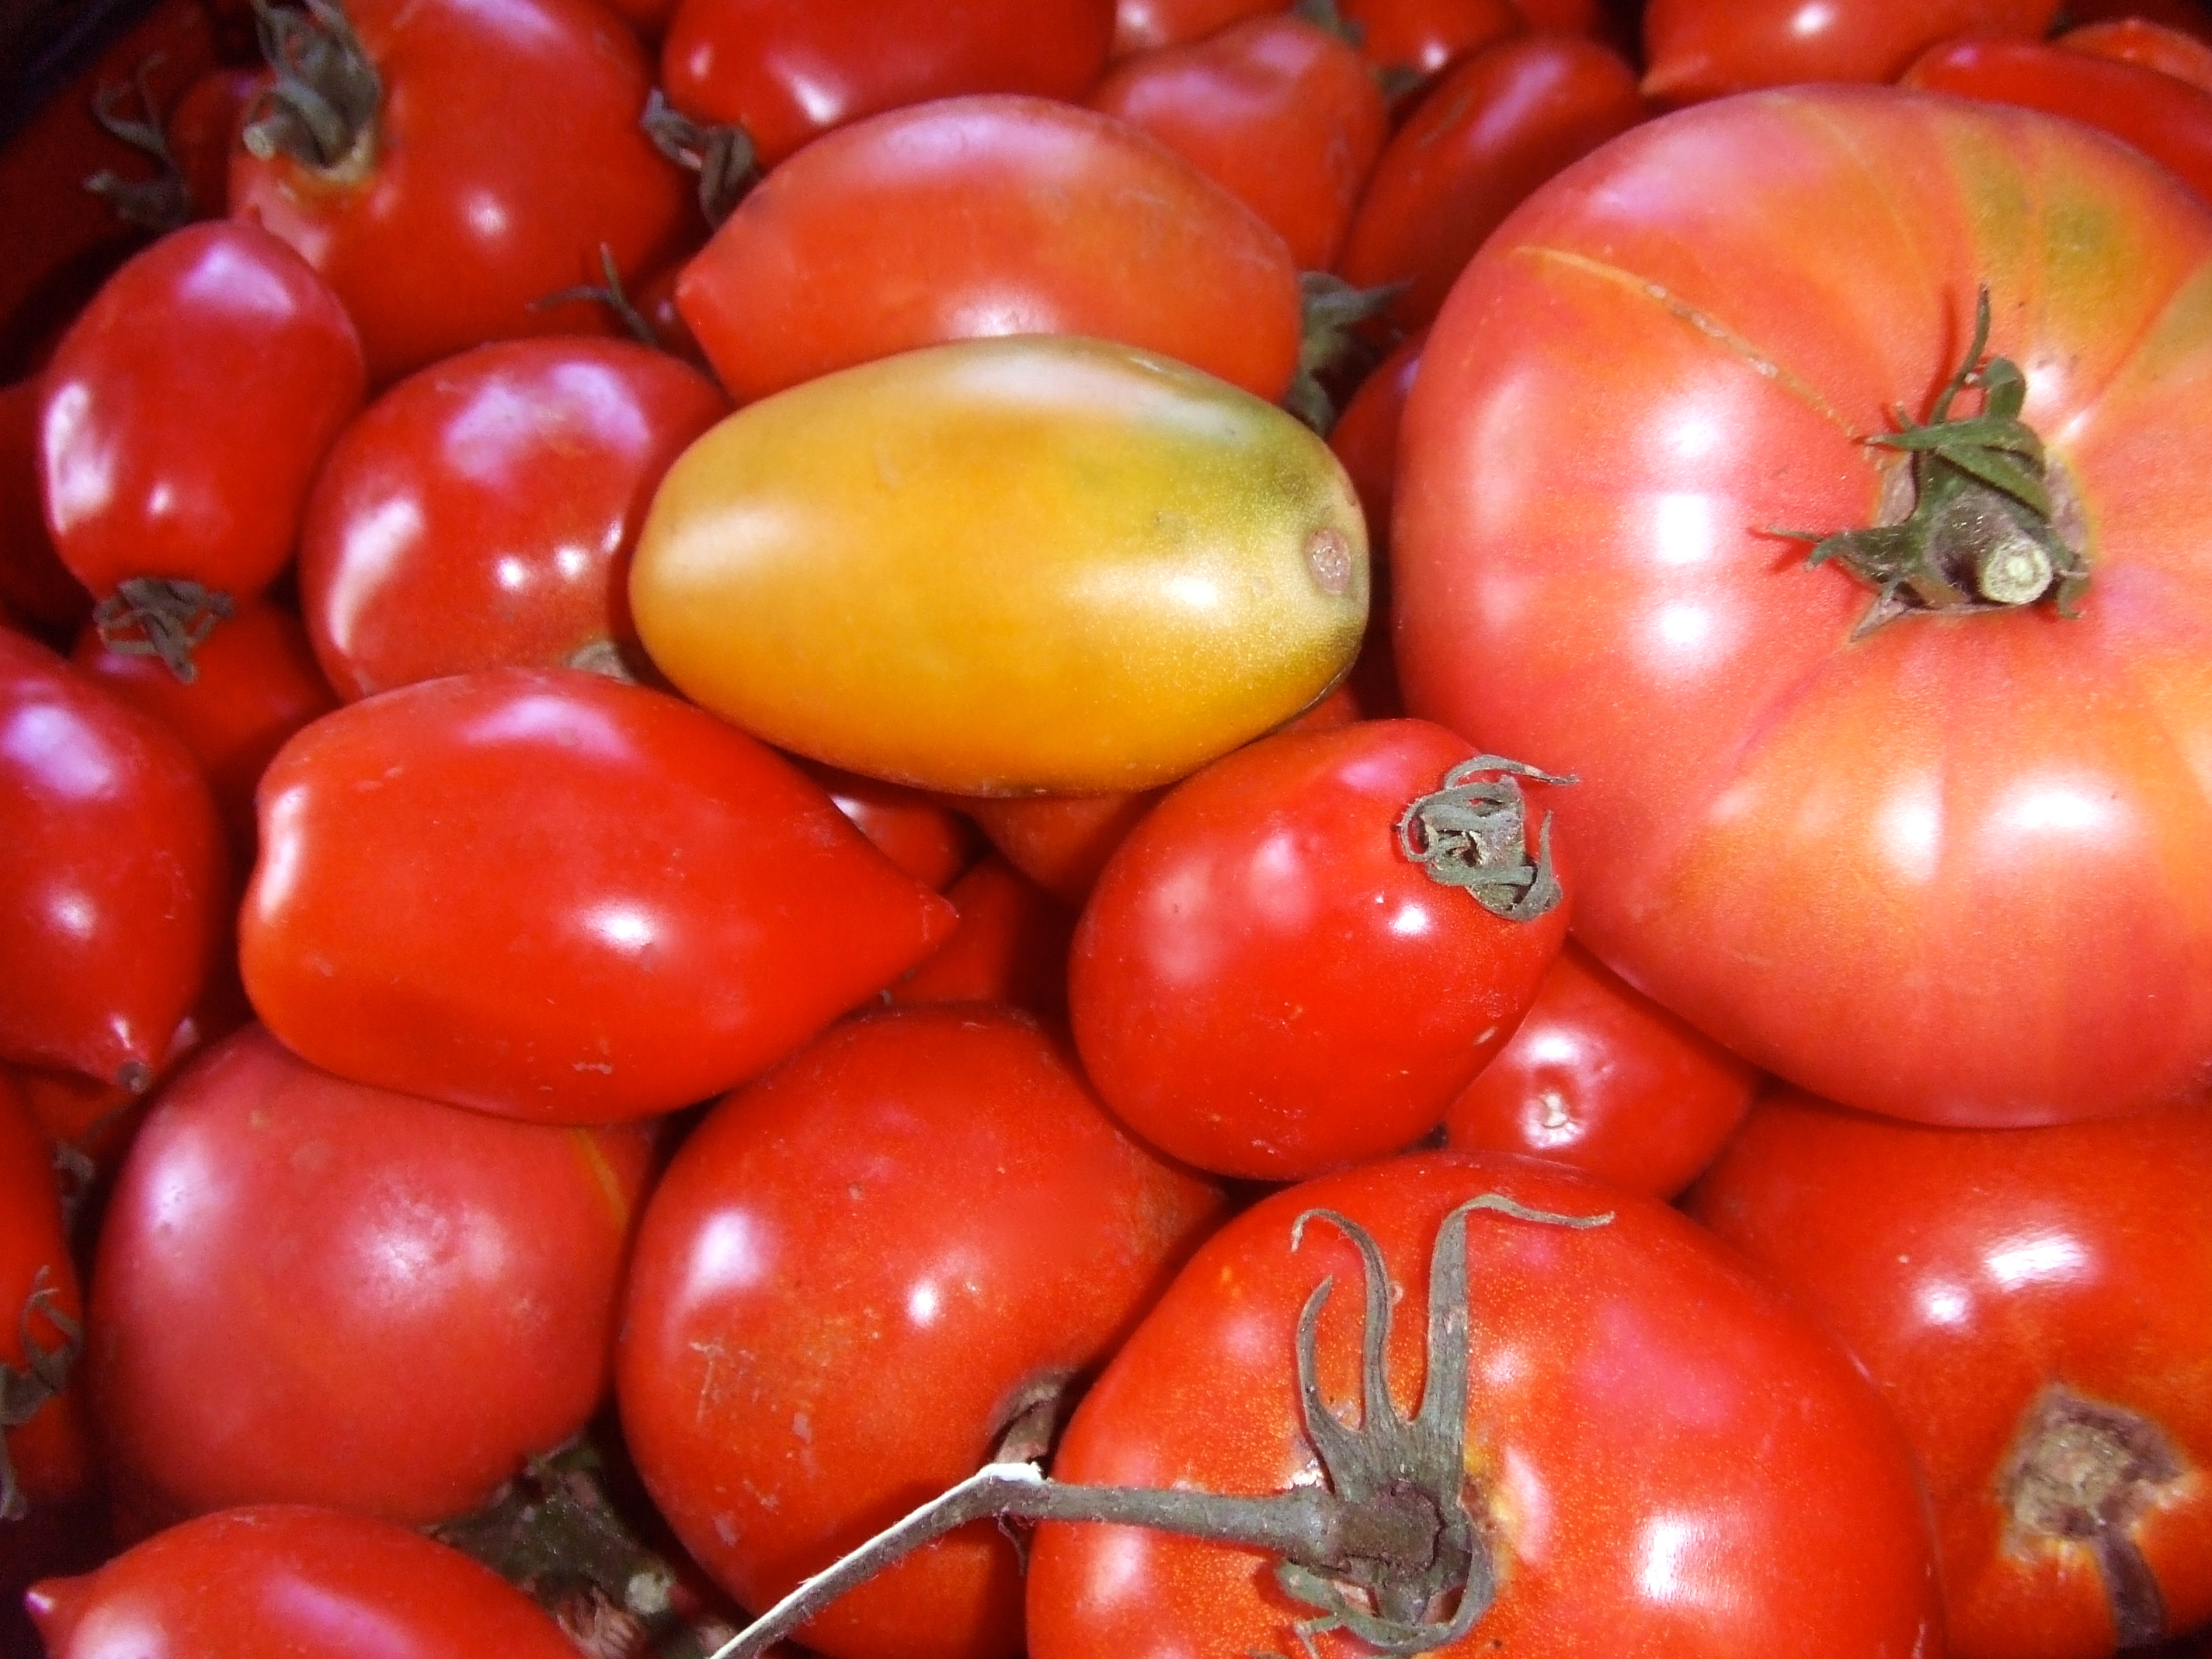
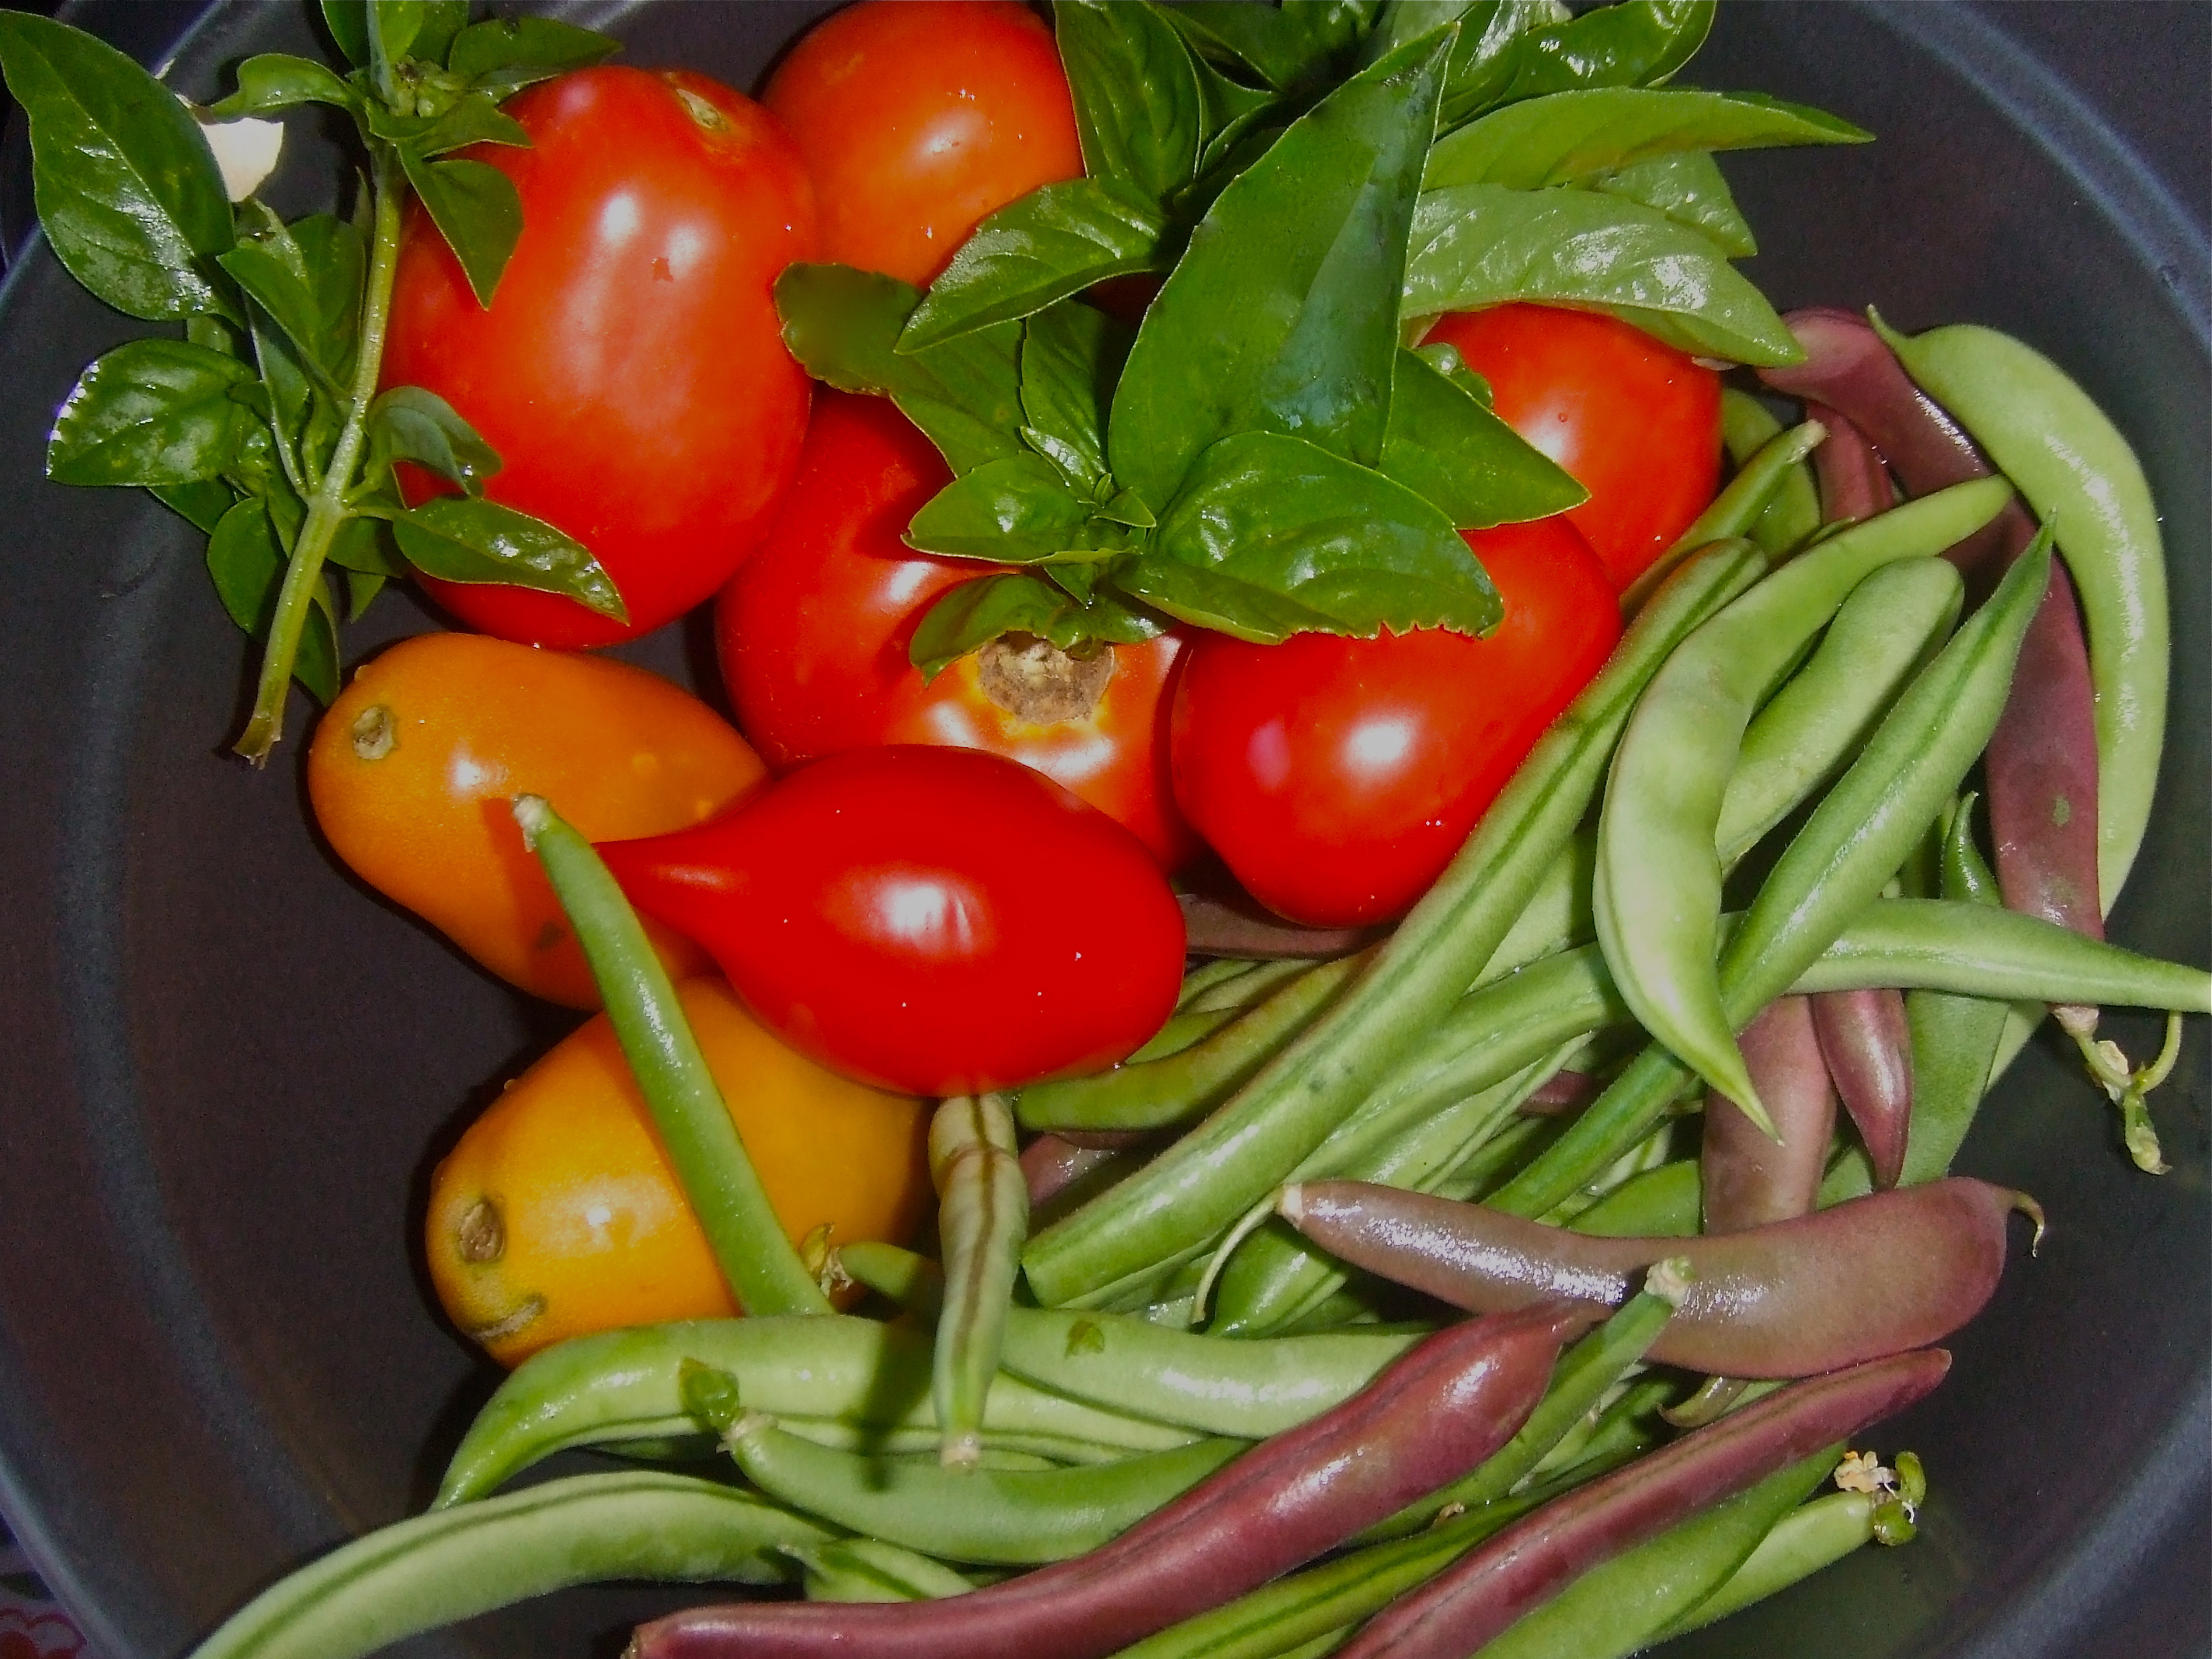
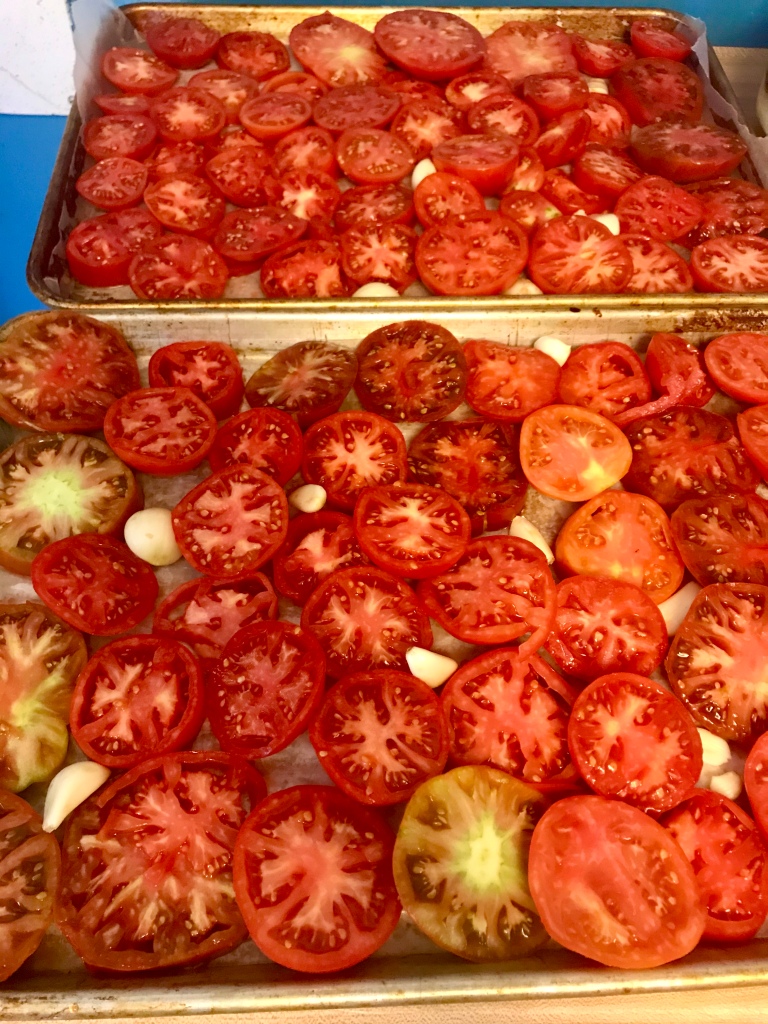
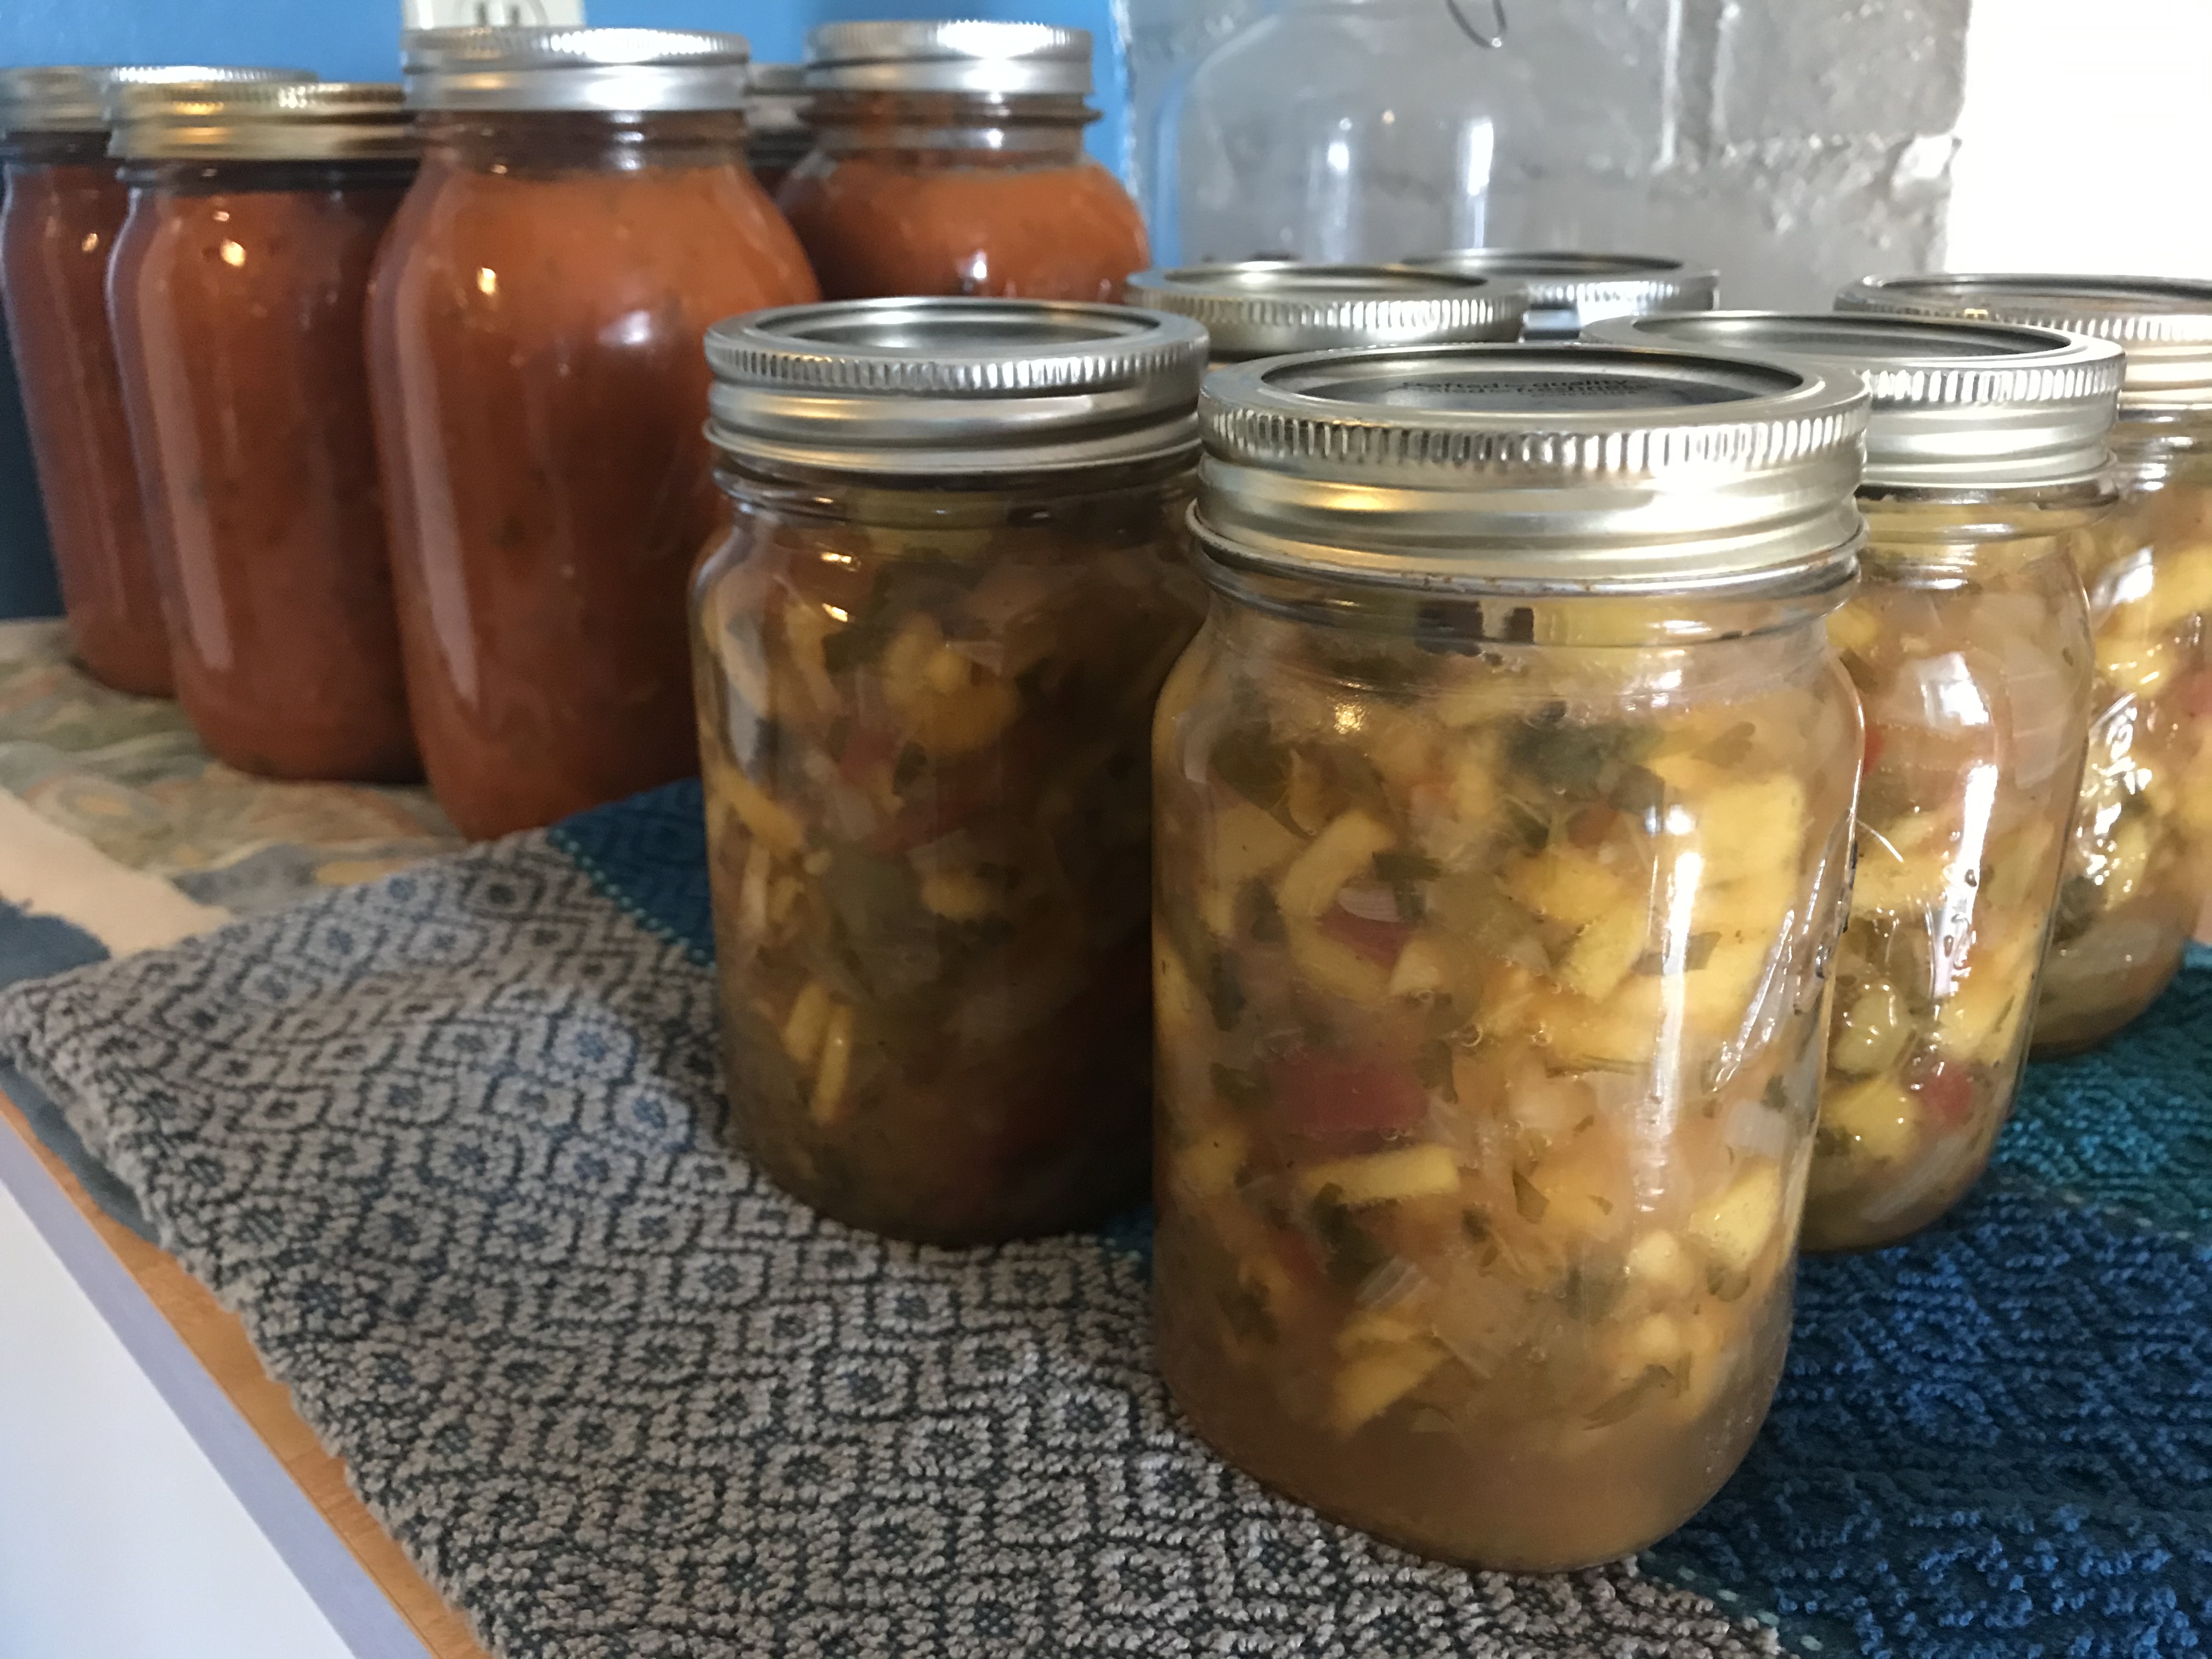
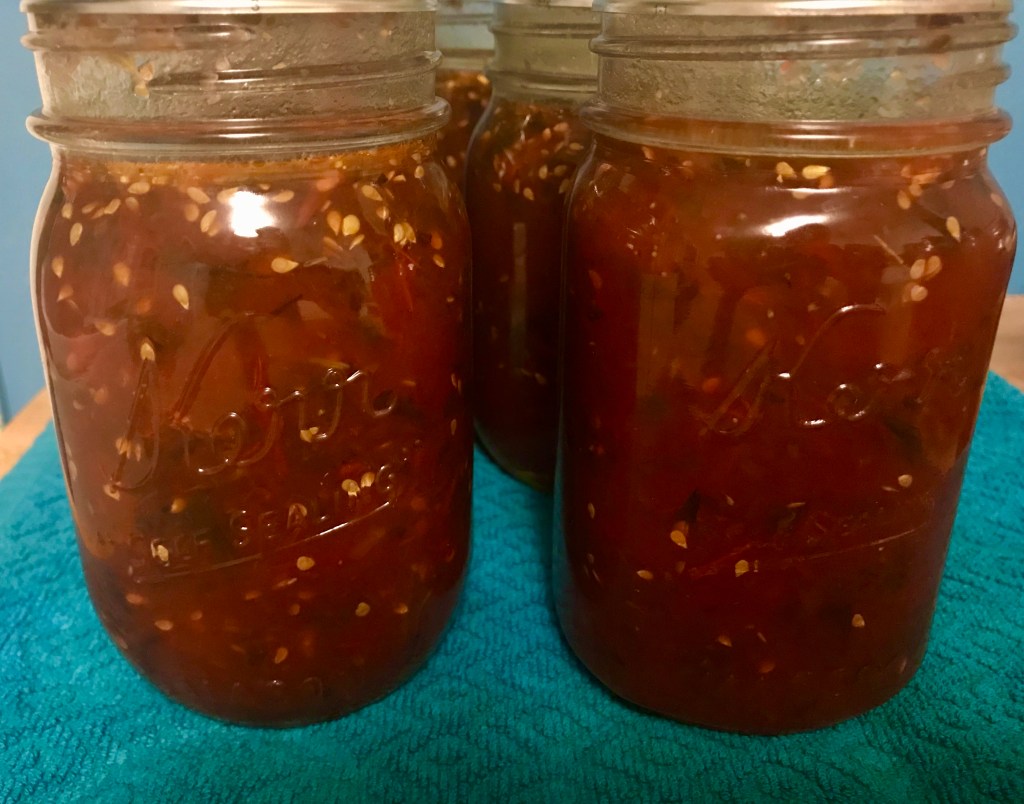
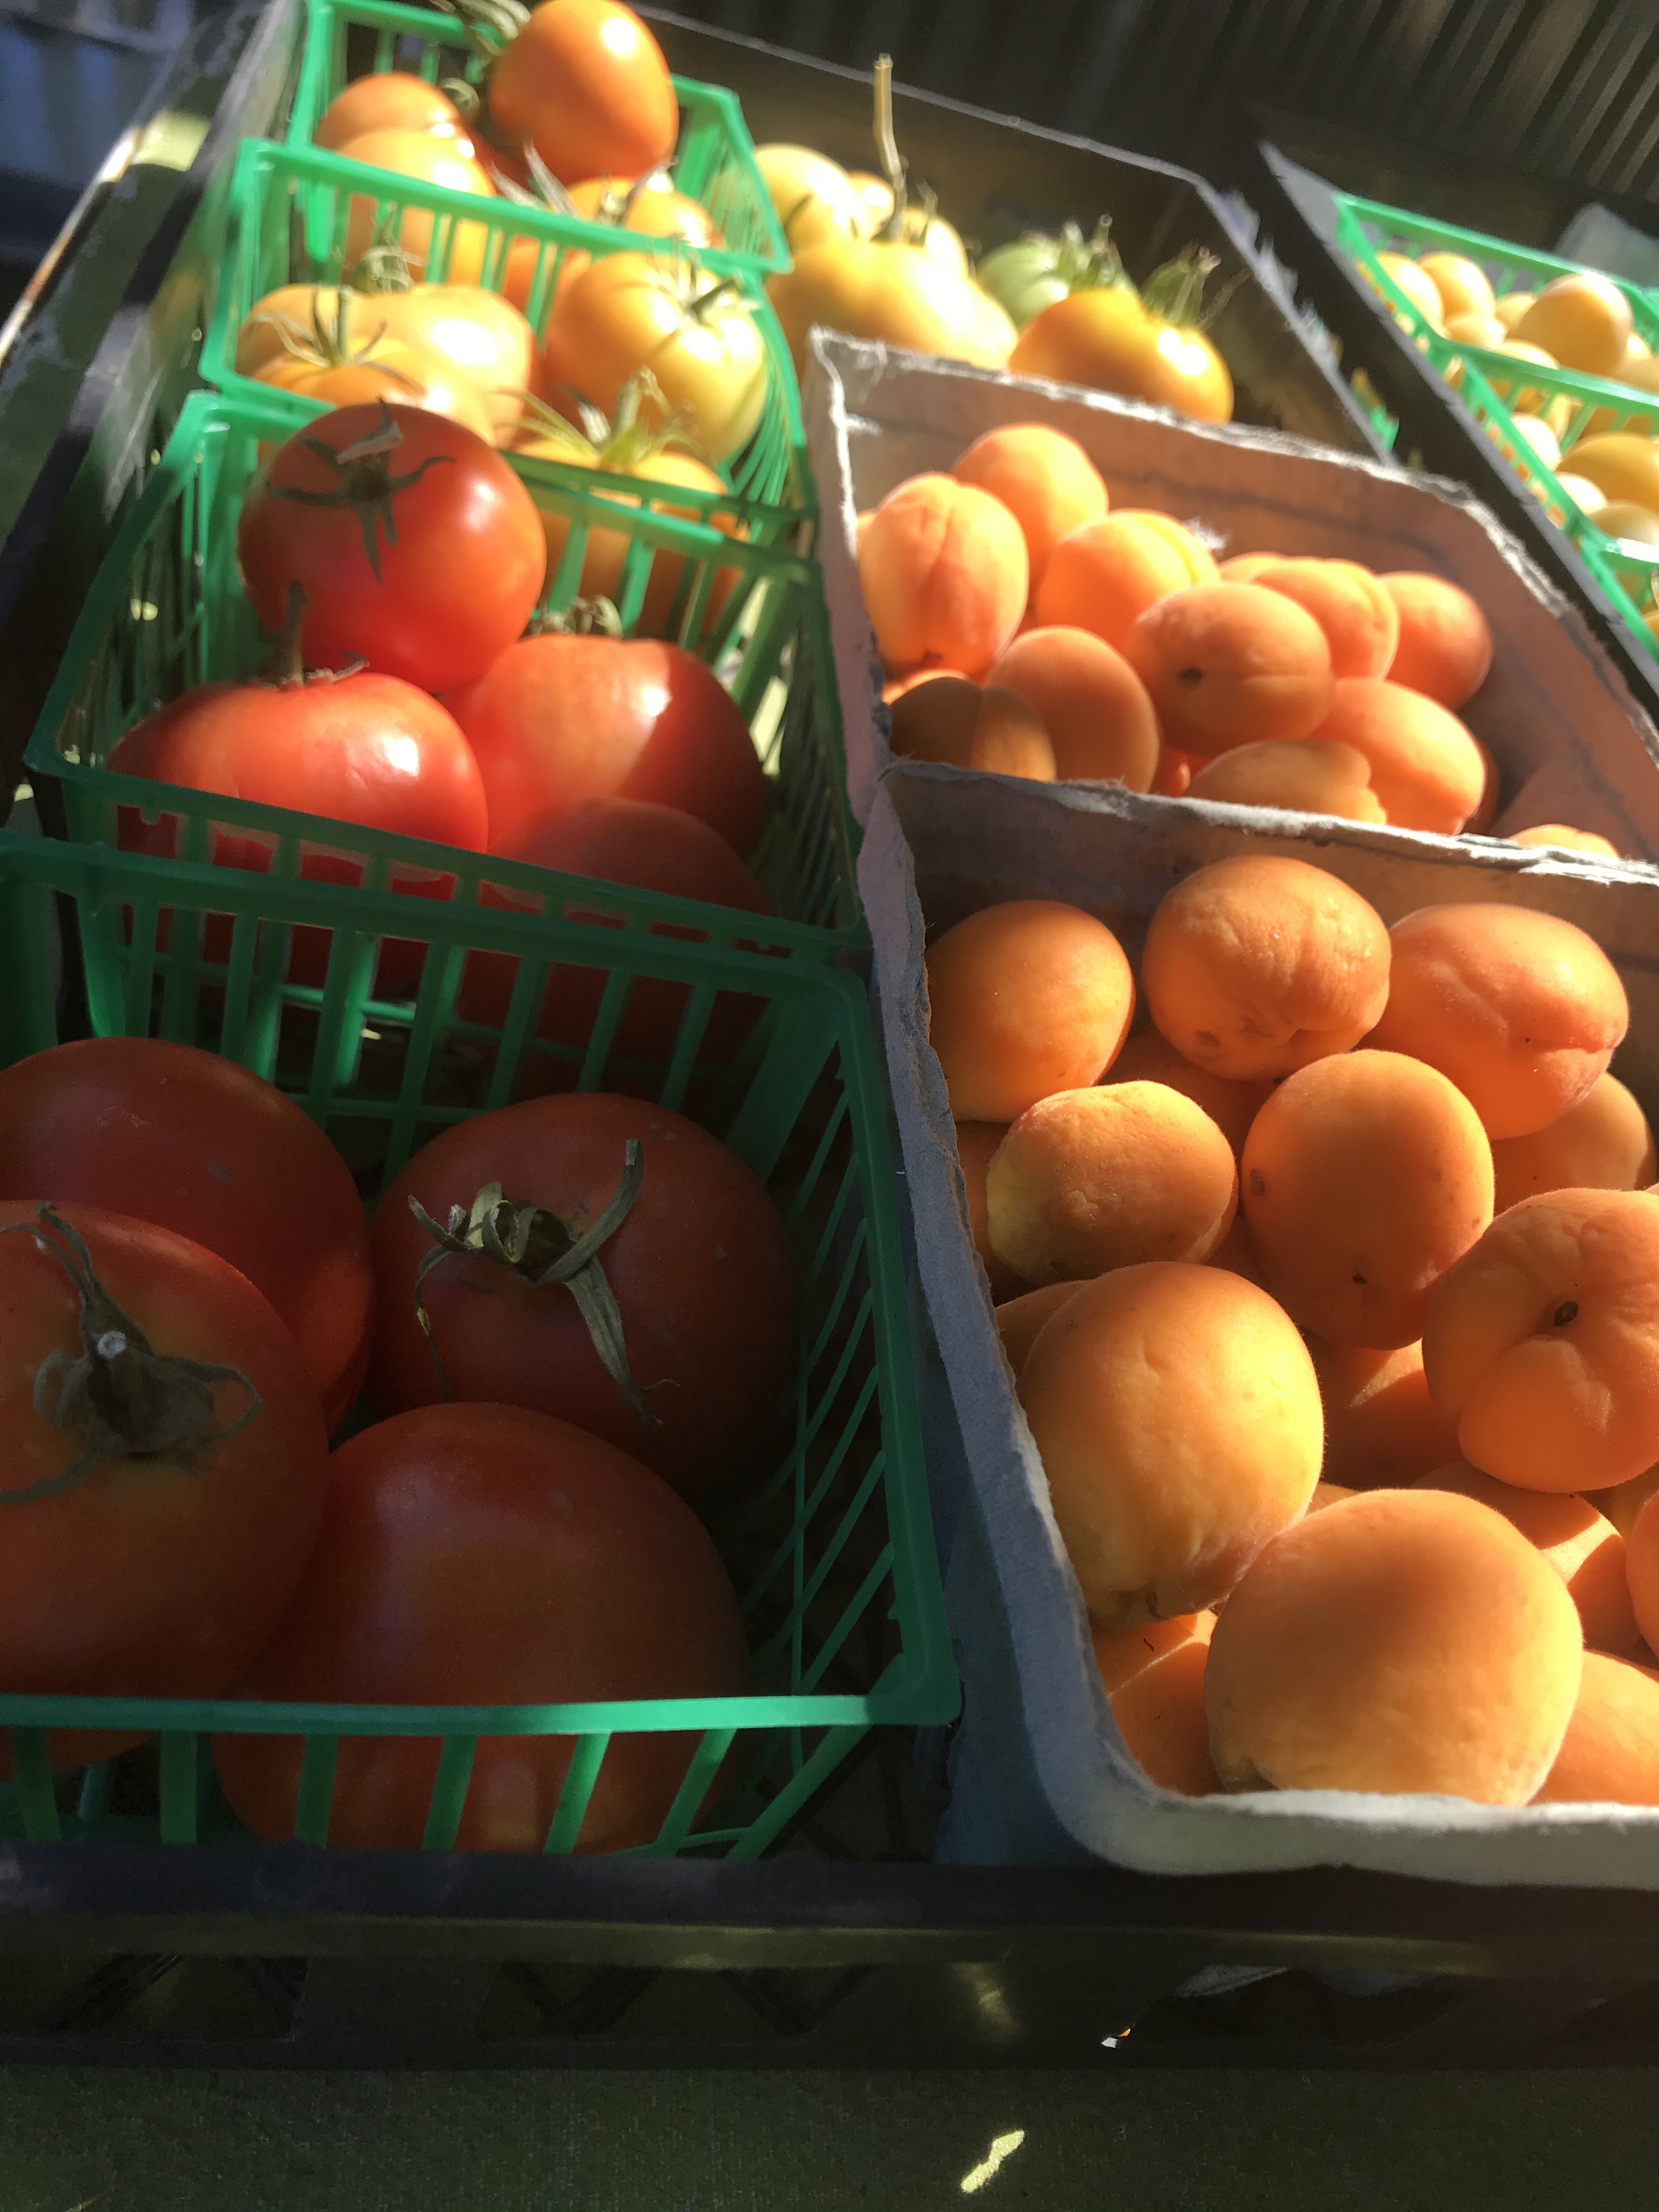
So many ways to savor the heirlooms. They’re bunching up for batches in the canner, saucing after a slow roast with garlic and herbs and oh so delectable fresh from the vine.
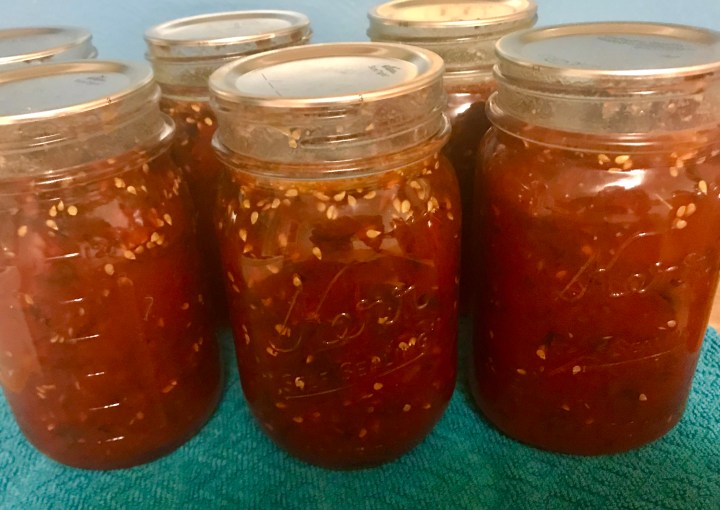
Of the many uses for tomatoes at harvest, we like fresh slices on sandwiches, topping for tacos, chunks in Indian curries, and canned in marinaras and salsas. Herein though is a new recipe to try: tomato-basil jam, perfect for fine cheese plates. It’s a sweet spread to hold heirloom goodness and fresh basil captive for special occasions in cold months to come.
Slow roast marinara is number one for stocking the pantry. See the recipe in previous article Saucing the Whole Tomato for bringing out the full, round flavor of tomatoes and garlic in a thick, rich sauce.
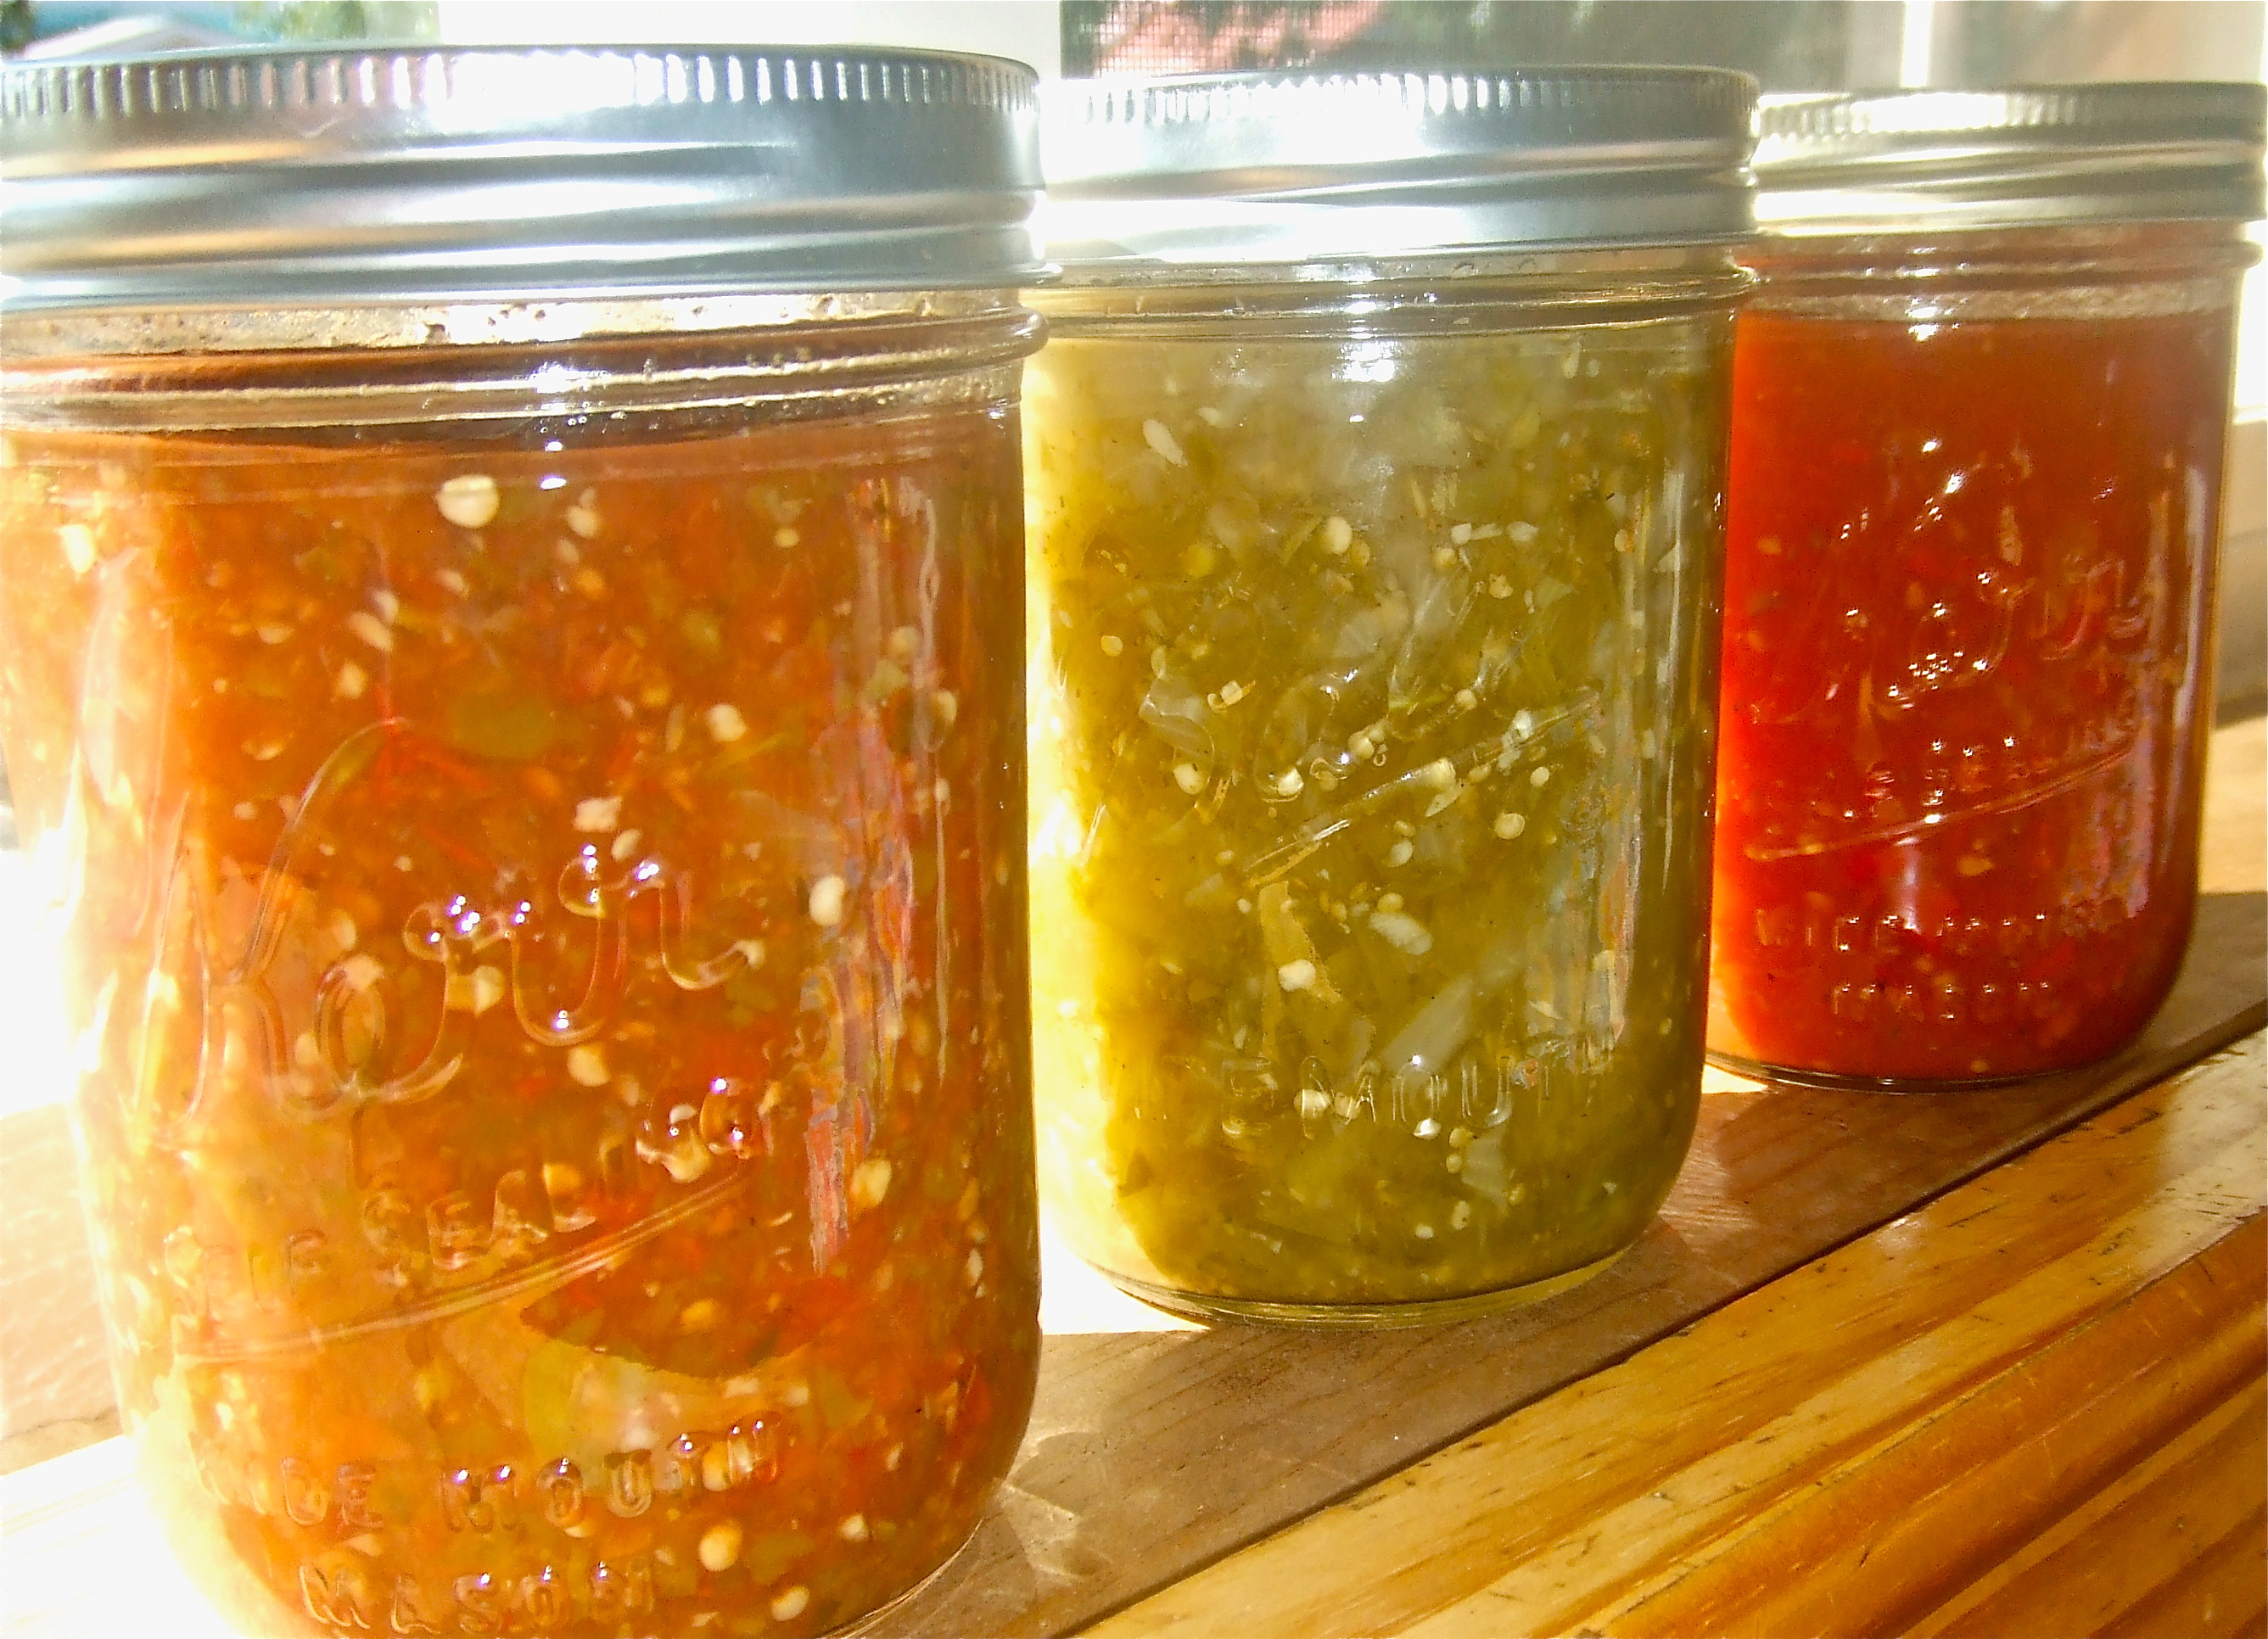
Sweet salsa variety and slow roast marinara.
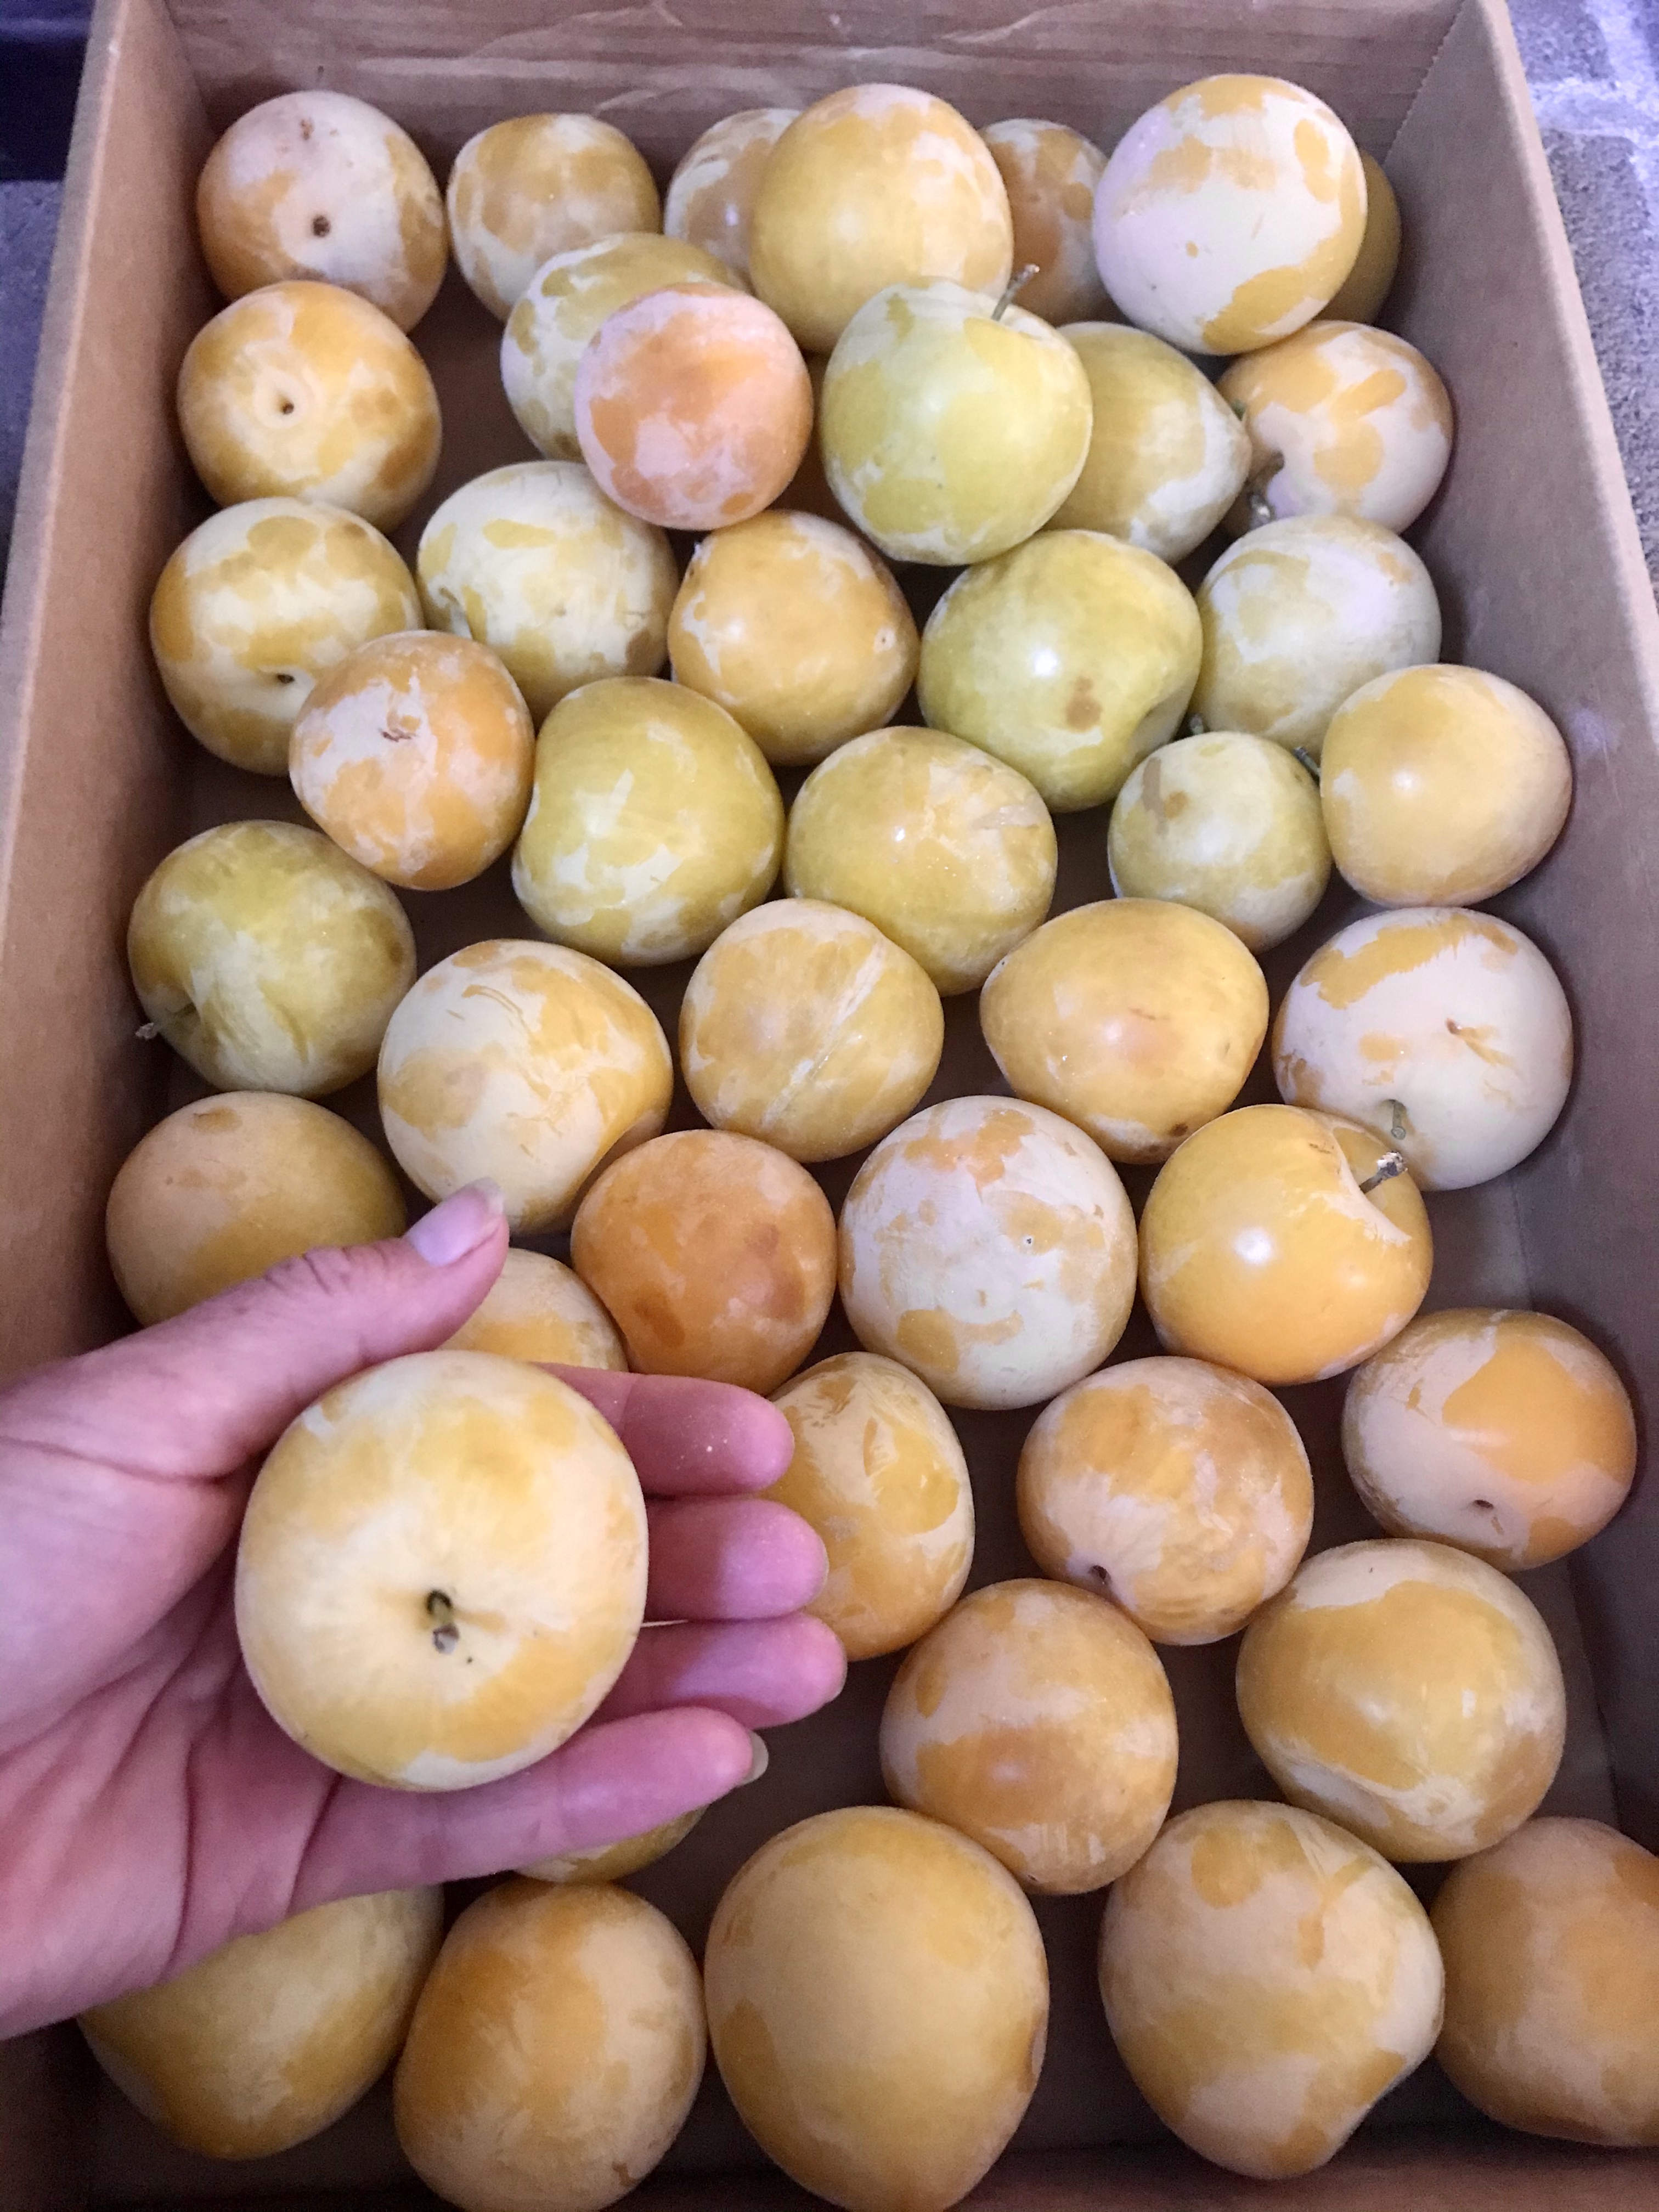
Salsa is a must make too, see recipe in Max Batch Salsa. This year the pantry expands from classic hot jalapeño and salsa verde with a newly minted peach salsa, diversified sweetness welcome.
But the nifty new number is tomato-basil jam, a self styled creation I have been planning on for a while. Designed as a spread accompanying fine bread and cheese platters, it’s delectable.
Tomato-Basil Jam
The deeply flavorful heirlooms combined with ample fresh basil in sweetness will spread bread and crackers and pair with a good Camembert, goat or sheep milk cheese beautifully. Often cheese plates are served with pickled items, a classic spread like a pepper relish or a trendy fig jam—this Tomato-Basil Jam is a new, super tasty addition.
Tomato-Basil Jam Recipe
5 c tomatoes
1 c fresh basil, packed
5 c sugar
1 package powdered pectin
1 t butter
-Set pint jars in boiling water canner on high; place lids and bands in a bowl to cover with water when boiling; set out all other canning supplies.
-Blend or fine chop tomatoes and basil; place in large sauce pot and set burner on high.
-Measure our sugar in separate bowl.
-Stir tomato basil mixture, scraping the bottom to avoid sticking; add pectin and butter and bring to a rolling boil.
-Add sugar and stir to combine, continuing heat on high. -Stir by continuing to scape bottom of the pot until reaching a full rolling boil again.
-Meanwhile, remove hot jars from boiling water for filling; pour some boiling water over lids and bands.
-When jam mixture has reached a full rolling boil again, sustain boil with constant stirring for four minutes, then remove from heat.
-Pour into pint jars to within 1/2 in headspace; wipe rims with a clean hot cloth; lid and screw on bands to finger tightness.
-Place jars in canner and full boil for ten minutes; remove jams and let stand 12 hours. Yield: about 4 pints
~Love from our kitchen to yours! Gina at Soul & Stomach
Creative entrepreneurship, homegrown produce, the art of food preservation ~ these are my responses to pandemic.
Like so many people in these surreal, strange days of Covid, I’ve had to become expansive in scope of employment. Combining freelance journalism and our family farm has created blessing upon blessing.
Looking at our assets when regular employment was cut short at quarantine, I saw abundant old fruit trees, sprawling grape vines, massive gardening space and a full pantry of preserves.
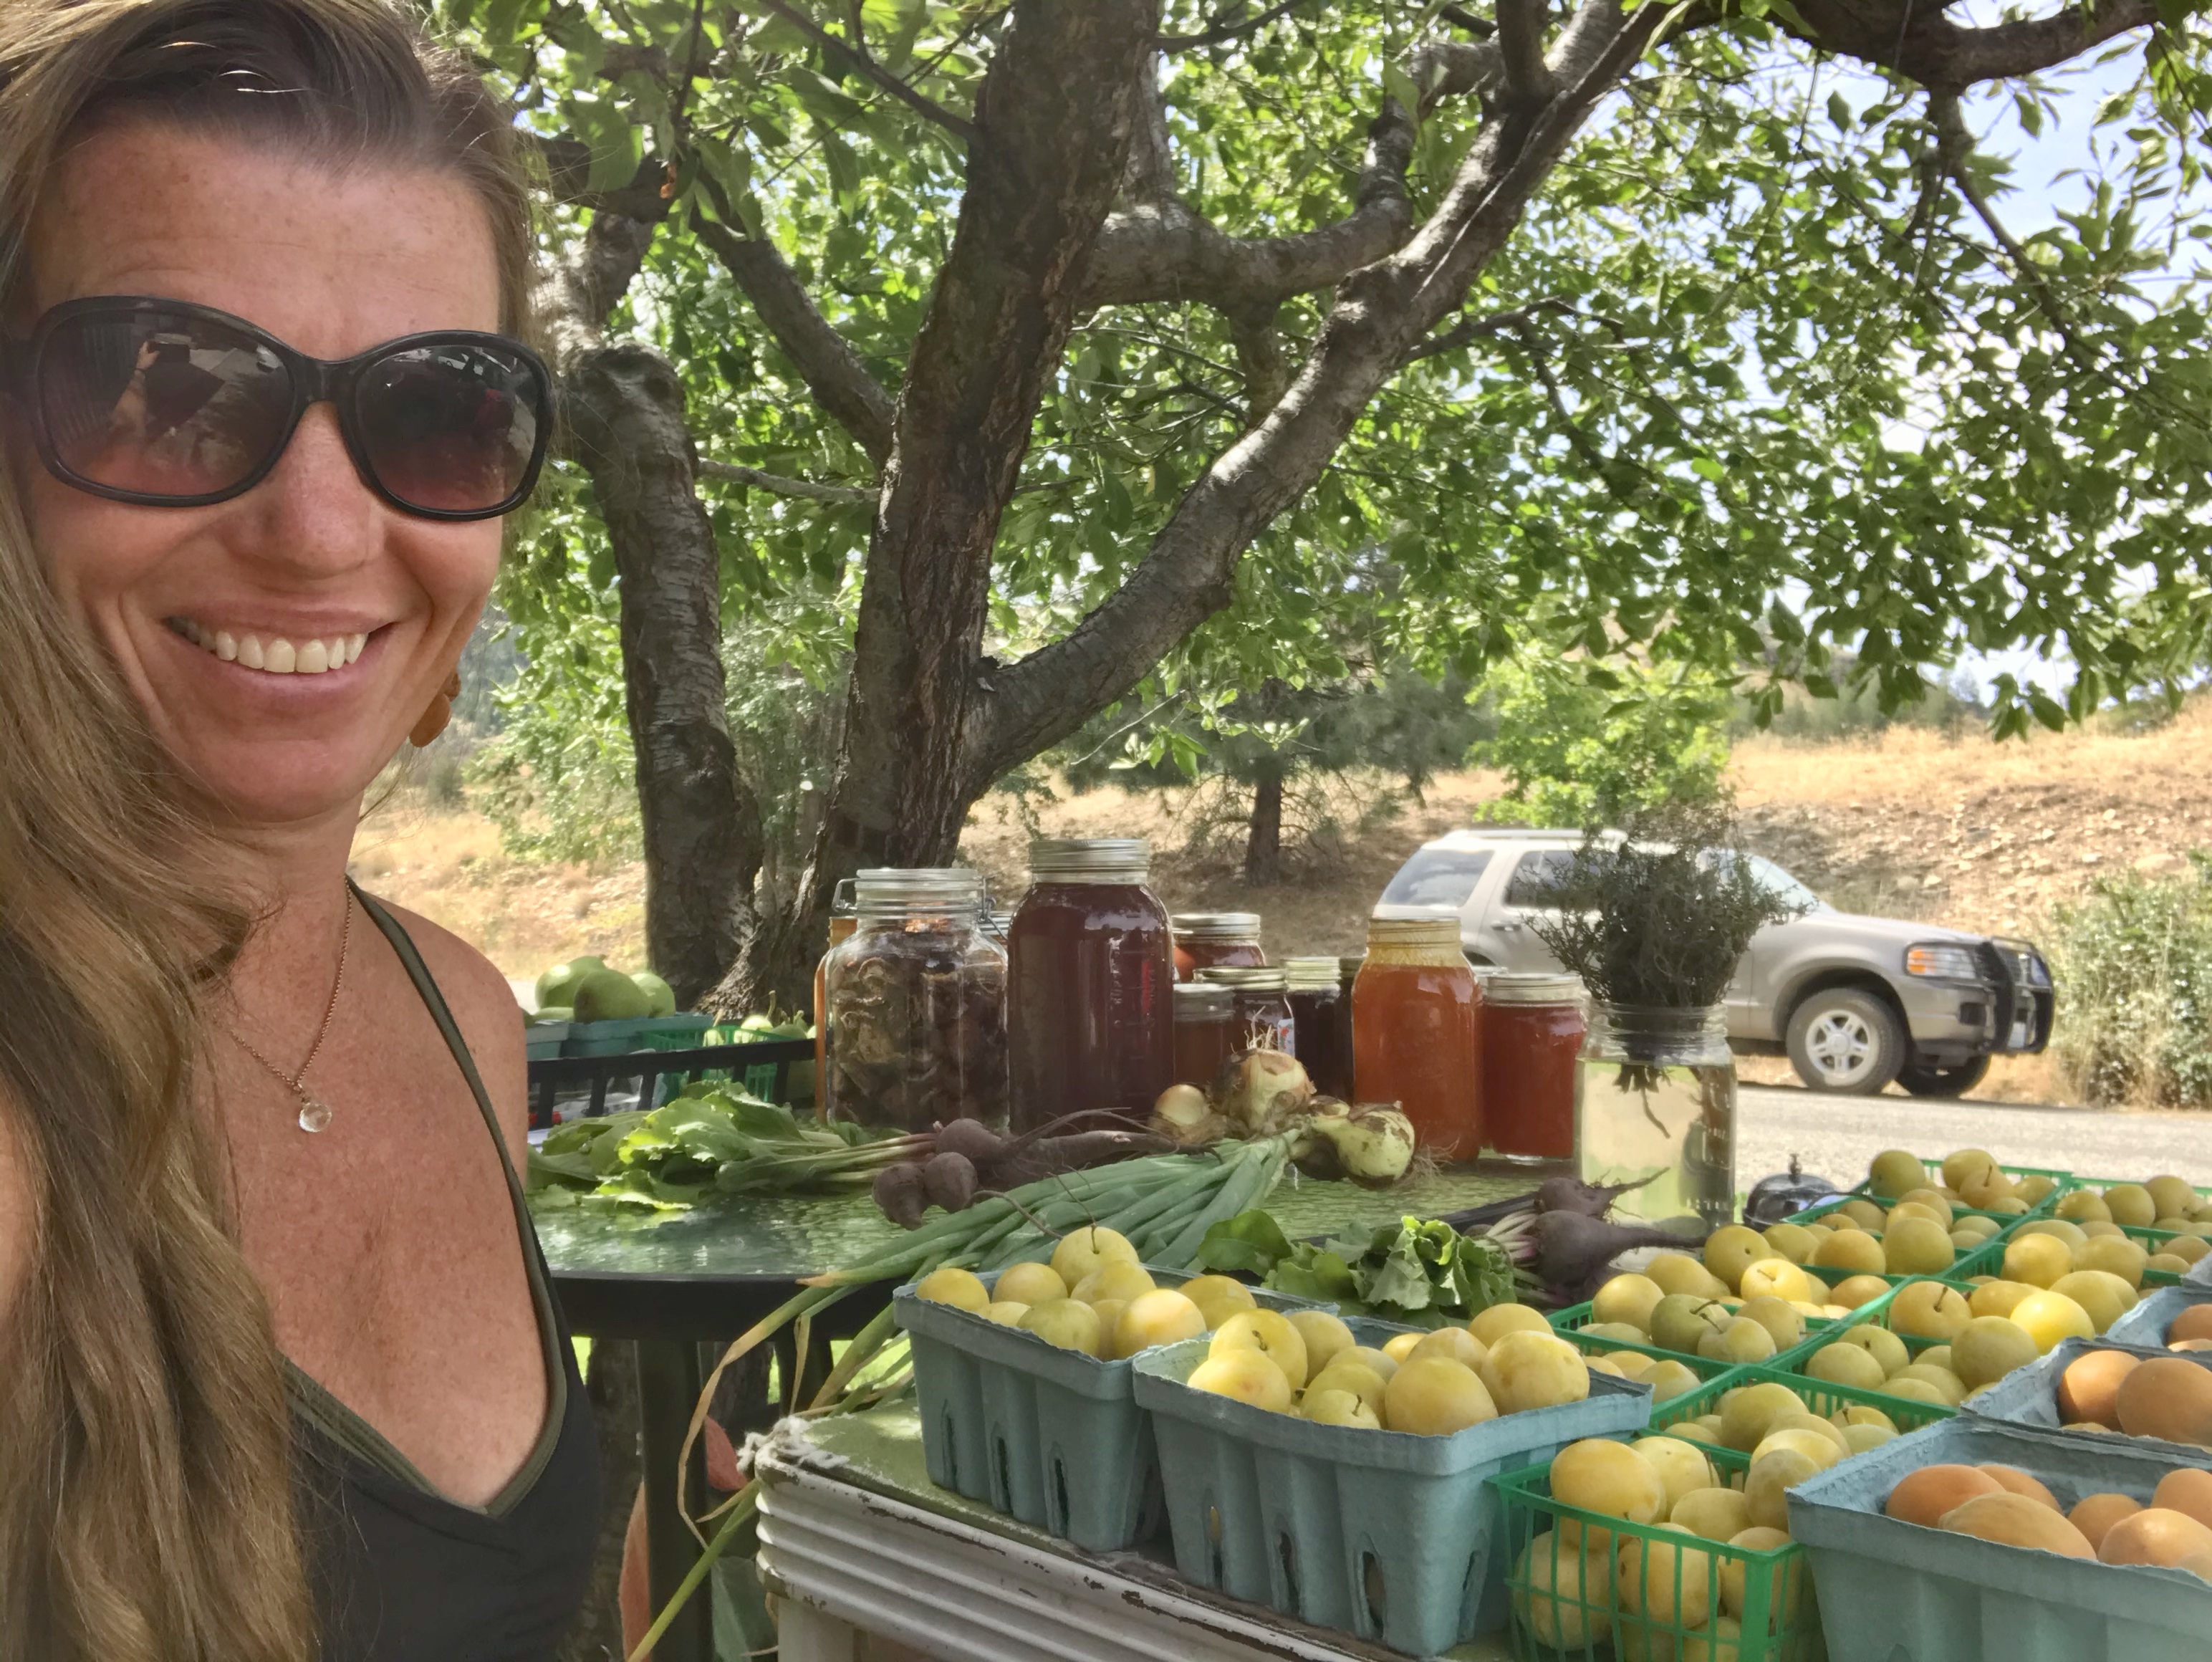
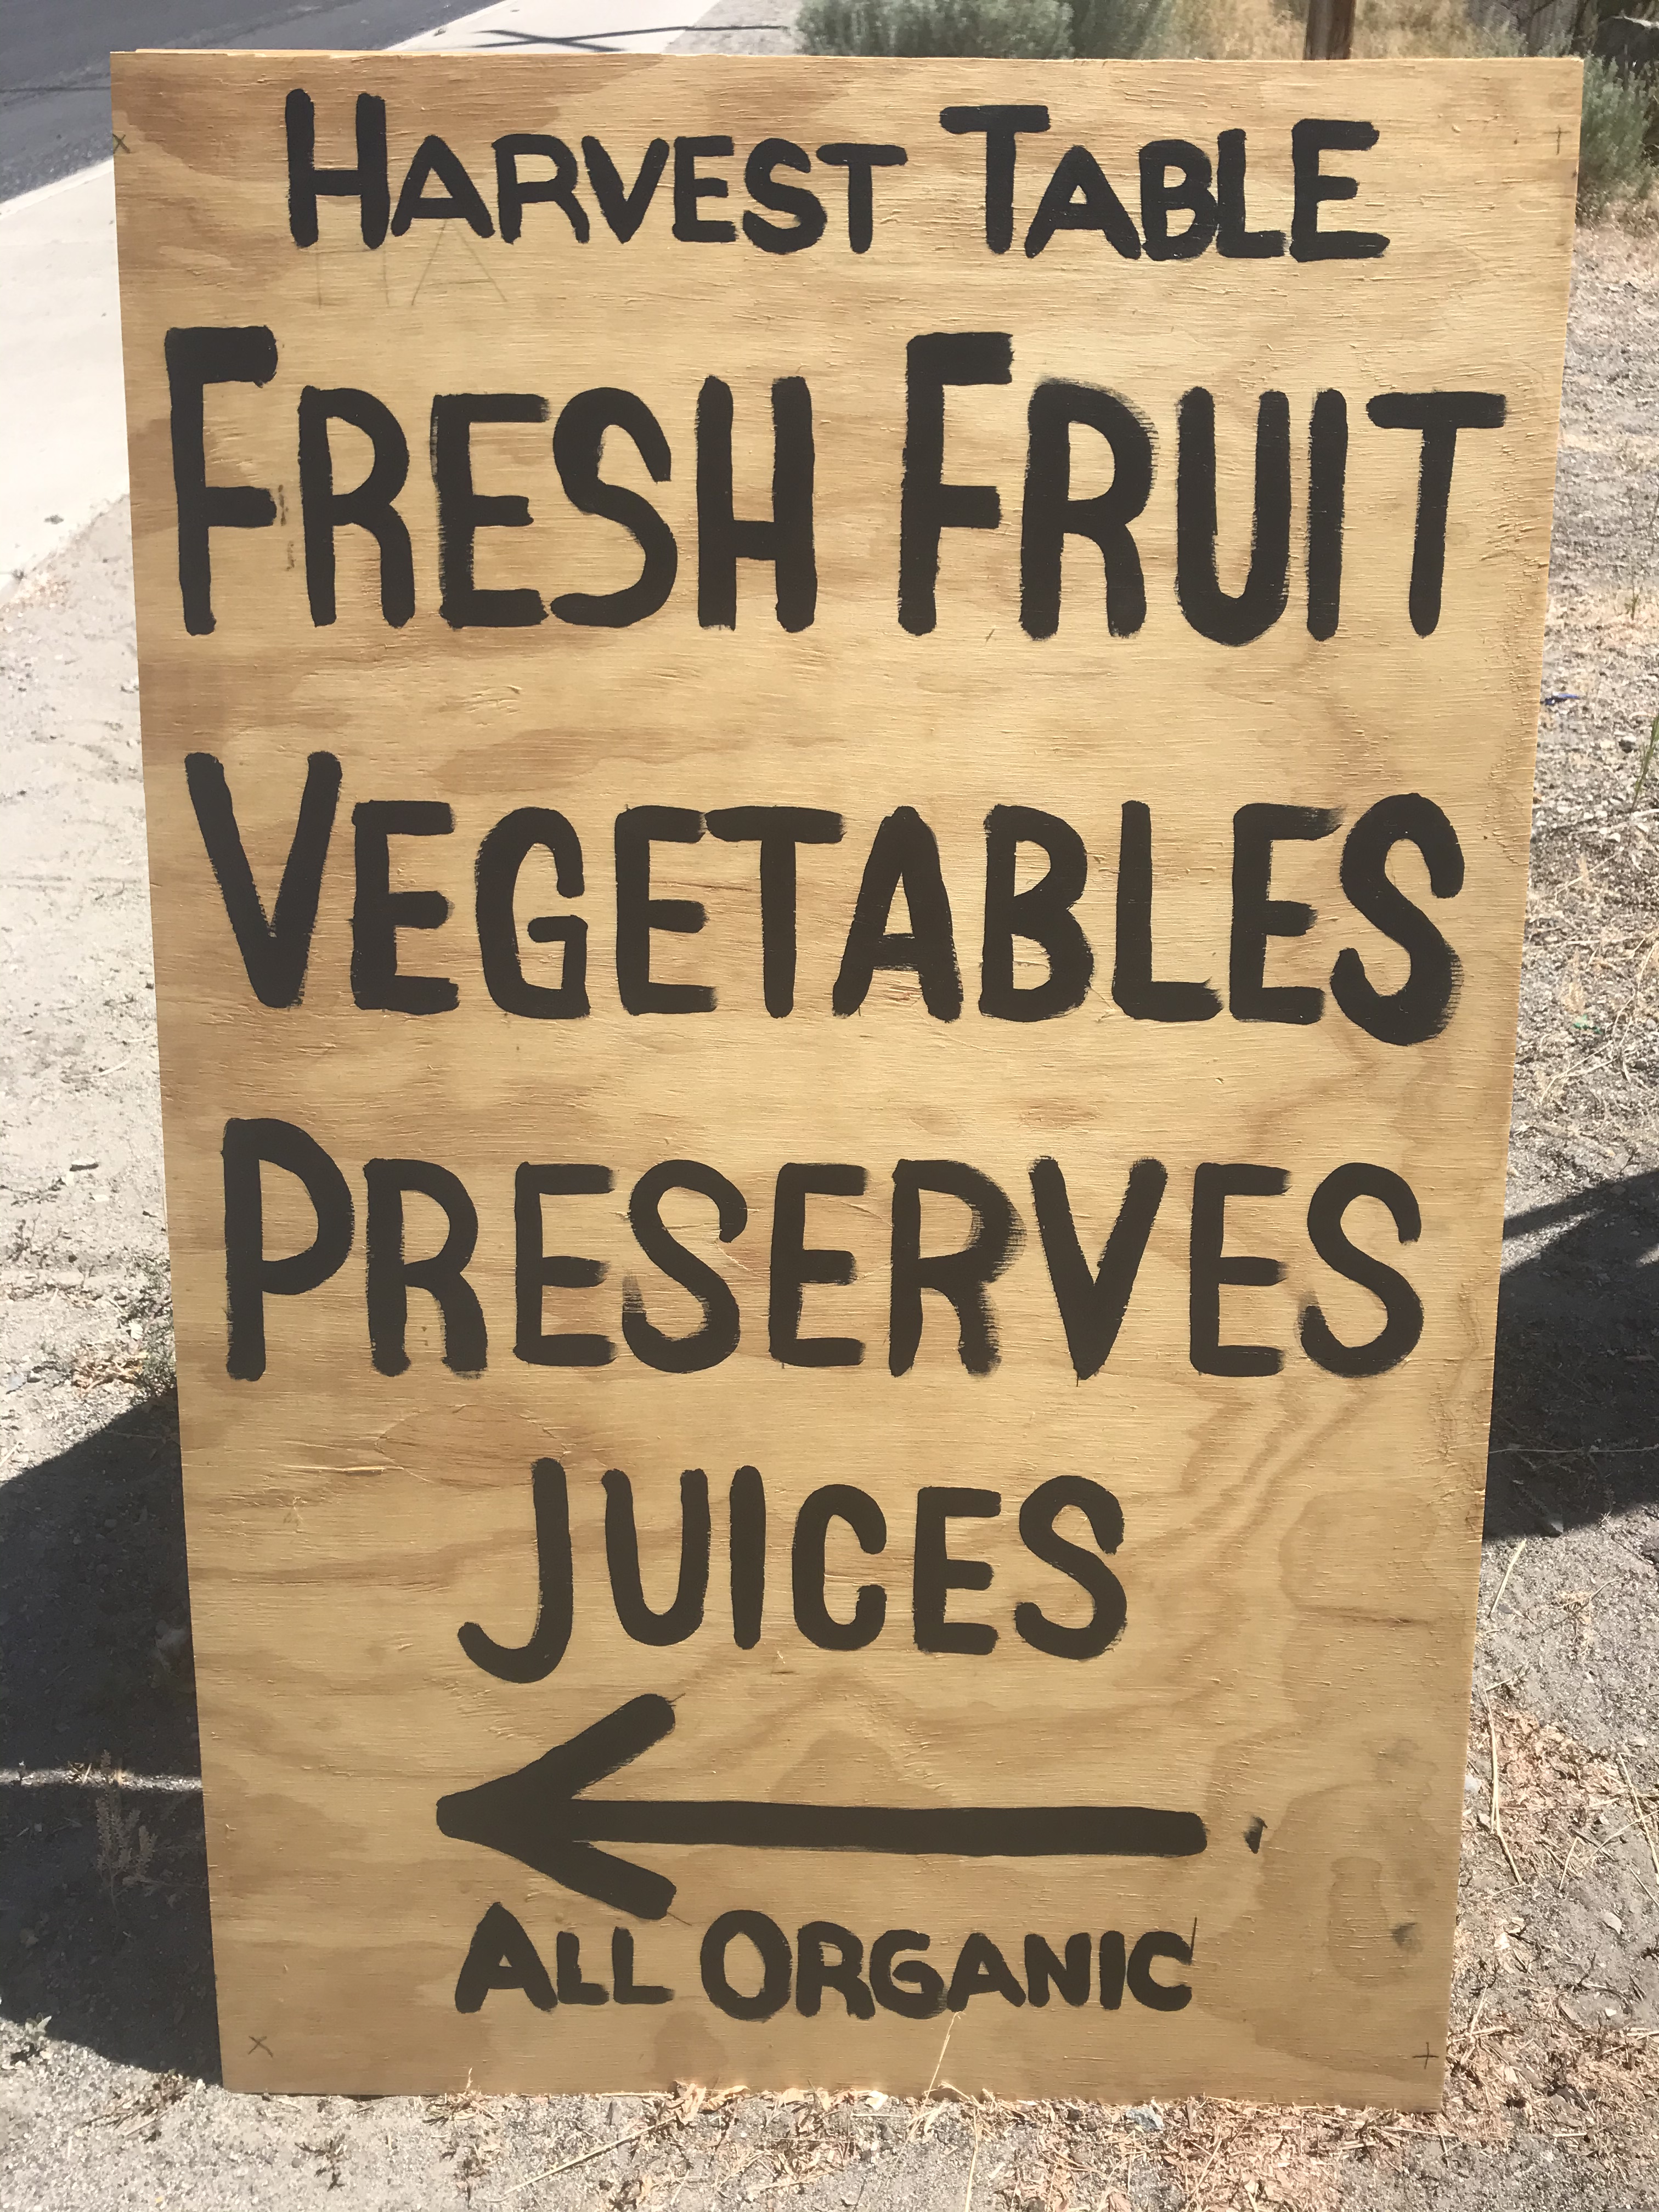
For the first time, this summer I decided to sell some of what we’ve grown all out—enough for us but for all our friends too. A successful harvest table selling produce and preserves from our yard was the lovely result.
I believe in bartering for all we can, utilizing resources to eliminate overhead costs, and that’s just what we’ve done.
The kindness and good faith of neighbors and friends, resting on years of building community, goes a long way towards creating a small homegrown business.
The examples of this generosity of others abound. They include fruit offered that would have been wasted in friends’ orchards, canning jars that sat dormant in pantries, even canning labels, paint and sign board sitting in a friend’s garage.
The total expenditure for the harvest table in entirety has been some new canning lids, pectin for jams and sugar. Seeds and seedlings? Other’s extras. Fertilizer? Chicken manure from a friend. The gifts of trade and goodwill make our garden grow!
Another blessing is all the marvelous people I’ve been able to meet who otherwise would have been unknown. Neighbors and friends come to purchase, and new faces with new recipes and culinary conversations are unexpected fun.
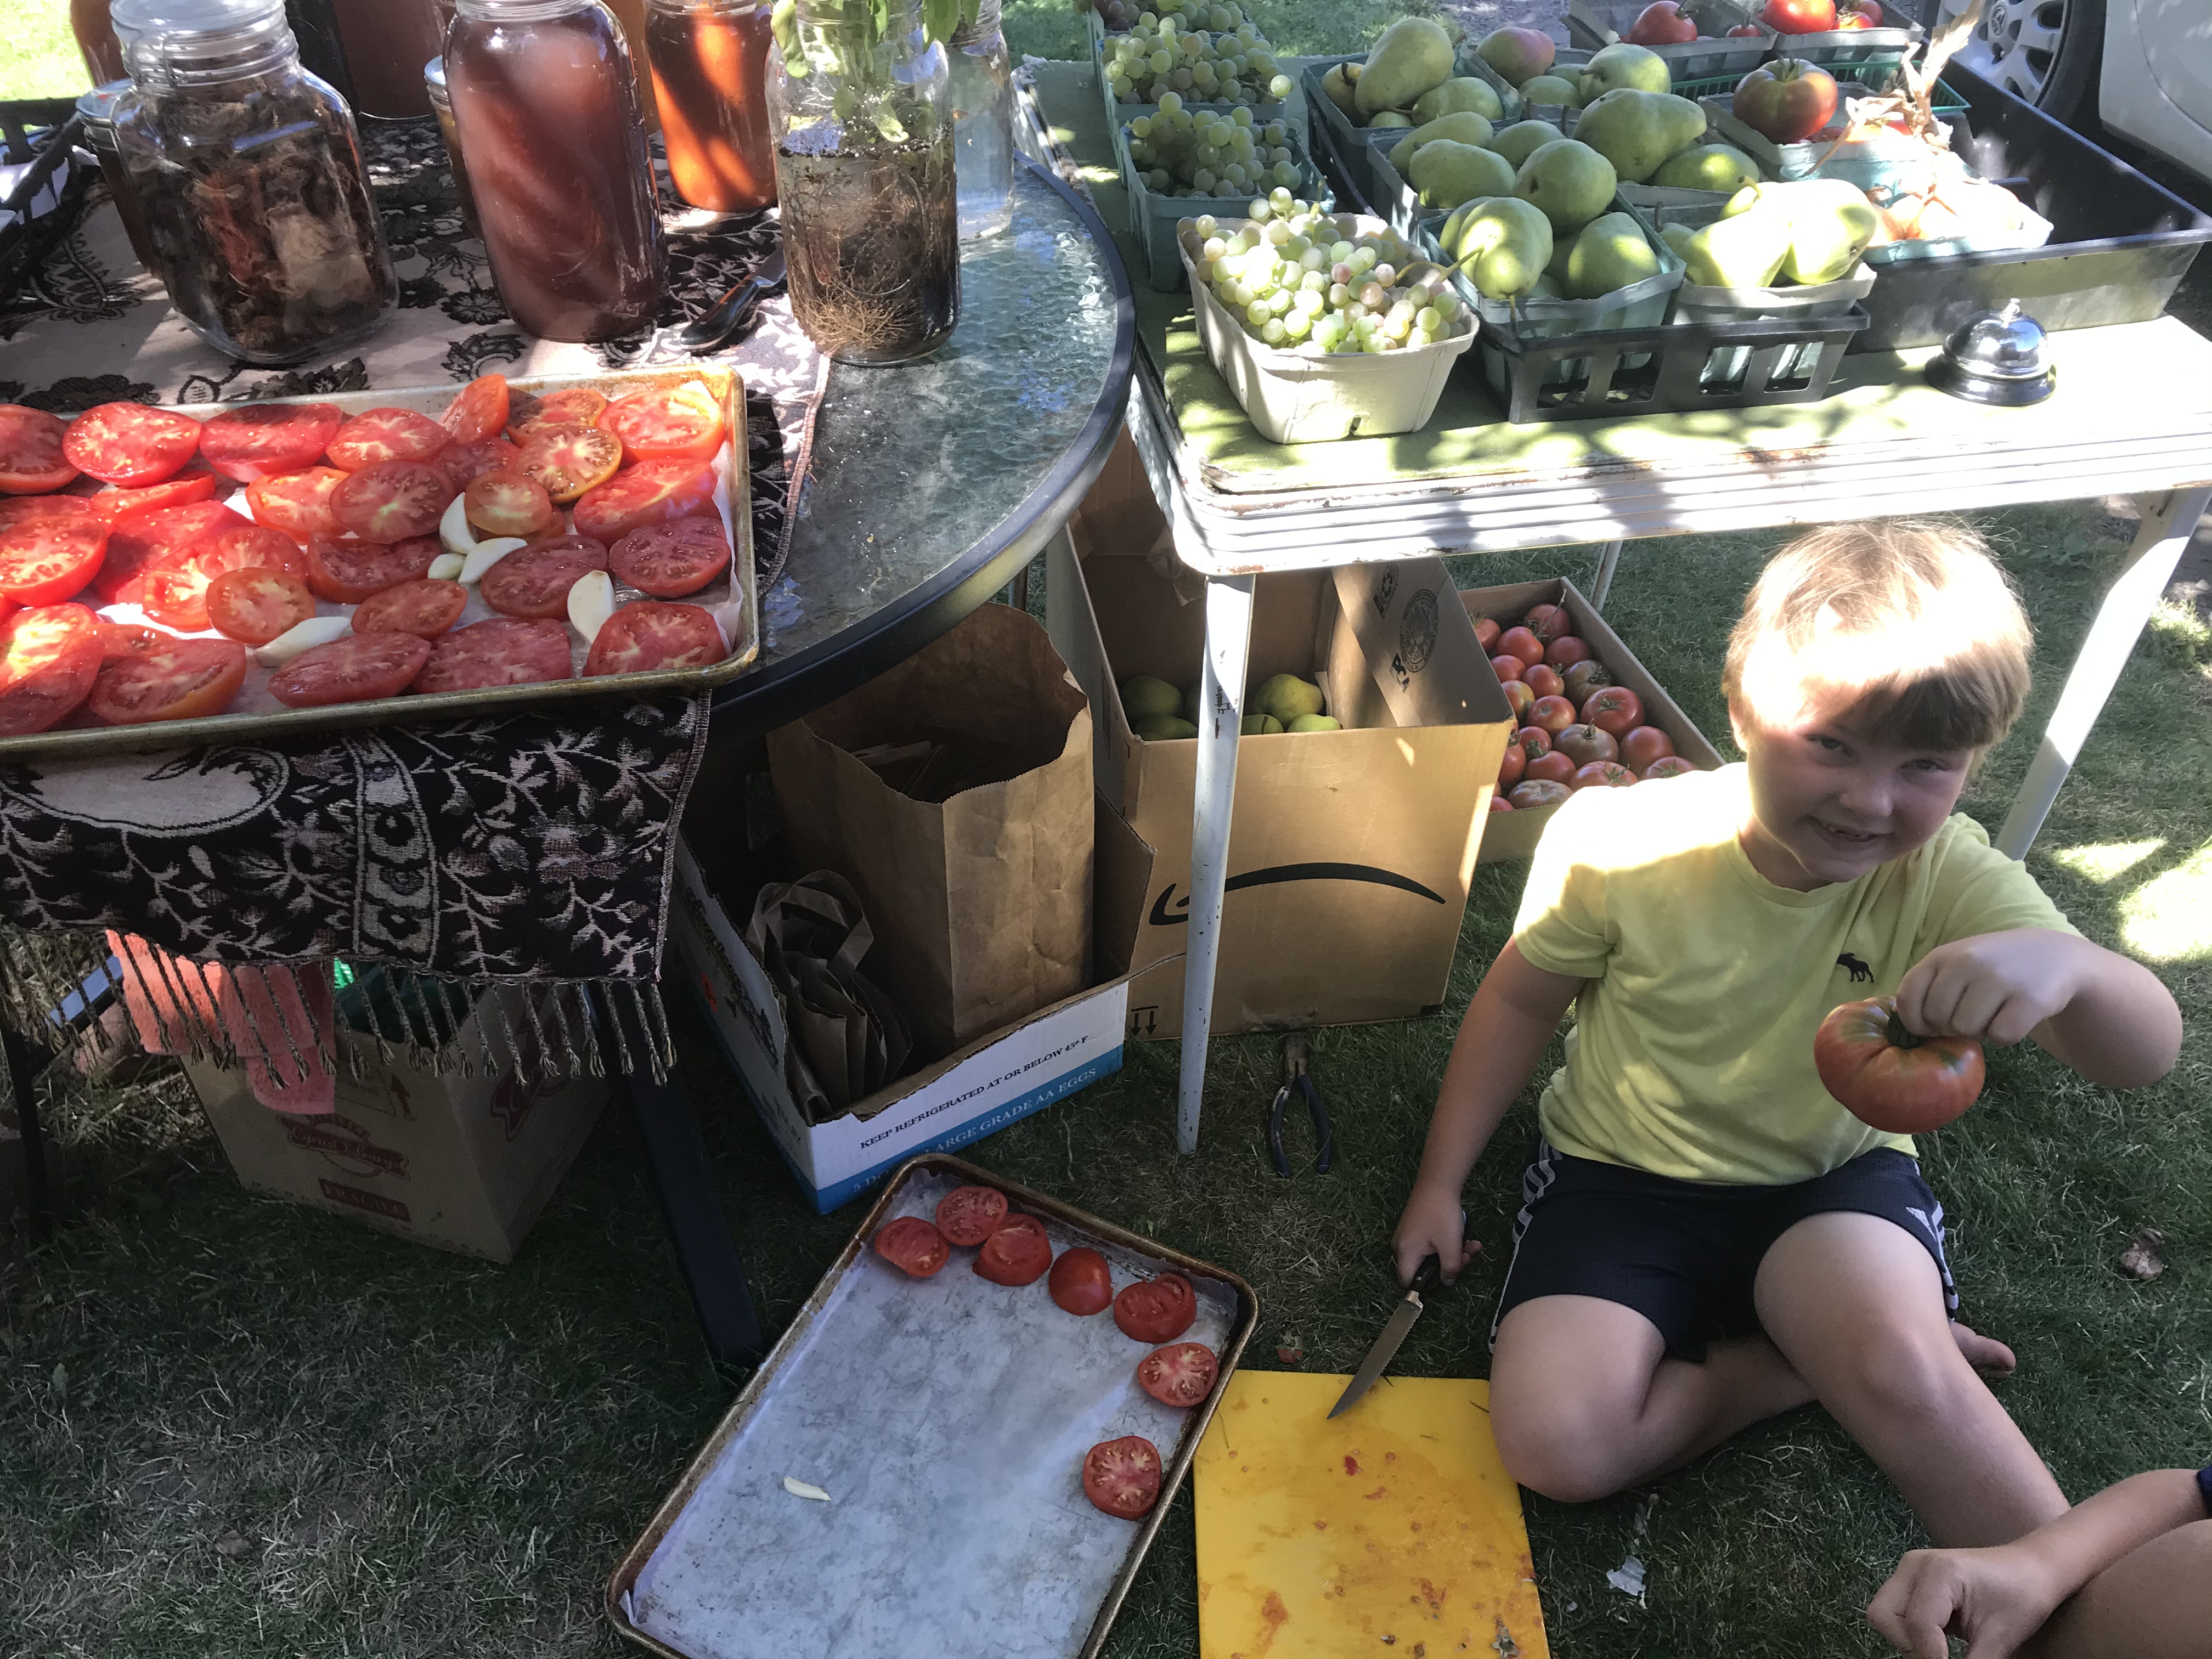
There’s over six feet between my chair at the table and visitors under the cherry tree. And the fresh food inspires us, talking about pickling, drying and canning, growing and cooking what we love. My favorite foodie conversation this week came from a woman looking for a flat of green tomatoes—to make her green tomato pie. Just hearing her recipe, how no one wants to try it, but everyone loves it, zests up the day, and I think I’ll be making green tomato pie before harvest is through.
Preservation of abundance is the joyful task. It’s timely now to preserve our fresh foods and teach others this highly economical, self-empowering culinary tradition.
The experience of canning class is always a celebration of community. It’s a meaningful passing on of skills necessary to previous generations, taking hold again now as self sufficiency and frugality are revalued.
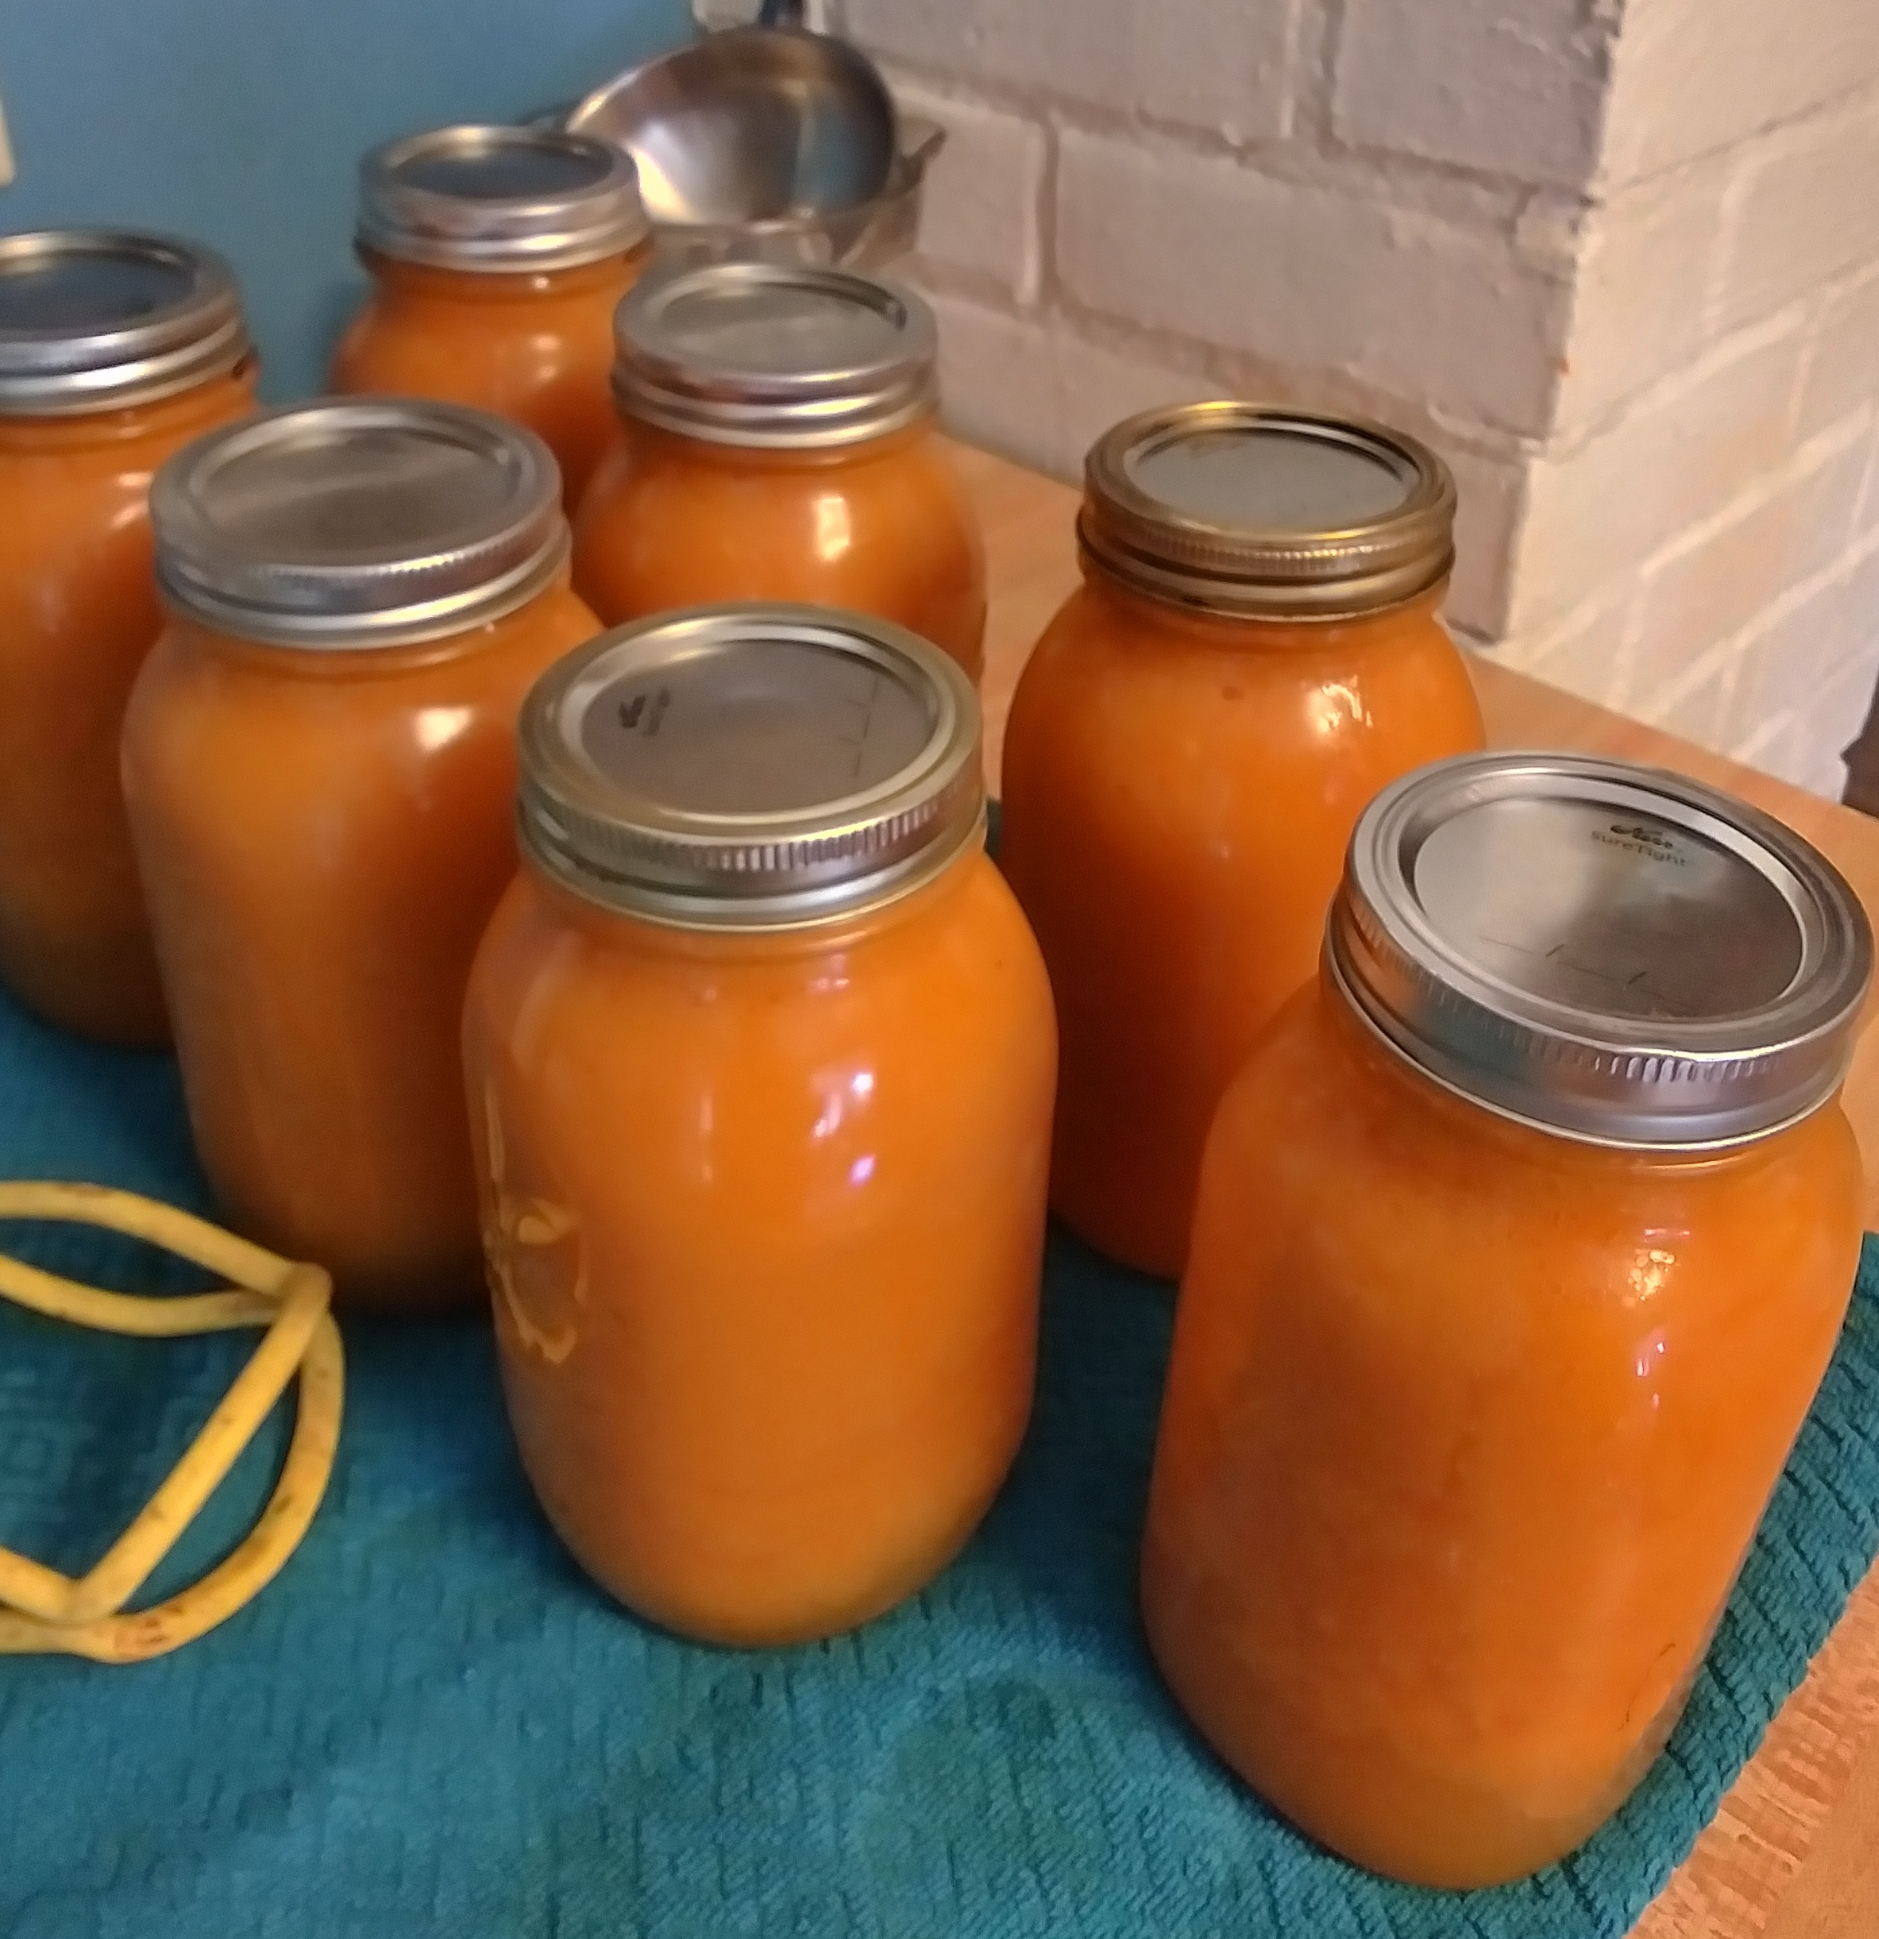
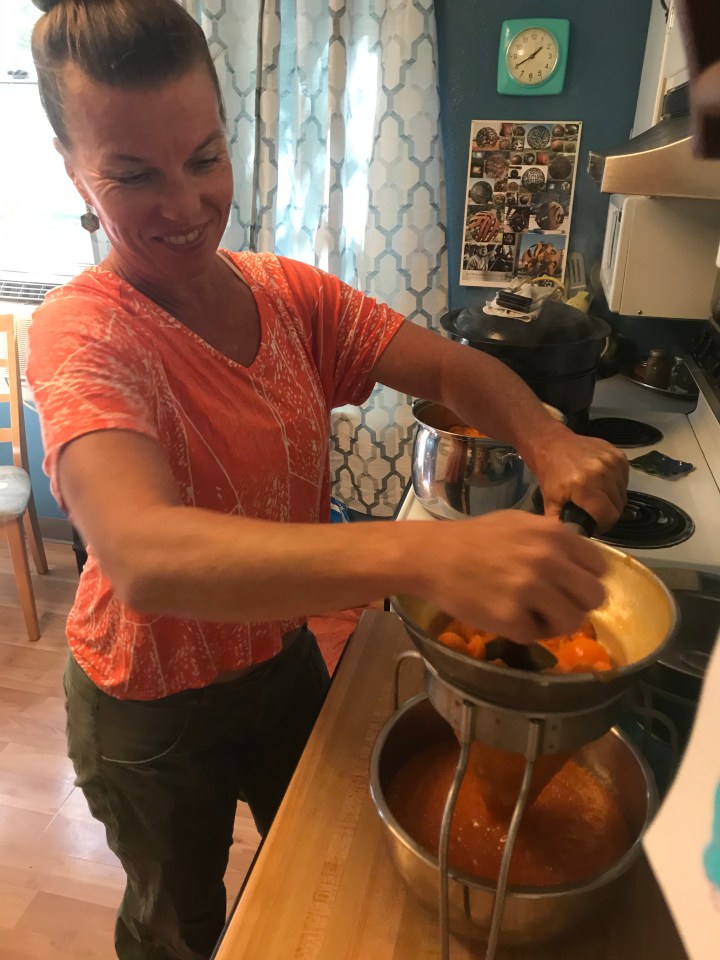
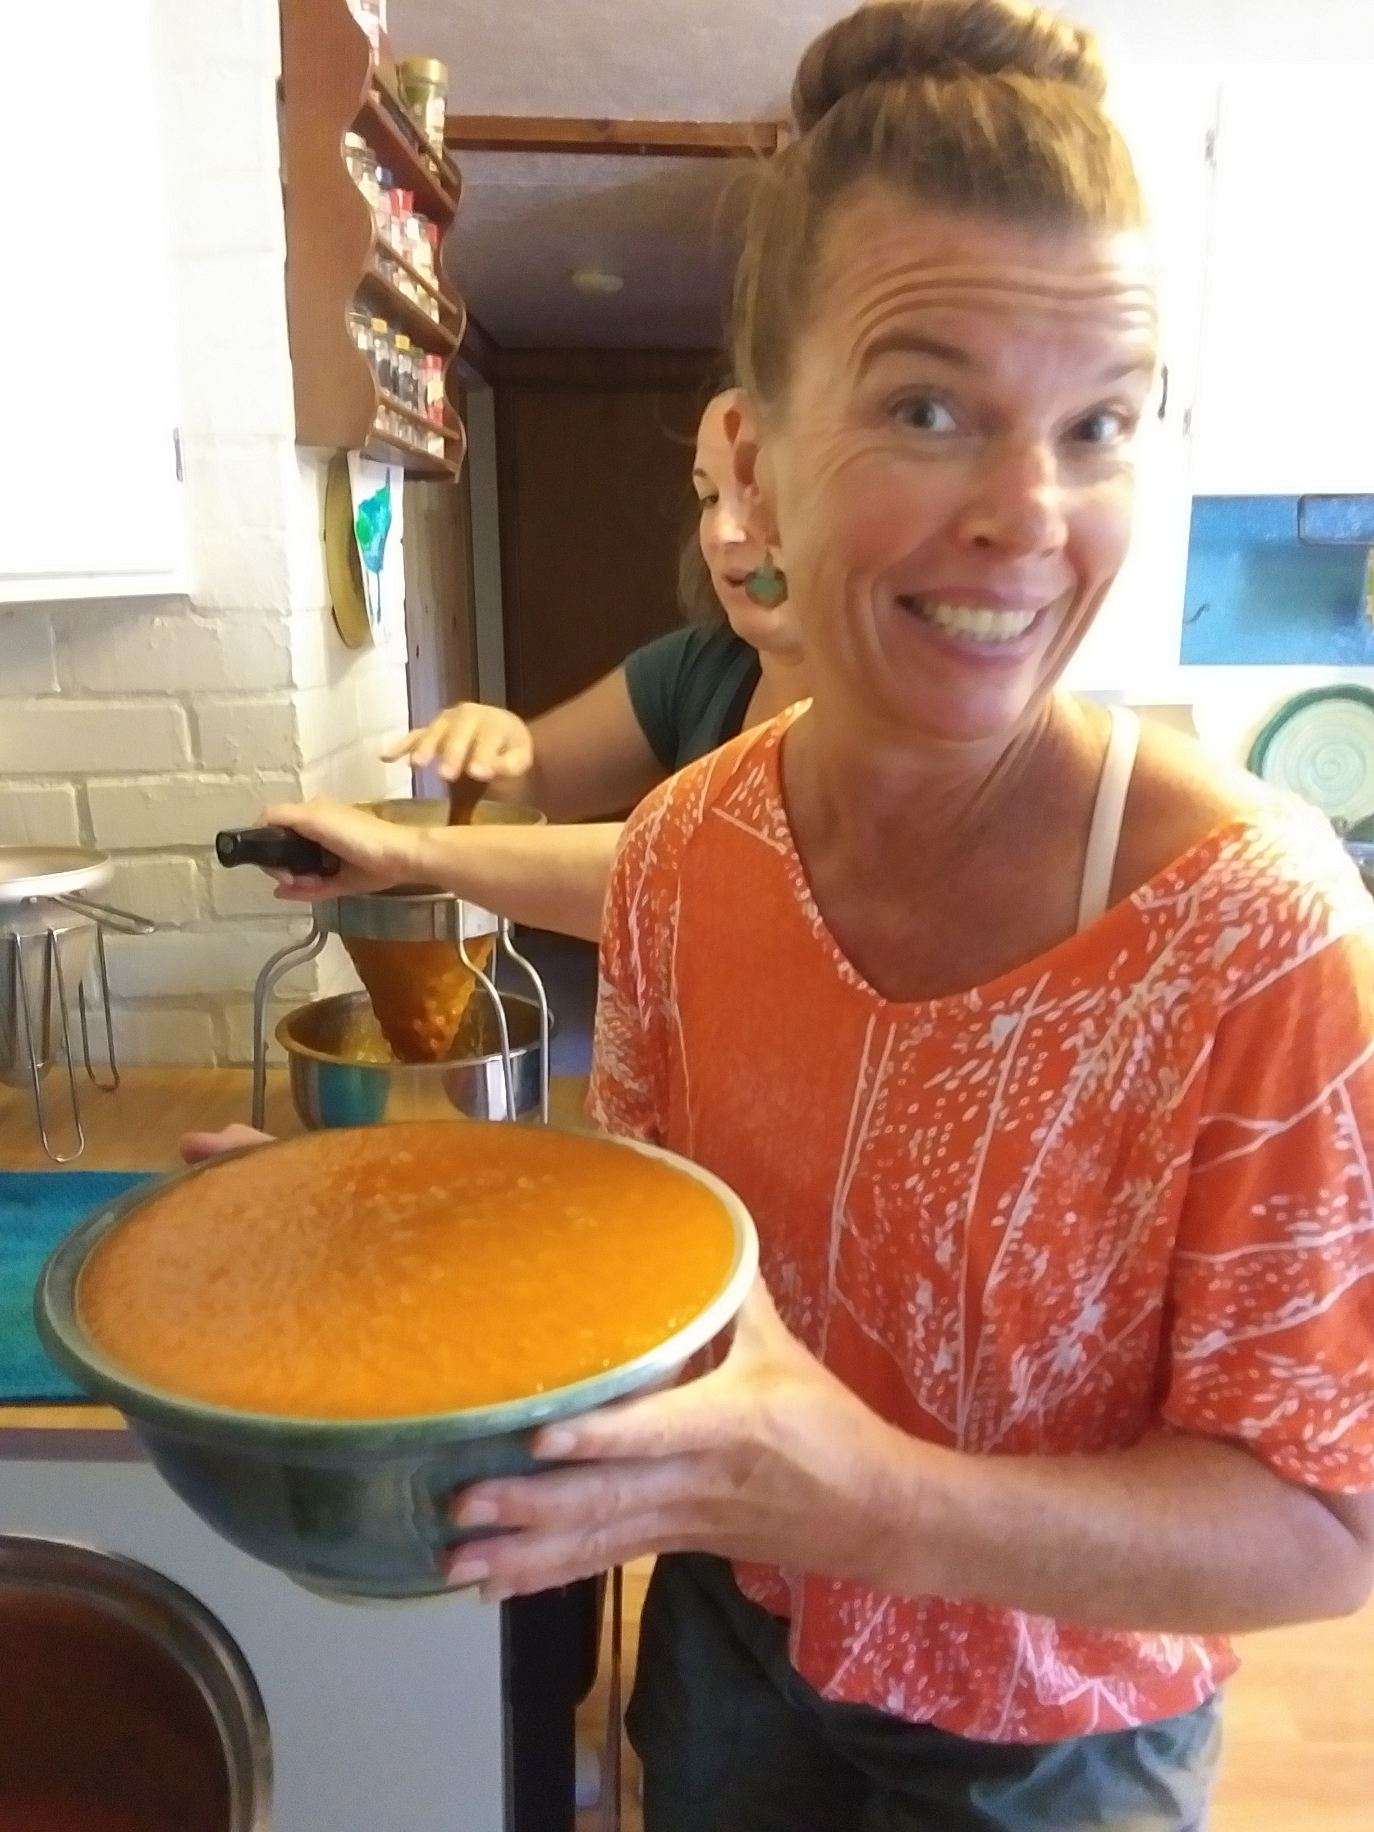
Apricot nectar was the number one choice of canning practices to learn for ladies in attendance at this week’s class. It’s fairly easy for the novice cook to pick up a jam recipe and, with correct method and good fruit, to produce accurately. But a preserve like nectar takes more time, more timing sensitivity, and some special equipment.
I have yet to see a published recipe for apricot nectar other than my own. And this recipe was learned only by watching a fine back-to-lander mama at work when I was a child. When I began preserving food for my own children, I remembered the succulent taste, tracked her down for her personal methods, and put them to work.
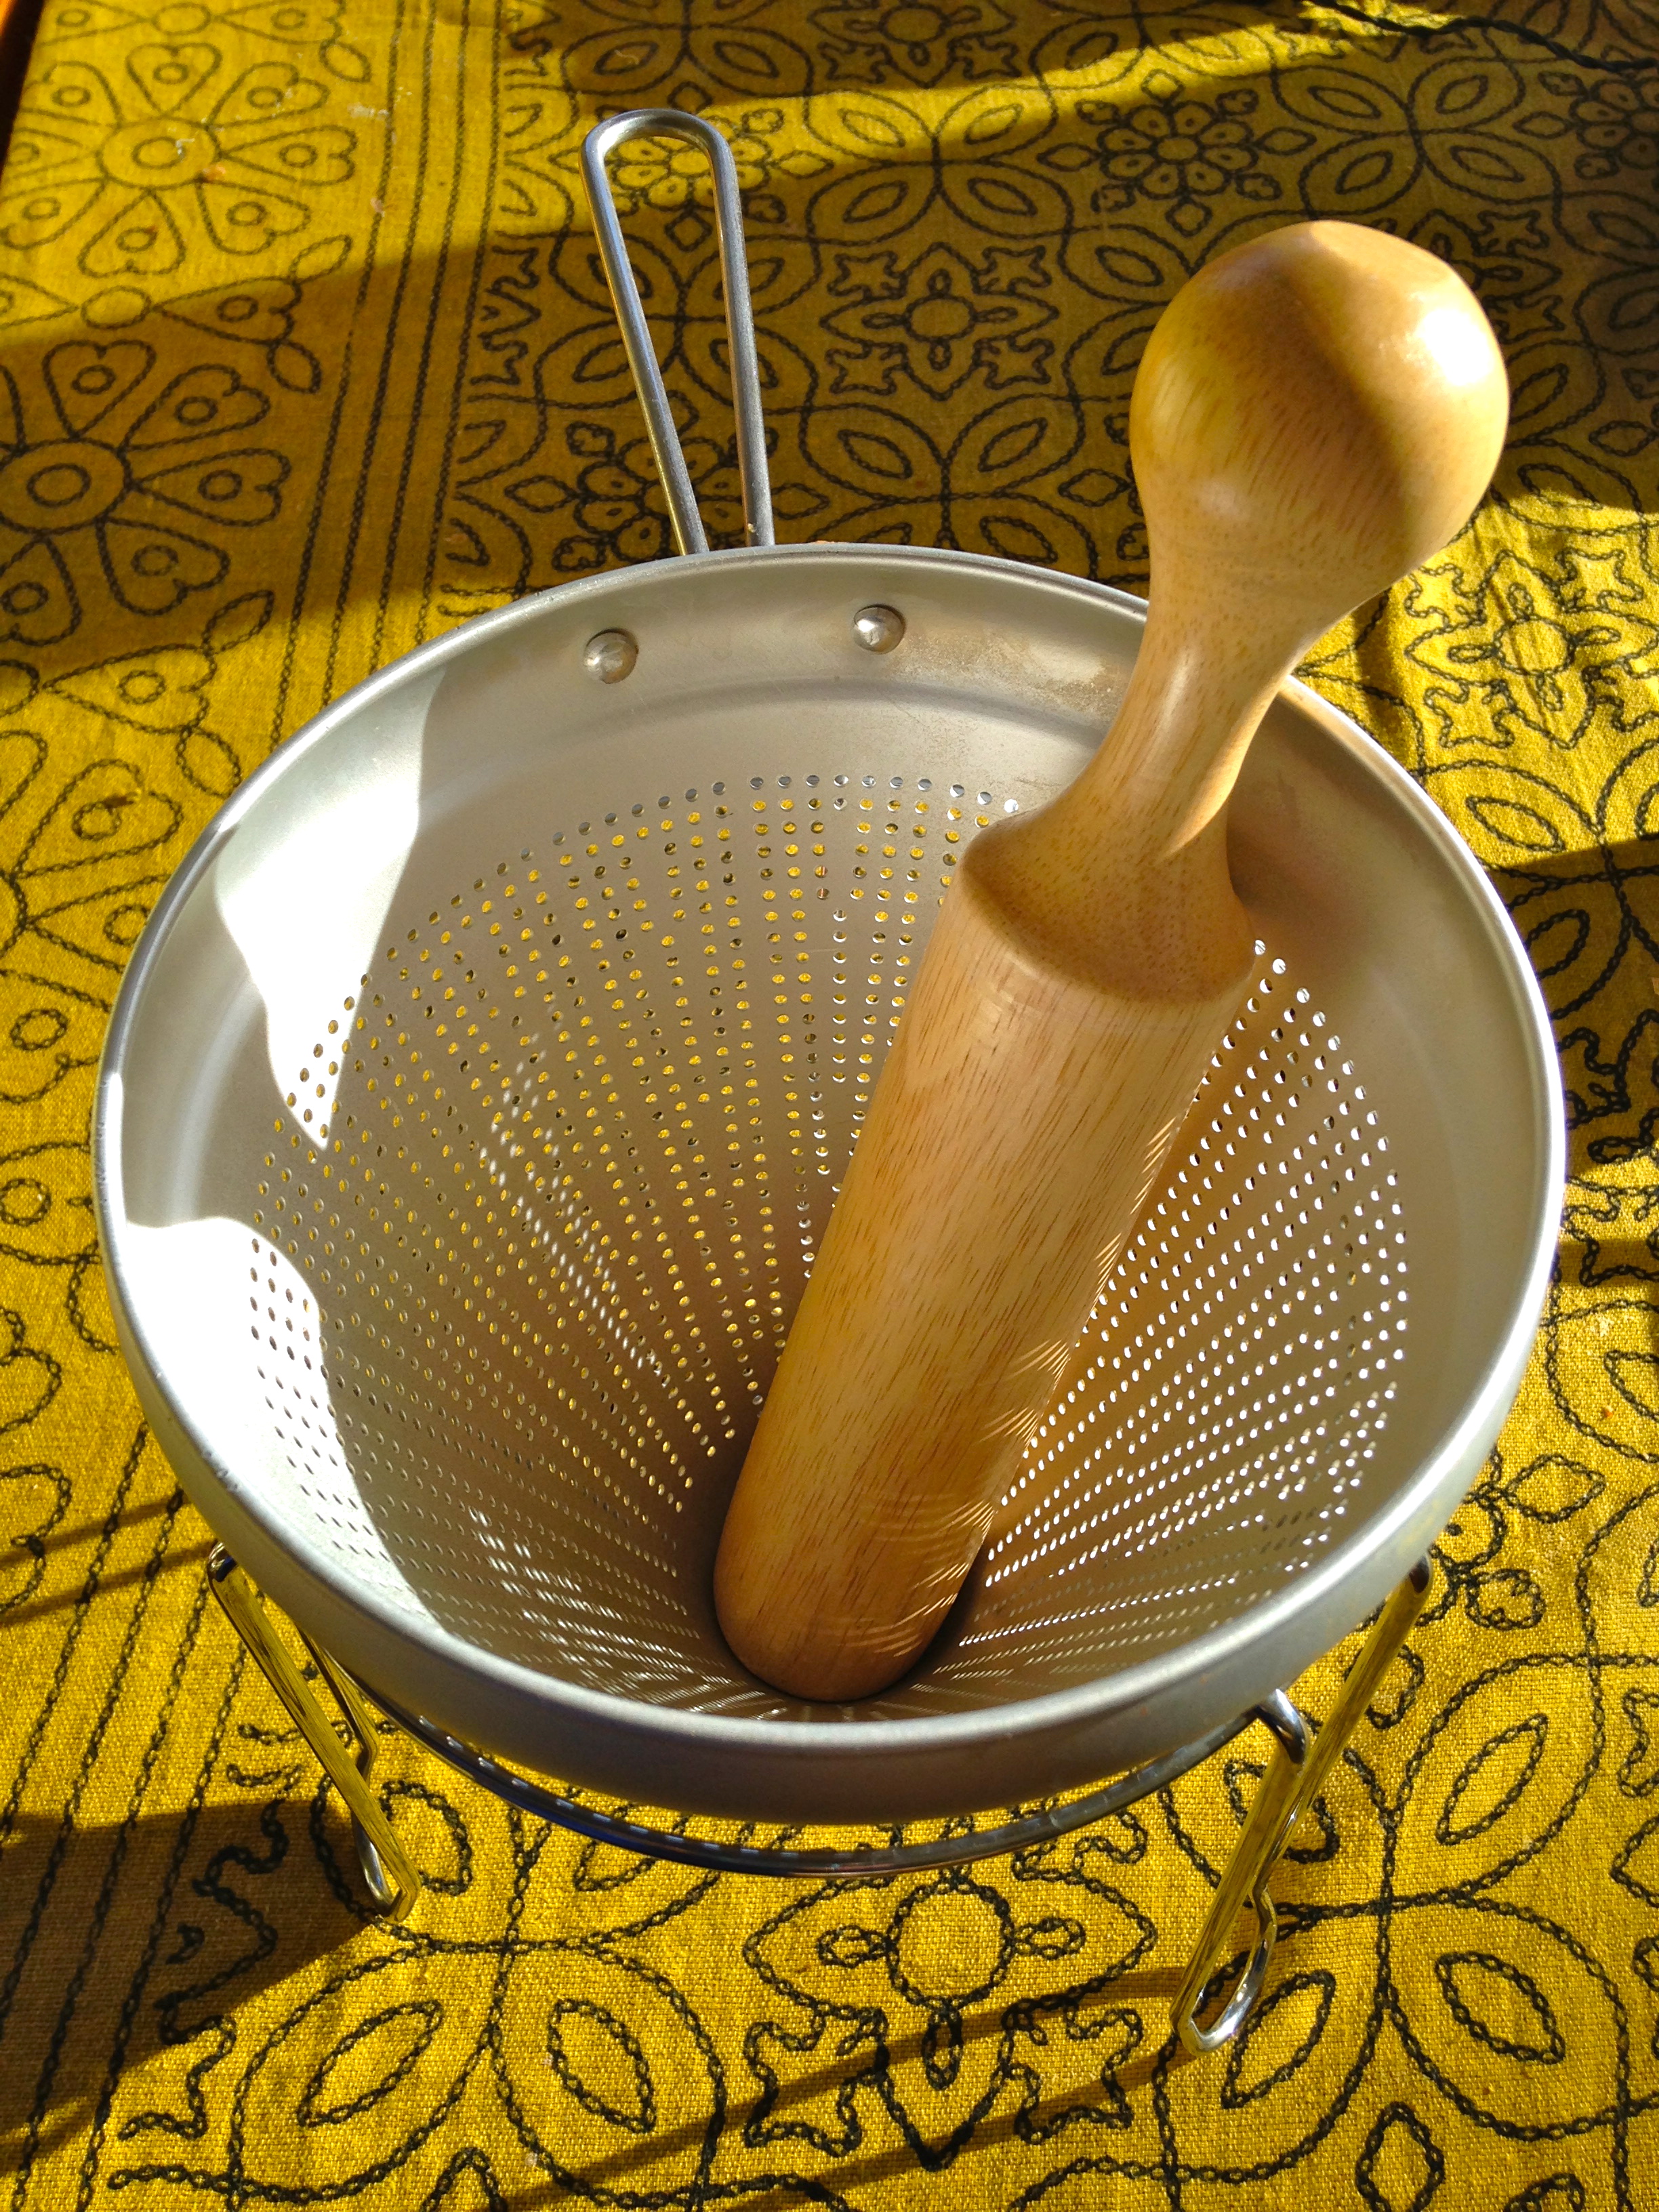
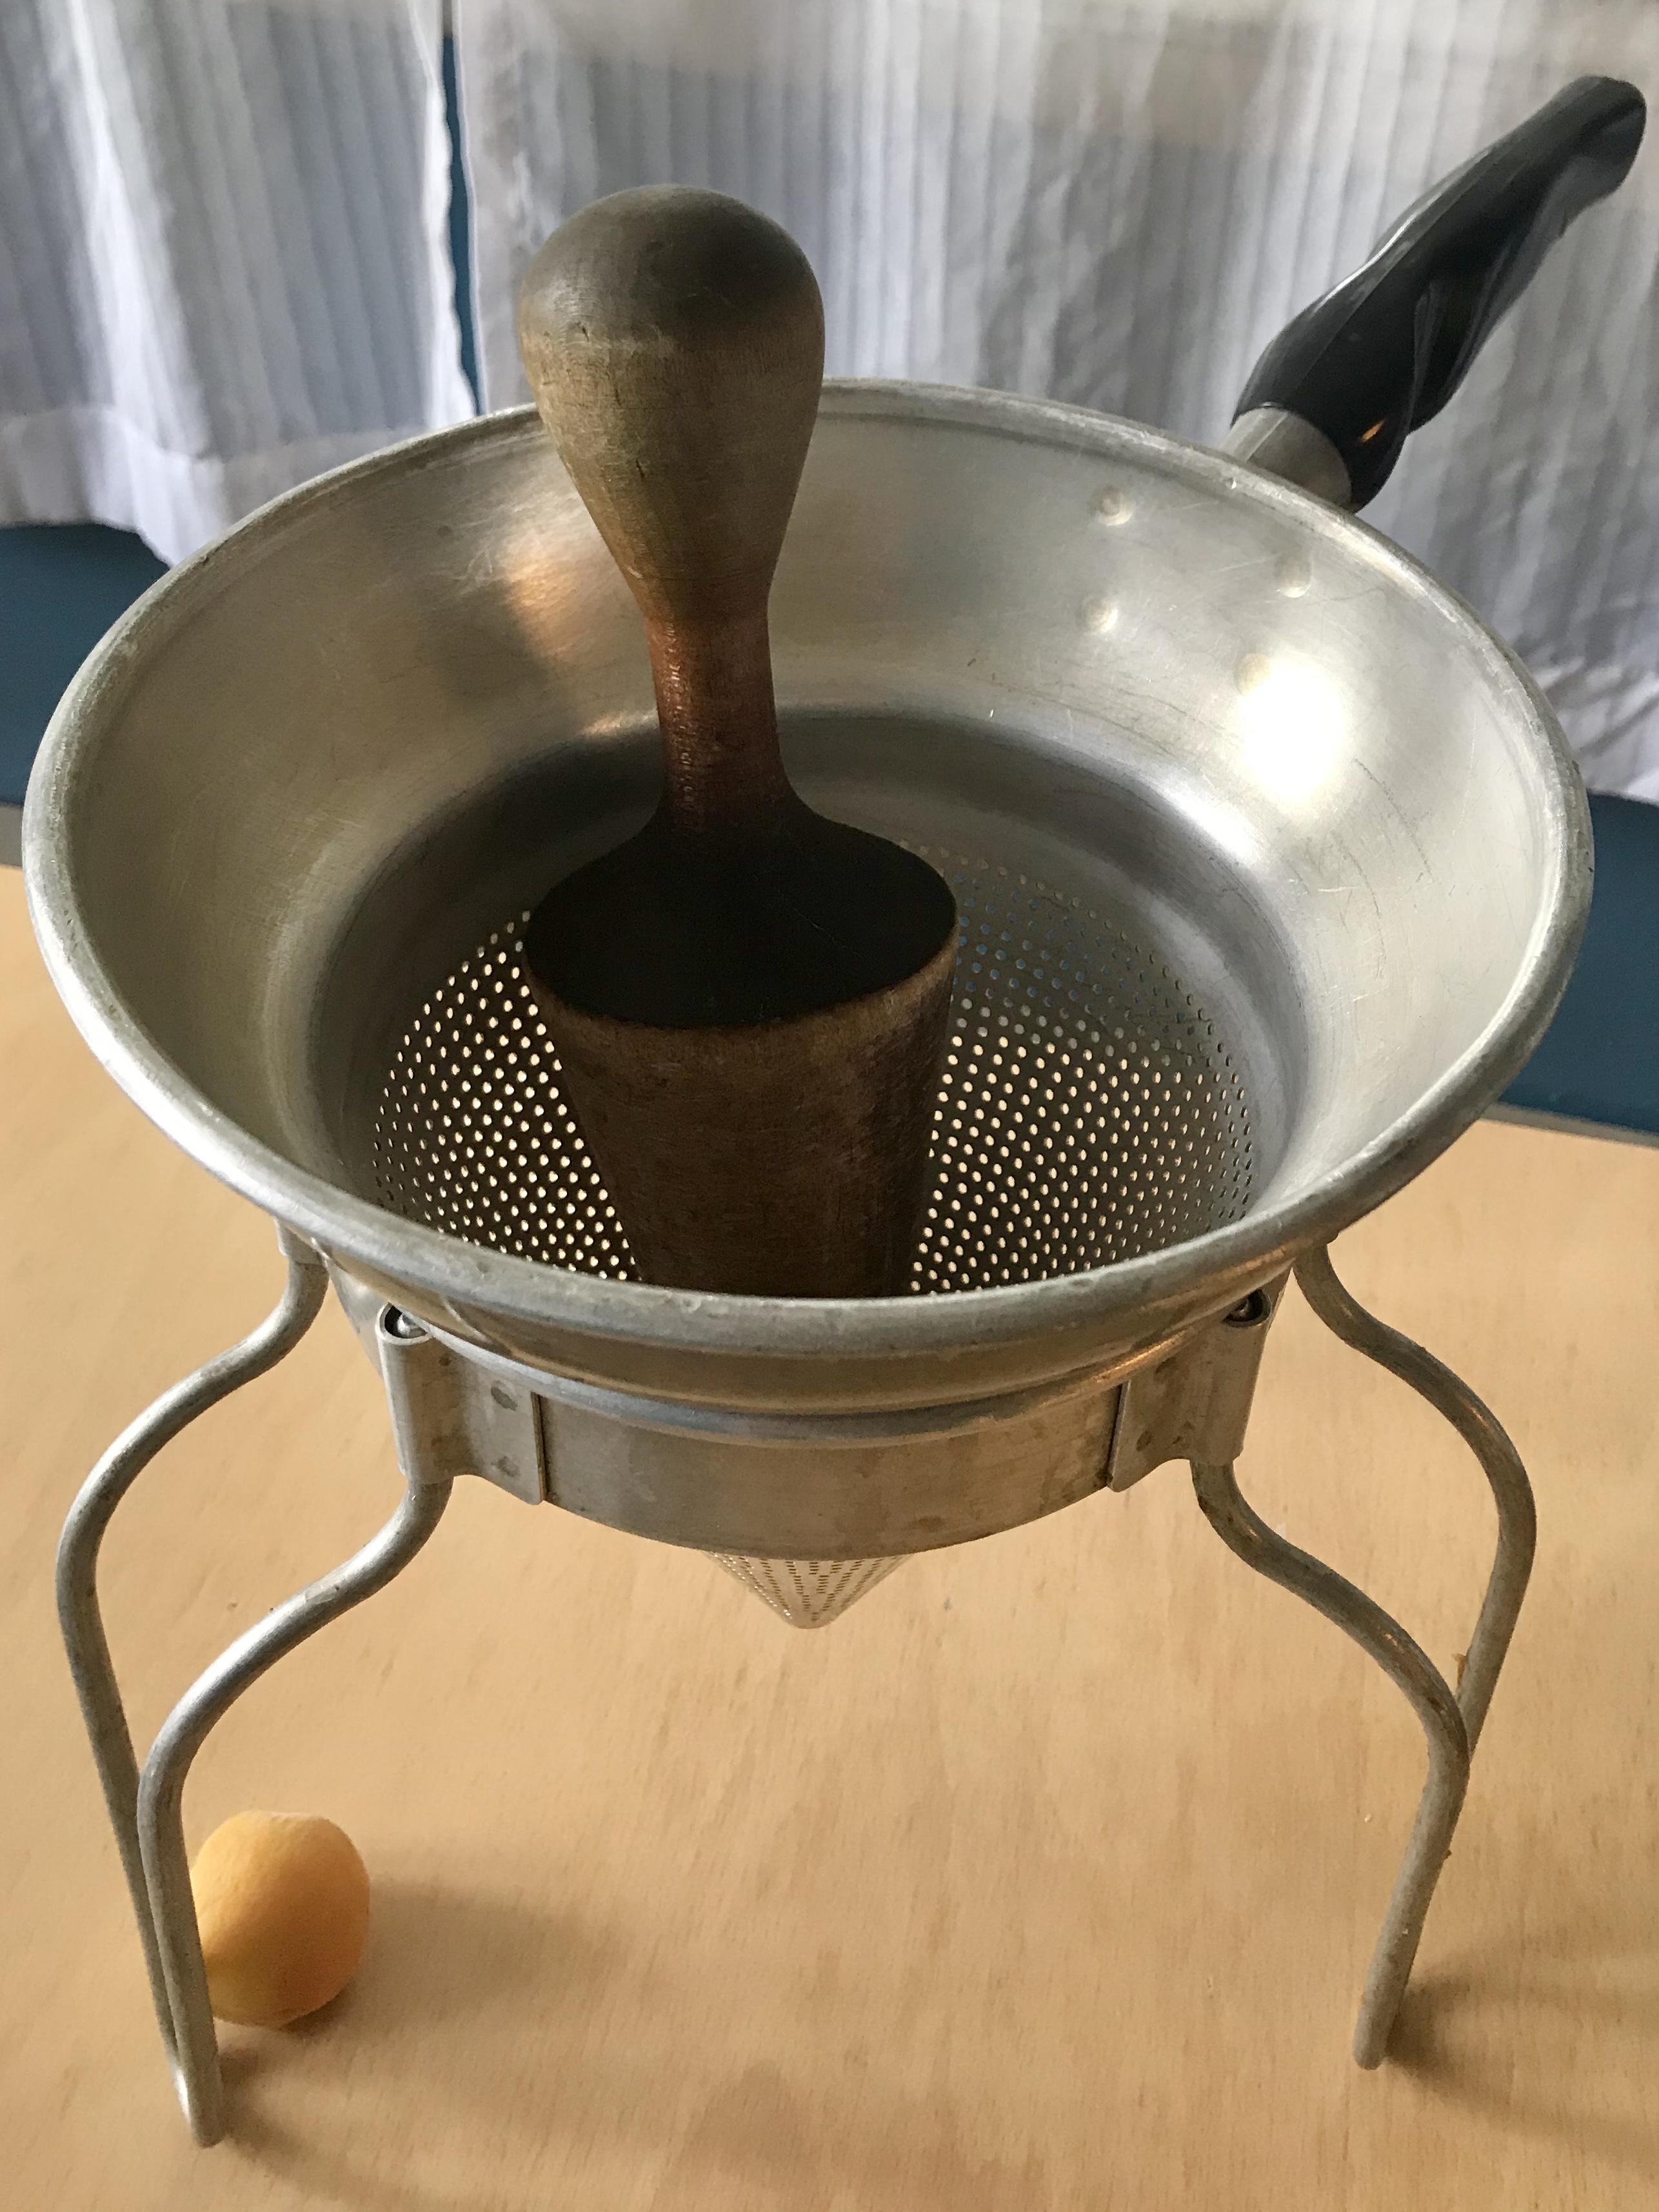
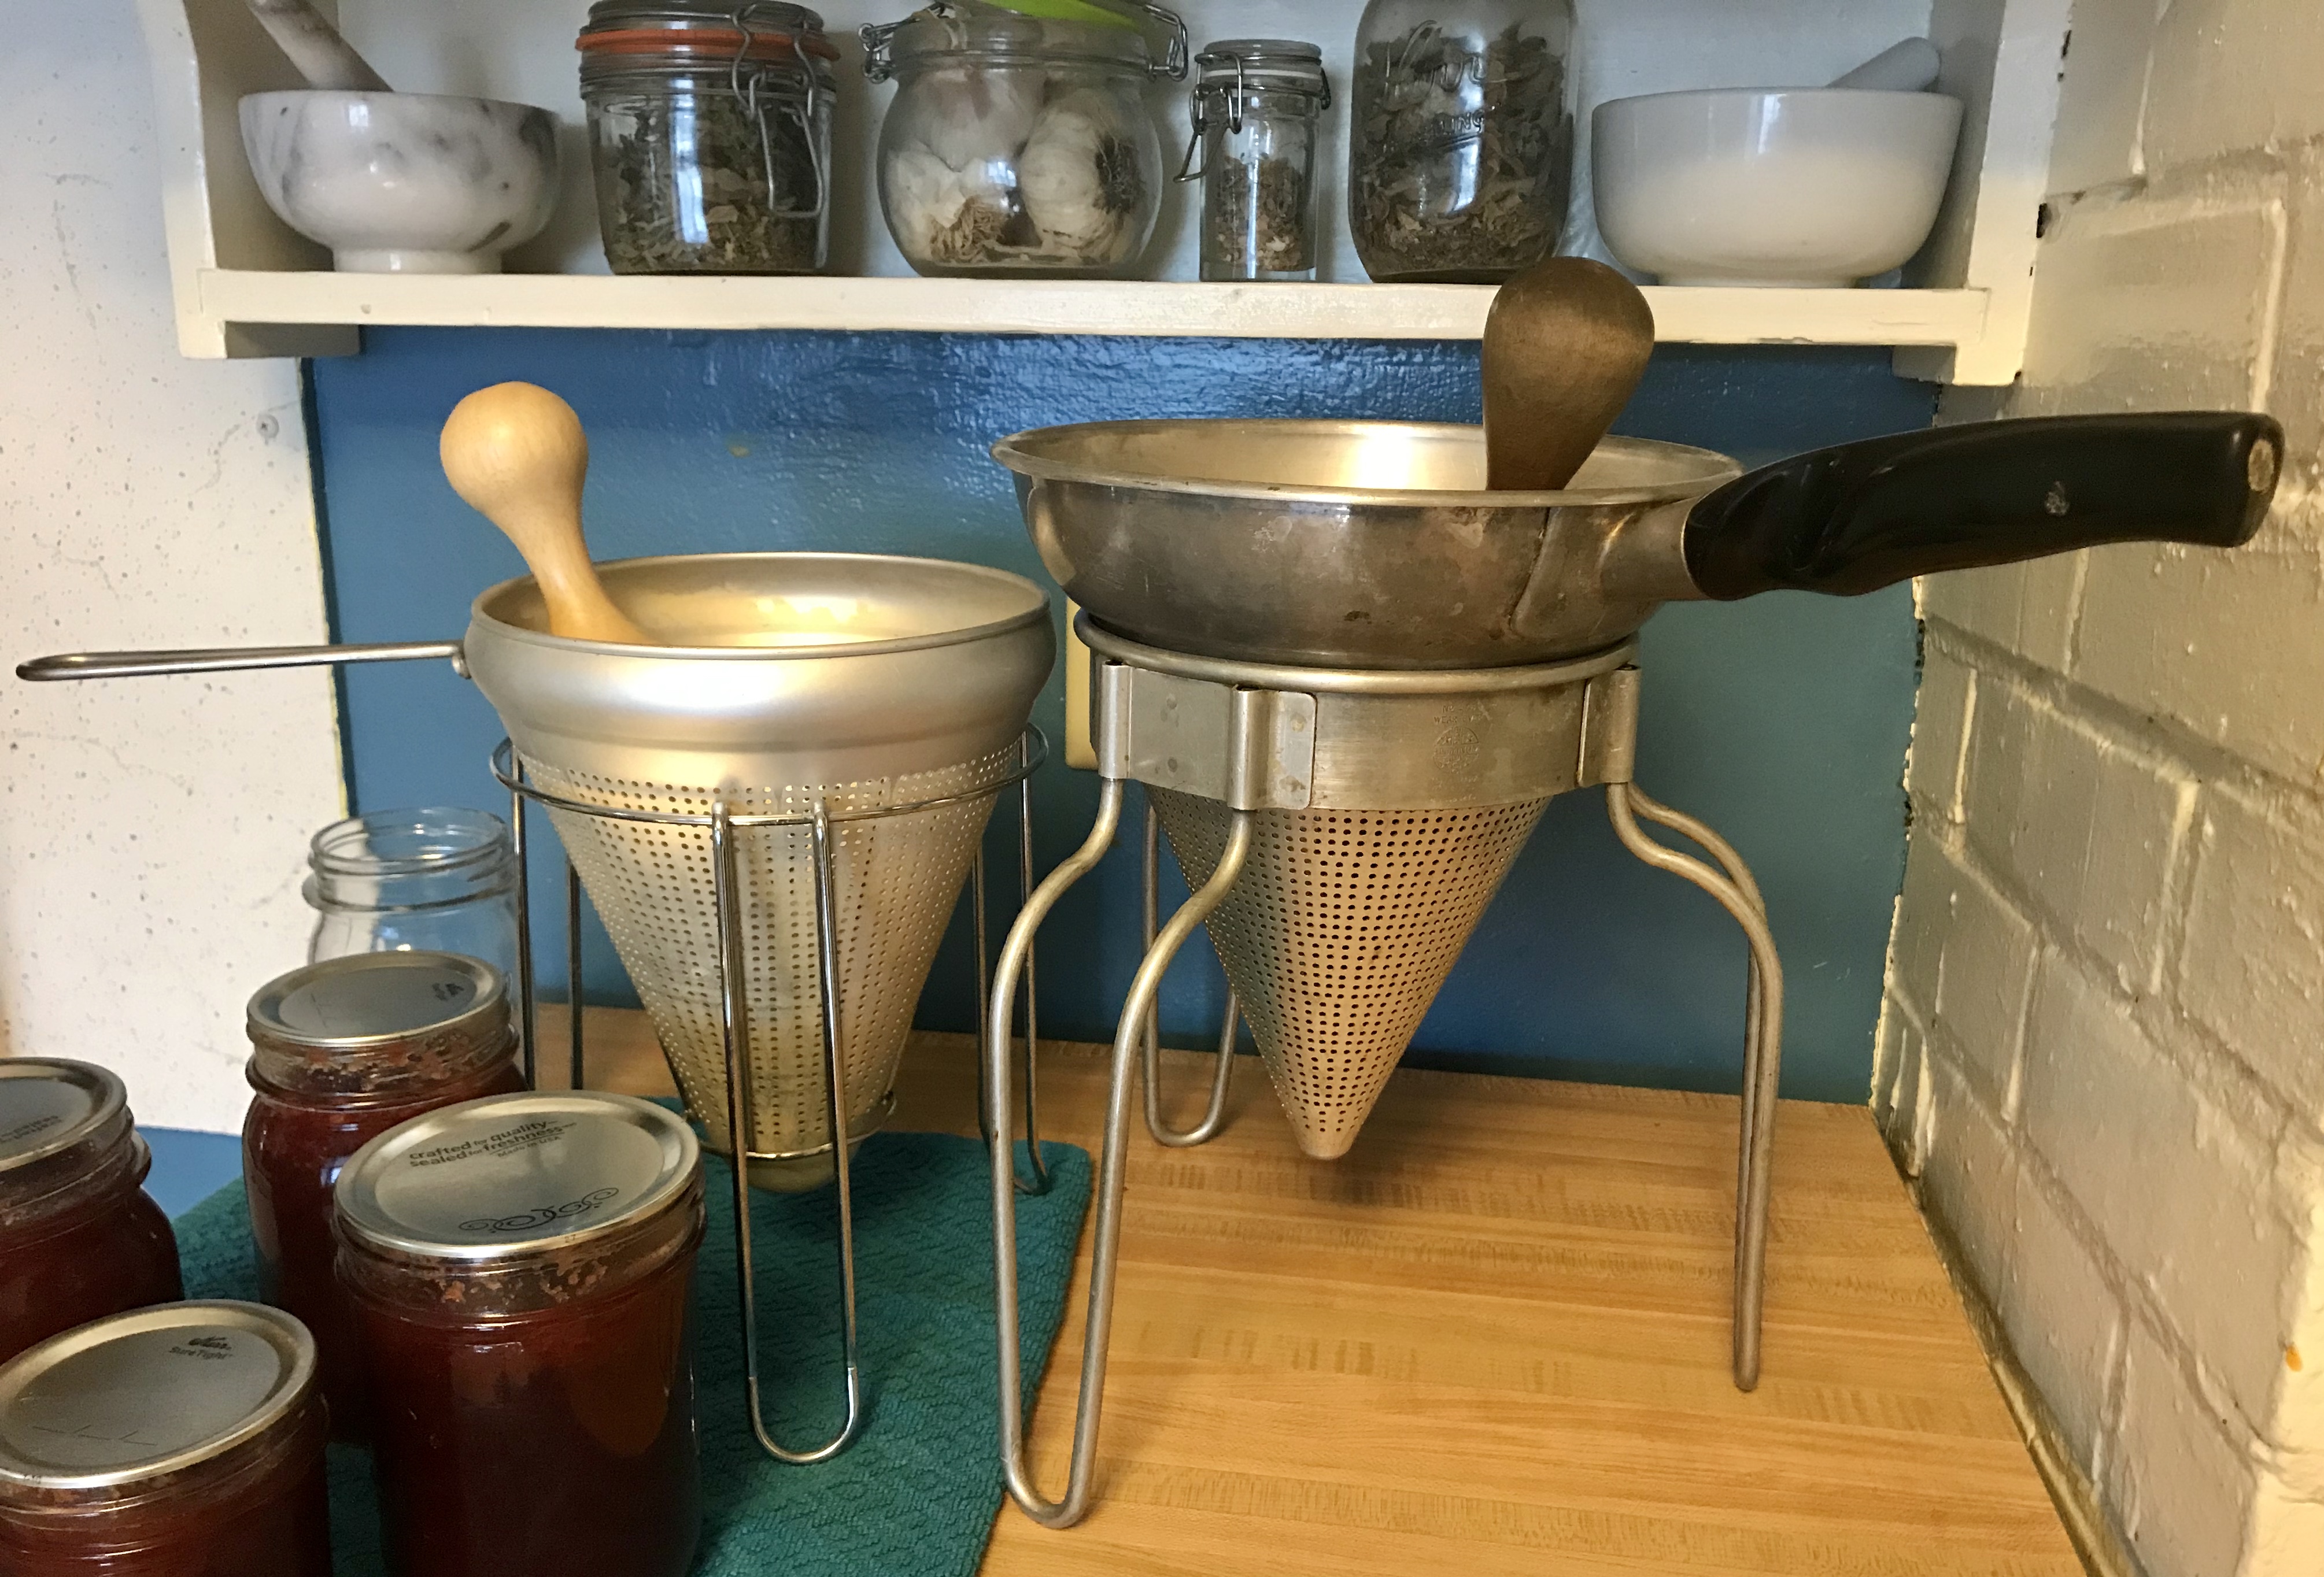
Here is the primary item needed for the perfect nectar consistency: the hand-crank food mill. To find one, I had to search and special order, purchasing the only one I could find–half the size of the food mill I remembered said hippy-mama using decades before.
Hand-crank food mill, used for smashing cooked apricots down to a fine nectar, leaving all toughness of the skins behind, extracting every bit of goodness from the fruit.
Fortunately I came across a major score. Pictured here is the food mill I found at a yard sale of a local great-grandmother in our little mountain town. It’s the right girth of my memory, capable of squeezing many more cots. This mill is awesome not only for nectar of apricots and peaches, but applesauce processing benefits enormously.
One beauty of this recipe is that it is entirely malleable to your taste–no sugar or sweetener is necessary to preserve, however the recipe is responsive to added acidity from lemon or sugar depending on the taste of your fruit. I choose to cook the fruit down, but a raw pack version is also possible and excellent.
~Method~
Canning lesson number one is to prepare. This means, place out all necessary equipment, tools, ingredients at work stations in the kitchen. Why is this so essential? Over decades of canning I’ve found that the only time I can make mistakes or lose my cool is when the timing gets off, or some tool isn’t right at hand.
So, first make your fruit processing station at the sink. Next, place out all jars according to volume of recipe. Fill your canner with water to boil jars to sanitize. Place out requisite lids and bands, a cone for filling jars, rubber tongs for lifting from the water bath, spoon for leveling fruit in jars, and last a clean cloth for a boiling water wipe of jar rims–essential for a good seal.
If all tools of the trade are out, your recipe is read and understood, then your timing will go smoothly and the process will be calm and meditative. Joyful production is the goal!
The most satisfying part of this recipe? One sip of nectar in winter is like a mouthful of fresh picked, sun ripened apricots at harvest.
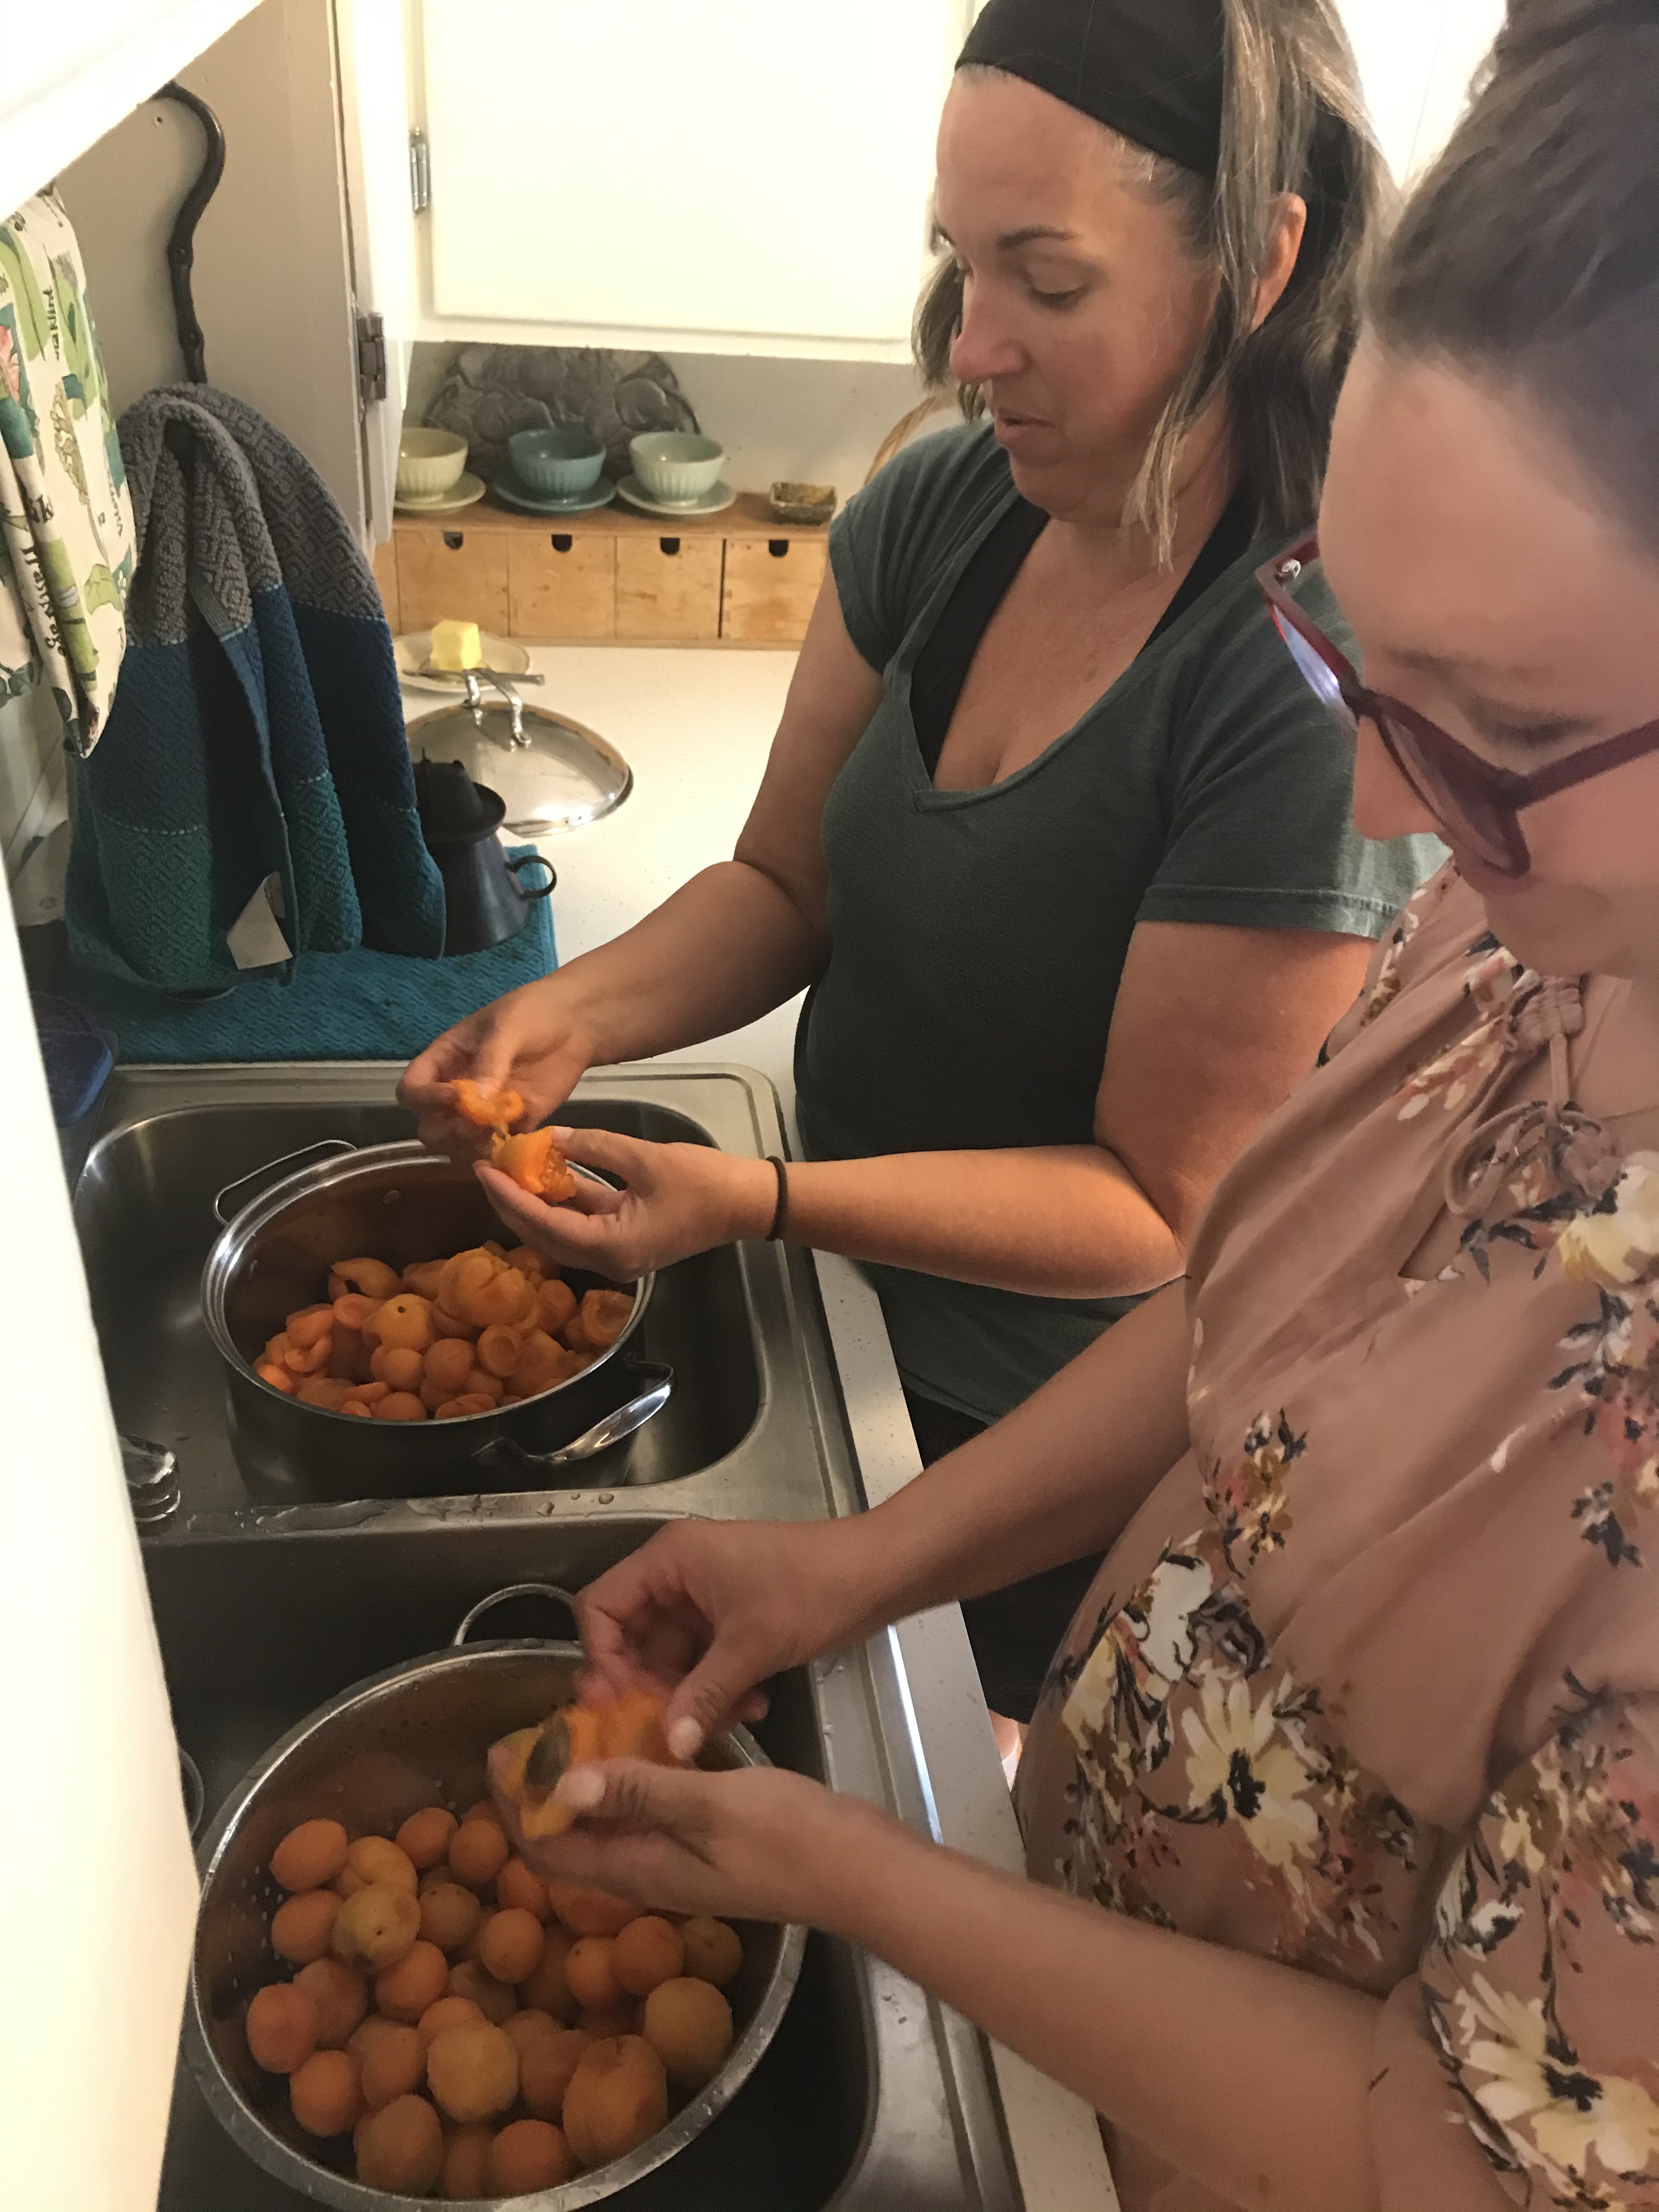
~ Your apricots need not be perfect, but they must be ripe; after rinsing them, pit and cut any brown bits or buggy parts inside the cot, and fill your pot. Don’t worry about marks on the skin as they will be pressed and discarded. In this way, the recipe maximizes the fruit, capturing all possible pulp.
~ Fill your largest sauce pot to the brim with apricots and add enough water (3-4 inches) to account for moisture loss and to prevent sticking; cook on medium heat, turning from the bottom, until all fruit is softened.
~ Place your food mill over a large bowl and have a couple other bowls on hand; fill the mill with cooked apricots, cranking both clockwise and counter clockwise and repeat until all nectar is extracted and you’ve pressed down the pulp as much as possible, and repeat; return all to the sauce pot.
~ Add honey or sugar and lemon juice to taste; generally I use very little lemon or none and as little sugar and water as possible, preferring a pure, thick nectar, however experiment to your liking. Then bring the nectar to a simmer and immediately can your nectar; as with any fruit or veggie, the less it is cooked, the more nutrients are retained.
Preserving Nectar
~ While you are processing the apricots, set your boiling water canner on high and boil quart jars to sanitize for 10 minutes.
~ Pour boiling water over new lids and bands and let sit.
~ Remove jars from hot water bath; fill each jar with nectar to within ½ in head space; in case of splatter, wipe jar rims clean with a wet, hot towel and lid them, screwing bands to fingertip tightness.
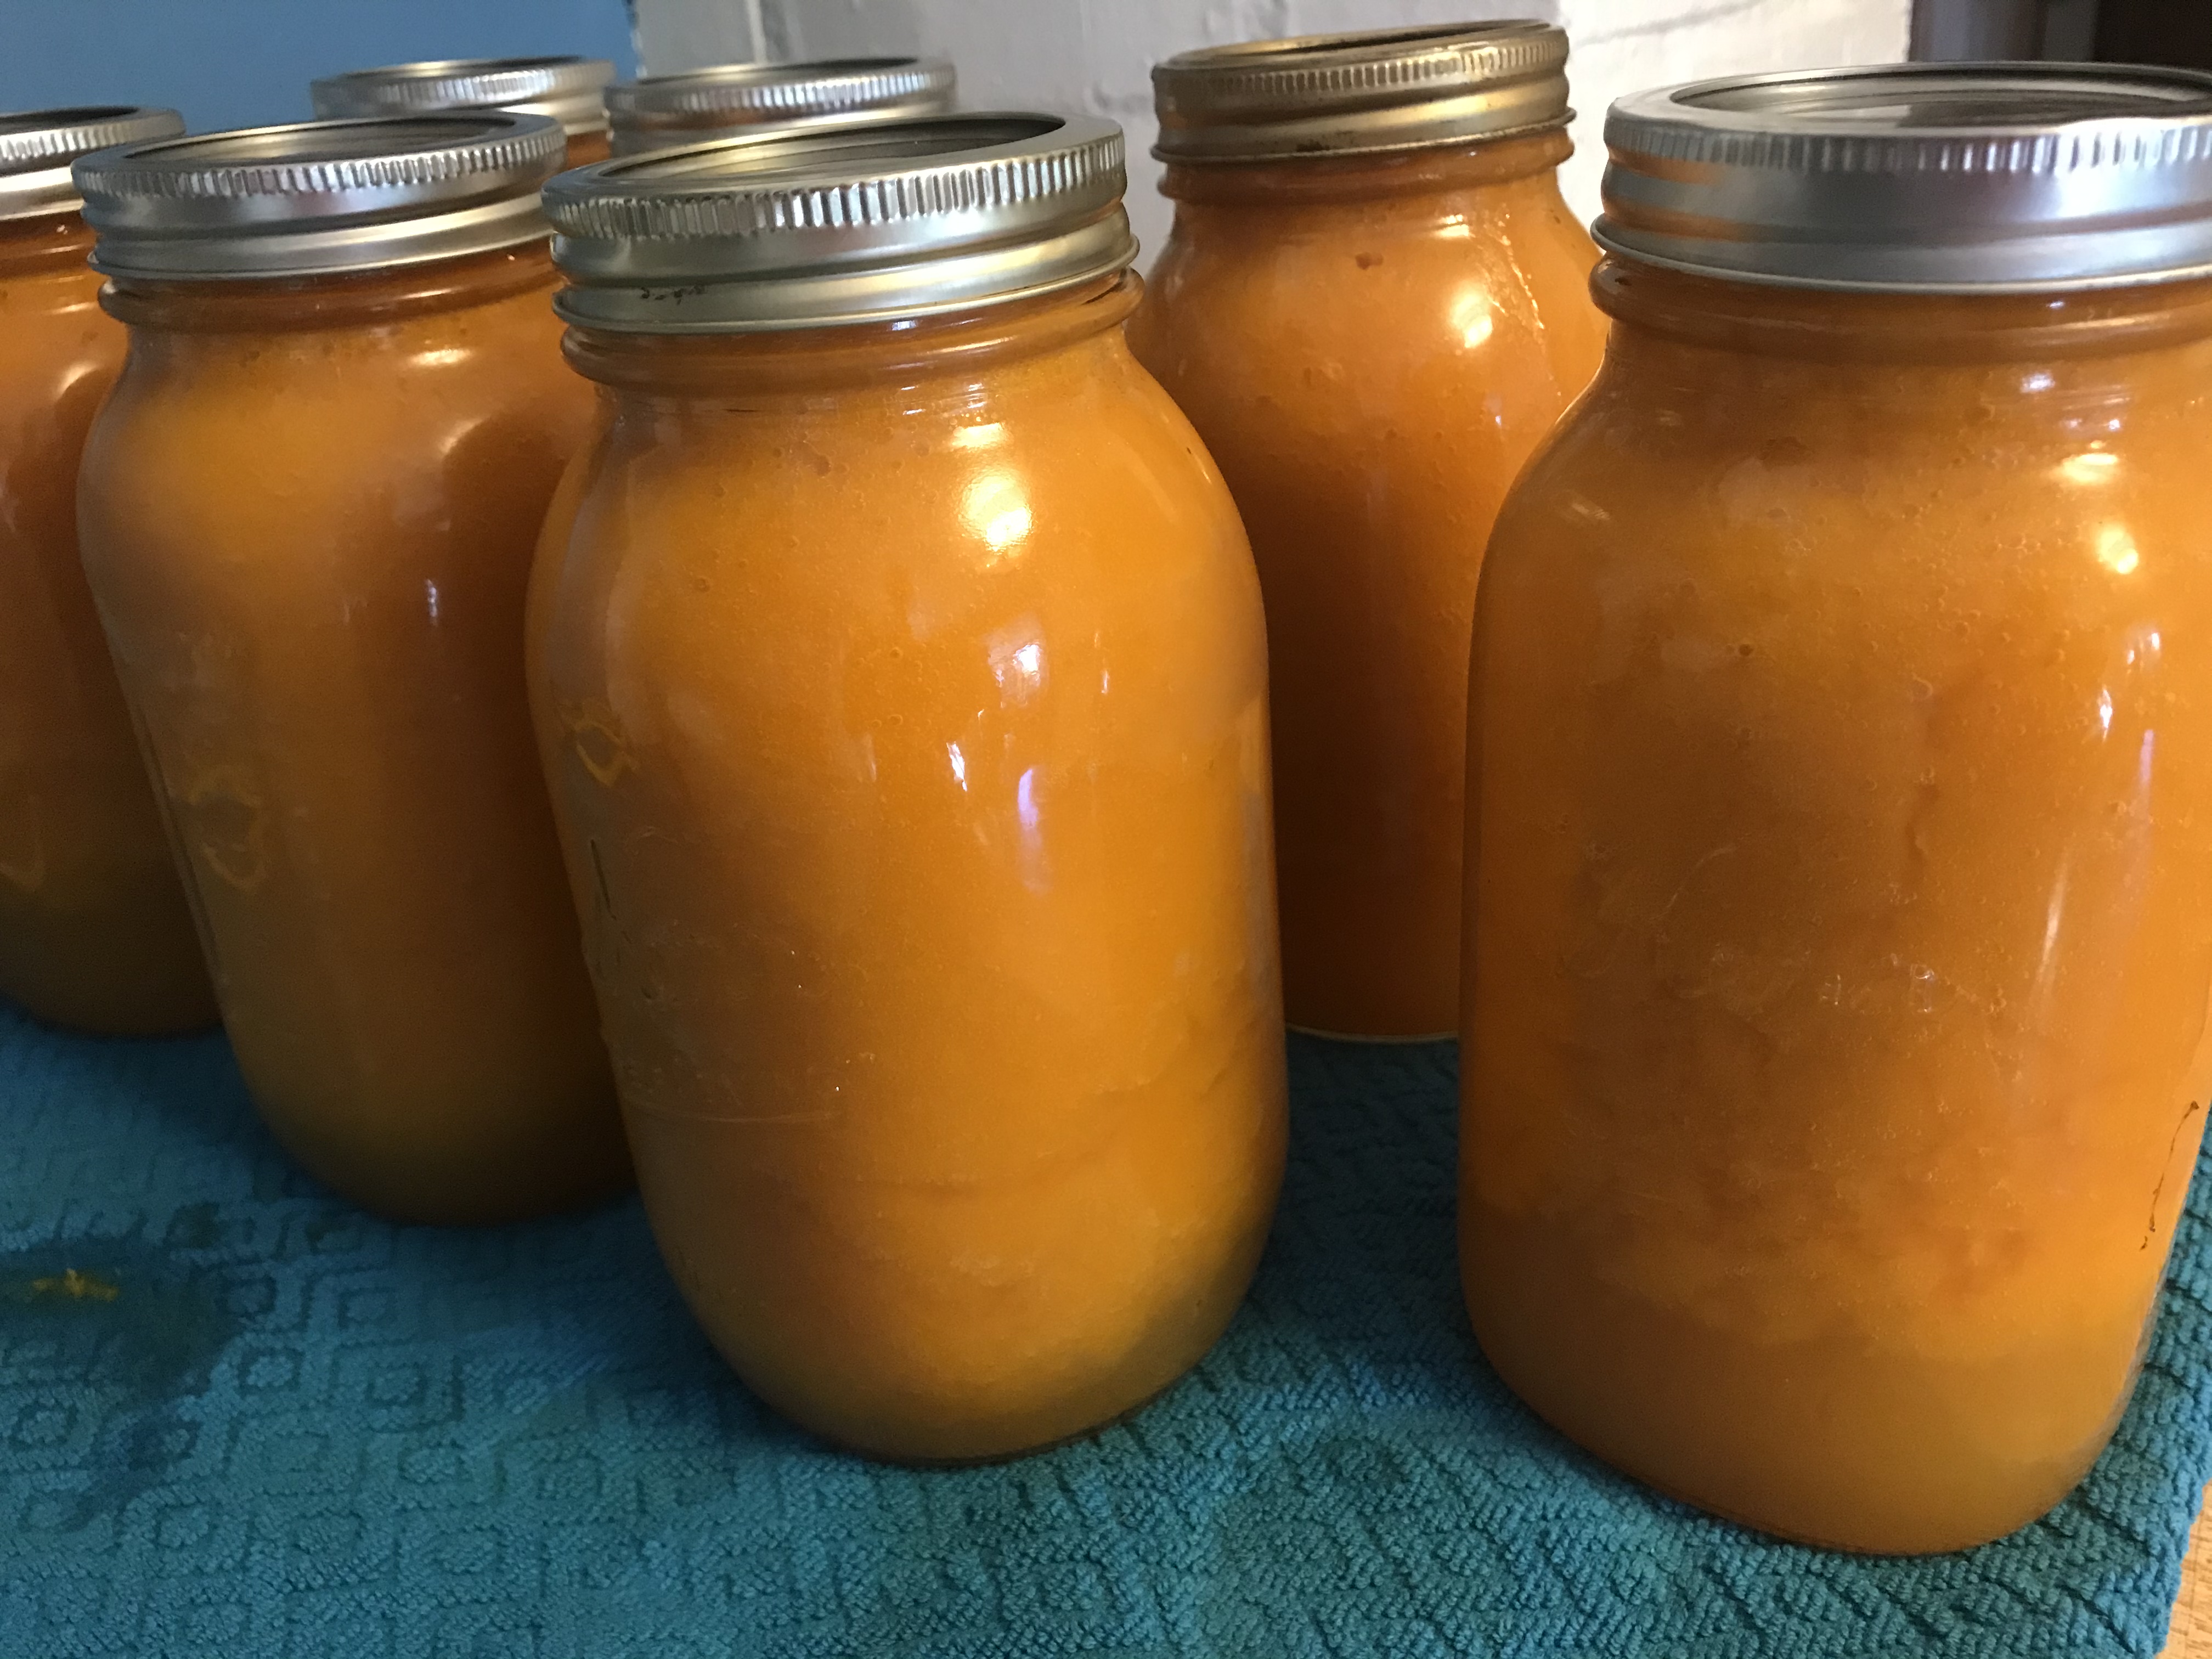
~ Process in hot water bath at a full boil for 25 minutes; remove from water and tighten bands; let stand untouched for 12+ hours to set.
~ Put up in the pantry for sweet ambrosia all year long.
NOTE: Aside from a mega-nutritious drink, nectar is wonderful over ice cream for desert, added to yogurt for breakfast or snack and is our family’s all time favorite baby food.
Love from our pantry to yours! Georgina @ Soul & Stomach
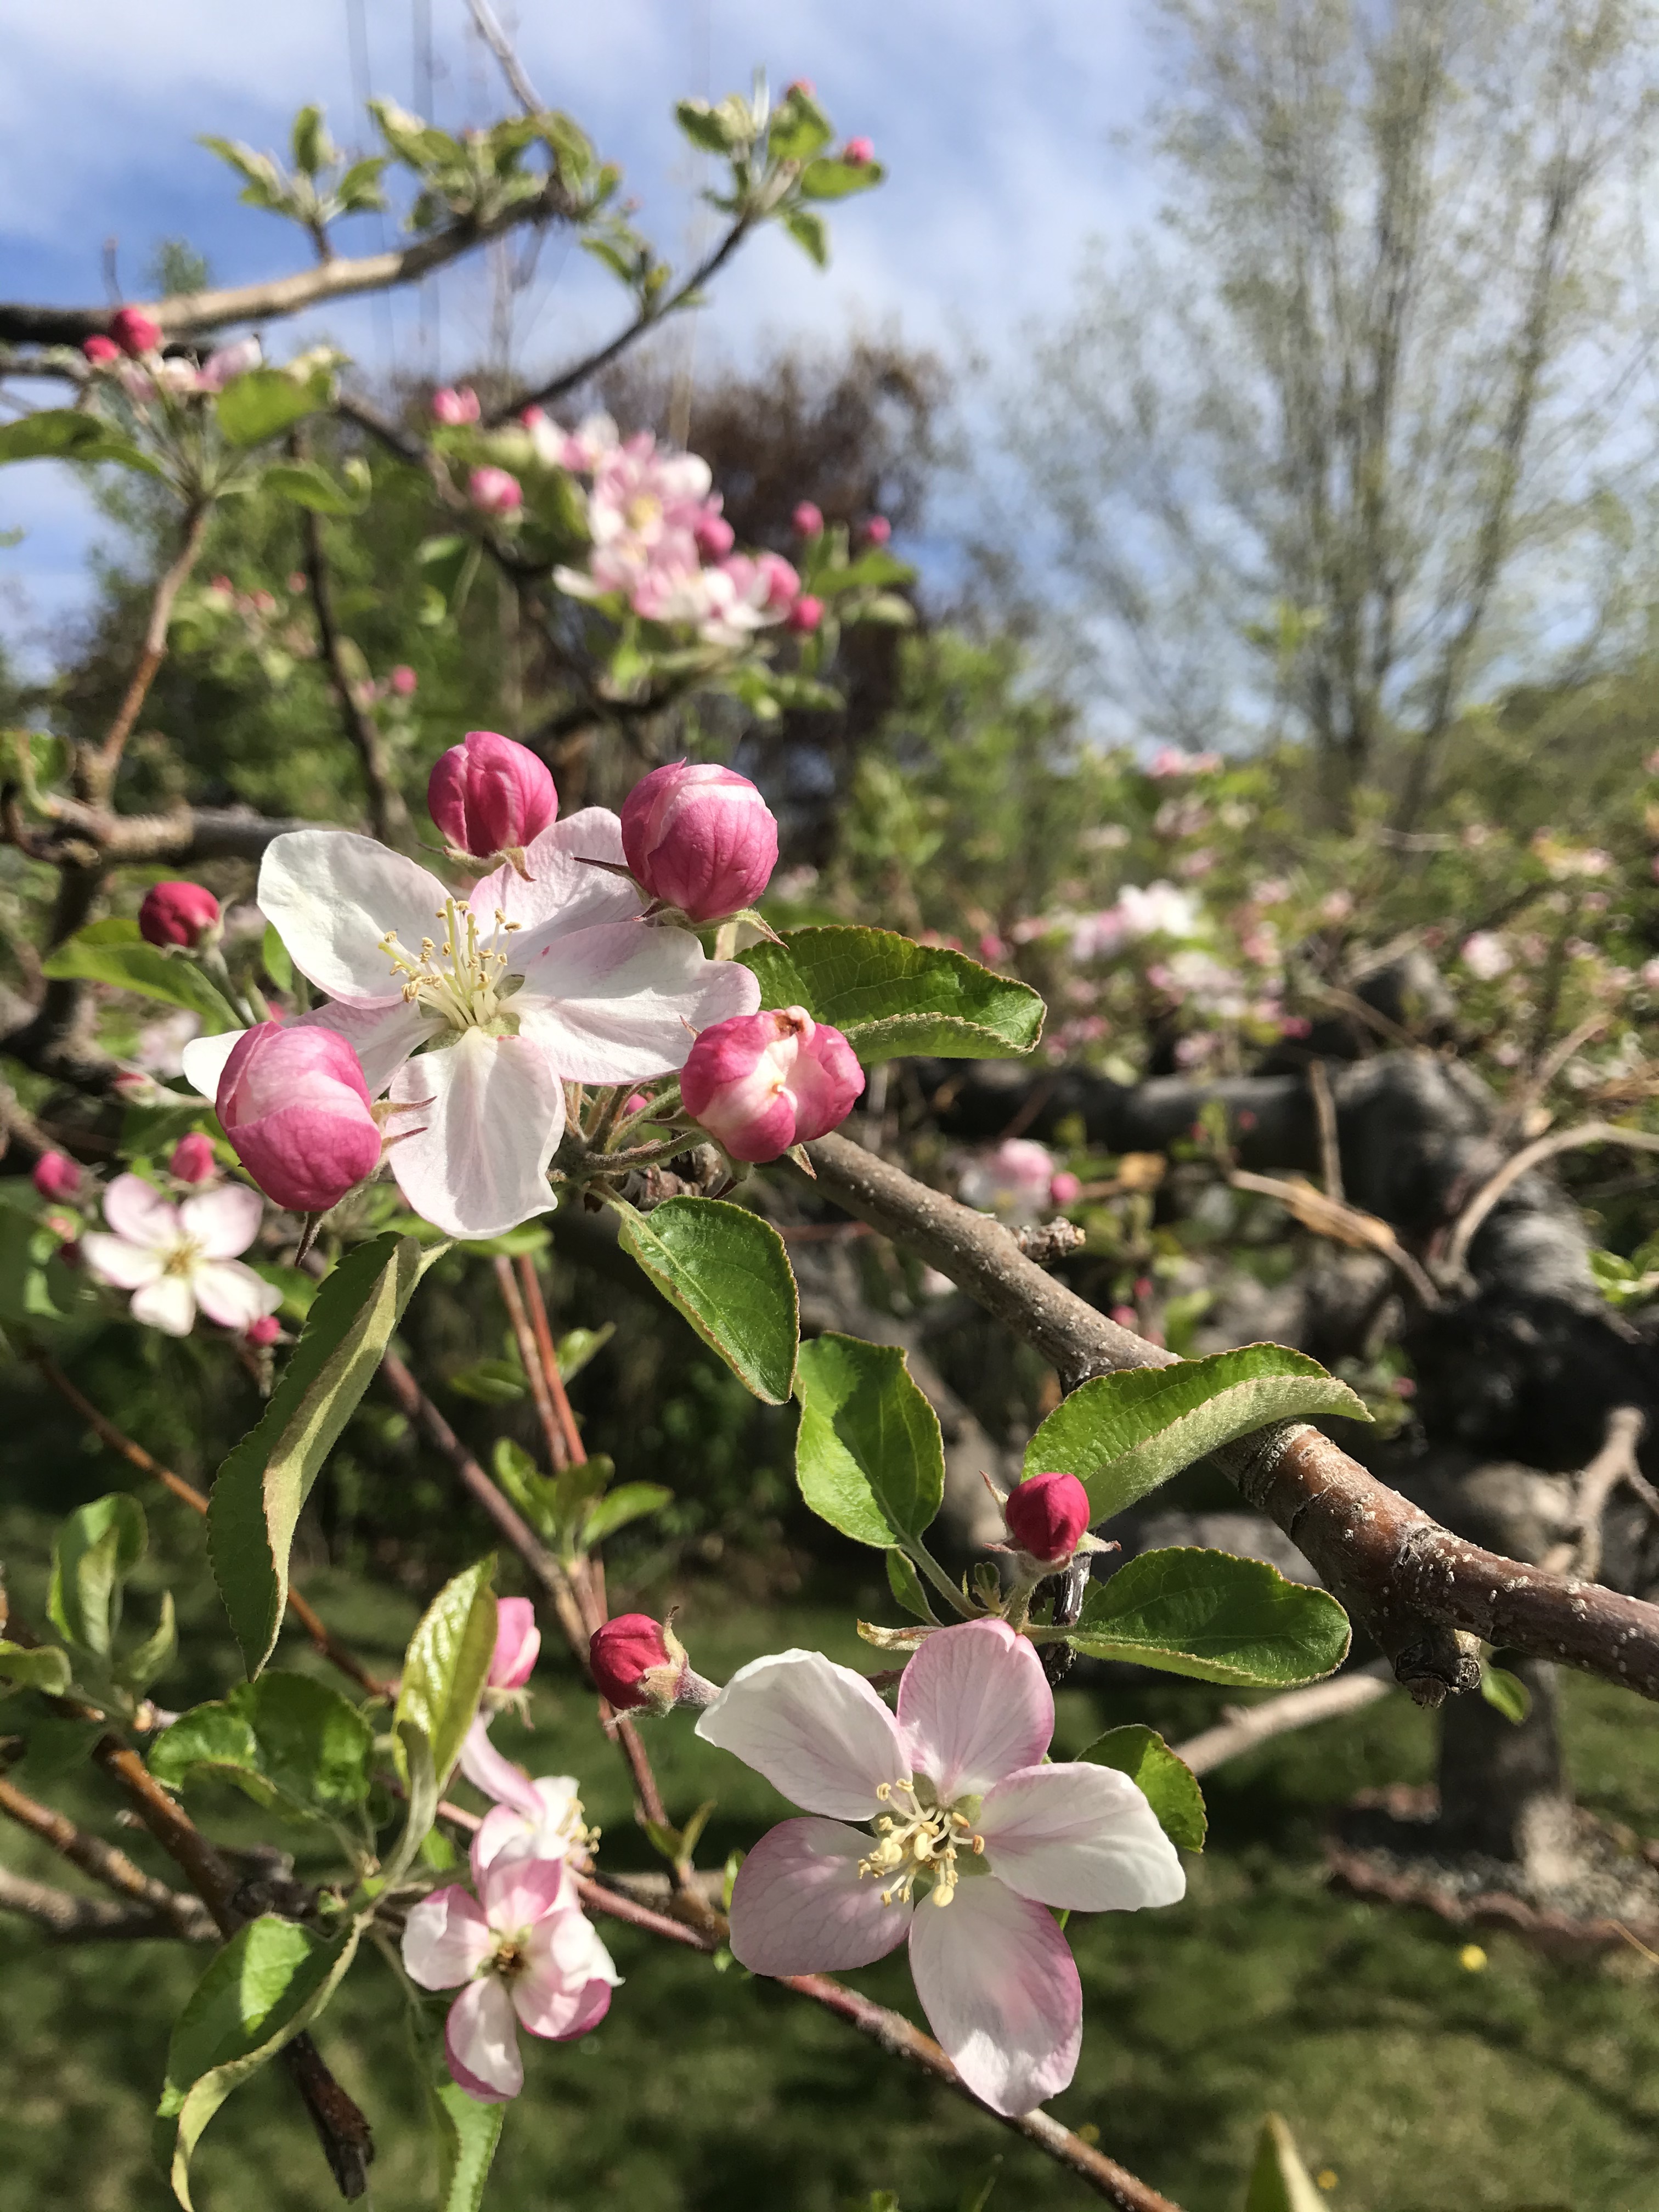
I am saturated in thankfulness and awe for the earth’s beauty. The glory of the Methow Valley is May.
May is when the the hills are brilliant green, each tree just budding, the widened river rushes fierce, and the far mountains still cut a hard white line against brilliant, fresh blue horizons.
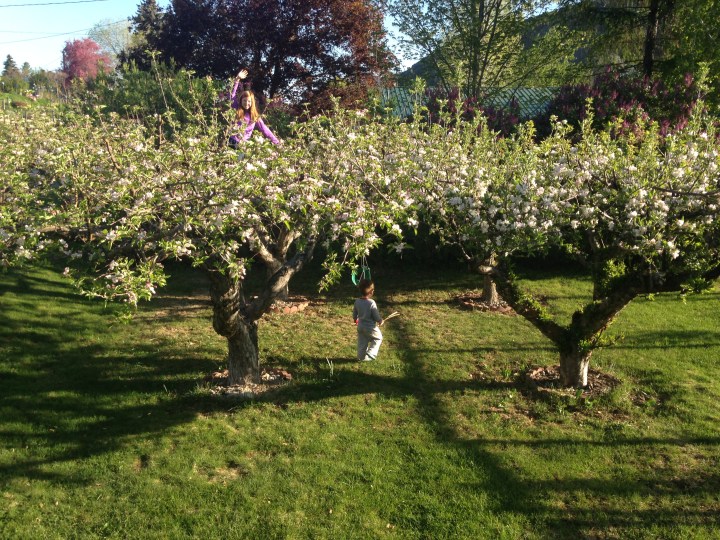
Fruit blossoms and bees are more abundant than any spring in recent memory in our old-growth trees. Our garden beds are dug deep and wide holding seeds of promised sustenance.
The predominating feeling now is preciousness. Now, when we’ve all been home caring for each other, our land, our home, our plants, over fifty days with more isolation time to come, May around us is singing “for the beauty of the earth.”
This unprecedented and precious time strikes most as a distillation of being. I know personally within myself, the effect has been to get closer to what I want to be, closer to creating myself in accordance with my beliefs. When else do we have such an opportunity?
So much of our lifetimes are made up of the business of surviving, pushing on, maintaining a material success. Very little of modern life is still, reflective or inward turned on the spiritual level. Distillation of being is thus a Great Gift to embrace in this time, and we’re blessed with the particular time it has come–rebirth of the earth in springtime. Quiet, peaceful, distilling purpose and thought comes to the predisposed contemplator.
There’s more quiet reading time without school and money making work out of the home. My favorite children’s books tend to be from the 1940s and 1970s, both times when a back to the earth, back to basics mentality, by necessity or choice, pervaded more enlightened thinking.
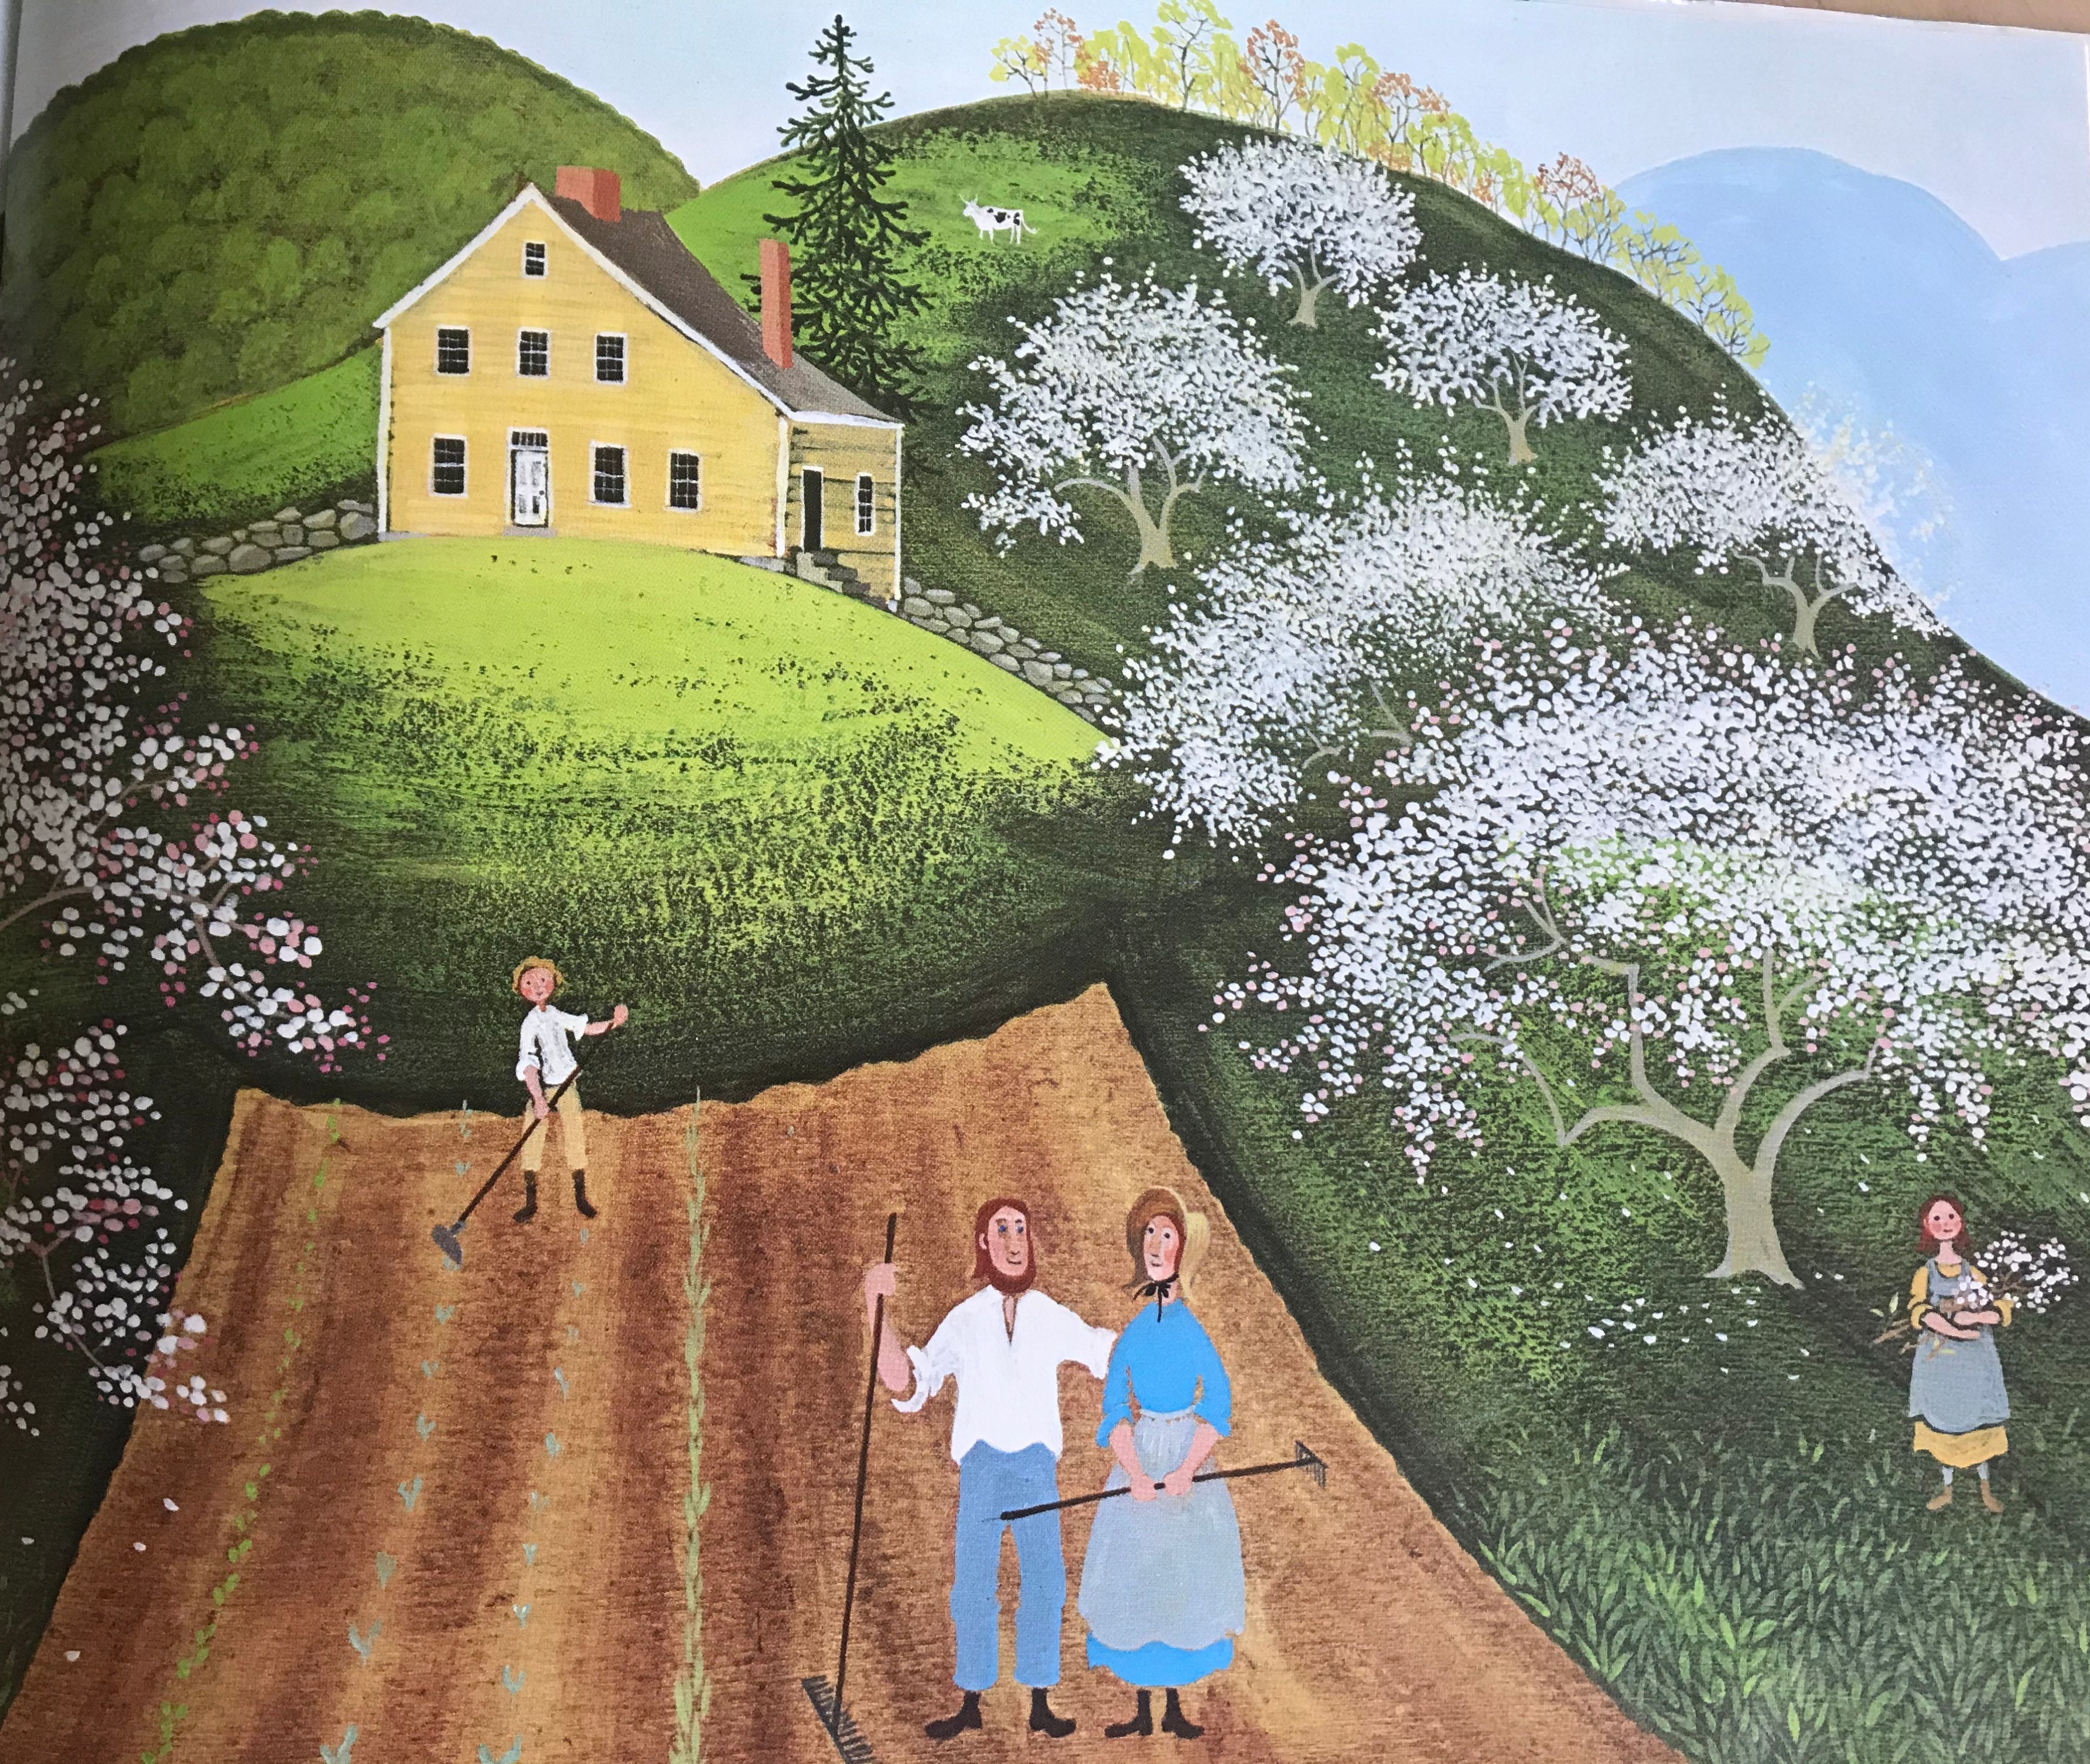
Ox-Cart Man
Ox-Cart man is a children’s book from the seventies that formed my childhood narrative and accompanies my children’s quiet reading time with a pointed spiritual message. The good life, abundantly peace filled and loving is conveyed. The rhythms of daily work together harmonize with the rhythms of the earth, seasons and food grown with sustainable methods.
“…and in May they planted potatoes, turnips and cabbages,
while apple blossoms bloomed and fell,
while bees woke up starting to make new honey.”
The simple life, there is in fact nothing better. We need each other for giving and receiving love; we need a healthy piece of land to cultivate and grow; we need peace, which come from love and thanksgiving in praise of our Creator. Knowing we need little else, we are sustained, internally renewed, in harmony.
I share these thoughts now because despite knowing that this isolation time will end, I will to take these reflections with us.
~Peace from our home front to yours! Gina @ Soul & Stomach.
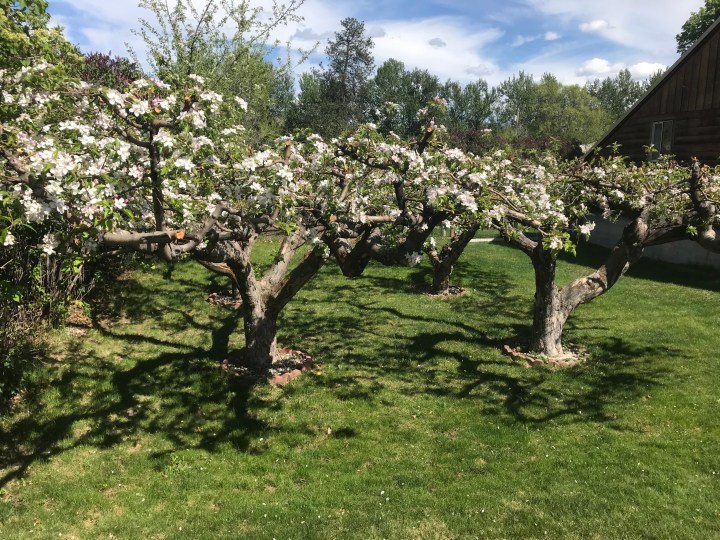
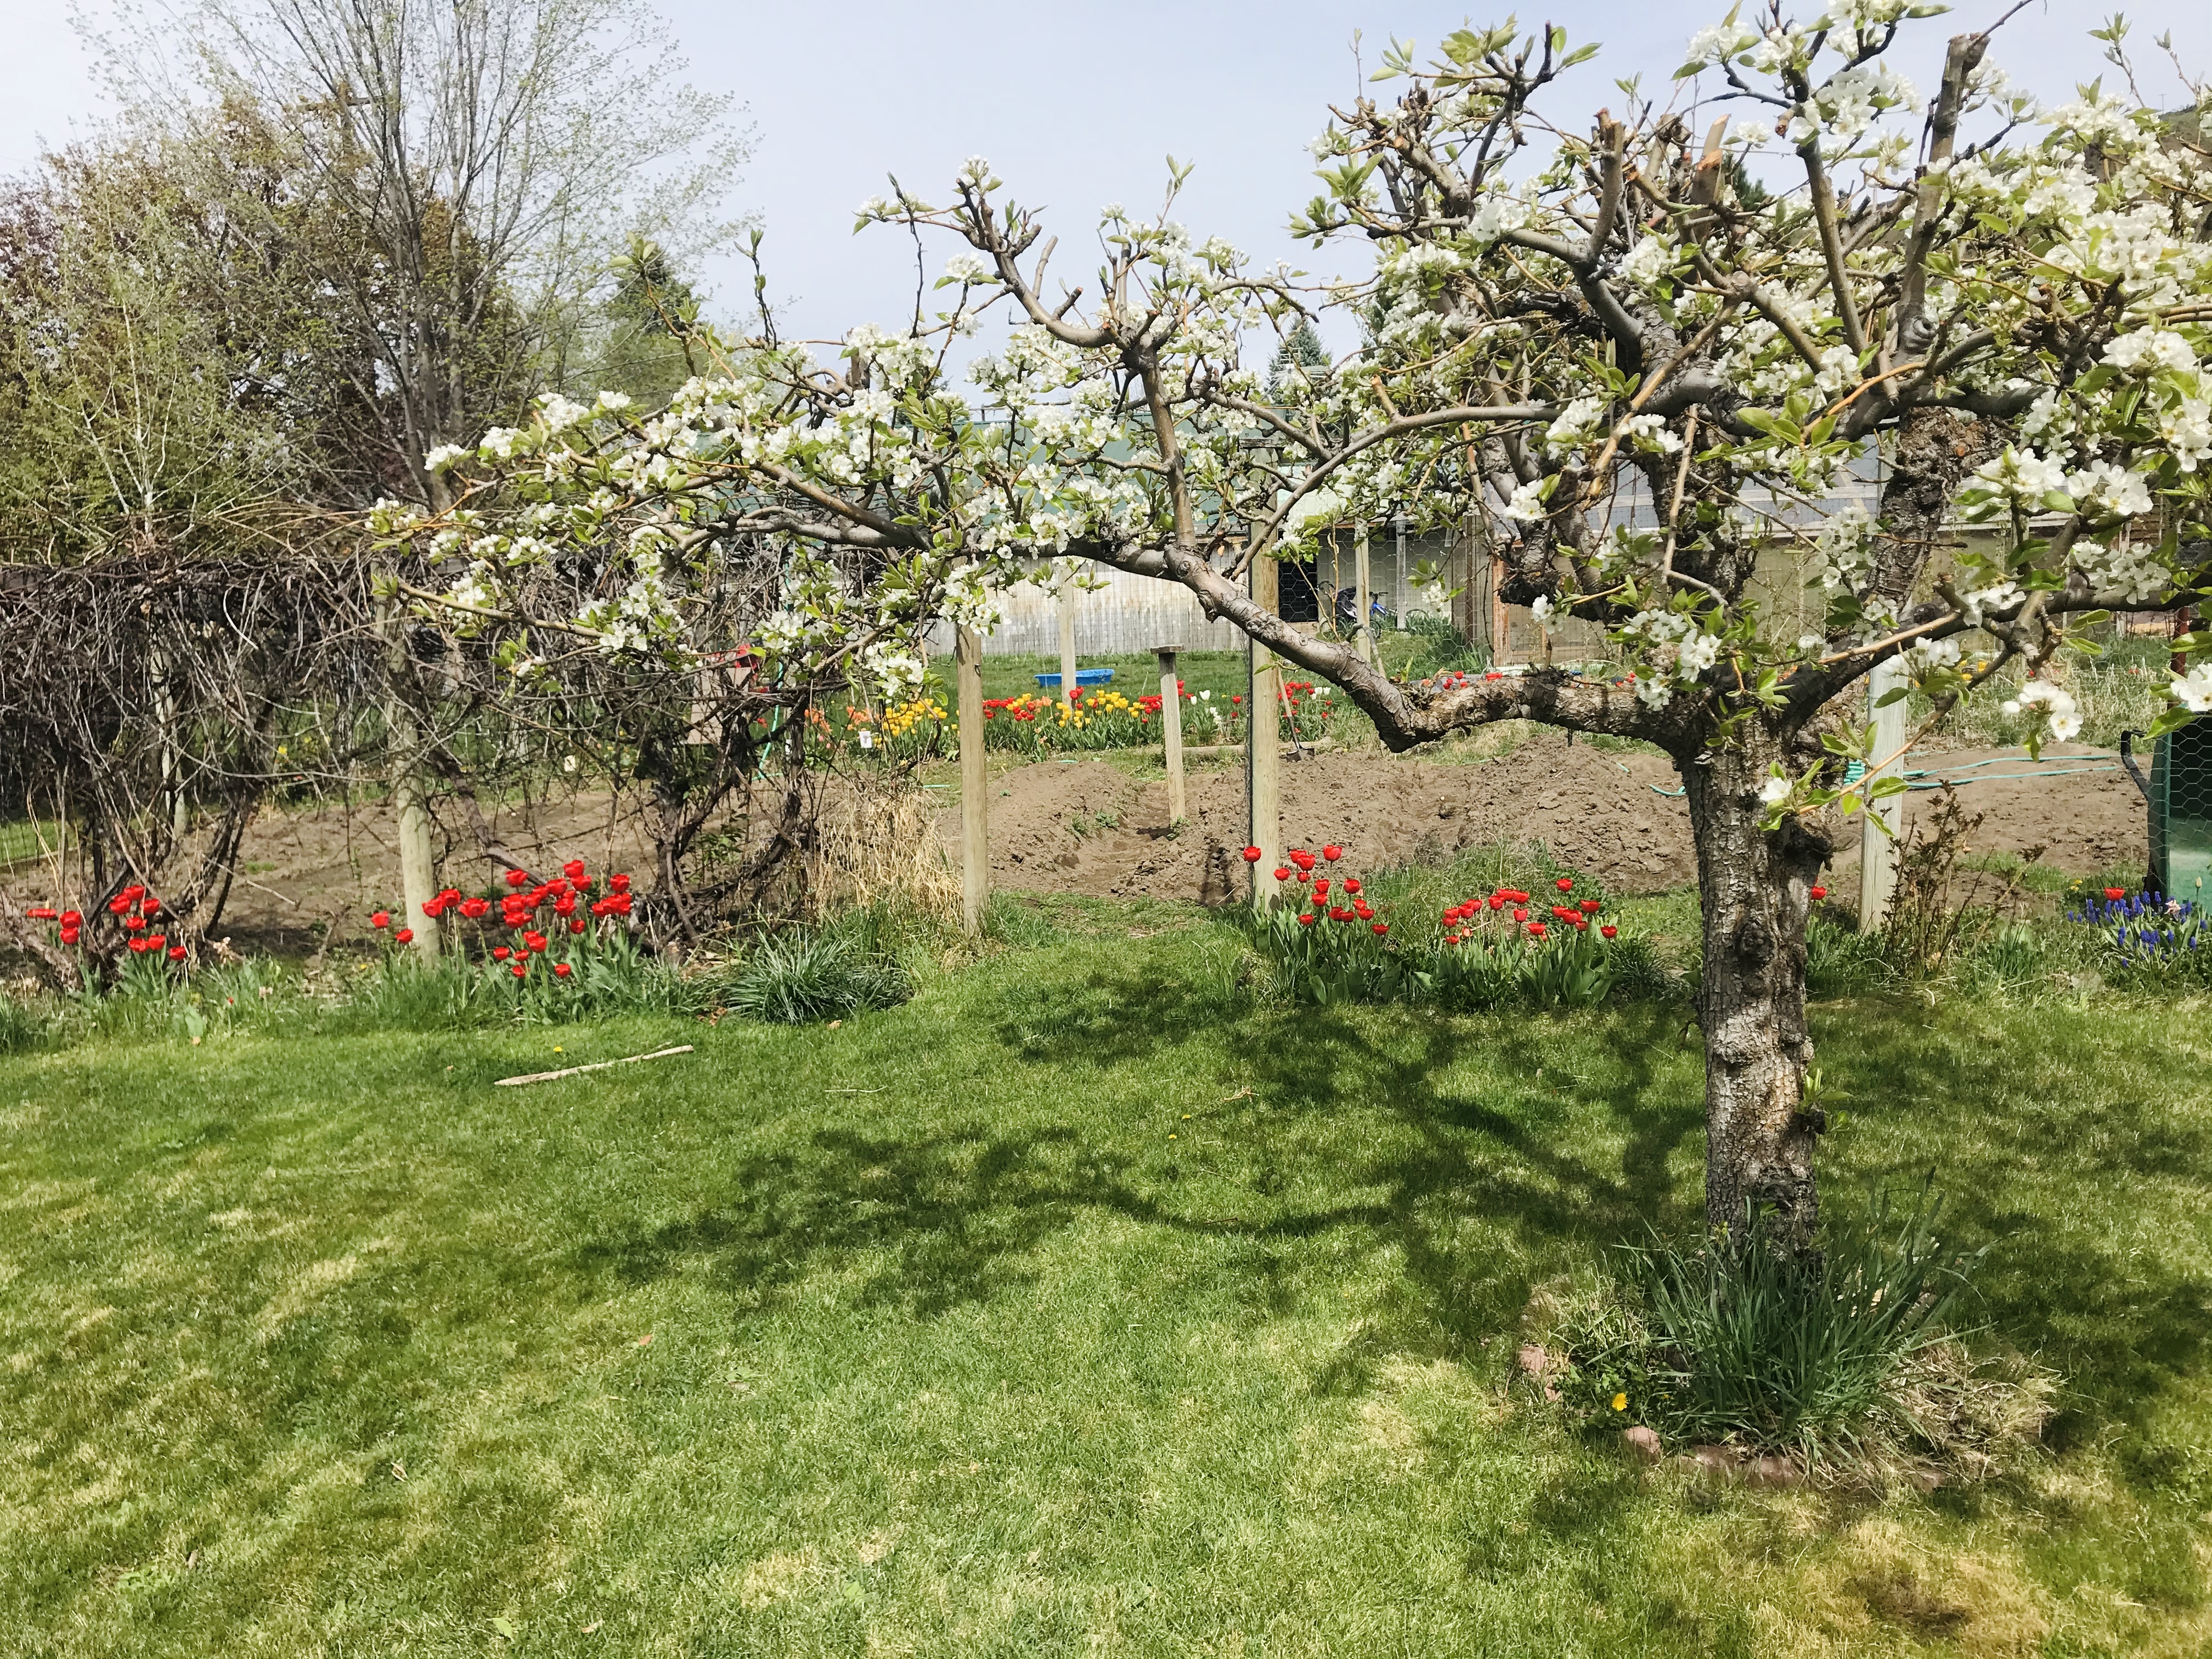
In this time when we are all home, caring for each other, and needing meaningful work, I can think of nothing better than efforts in the orchards and gardens, growing our own food and reducing dependence on synthetic foods. My focus is honed sharper by the quarantine towards daily care of the trees and land that nurture us if we put in the nurturing work ourselves.
We have seven fruit trees on our home property. And each spring they get a look over and pruning, increasing tree health and harvest bounty. We have three established apples, two abundant pears, a healthy cherry, and two younger plumbs. I use all the fruit for eating fresh, preserving by canning, freezing and drying. And the work is more than worth the satisfaction of feeding the children our own foods.
Many’s the time friends have asked if I know how to prune correctly, and though it’s a learning curve as you get to know your trees, and though I’m not an expert, I’ve been taught by the best and we have an impressive fruit yield every year. So I offer up a pruning tutorial for anyone to hack away.
When I bought our property, I saw it’s trees as it’s finest wealth, and knew their care would be important, so when I met a down-home, crunchy hippie who had been pruning local orchards for decades, I soaked up the knowledge. Anyone can do it as the concepts are simple, but many people I’ve talked to want a walk through of the basics, so here’s what I learned that’s served us.
Pruning Methods
Picture the end result of your fruit tree being an upside-down umbrella, with branches exposed to maximum sunlight. The tree should look from above like a cup for light.
If there are suckers–the branches in spring that shoot straight up–these should be pruned at their base. Sucker branches simply take up water and energy from the tree and do not produce fruit.
Of the more established branches, prune those that grow inwards if they are potentially blocking light from others. And of the branches that end up growing down or away from the upward cup you’re creating, prune those back as well.
Depending on the height your tree has already reached, you may want to prune it way down, simply for the ease of picking fruit at harvest. Don’t be afraid to prune a lot as long as there is adequate water, because the tree will always grow again.
And don’t be afraid if the tree looks like a bare skeleton when you’re done. The energy of the tree concentrated towards fruit, not needless branches, is what we’re going for. Think most about sculpting the umbrella-like shape.
One thing I learned in the beginning that surprised me was the flexibility of timing. Yes, cold months post-harvest or pre-budding are excellent times, but fruit trees can be pruned any time without cutting fruit yield, as long as the pruning is done before flower buds form.
New trees of course should be allowed to grow, without pruning for the first couple years. But with established fruit trees, pruning will most always benefit them. These methods are the basics to get started, but as I learned, your pruning over the years will hone to your particular trees and their environment.
Preparing our trees to grow fruit is a lovely, timely, productive activity–and grounding work in this time of uncertainty.
Peace, from our orchard branches to yours! Gina @ Soul & Stomach
This a handy index for best preservation methods for your given goods.
Listed and linked are the foods that fill our needs through the cold months, foods we’ve been able to grow or gather as a family that were left over.
Some foods I had thought to can initially are better dried ~ I found this with apricots for sure. Others can be chopped and frozen with much less time spent processing ~ peaches come to mind. While many on this list are canned for best preservation ~ berries and tomatoes for instance.
The list is a guide to help reduce work time and waste. Recipe and article pages are linked to the list that involve preserving by boiling water canner or drying and freezing methods. Some of the recipes are already published in articles within the site, with more links to come.