comments 4

Fruit Bars with Fall Preserves

Jams from fall still stock the pantry, and this recipe utilizes any to satisfaction.  Aside from grill glazes and jam on bread, food creativity with tasty preserves can grow to be a challenge by spring.  This recipe makes jam or jelly canning in the autumn months seem worthy of the effort, making a ‘healthy’ desert or tasty snack  to pick up and savor any time of day.

IMG_0334

Our jam canning utilizes the gamut of fruit grown and gathered in our high mountain climate: plums, cherries and pears from our own yard, apricots from rogue trees on public land, peaches from friends with orchards overflowing, strawberries and rhubarb from the ever growing patch.   Any of these work well for this recipe.

For preserves, I promise myself each summer that only fruit I can gather for free, barter for our garden goods or be given will make the canning cut.  Buying a box of fresh organic fruit for preservation simply cancels the cost and reason for canning itself.  We use three options: barter, grow or gather.

DSCF4361

IMG_0343

Fruit Bars with Preserves, Recipe

We’ve created many different fruit bars from this recipe, amenable to just about any pint of choice preserves.  Generally jam has done the trick: plum, apricot, peach, maple-apple, rhubarb and berry varieties have all been used with success in this simple recipe.

1 pint fruit preserve filling

1 c flour

1 c whole oats

2/3 c brown sugar

1/4 t baking soda

1/2 c butter

~Combine all dry ingredients in a bowl and mix well; cut butter into flour mixture with a pastry blender until resembling course sand.

~Reserve 1/2 cup pastry mixture and set aside; with remaining pastry mixture, spread on bottom of an ungreased 9 x 9 ” baking dish or pan; press down with hands to make one even layer.

~Top first layer evenly with fruit preserve filling of choice; sprinkle remaining pastry mixture on top of fruit.

~Bake at 375 degrees for 30 minutes or until fruit bubbles and top begins to brown.

~Allow to cool fully, then cut into 2″ x 2″ squares and serve.

IMG_0338

~Love from our pantry kitchen to yours!  Georgina @ Soul & Stomach~


comment 0

Roasted Butternut Squash Bisque ~ Velvety Smooth with Subtle Spices & Cream

Squash bisque: divine to taste, huge on vitamin content and a winner for a crowd.  This recipe is designed after creating several versions through the years, much back research of comparative online recipes, and a combining of the best of several with elimination of easy mistakes, found in many.

IMG_0381

Squash is a favorite root vegetable as winter ends, as it remains one of those that lasts in the pantry.  Butternut squash often proves the best to work with for several reasons.  It is large so goes far, with a thin, easily removable peel; it packs a lot of flavor, lacking in many other squash varieties; it is hard and substantial but never sinewy or stringy like an acorn or banana squash.  For all these reasons, butternut is the variety that works best for a bisque.

IMG_0372

The ratios of subtle spicing also contribute to the quality of this recipe.  It is quite easy to either under or over season a bisque, and the ratios herein may be counted on for goodness.  Since my son and I were preparing a double recipe batch for a crowd of 14, we spread out the process into two days, and this worked to the recipe’s advantage.  Roasting the squash and cooking it with all seasonings on one afternoon, then refrigerating one day ended up benefitting the blending of flavors before puréeing, a final heating and addition of cream.

Though the bisque easily stands on it’s own as is, we choose to garnish it with green onion, sour cream and croutons for a complete flavor bonanza.

IMG_0376

Butternut Squash Bisque Recipe

1 large Butternut Squash

2 T olive oil

salt and pepper, for roasting

1 large onion, chopped

1 T fresh ginger, finely minced

3 cloves garlic, finely minced

1 T butter or olive oil

salt and pepper, for sauté

1/4 t nutmeg

3 c chicken or vegetable stock, hot

1 c heavy or whipping cream

scallions, sour cream and croutons for garnish

~Begin by roasting squash in the oven, set for 400 degrees; wash and dry squash, chop off top and bottom and split in half; remove seedy innards; coat with olive oil, salt and pepper and place skin side down on a greased baking sheet; roast for about 20-25 minutes or until fork inserted in all parts of squash is easily inserted; remove from oven and allow to cool before handling.

~While roasting, sauté onions for 5 minutes, then add garlic and ginger and continue sauté for a couple minutes more, season with salt and pepper and set aside.

~In a large sauce pot, scoop out squash meat and combine with vegetable sauté; add stock and nutmeg, stir to combine and bring to a simmer; keep at a low simmer, stirring from bottom to ensure squash doesn’t stick until all the vegetable is broken down, about 1/2 hour (add more stock or water if necessary for desired thickness); at this point the soup is ready to purée but must be cooled to handle safely with either egg beaters, a food processor or blender.

~Once puréed, bring bisque to a low simmer, add cream, salt and pepper to taste, and serve immediately.

~Love from our kitchen to yours, Georgina @ Soul & Stomach~

IMG_0377


comment 0

Valentine’s Cookies with my American Girl ~ Made Bright with Beet Extract

She came skipping up, her American Girl Magazine in hand and a bright smile on her face, full of ideas for valentine’s day, and a plea to make particularly bright pink carnation cookies.

IMG_0338

Agreement was quick, seeing that the recipe would make excellent valentine favors for her classmates and a lovely mother~daughter project.  These cookies make a stunning presentation with rather minimal effort.

IMG_0332

Modified a bit from the magazine’s original form, we removed the red food coloring and added our often made beet extract.  It is a simple process of slowly simmering chopped beets to make a bright fuchsia coloring that is virtually flavorless.  We find beet extract useful for valentine’s day baking and girl’s birthday party cakes and treats.

IMG_0346

When valentine’s day treats become standard, try this recipe to delight the eyes and tastebuds, and spark up children’s interest for baking in the kitchen.

Valentine’s Cookies Bright with Beets Recipe

~(Modified from American Girl Magazine)

2-4 beets, peeled and quartered

water

1/2 c butter, at room temperature

1 1/4 c powdered sugar

1 egg

1 t baking soda

1/2 t baking powder

2 t vanilla

2 c flour (our local Blue Bird Grain Farm’s Organic Methow Hard Red Wheat is excellent)

pink sugar crystals

1 package chocolate striped or other candies, unwrapped and chilled in freezer

~Cover quartered beets in water and bring to slight simmer; place burner on low and simmer for 15 minutes until water reduces by at least 1/2 and beets begin loosing their color; drain beet extract into small container and set aside.

~ Unwrap and place chocolate kisses in freezer before beginning cookies.

~Cream butter and sugar in a large mixing bowl; add egg and beat in; add baking powder, soda and flour and beat until dough is smooth; beat in beet coloring; chill, covered in the refrigerator for at least one hour.

~Set oven for 350 degrees; shape dough in 1 ” balls, roll in sugar crystals; place 2 inches apart on baking sheet; bake for 7-9 minutes and immediately press chocolate candy kisses into center of each cookie; remove from baking sheet to cool completely before eating or storage.

IMG_0331

 Love from our kitchen to yours, Georgina @ Soul & Stomach 


comments 2

Emmer Farro with Elk Sausage, Roasted Yams, Parsnips, Almonds & Onions

Elk is perhaps our family’s favorite game meat, provided this year by our god father’s fall hunting expedition and made more delicious with Hank’s Harvest Foods processing into delicious, sweet sausage.  This extremely low-fat sausage lends marvelous flavor to emmer farro, grown locally by friends at Bluebird Grain Farms.  Roasted root vegetables and onions mixed in with a touch of olive oil and garnished with fresh thyme and almonds round out the mixture so that each bite is balanced and delectable.

IMG_0305

The key to quality in this recipe is preparation of each ingredient separately and with care to detail.  Cutting root veggies into consistent bite sized pieces and roasting carefully so that each chunk is done through yet not over-cooked is essential.  Similarly, chopping onions into even pieces and browning over a well  tended sauté matters as much as cooking the emmer farro so that the grain is not mushy but cooked to it’s ideal popping, chewy texture.

This hot grain dish needs no dressing with its many natural flavors and is ideal as a winter one-pot meal.  All food groups are covered, but the best of the dish is most certainly the elk meat, seasoned mildly, but to perfection by our local butchers.

IMG_0313

Hot Farro with Elk Sausage and Root Vegetables Recipe

2 1/2 c whole grain emmer farro (1 package)

1 lb elk sausage (buttermilk or sweet works best)

1 T butter

2 small yams or 1 large, peeled and chopped in 1 ” pieces

4-6 parsnips, peeled and chopped in 1 ” pieces

2 medium onions, chopped in 1 ” pieces

4 T extra virgin olive oil

1 c roasted almonds, coarsely chopped

4-6 T fresh thyme leaves

Salt (preferable sea) and pepper (preferably fresh ground)

~Set oven to 400 degrees.

~Begin with a careful roasting process of vegetables; place parsnips and yams in a large bowl, drizzle with 2 T olive oil and sprinkle salt and pepper to taste and mix to coat well; spread veggies on baking trays, evenly spaced and roast until barely soft pierced with a fork, about 20 minutes; remove from oven and let cool on pans.

~Leave oven on to quickly roast whole almonds; cool, then chop and set aside.

~Place emmer farro in a large sauce pot covered with at least three times water to grain and bring to a boil, adding a pinch of salt; simmer 5 minutes uncovered, then turn down heat to low, cover and simmer for about 50-55 minutes or until farro is soft and chewy but not mushy (berries should pop as you chew); when done, drain and return to pot, mixing in 2 remaining T olive oil.

~While farro simmers, saute onions in olive oil with a bit of butter, salt and pepper, consistently watched and turned until fragrant and browning; set aside.

~In the same sauté pan, brown elk sausage with an additional bit of butter; I found it helpful to cut the sausage in small pieces because unlike beef burger which crumbles and separates easily when browning with all its fat, elk is so lean that it benefits from pre-separation; this also ensures consistent sizes of meat pieces for the final dish.

~Stir onions, almonds and elk sausage into farro first; add root vegetables and carefully combine, so as not to smash them; season to taste with salt and pepper; serve hot garnished with fresh thyme.

~This is a large recipe, made for approximately 12 servings and is easily halved for a smaller group.

 Love from our kitchen to yours, Georgina @ Soul & Stomach


comments 2

Great Granola ~ with Roasted Almonds & Honey by Local Bees, plus the Perfect Parfait

Growing up our mother made granola from scratch, and it was so delicious, it seemed to us kids to be a treat rather than standard breakfast.  Overnight family hiking trips included her granola, and it not only hit the spot taste-wise but sustained the body for long periods, being great fuel for exercise and a father who required good, productive work from all.

IMG_0277

The granola recipe here is based on the basic ratios learned from my mama and is made protein hearty with high nut content.  But it’s crowning glory is locally made honey, curtesy of our friends who produce Highway 20 Honey, led by the expertise of their 13 year old son.  Included in our MethowMade Program of Twisp Works, this honey is as organic and wild as it gets.

The father/owner of this hive operation claims he “knows each queen by name.” He explains that Highway 20 Honey achieves standards beyond the average because their bees forage wildflowers, protected from agricultural operations using heavy chemicals.  And indeed their bee’s home is protected, in a high mountain canyon removed and remote.


IMG_0275

My twelve year old son did all the preparation for this simple, kid-friendly recipe, chopping nuts, and mixing wet and dry ingredients, while the younger daughter performed the initial taste test, combining granola with yogurt and preserves for a parfait and giving the recipe a stellar rating, quote “I would eat this for every meal mama!”

We almost always double our granola recipe, as we did with this one below, which requires two pans for baking, and more time dedicated to turning the oats.  Other variations have included cashews, sunflower seeds and bulgar, and the recipe is malleable to varying honey and oil ratios to taste.

IMG_0279

x

Granola Recipe

5 1/2 c whole oats (a combination with quick oats also works)

1 1/2 c almonds, coarsely chopped

1/2 c honey

1/2 c vegetable oil

~The basic rule of making granola is a 7 to 1 ratio of dry to wet ingredients; begin by setting out ingredients to mix each separately; double recipe as desired.

~Set oven for 375 degrees.

~Combine honey and oil in a mason jar or small bowl and set aside.

~Combine oats and chopped nuts; drizzle all with oil and honey mixture and combine well.

~Spread raw granola mixture in a deep baking pan.

~Turn granola with a large spoon every 5 to 10 minutes, usually at least three times, until mixture is evenly golden brown.

~Remove from oven and cool; store in sealed containers in a dry location, mason jars work well.

DSCF4482

Perfect Parfait Recipe

1 cup yogurt

1/4 c fruit preserves

1/2 c granola

~In a bowl or glass, spoon in yogurt, add a layer of preserves and top with granola; we love using our canned jams from the pantry.

Love from our kitchen to yours, Georgina @ Soul & Stomach

comments 3

Coriander~Coconut Curry with Squash, Parsnips, Peppers & Cashews

IMG_0261

A  red curry ripe for the season, sweetened with freshly ground coriander, this winter warmer dish relishes root cellar vegetables and their subtle flavors.  Vegetarian yet hearty and filling, this recipe has plenty of protein with its coconut milk base and cashew topper.

IMG_0248

The delicate tastes of parsnips and butternut squash are not lost in naturally sweet coconut milk and curry paste that focuses on the subtle aromatics of turmeric, cumin, coriander and cardamom rather than heavier spices.   Made only somewhat hot with red chili paste rather than straight cayenne, the spice level also does not overwhelm, but can be easily made super spiced depending on palate.

IMG_0232

Coriander~Coconut Curry Recipe

1 T butter

1 onion, chopped in 1″ peices

5-10 parsnips, chopped in 1 ” peices

1 butternut squash, chopped in 1 ” pieces

1 bell pepper, any color, chopped in 1 ” pieces

3 t coriander (fresh ground seed preferred, but pre-ground will work)

3 t turmeric

2 t cumin

1/4 t cardamom

1/4 t cinnamon

3-5 t red chili paste, to taste

1 t olive oil, for curry paste

1 1/2 t salt

3 c coconut milk

1-2 c rice or other grain, depending on number of servings

~ Grind spices together; add to chili paste with olive oil and mix to combine; set aside.

~Peel squash and cube, peel parsnips and chop, then set aside; chop onion and pepper, set aside.

~Put rice on to cook.

~Sauté onions in butter on medium heat in a large fry pan or sauce pot (using a dutch oven on the stove worked well); when onions are becoming fragrant, add curry paste and fry, stirring frequently so as not to burn the paste which sticks easily; when onions begin to brown, add coconut milk and bring to simmer.

~Add squash and parsnips, and bring back to simmer.

~When squash is beginning to soften, add peppers; stir in salt and simmer 5 minutes more; taste-test and season with extra salt or chili paste to taste.

Love from our kitchen to yours, Georgina @ Soul & Stomach

IMG_0260

comment 0

Quiche Lorraine Methow Valley Style

Quiche Lorraine is a defining French dish, in this version made Methow Valley style with our farm fresh eggs,  local smoked ham from our butcher extraordinaire at Thomson’s Custom Meats, chèvre feta  made by our friends up the road at Sunnypine Farms and a flaky 100% butter pastry dough that never fails.

IMG_0240_2

Quiche Lorraine classically includes bacon and gruyere cheese, if cheese is used at all, but feta made in our valley finds its way well in this recipe, both because it’s chunky content in quiche stands out and because it complements the smoked ham.

IMG_0237

Satisfyingly self sufficient, this recipe is decidedly garden to table, utilizing home grown producers and fitting to the winter palate.  A one-recipe-entre that includes vegetables and ample protein, the richness of this quiche is best when accompanied by a side salad and rustic bread.

IMG_0250

Making pastry dough from scratch should not intimidate, but it helps to think of it on it’s own simplistic terms: two ingredients with a little seasoning.  With the correct quick methodology, flour and cold butter come together easily for a dough speedily and superior to anything pre-made.

Flaky Butter Pastry Dough Recipe

2 1/2 c flour

1 1/4 c butter, preferably frozen or very cold

1 t salt

1 t sugar

1/2 c ice water

Quiche Lorraine a la Methow Valley Recipe

9 farm fresh eggs

1 c milk or half & half

1 c chopped smoked ham, in 1/2 ” pieces

1 T Butter

1 medium sized onion, diced

1/4 c sweet peas

1/4 c corn and/or carrots chopped in 1/4 ” pieces

1 t dried oregano, crushed

1 1/2 c feta cheese, cut or crumbled

salt and pepper to taste

~To prepare dough, combine flour, salt and sugar; using a food processor or pastry cutter, cut in butter, frozen or very cold, until dough resembles course sand; add cold water and mix until just combined; separate dough into two balls, wrap and chill for at least 1 hour (one dough ball can be saved by freezing for later).

~Sauté onion in butter, add oregano and set aside.

~Mix eggs, milk, salt and pepper.

~Roll out dough on a floured surface; place dough in buttered pie dish and flute edges.

~Spread feta cheese as first layer; next layer onions and vegetables and top with ham; pour egg mixture over all.

~Bake at 375 degrees for 40-45 minutes or until quiche is cooked through and crust is golden brown.

~Let sit for 10 minutes before serving.

Love from our kitchen to yours! Georgina @ Soul & Stomach

IMG_0241


comments 6

Giving with no Name ~ Free Parking-lot Apples, the Gentleman Hippy & the Ethics of Generosity ~ plus Succulent Sauce

Loading up the truck with kids and food in the market parking-lot, I turned to a friendly voice behind us asking, “would you like some apples?”  The man was one I had seen in the community for years who always had a smile and a nod, long white hair tied back in a ponytail, jeans clearly worn from good work on the land.

IMG_0221

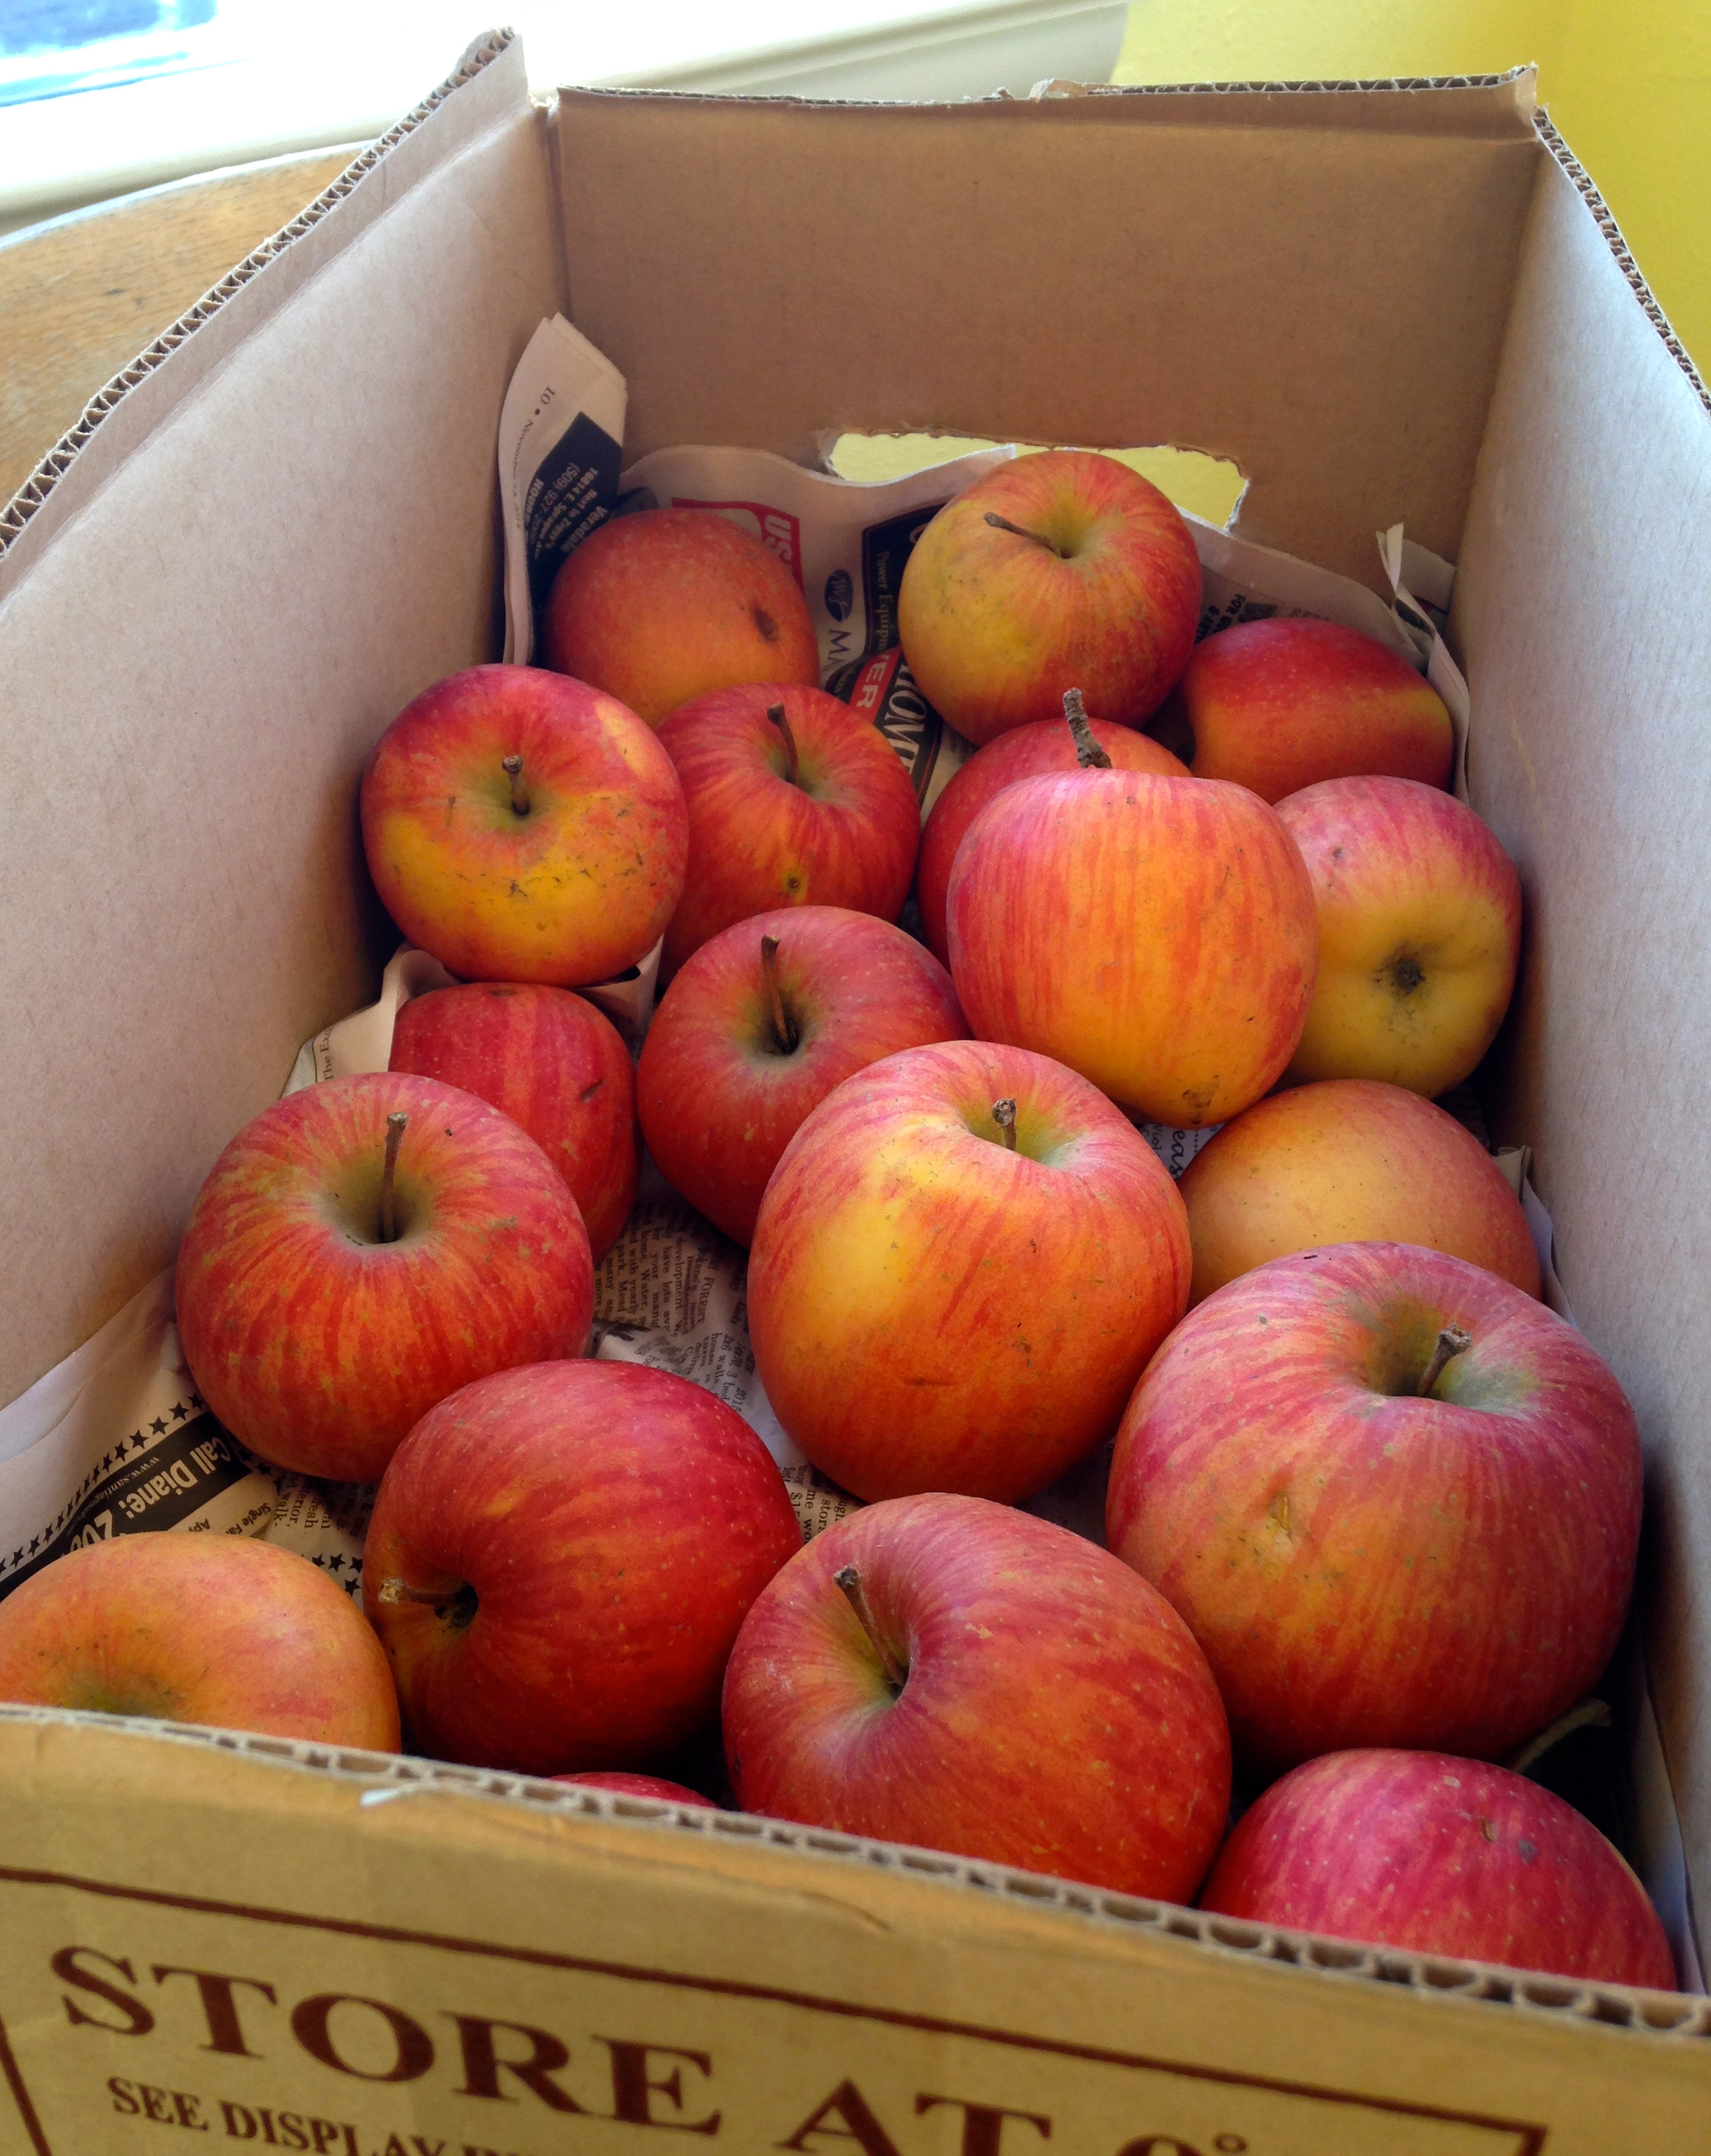
A mother of three can’t turn down free apples, fresh from the tree or three months old, but this gentleman-hippy, seeping with kindness, offered a box of perfectly preserved Galas from fall and guaranteed they were gooduns.’  Surprise mingled with delight as we accepted the offer and he quickly hopped back to his truck to carry over a big box.

Dropping the box and disappearing speedy and silent, I couldn’t even catch a name.  His ethic was to give simply out of the possibility of doing so and to offer what he had without name or asking for thanks.  This is true generosity, the way our Creator means for each of us to care for one and other.

Charity: it’s meaning is not in giving a portion of your paycheck when your own already have the best and there’s someone who obviously has less (although that’s one form); real charity is giving with abandon and without ever hoping for recognition, because it’s right, because it’s just, and it is how we all merely survive ~ by true love.

These Galas aren’t the leftovers, the ‘bottom of the barrel,’ they are what would be considered by most to be the perfect apple.  Sweet, crisp and delicious, these apples have clearly been kept at just the right temperature since September, and we all eat them daily.

According to most horticulturists, apples will store best at 30-32°F with 90% humidity, but the basement or mudroom generally does the trick.

IMG_0224

The time does come when crispness wears thin, and then it’s time to sauce.  Most folks in the Methow have apples in store that reach this point, a box that is destined for saucing in winter.

This year’s autumn applesauce was arguably the best ever.  Seemingly simple, even apple sauce takes finesse to achieve thickness without scalding, flavor balance and correct preservation in the canning process.  Here, through many years of experimental recipes, is how we’ve achieved succulent sauce.

IMG_0227

This recipe utilizes a hand crank food mill for method in smashing down the apples to extract the maximum pulp and nutritional value of the fruit.  It is highly satisfying to master as it illuminates much skinning and cutting as well as electronic devices.  The food mill is used in various canning techniques and is worth purchase for long term hands-on cooking methodology.

Thick & Spiced Applesauce Recipe

Apples in abundance (flavorful ones like Galas, Honey-crisps and Goldens are all good; ‘watery’ apples like red delicious or Granny Smiths are not preferred)

1 c Sugar, or to taste

1 T Cinnamon, or to taste

1/2 t Nutmeg or to taste

Water

Quart or pint sized canning jars

New lids, old bands

Hand Crank Food Mill

~Drop apples in the sink and give a good rinse; go into production mode and cut each apple in quarters, and drop them in large sauce pot, seeds, stems and skins still on, with a couple inches of water to avoid sticking; when sauce pot is fill to the brim, bring to a steam and simmer on medium heat, stirring frequently to prevent sticking; the key is to add enough water to barely cook the apples but not more than absolutely necessary to avoid a watery sauce.

~While apples are softening, heat boiling water canner with jars within to a full boil for ten minutes to sanitize jars; place lids and bands in a small bowl to pour over with boiling water as well.

~When apples are softened, skins beginning to peal off, remove from heat; in manageable increments, pour apple mix into food mill placed over a large pan or bowl; crank down apples until all skins, seeds and stems are removed and return apple sauce to sauce pot; this will take several rounds but by this method, absolutely none of the fruit is wasted and the maximum nutritional value of the skins goes into the sauce.

~Reheat applesauce on medium, stirring frequently, and season to liking with sugar, cinnamon and nutmeg; when sauce is at a simmer, it is ready to can; be sure jars are removed and water is returned to a boil.

~Carefully pour applesauce into jars with 1/2 inch head space remaining; insert knife into each to remove air bubbles; wipe jar edges well with a clean cloth dipped in boiling water to remove spills; quickly screw on hot lids and place jars in canner.

~Process at a full boil for 15 minutes for pints, 25 minutes for quarts; remove from canner and let stand 12-24 hours to set.

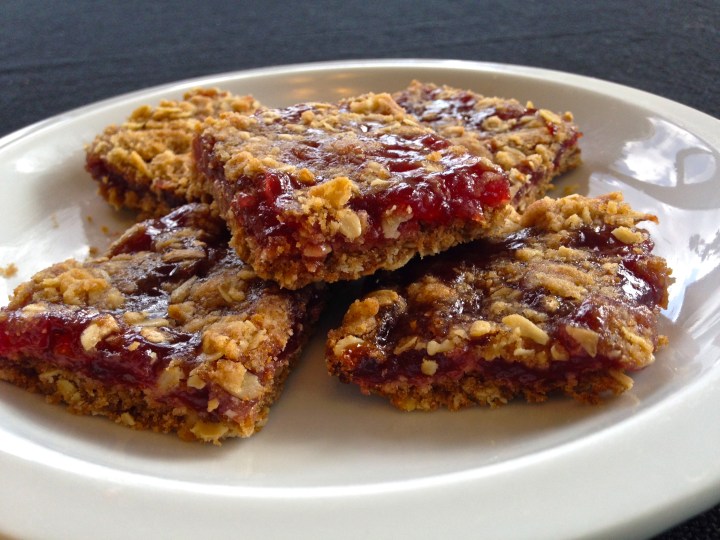
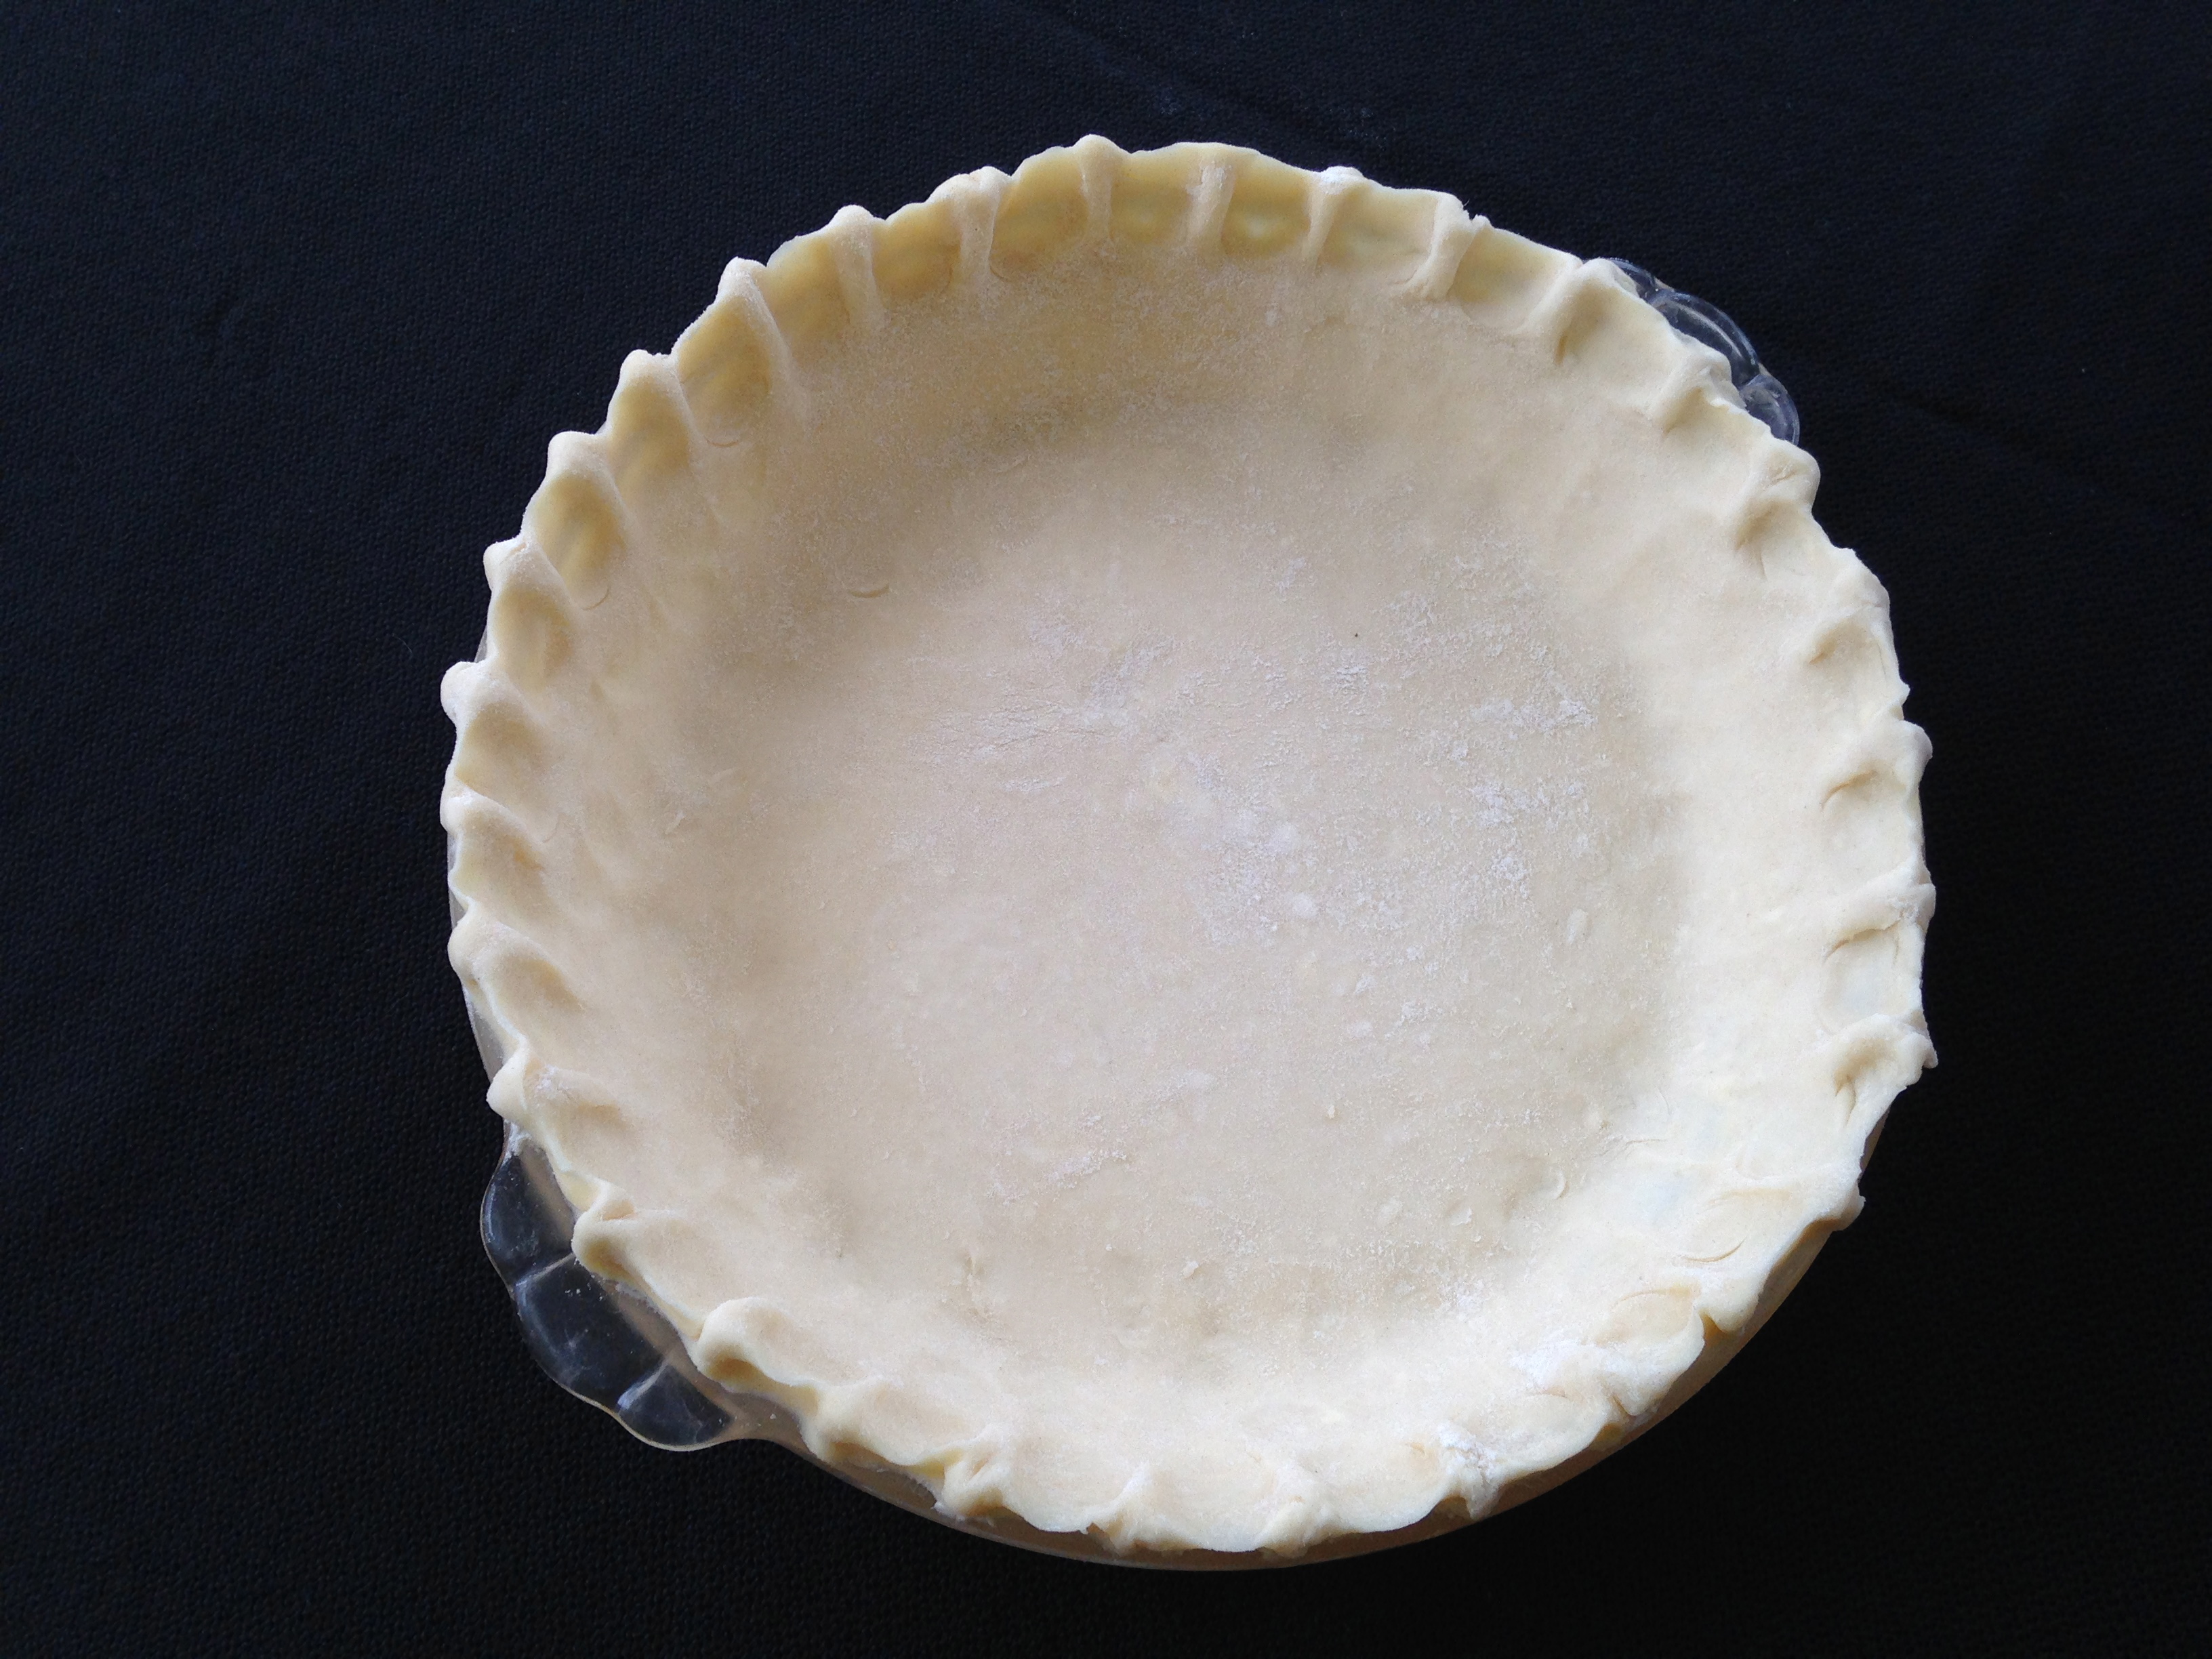
Thank you gentleman hippy friend, whoever you are!  We happily eat your apples, make crisps and pies and sauce whatever is left! 

IMG_0223

Love from our kitchen pantry to yours, Georgina @ Soul & Stomach

comment 0

Rhubarb Crisp ~ Anytime, Anywhere

Rhubarb chopped and frozen from last year’s harvest comes out for its regular rave reviews in this delicious anytime, anywhere recipe.  Though one might rightly argue that crisp is designed to be a desert, with sugar content really rather low for treat terms and fruit and oats in abundance, rhubarb crisp triples in our family as desert, breakfast and snack quite naturally.

DSCF3761

Rhubarb delights in its simplicity: it is easy to grow (dividing root with a straight hack and planting in highly forgiving soil), easy to harvest and re-harvest (fun for children), easy to preserve (with a quick clean, chop and freeze) and even easier to eat.

DSCF3285

Friends down the street growing up joined me and my sister on summer rhubarb raids, both the fresh rhubarb and the sauce in the deep freeze.  Sauce (see recipe in article, The Barb is On) is still coveted as such, but crisp brings out the best of the barb, adding the crunch of oats in a buttery topping.

DSCF3261

This recipe is wonderful just as it is, but topped with ice cream, the desert becomes supreme.

Rhubarb Crisp Recipe

5 c rhubarb, chopped in 1 – 2 ” chunks, fresh or frozen

1 c sugar

2 T flour

~Combine sugar and flour and sprinkle over rhubarb, stir to coat and let sit; repeat at least twice if rhubarb is fresh, letting sit for about 10 minutes; if rhubarb is frozen, stir several more times, and let sit until nearing room temperature.

1/2 c oats

1/4 c flour (we like to use local Bluebird Grain Farms flour here)

1/2 c brown sugar

1/4 c butter

~Combine oats, flour and brown sugar in a bowl; cut in butter with a pastry cutter until the mixture looks like pebbly sand.

~Spread rhubarb in a glass baking dish and top evenly with oat crumble; bake at 375 for about 30 minutes or until browning on top and bubbling at the edges.

~Serve warm or cooled, with ice cream or without, anytime, anywhere.

 Love from our garden~kitchen to yours, Georgina @ Soul & Stomach

DSCF3753

comment 1

Warm Farro Salad ~ Italian Styling with Garden Goodness & Roast Nuts

Roasted pine nuts, fresh herbs, crunchy greens and sweet caramelized onion round out delectable protein packed farro grain in this recipe that doubles as a side or one pot meal.  Friends at Bluebird Grain Farms grow the ancient organic grain emmer farro locally in our high mountain Methow Valley much to our family’s benefit around the table.

DSCF3610

Emmer farro is a sweet grain in itself and packed with protein (16%), so a flavorful warm salad is a simple  meal with minimal ingredients added.  Formerly a rare find, emmer has proven itself among chefs and family cooks to be one of the best grains grown on earth, with its chewy texture, healthy vitamin content and delicious flavor, a carbo choice often superior to pasta.

DSCF4301

Heirloom tomatoes canned from last year’s harvest add such flavor as cannot be purchased this time of year.  These, along with fresh basil, kale or spinach, roasted nuts and the sweetness of caramelized combine to cover all necessary food groups, making it appropriate for dinner, lunch or snacking.

DSCF3634

Emmer Farro Salad with Nuts, Tomato, Spinach & Caramelized Onion Recipe

2 c emmer farro grain

1/4 t salt

3/4 c pine nuts, or walnuts

2 c chopped tomatoes

2 c spinach or kale, coarsely chopped

1 c fresh basic, minced

2 medium – large onions, coarsely chopped

2 T butter

1/4 c extra virgin olive oil

salt and pepper to taste

~Roast nuts; set aside.

~Place a large sauce pot of water cover wheat berries with 5 cups water and 1/4 t salt and bring to a boil; cook on a lively simmer until grain is soft but still chewy, conceptually like cooling pasta ‘al dente,’ approximately 25 minutes.

~While the grain cooks, combine butter and 2 T olive oil in a sauté pan and caramelize onions by cooking over low heat; onions should be in large chunks to begin and be sautéed for approximately 15 minutes to achieve the slight browning and sweetness of caramelization.

~While stirring onions occasionally, and while grain cooks, chop all veggies so that the salad may be tossed warm and served immediately.

~Drain the grain and place in a large bowl, add onions, veggies, basil, and season with remaining olive oil, salt and pepper; top with roasted nuts and serve.

 Love from our kitchen to yours, Georgina @ Soul & Stomach

DSCF4190